

How I swapped an m50b25 into my 1985 528e.
Preface
I've been considering this swap for the better part of the last year, after seeing e30 after e30 go on to experience the joy of a DOHC inline 6. I wanted their power, grace, and improved power to weight ratio and efficiency without the costs associated with an s38 powerplant.
On my way back from a rugby game on the 28th of February, my old and tired m20 was making a somewhat scary ticking noise and seemed slightly down on power, I wrote it off, since I was going to be installing a lower mileage eta head the next week and could just let the car sit until then. However, while on the freeway there was a terrible noise, then I lost power and had to make it to the side of the freeway and call for a tow.
Over the next week I debated my options, either attempt the m50 swap, or just swap in another m20. I didn't bother to inspect and discover the cause of my engine's sudden death, because at 334k miles on the original head and block, I figured a change was needed. There was a 275k mile eta engine in my area, but I never heard back from the seller, and I was really hoping to be able to find a good deal on an m50. Luckily, in perusing craigslist I found a post for a 1992 325i in my town that had been in a slight front end accident, and was being sold for parts. A manual, that had the transmission completely replaced in 2000 for some reason. The price was quite right, at $345 for the whole car.
The Donor
The Engine
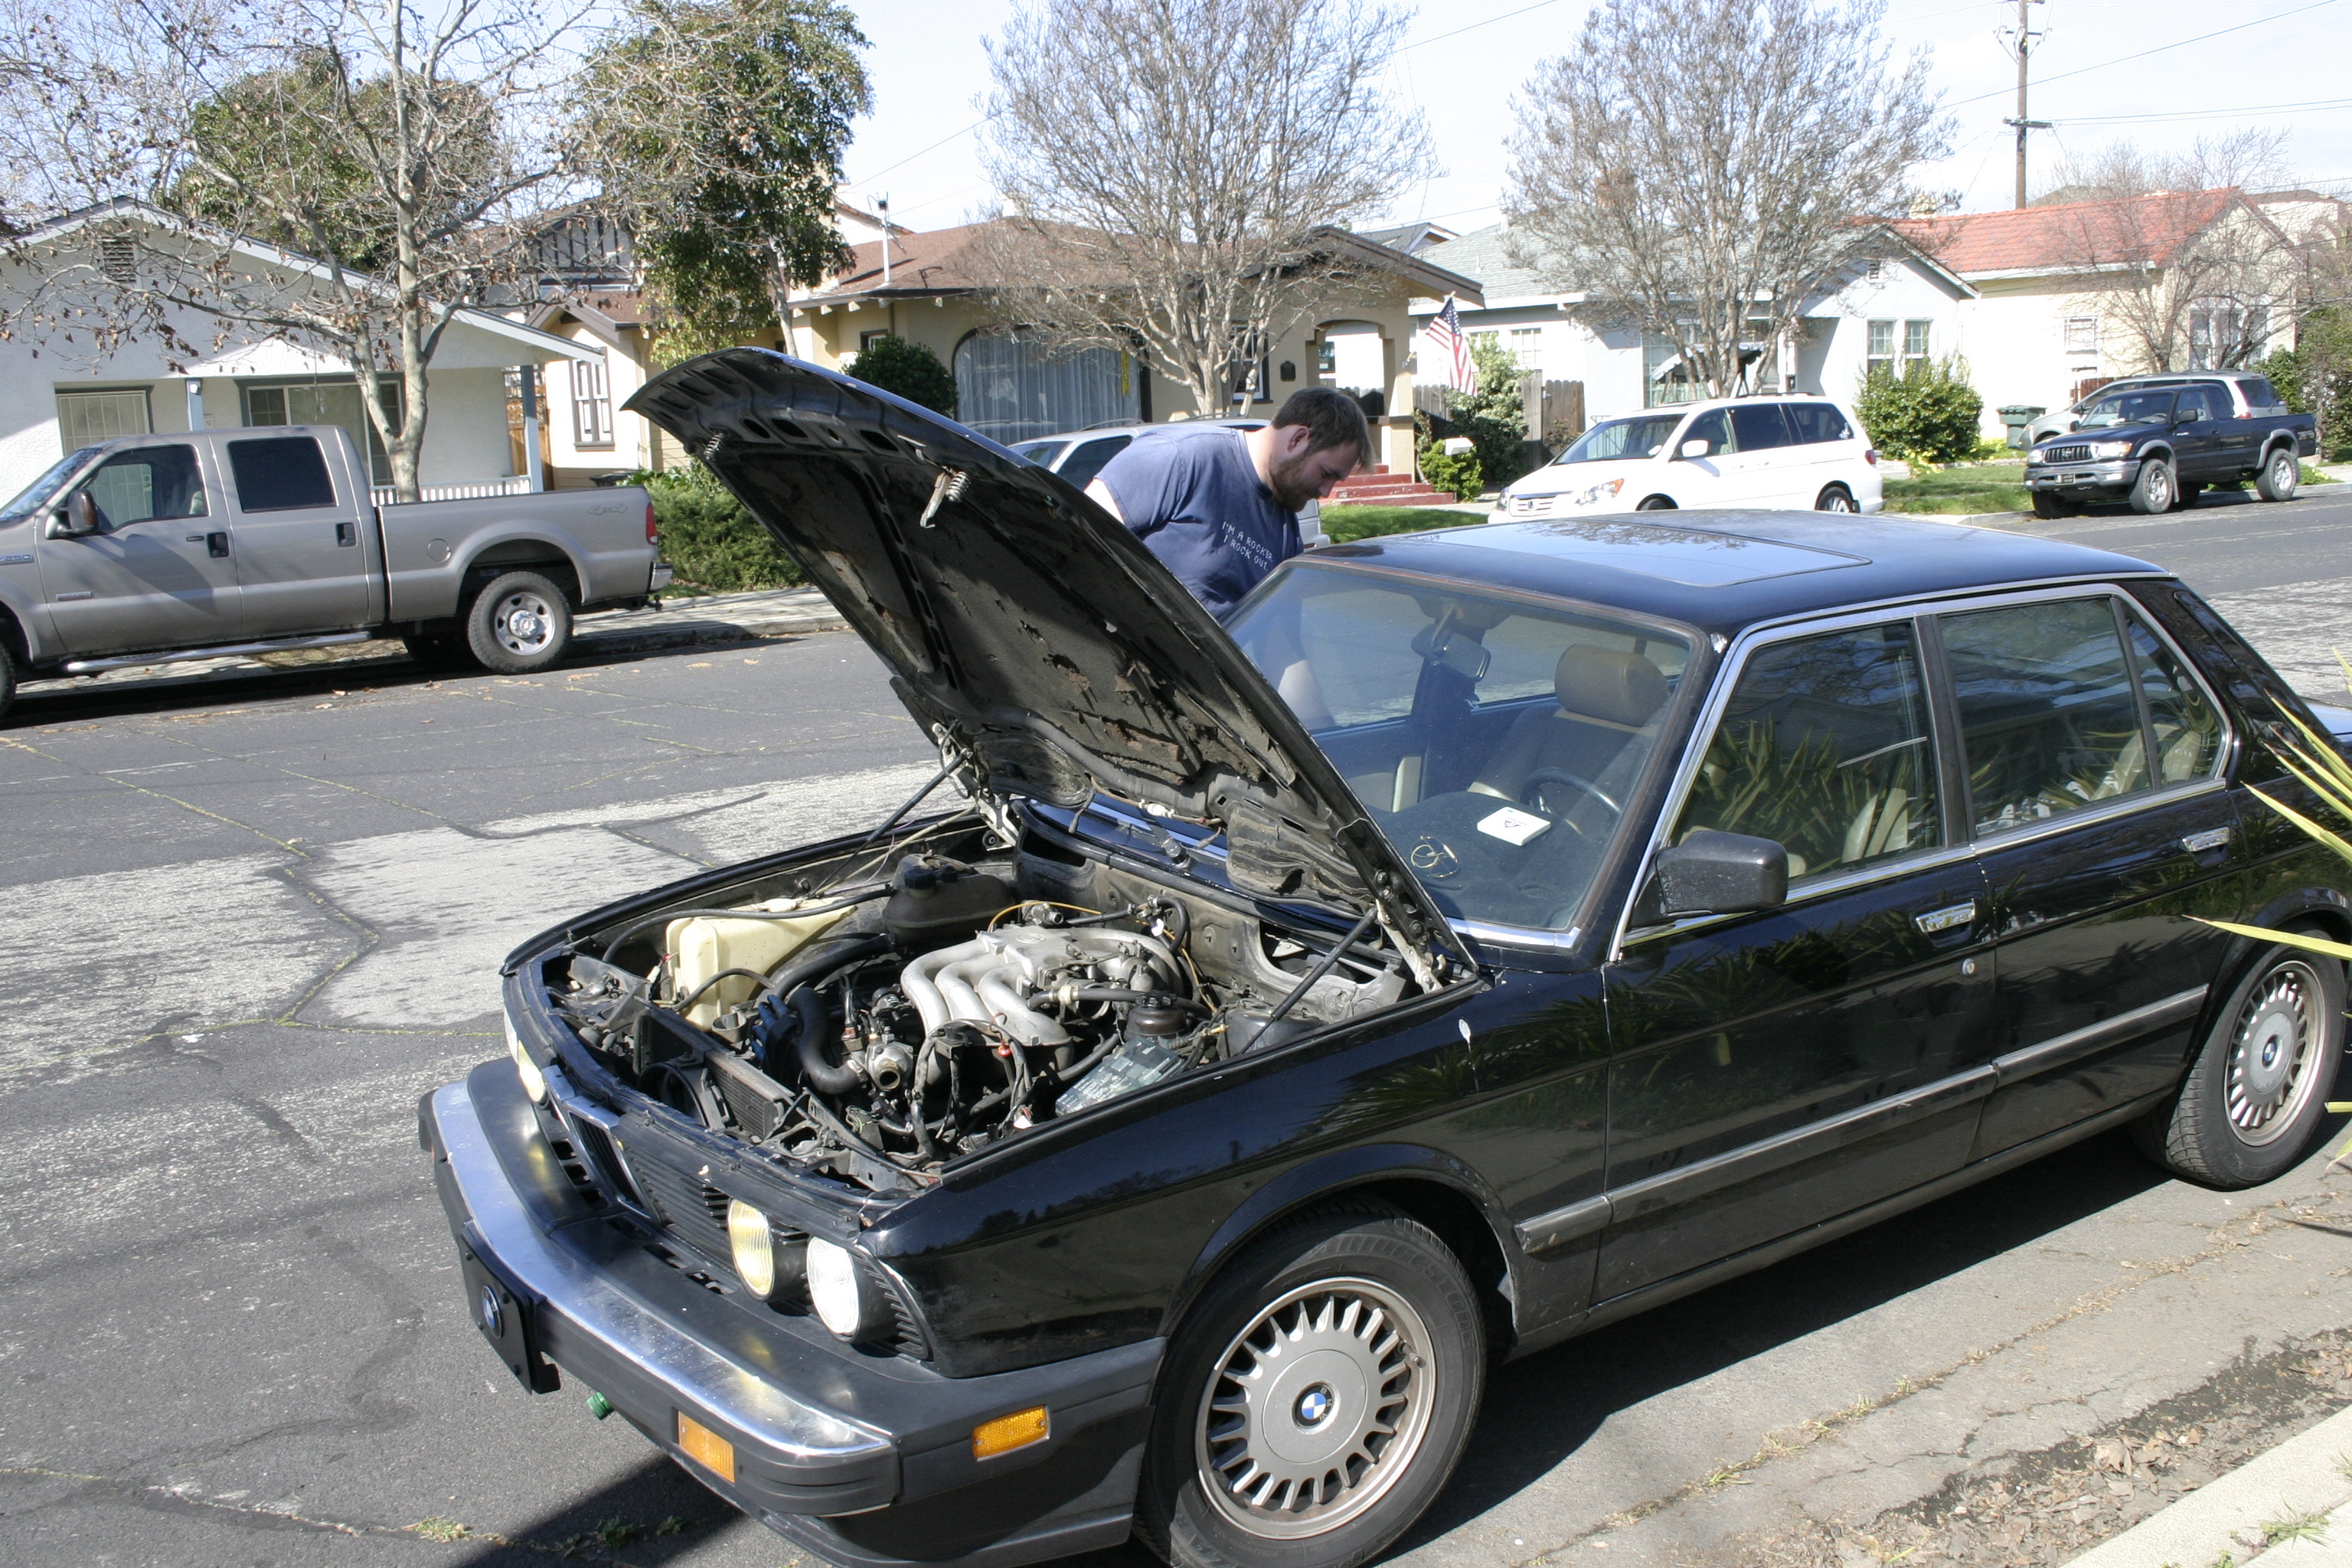
The Patient
The Wednesday after the car blew up, Dinan 5er generously accompanied us to fetch my car from where it was stored to bring home, and to grab the parts car. His mighty Toyota Sequoia had no problem hauling either car to and fro back to my home. Also, this reminds me I still owe him gas money. Sorry Mike!
Day 1
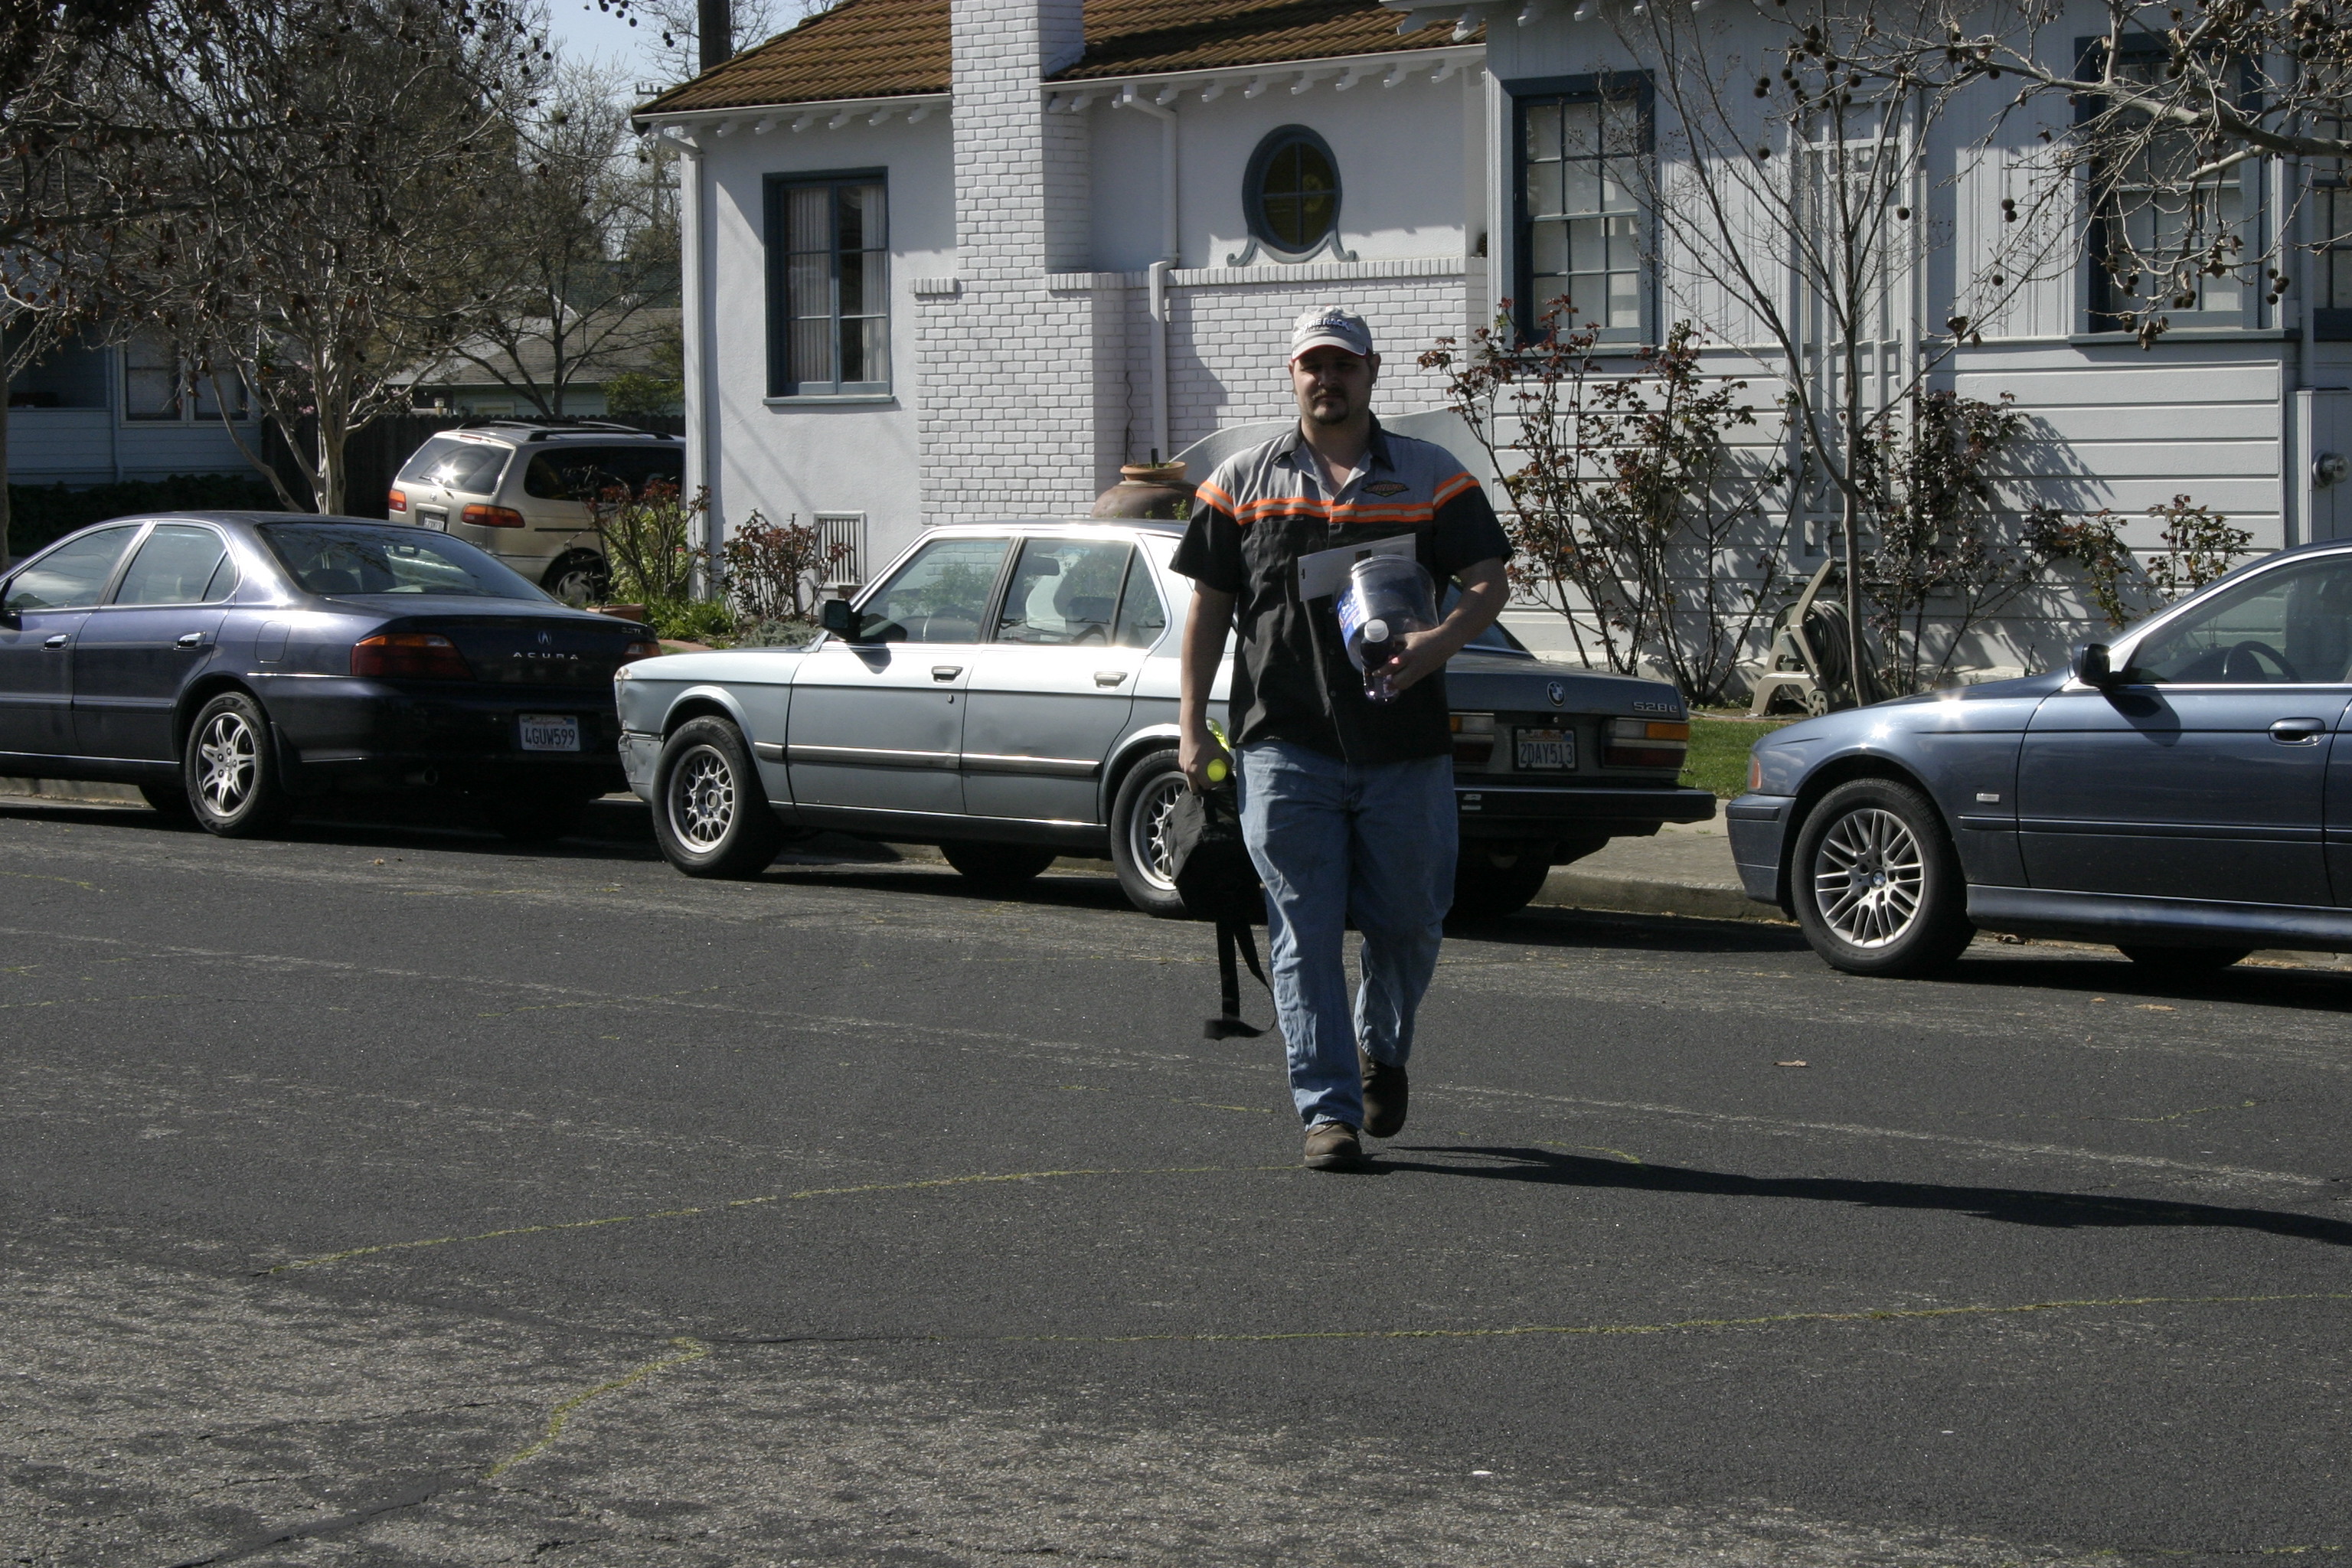
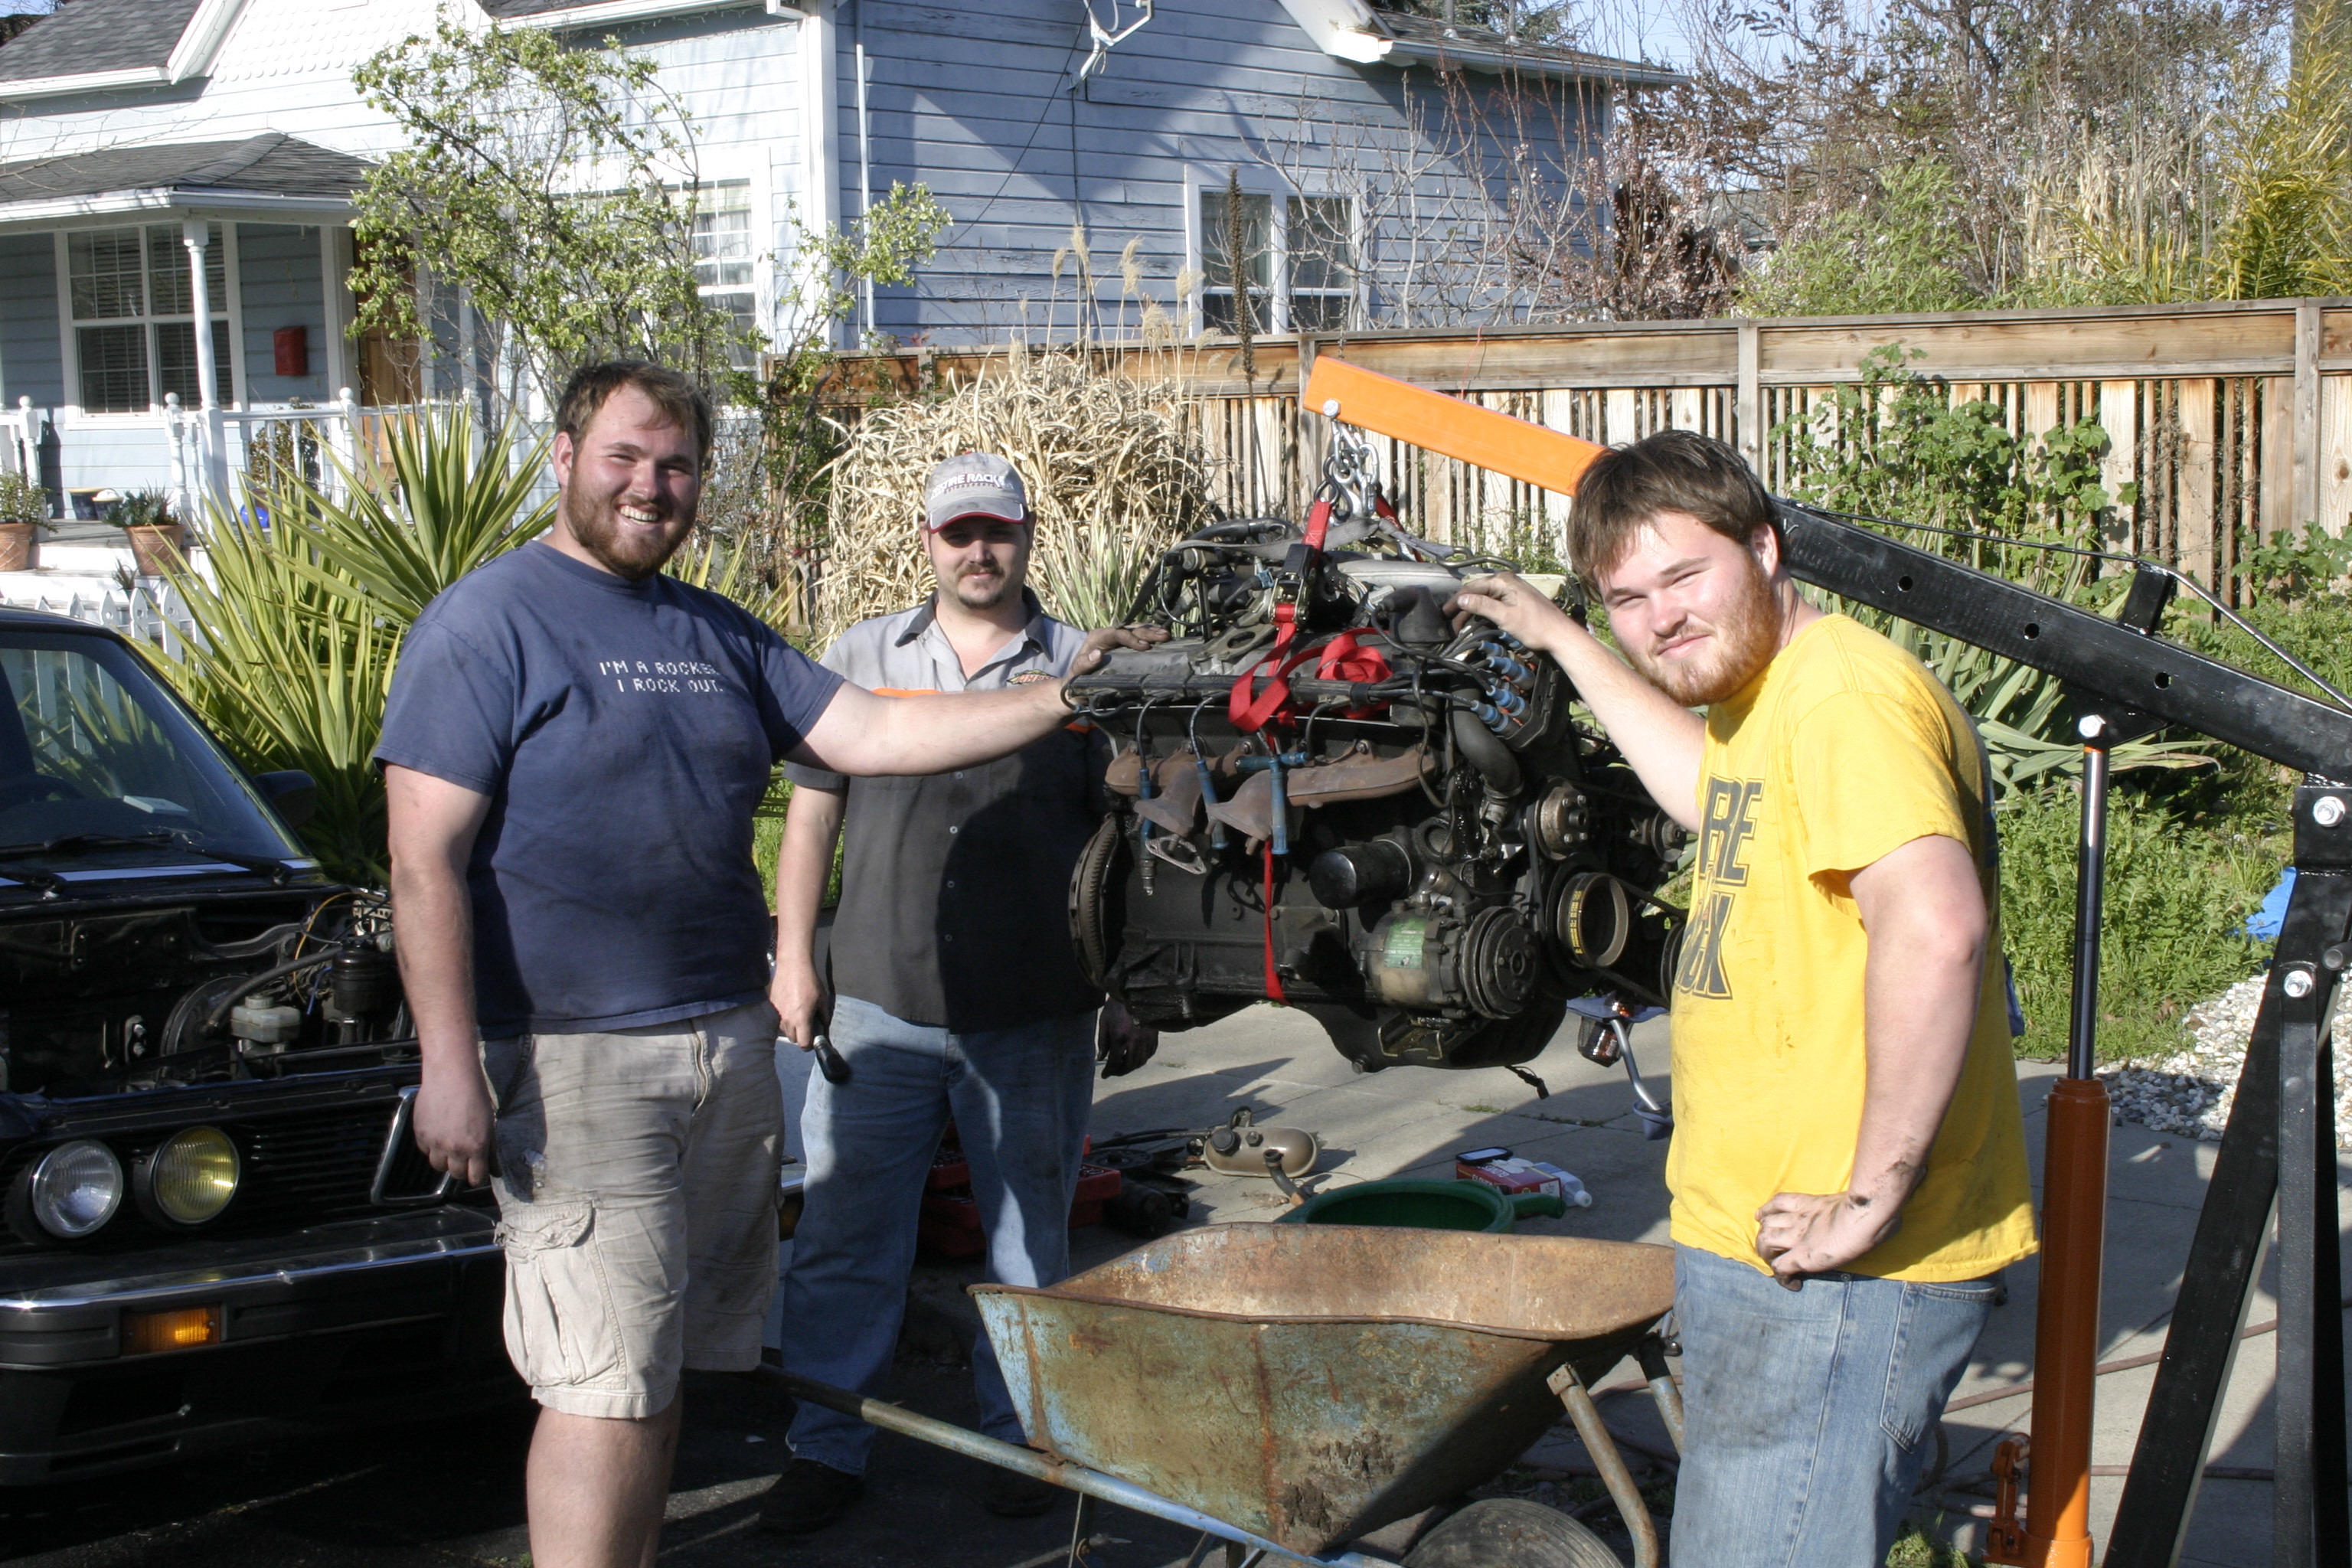
The evening of March 7th El_Guappo (Jay3) arrived with his air tools and compressor, ready to assist in the imminent destruction. After a good night's sleep and a hearty breakfast (my former short order cook skills at work) we proceeded to start getting the m20 removed. I'd previously removed the intake system, and unplugged the wiring harness, drained the cooling system, removed the radiator and disconnected the fuel lines. Jay's air tools made quick work of the exhaust manifold bolts and after disconnecting the driveshaft we were able to start pulling the engine. Thanks to BJH102's friend Justin, I was loaned an engine hoist free of charge for this project's shenanigans. Derrick (duggi) also arrived to help with the m20 removal, also to help poke and prod at things.
The Jay Arrives
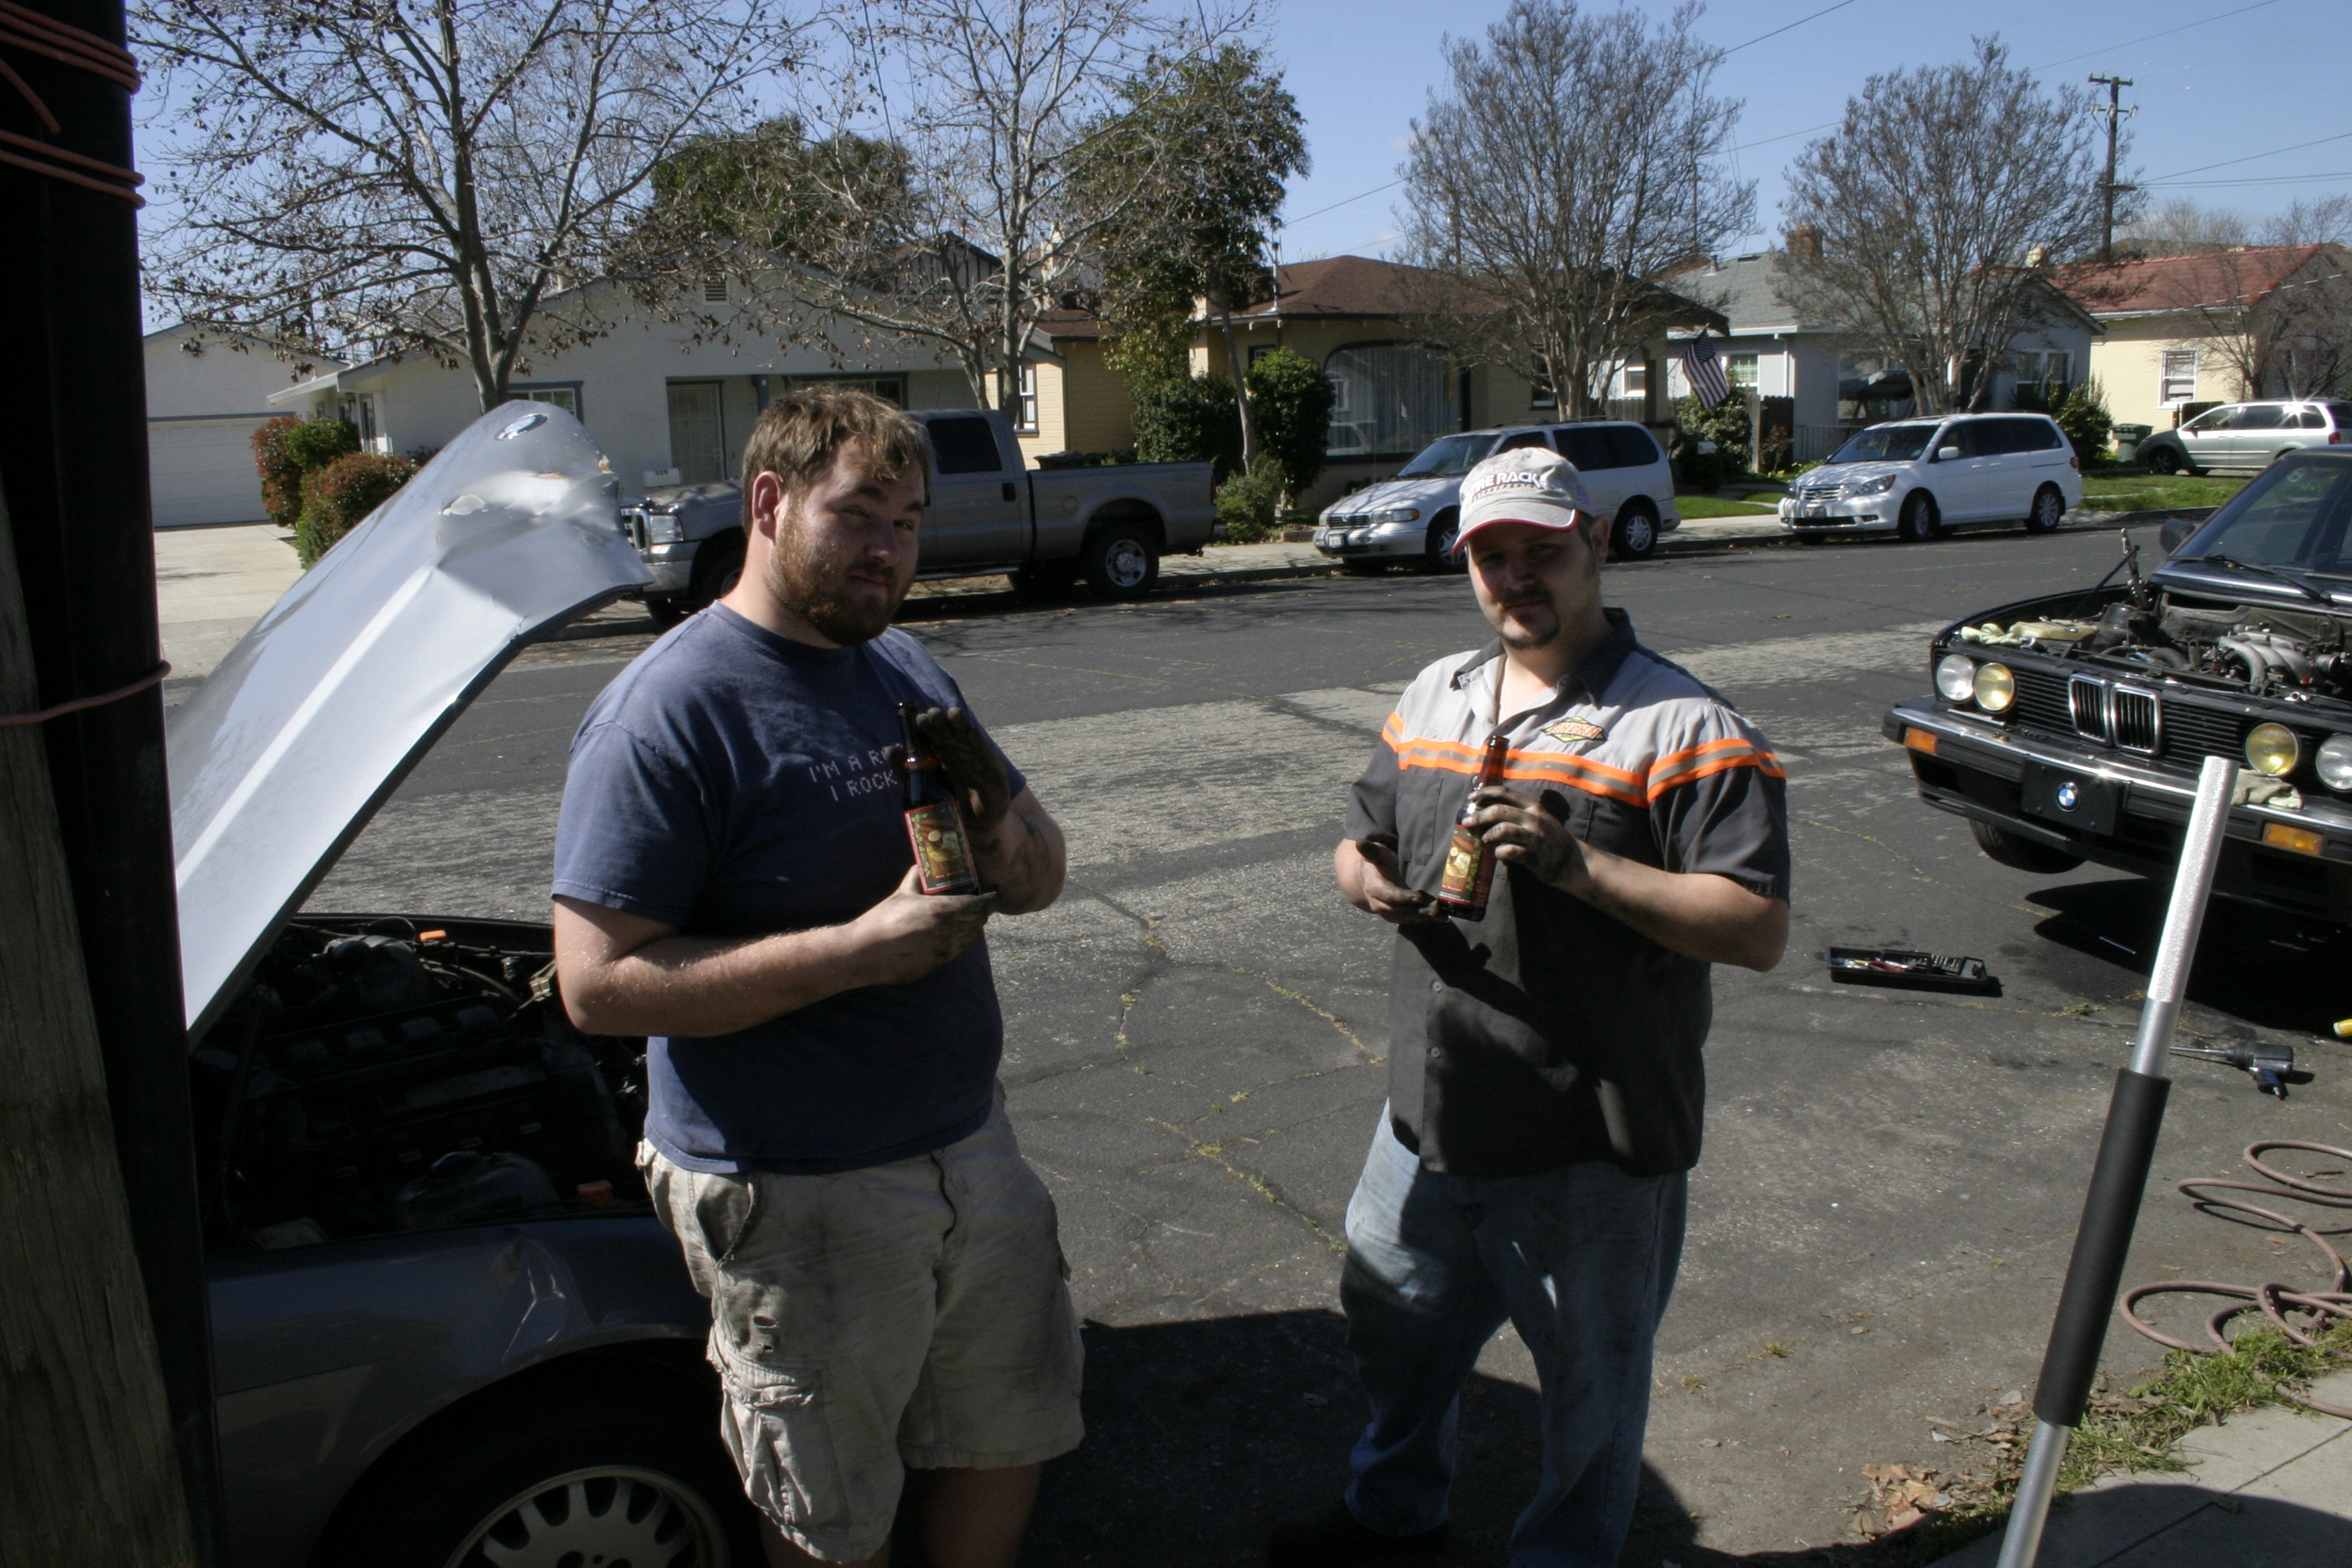
We are powered by New Belgium 1554
Engine is out
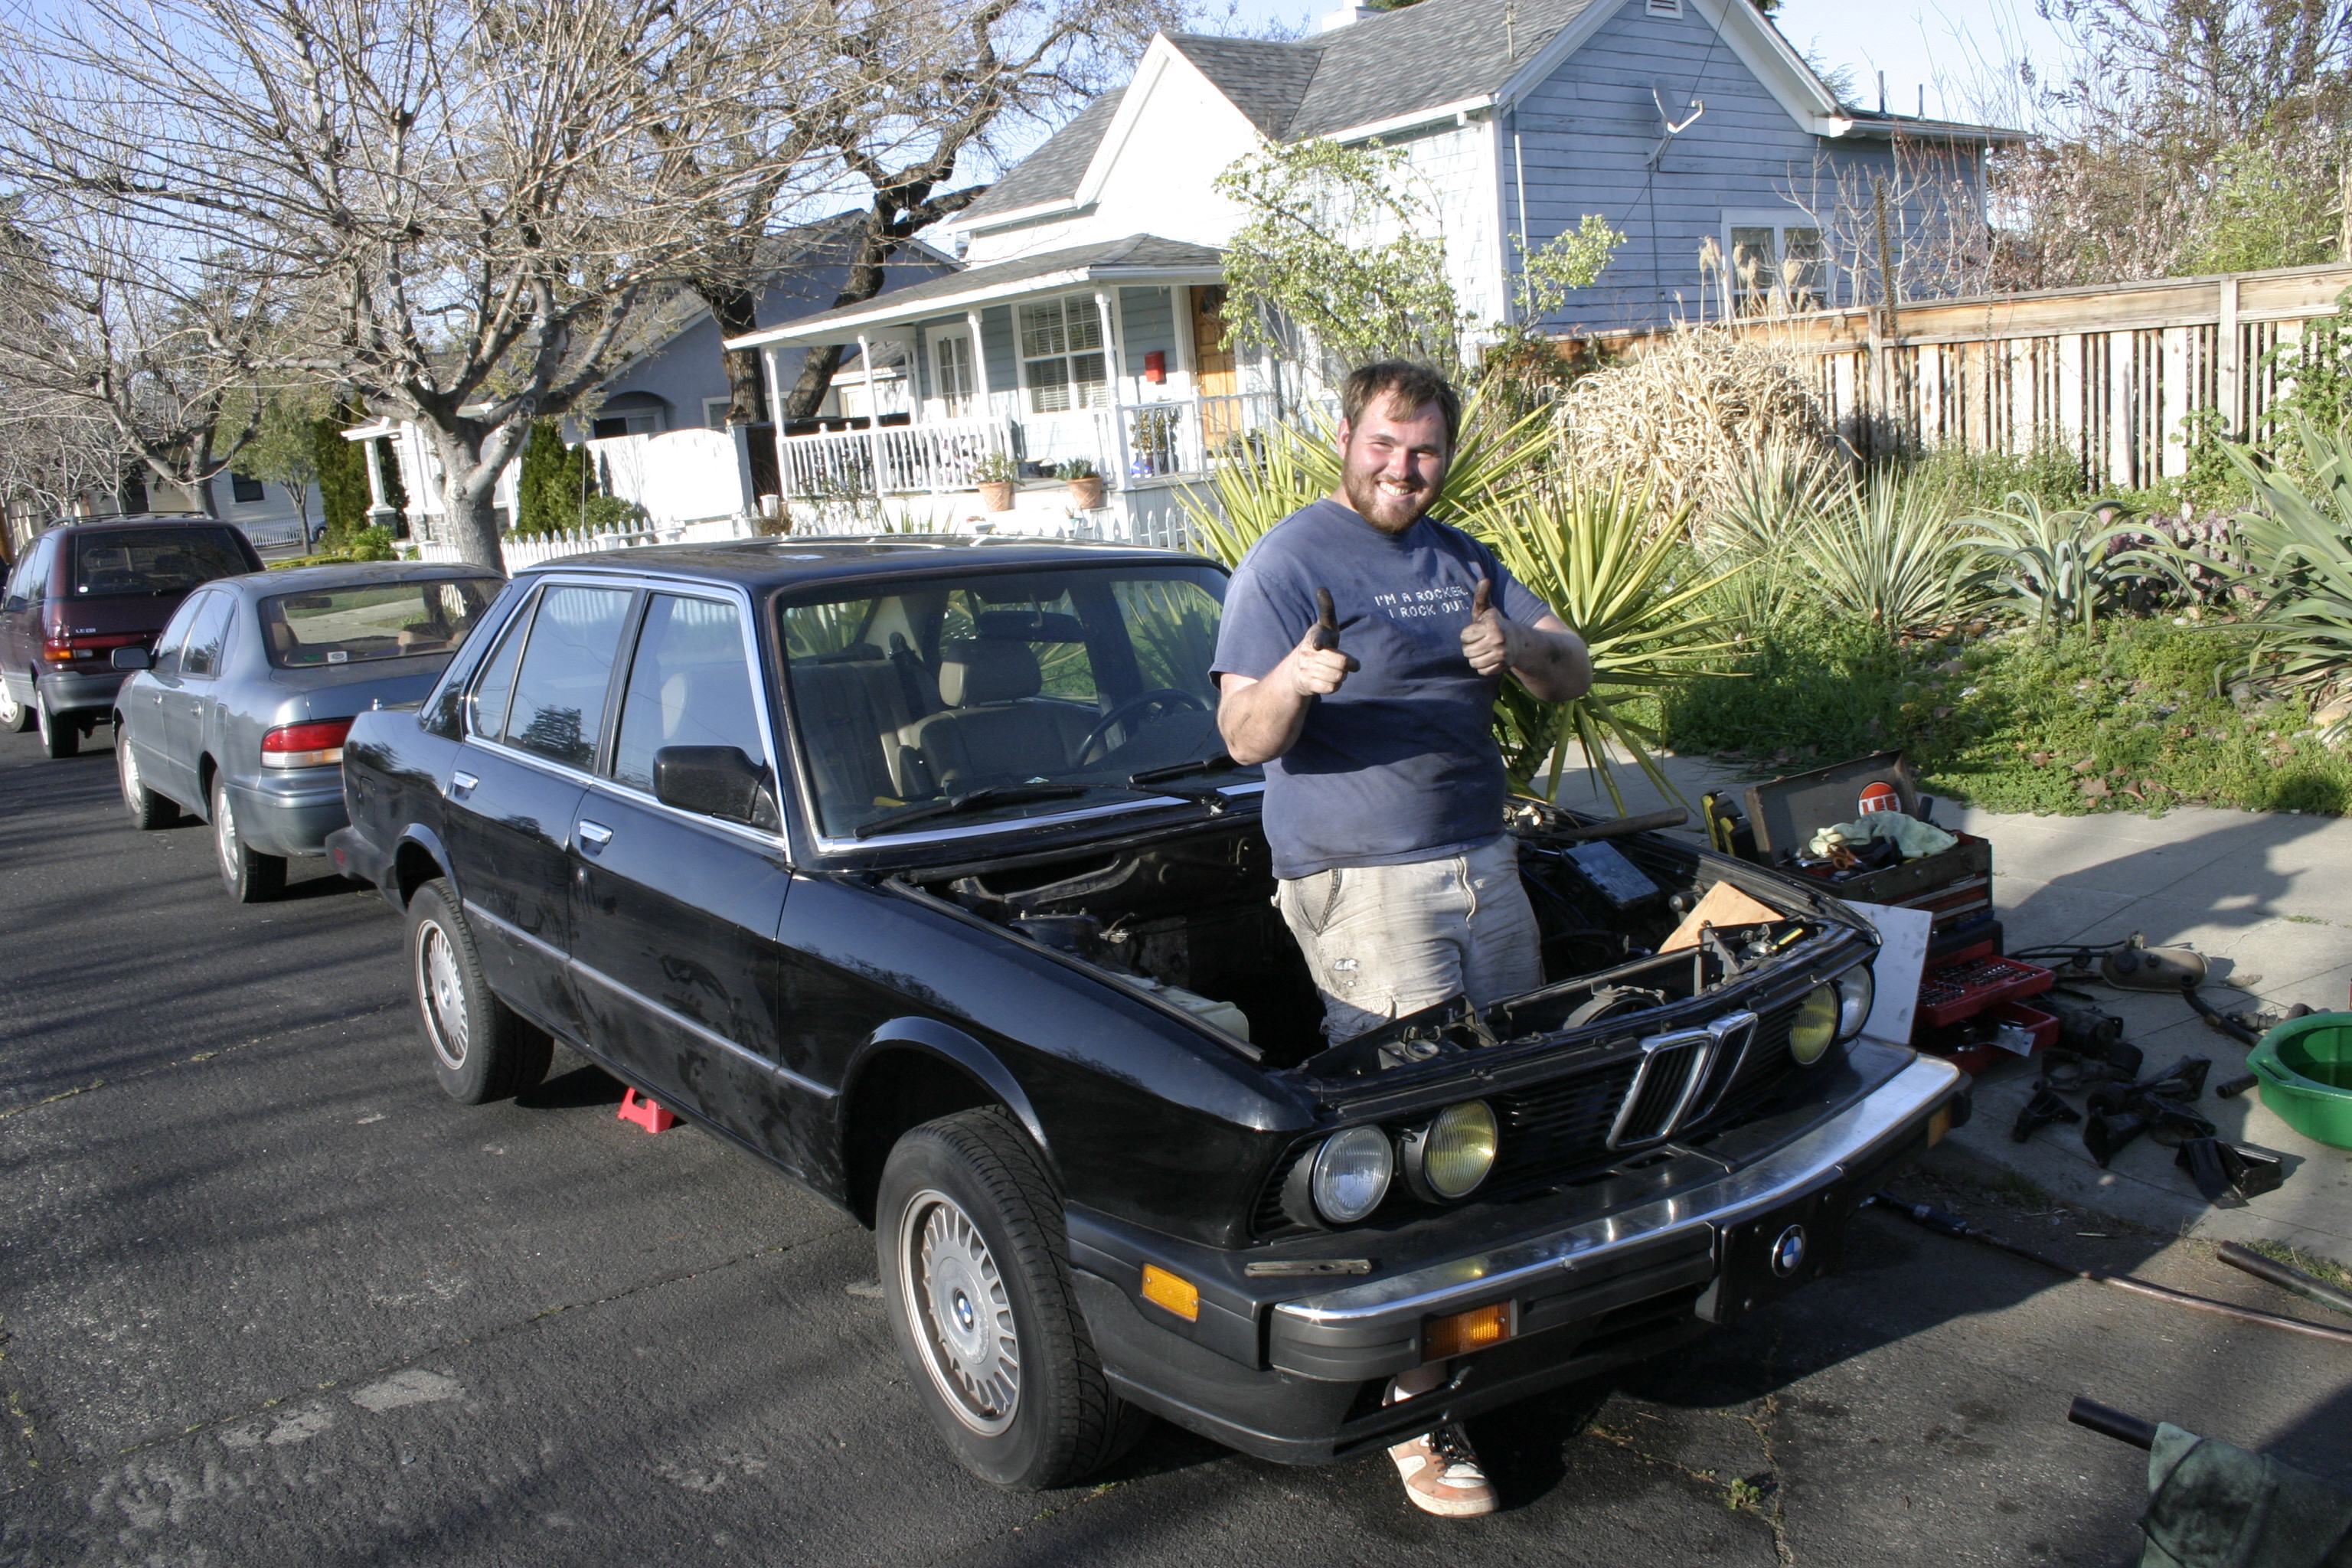
Requisite Engine Bay Pic
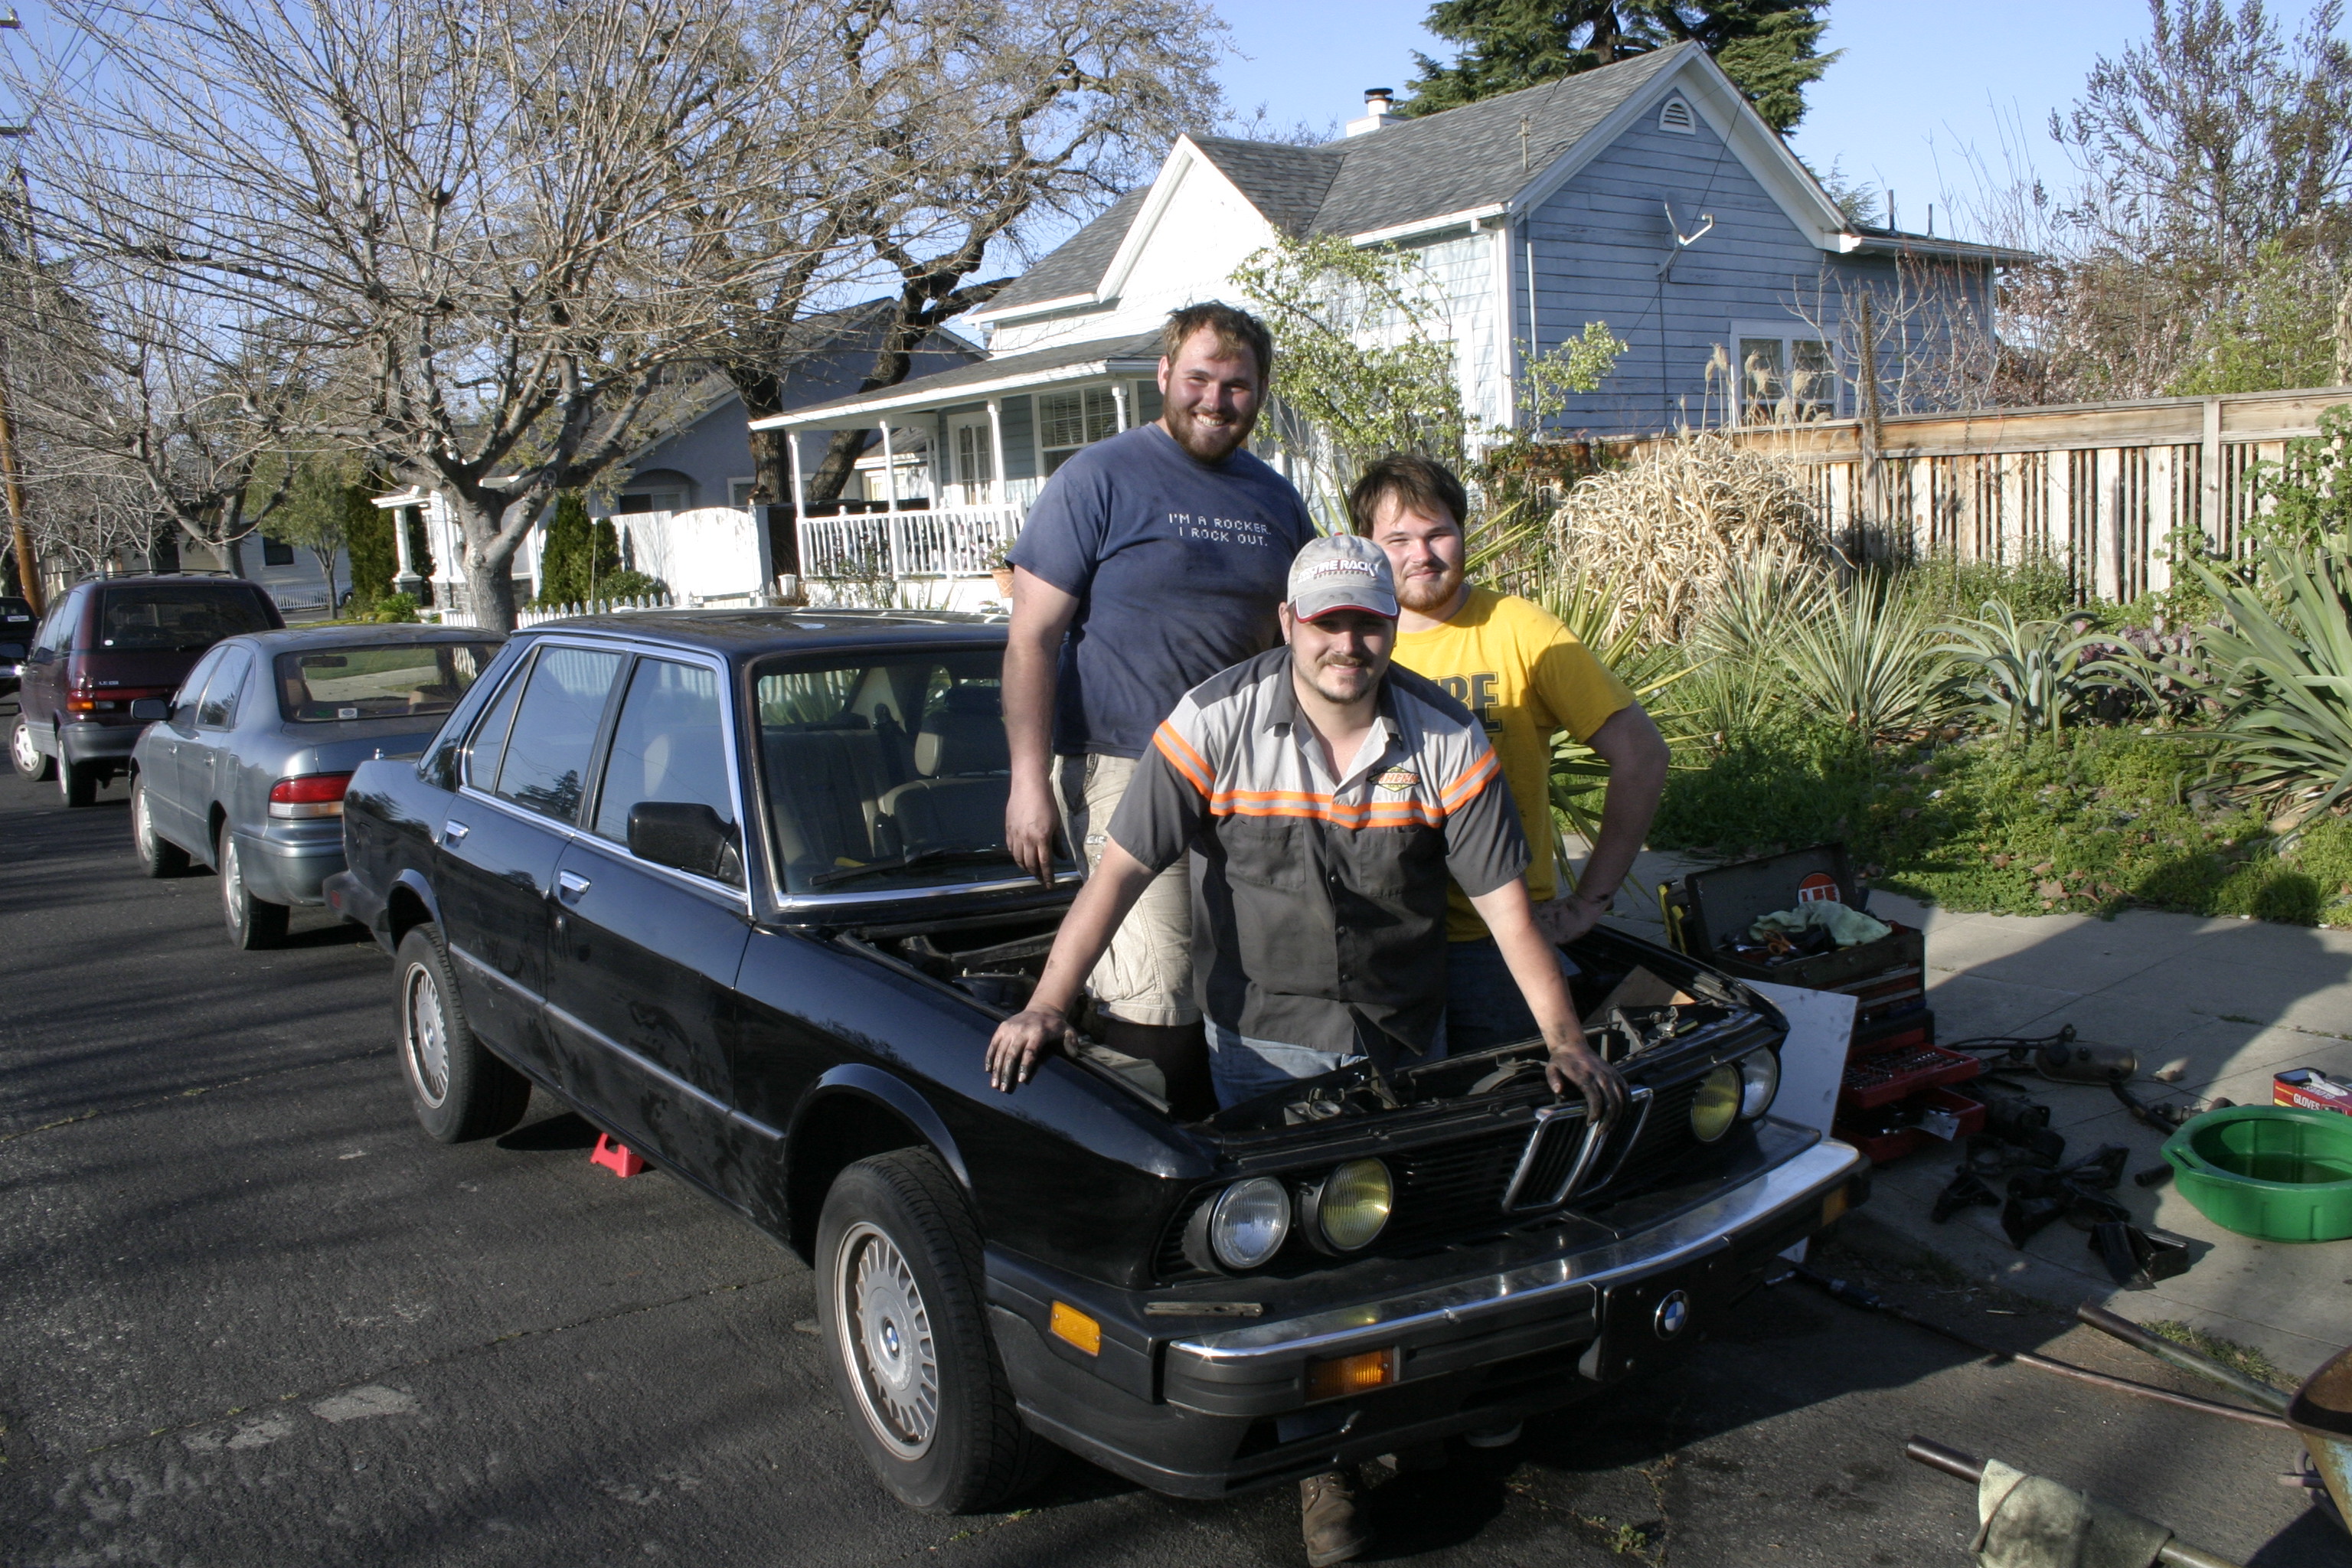
The trio
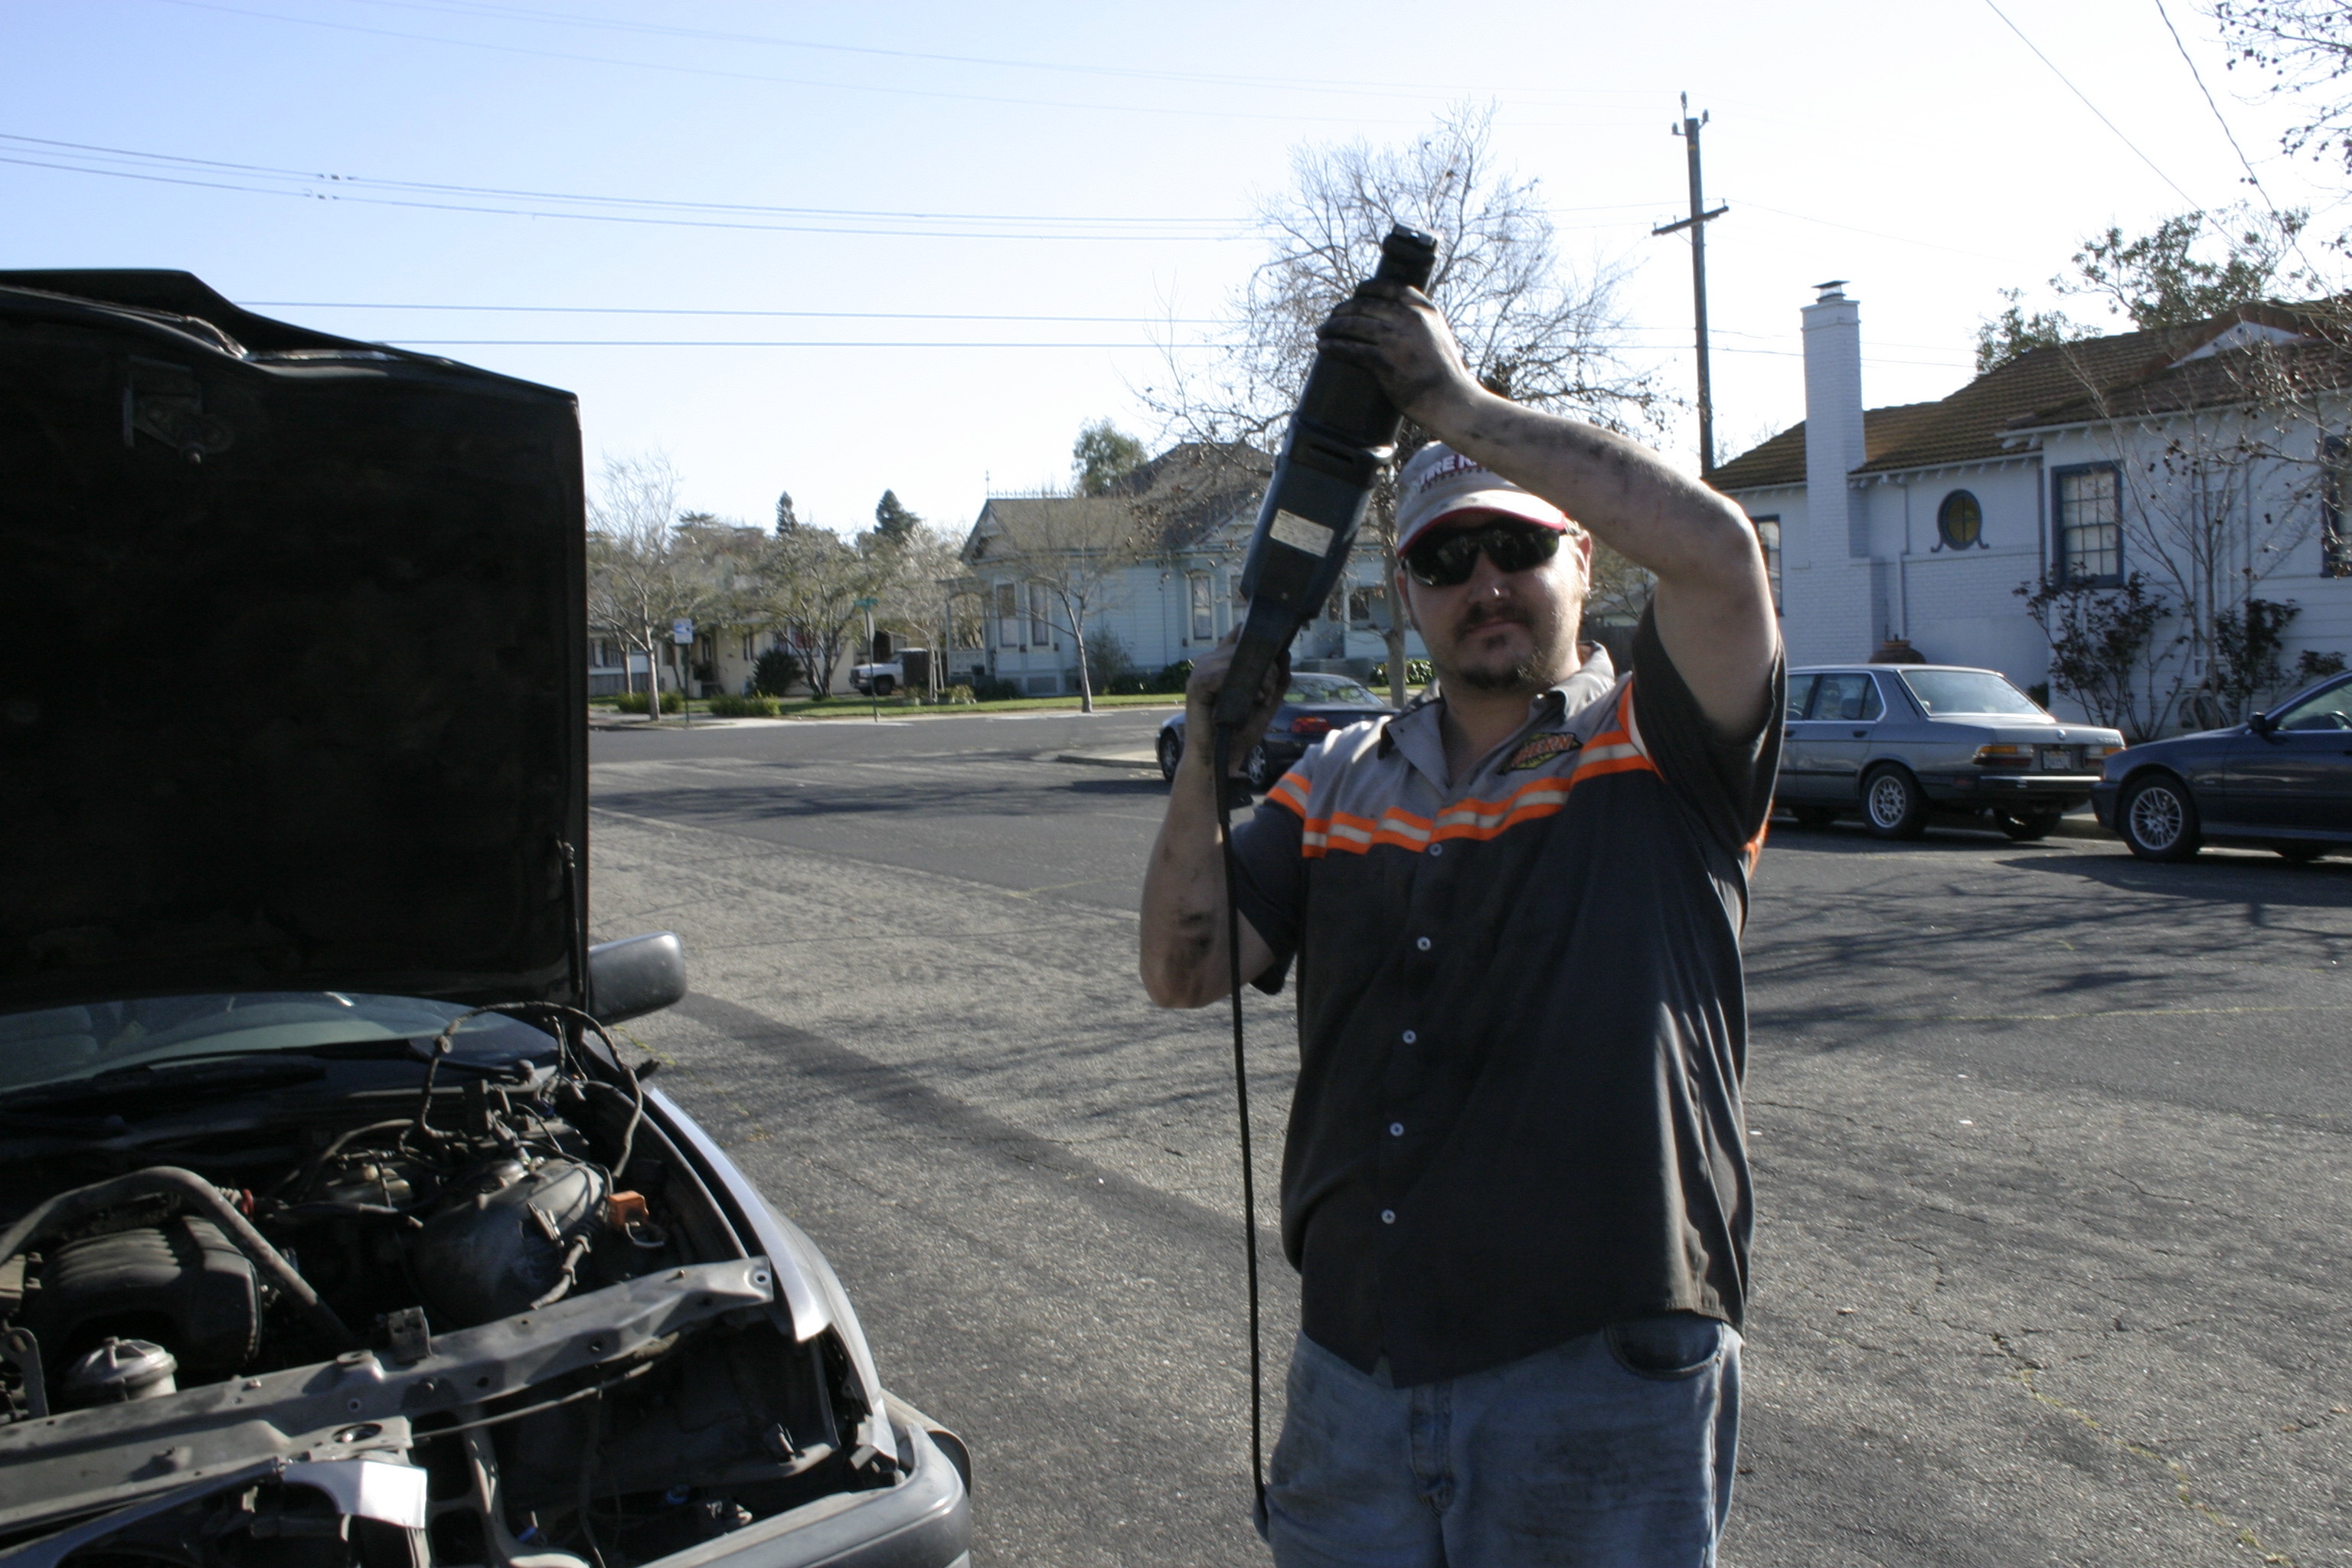
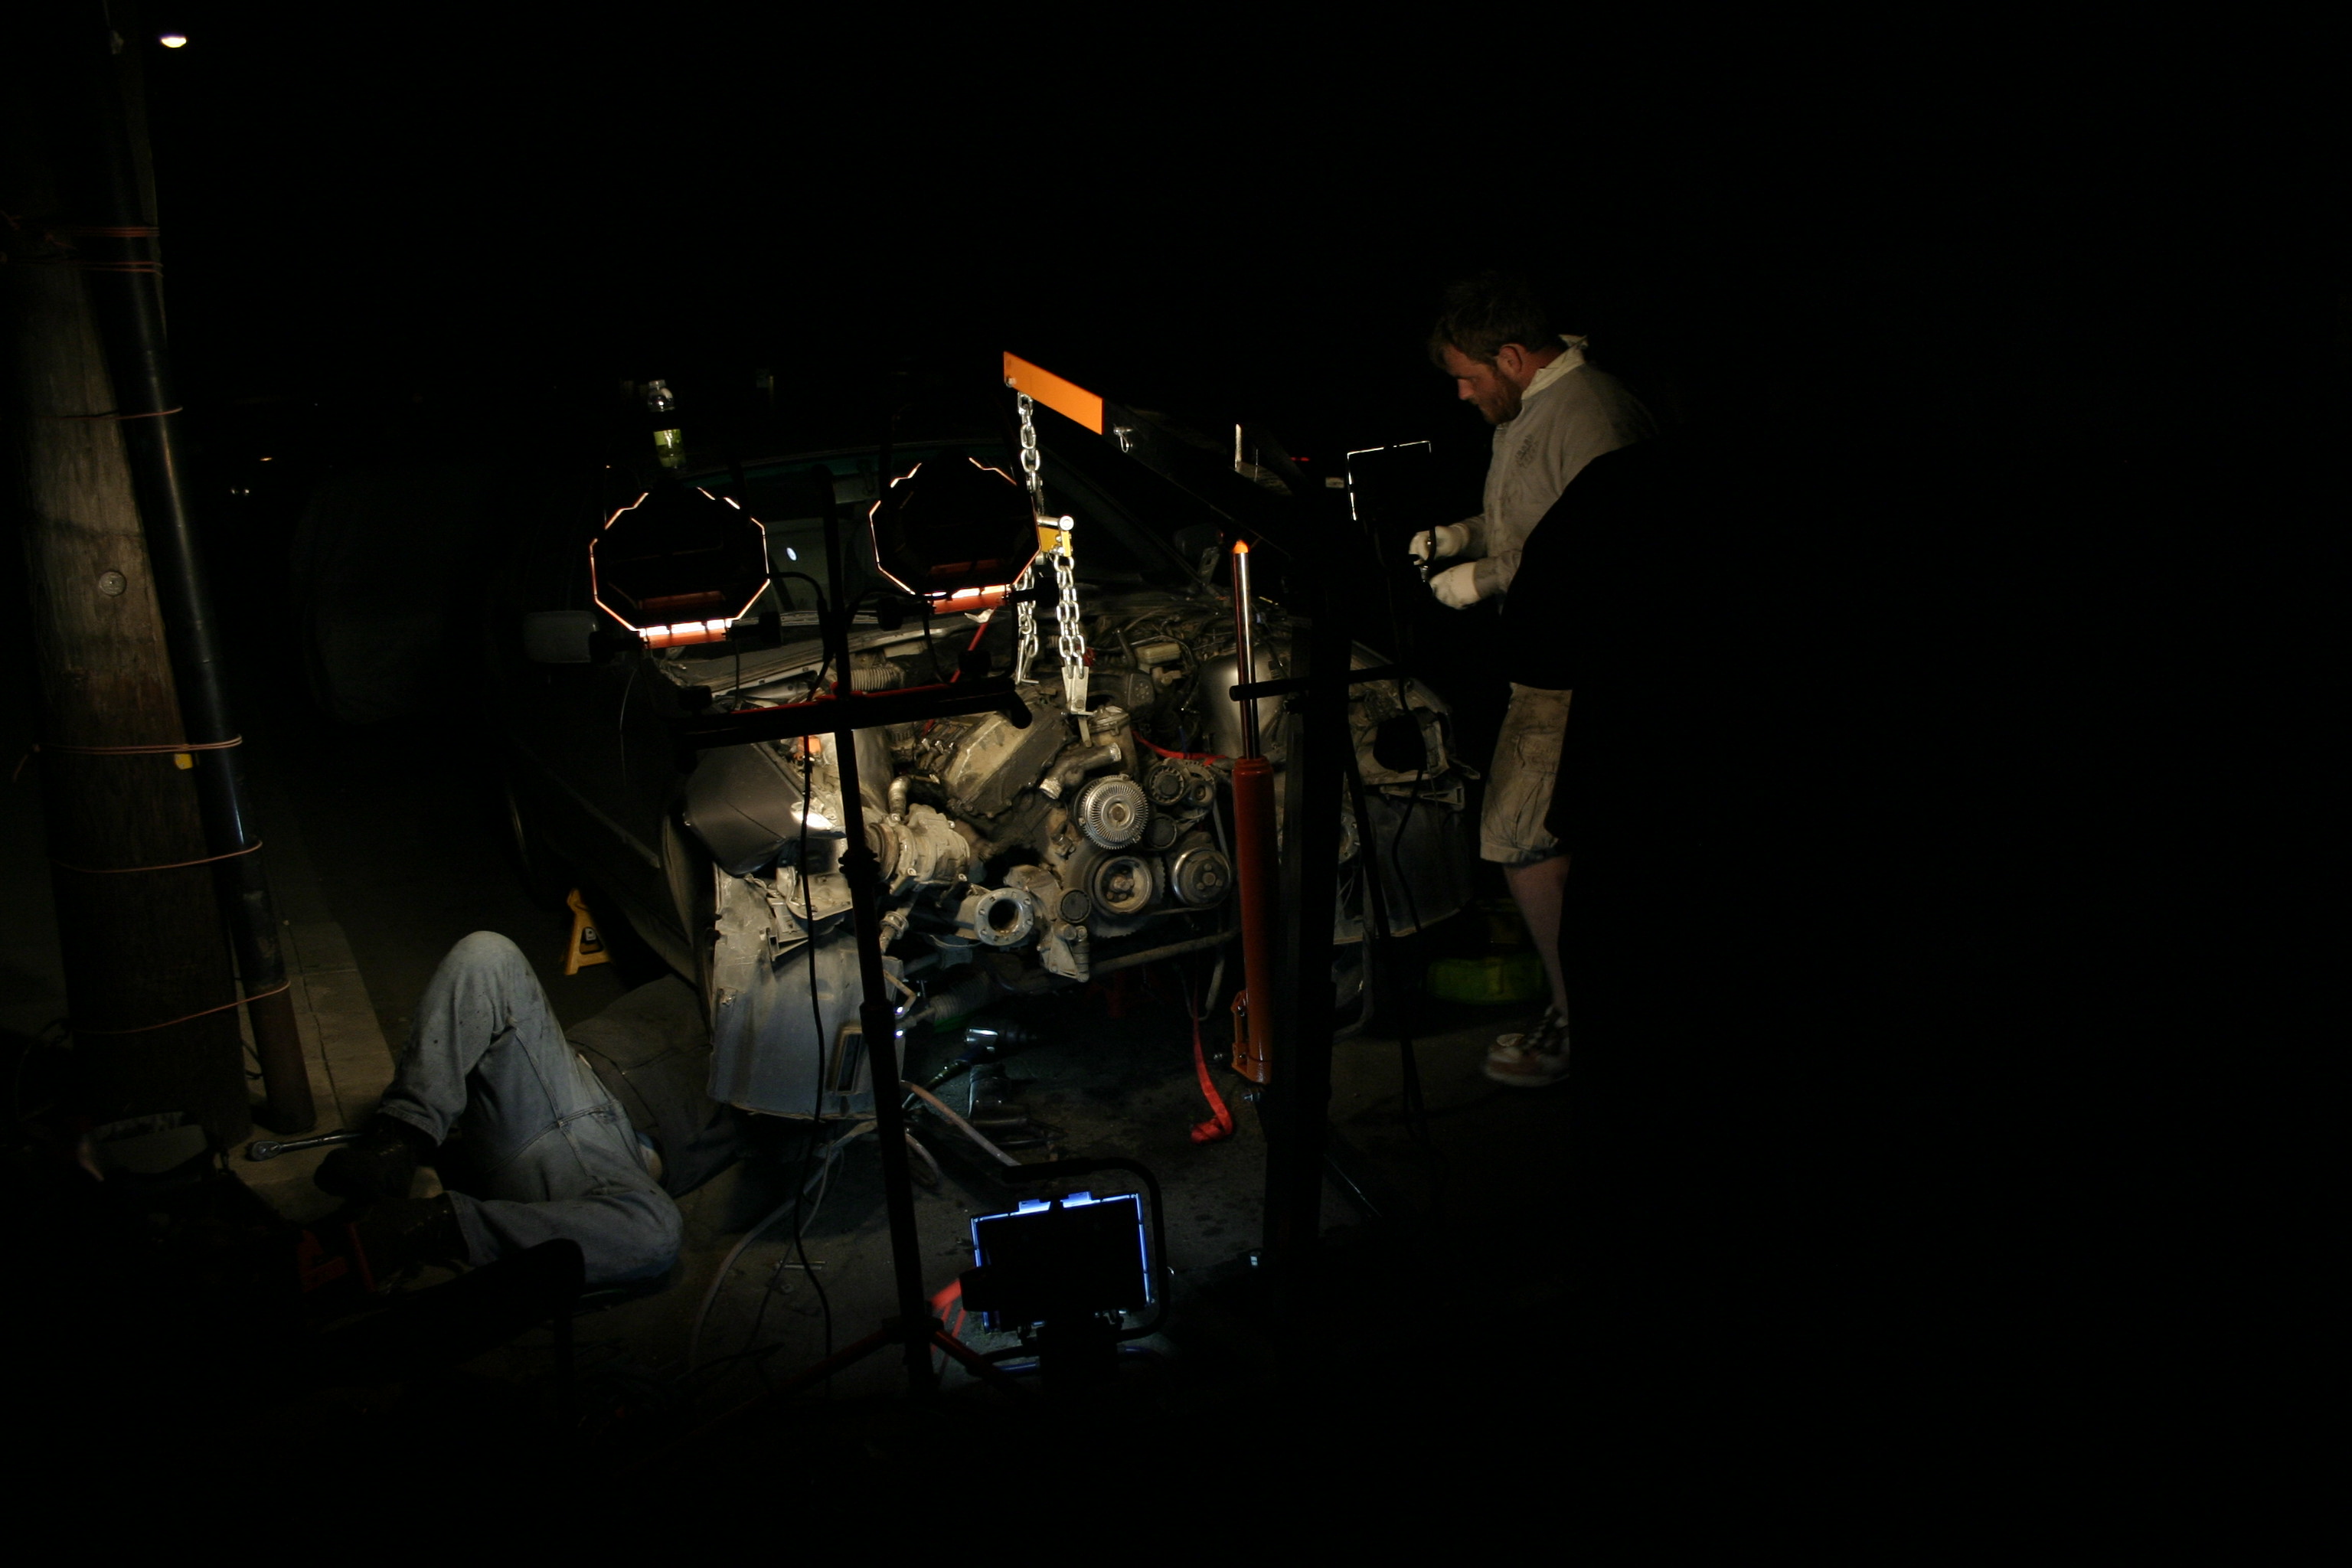
Once the e28 was divested of it's useless hunk of ancient iron, we turned our impact guns on the e36. After much toil and trouble and dismantling of the entire front end of the e36, we were left with a single rounded off exhaust manifold bolt keeping the engine and transmission from being free. As it was 1am and we had all been working all day, we packed up and called it a night. Much thanks to Jay3 for his tireless efforts (and his tired ones as well).
Jay knows how to party
Considering our plan of attack
Late shift
Day 2
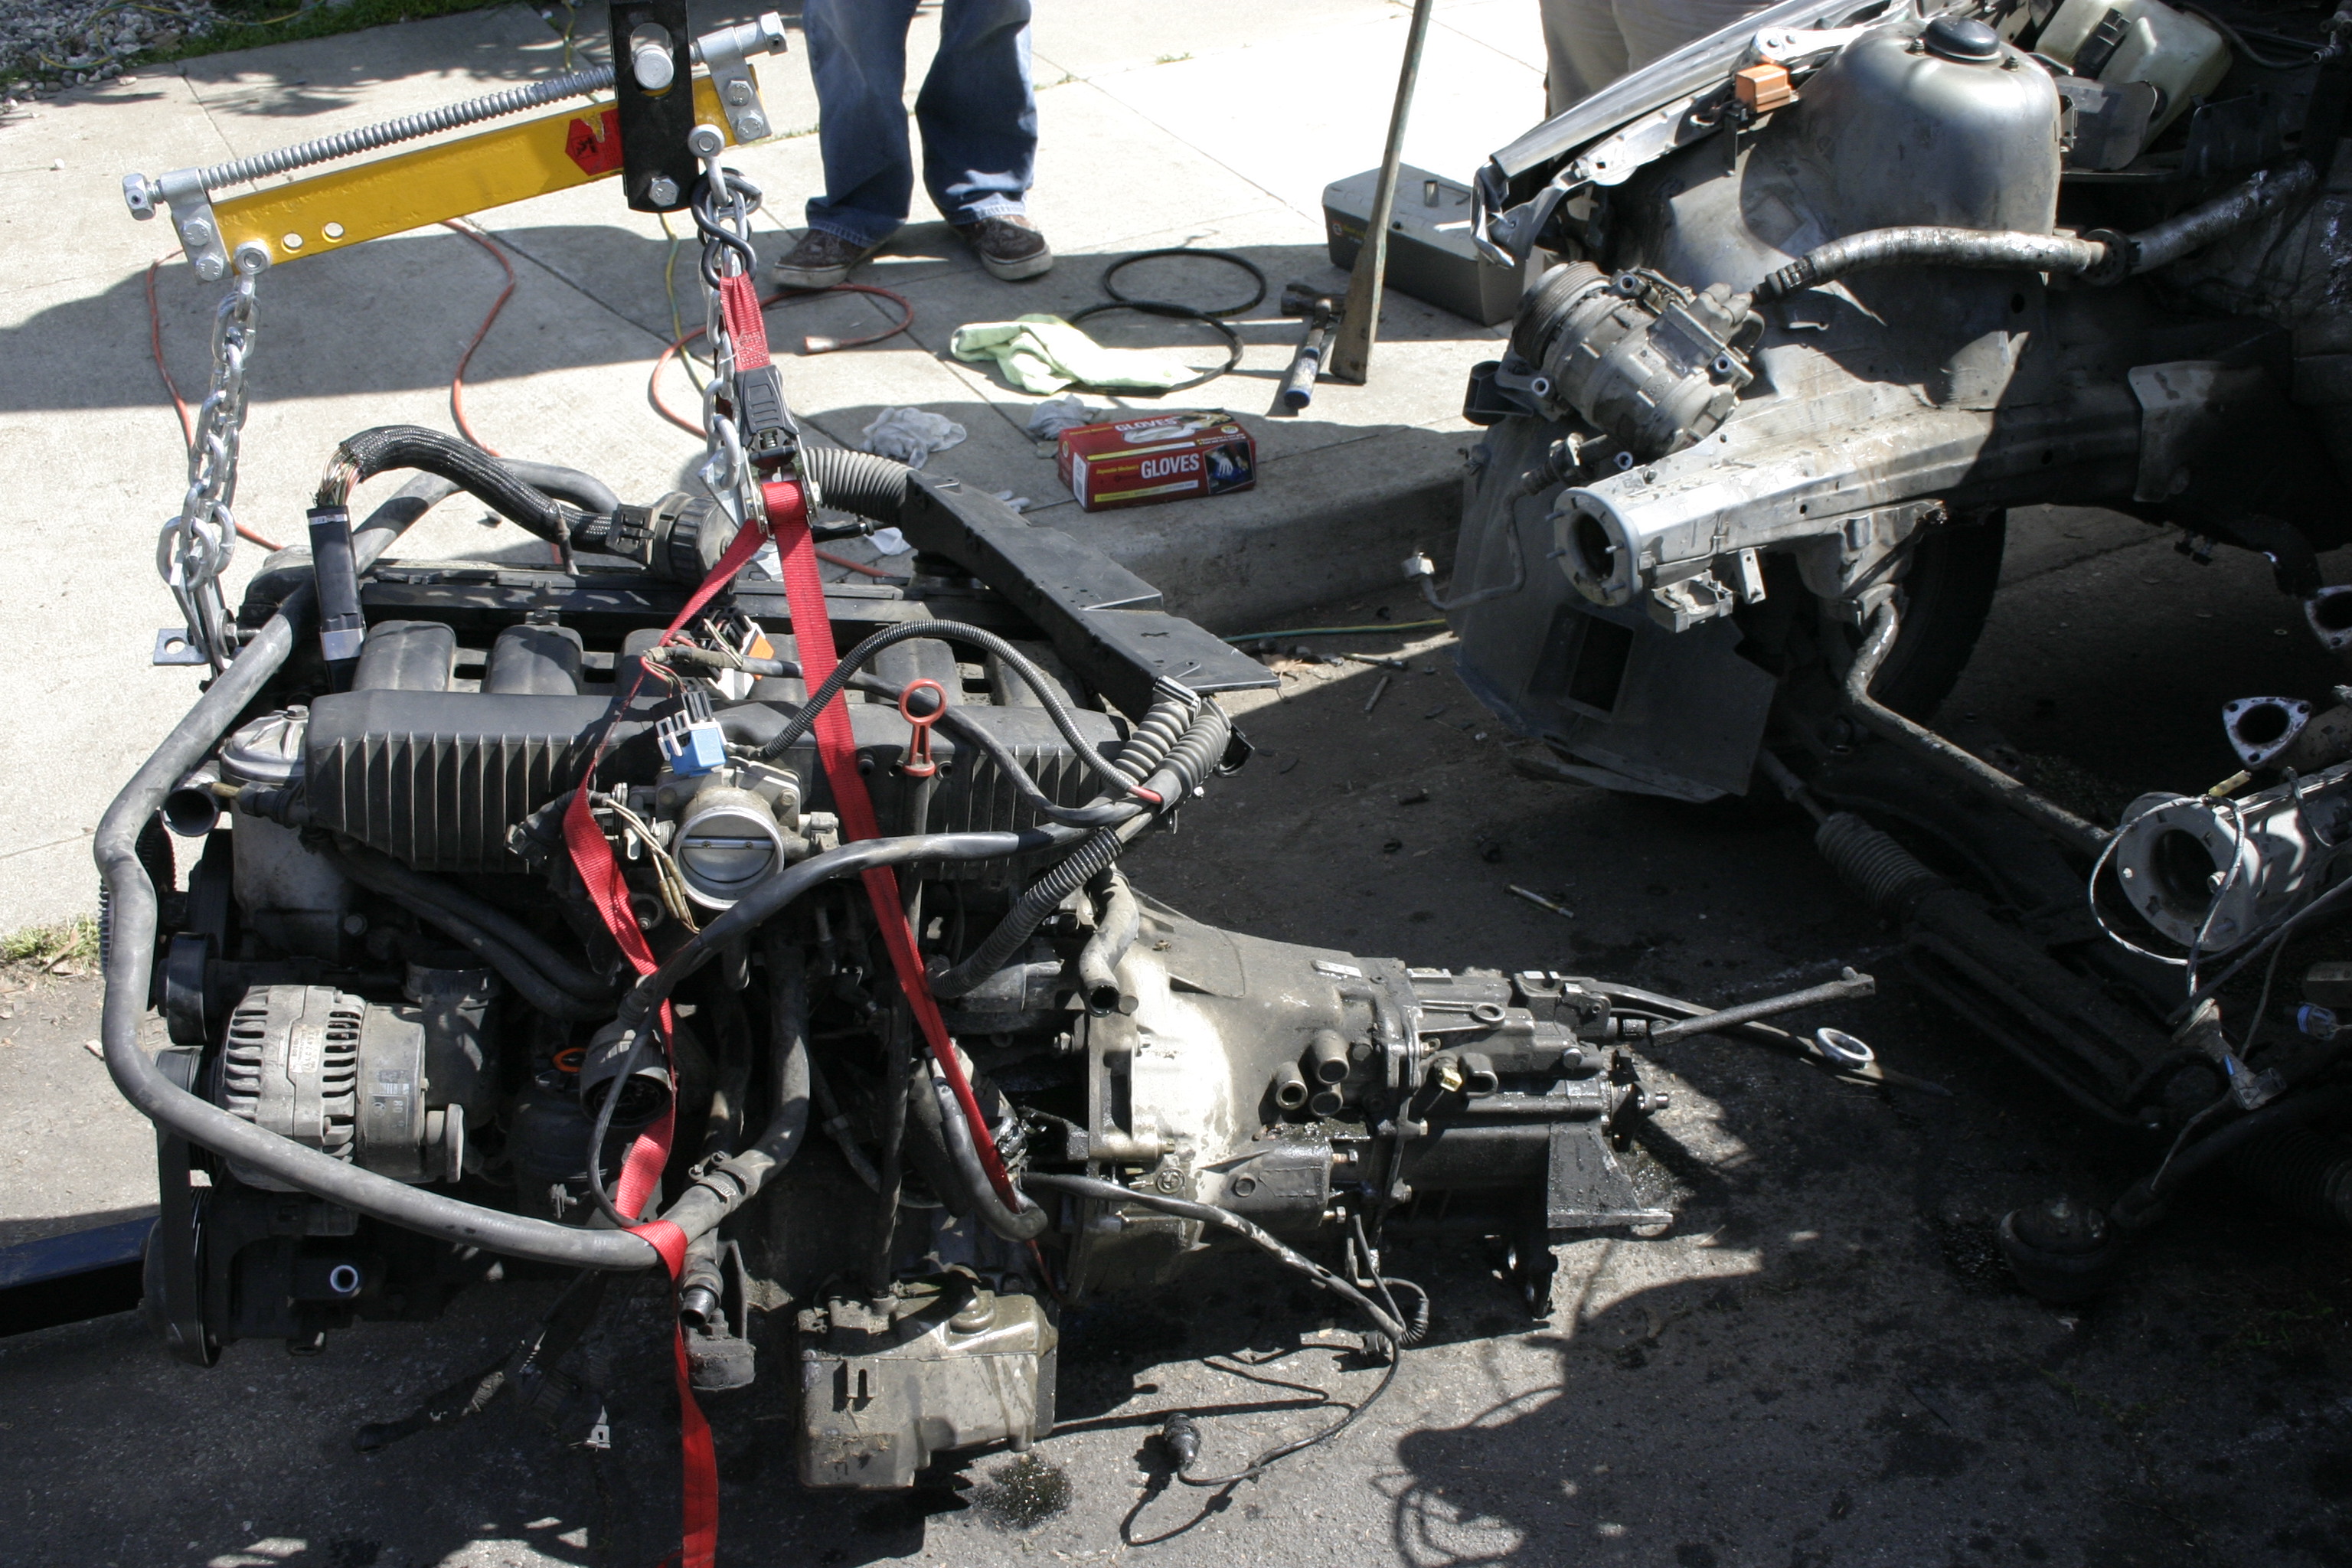
Monday started with my brother Sterling and I continuing to try to remove the m50 from it's former home. Thanks to the lending of a dremel by my neighbor Jeff we were able to cut off the erstwhile bolt and remove the engine. The valve cover gasket had apparently been leaking severely and the passenger side of the engine was liberally lubricated, as was the baked on crud on the valve cover and transmission.
Yum, M50
The next step was to replace the rear sump e36 oilpan with the front sump oilpan from an e34 m50 car so the engine fits in properly. Since we didn't have an engine stand or a sturdy enough table, the bed of my F-150 served as a decent place to set the engine. We lay it down on the exhaust side and removed the e36 oilpan and pickup. In order to install the e34 oilpan it's necessary to bend/cut the rear oil pickup support or unbolt one main bearing to remove the entire bracket. Once the pickup was changed and new gasket installed, my brother and I got the distinct pleasure of scraping the old gasket off of the bottom of the engine. The new oil pan installed, we lifted the engine back into it's wheelbarrow for storage for the evening.
I don't have a lot of pictures at this point, as I started getting more concerned with working, and I was far too dirty to grab a camera.
Day 3
Tuesday the engine went in. The bolts for the A/C compressor fittings on the e36 had stripped, so it was already removed but I found that I needed to remove the entire belt tensioner assembly for the the car as well. It was a tight fit, but we managed to get the engine and transmission in together. Much thanks to Cris Padagas at Aftermarket Distributing Inc. for supplying many of the parts for this swap same day or the day after as well as lending me his load leveler.
I used motor mount arms from an e34 525i. The e34 has an almost identical suspension setup, including the steering box location and the motor mounts position the engine almost perfectly in the bay. The e28 engine bay is not as a deep as the e34s, and when I went to line up the engine mounts, I wasn't able to position the engine far enough back without it running into the firewall.
I had a couple of 3 or 4" pieces of heavy steel bar left over from when I made adapters to fit e36 seats into my car that ended up being perfect for spacing the engine further forward a few inches. I drilled a hole in each end bolted one end to the forward-most engine mount hole and the other end lined up with the engine mount arm and the e34 525i engine mount bolted to it. With the engine bolted up, I crawled underneath the car to see what the transmission situation looked like. Much to my delight, my g260 manual transmission crossmember and transmission mounts bolted right up with the posts slid a wee bit more forward, to match the change in the engine mount position
That done, we decided to break for the day, and continue again in the morning.
Day 4 and on
After the first three days, my memory blurs together, as I didn't make notes or take too many pictures. With the engine in and mounted up, the process of figuring out the wiring began. Thanks to all the work of the DOHC swap guys on r3vlimited I was able to get a pinout of the engine side connector of my non vanos M50. Thanks to the work of TurboDan and BBR here on the board, a pinout of the fusebox connector was obtained and I started trying to understand which wire went where and why. I clipped the body side connector from a junkyard e36 325i and the engine side connector from an e28 in order to make an adapter. Below is my chart of what wiring worked for me.
e36 pinout
Pin 1
Pin 2
Pin 3 Red/White ABS Control Unit
Pin 4 Black/Blue DME Control AC Compressor Relay
Pin 5 Black/Green DME Control Unit From AC Compressor
Pin 6 Violet/Green DME Pin #10 AC System
Pin 7 Black/Violet OBC (Unknown Page 97)
Pin 8 Grey Check Engine Light
Pin 9
Pin 10 Blue/Yellow Oil Level Sensor (Dynamic) C101 Pin 13 Blue/White
Pin 11
Pin 12 Brown/Violet Coolant Temp Sender C101 Pin 4 Brown/White (Connect for Temperature Gauge)
Pin 13 Green/Violet Fuel Pump Relay C101 Pin 7 & 17 Green/Violet
Pin 14 Black/White Speedo Signal (OBC) OBC BR/RD Vehicle Speed Sensor
Pin 15 Black/Green Starter Unloader Relay C101 Pin 8 Black/Yellow
Pin 16 White/Yellow Oil Level Static (Data Link Connector RX) C101 Pin 2 Blue/Violet(Red)
Pin 17 White/Violet
Pin 18 Black/Yellow Voltage While Starting C101 Pin 8 Black/Yellow
Pin 19 White/Green Diagnostic Connector
Pin 20 White/Violet(Black) Engine Speed (Data Link Connector TX) C103 Pin 1 Black
Pin 21 Green Ignition Switch (Engine Control System DME M3.1) C101 Pin 12 Green (Power to DME doofus)
Pin 22 Green/White O2 Sensor, Heater Relay C101 Pin 6 Green/Yellow
Pin 23 Brown/Green Oil Pressure C101 Pin 14 Brown/Green
Pin 24 White/Black Fuel Rate (Fuel Consumption can route to OBC) C103 Pin 3 White/Black
Pin 25 Blue Alternator Charge C101 Pin 1 Blue
Battery and Air Intake
Before I was able to see if I could even manage to get my newly-installed engine to start, I had to work on power, fuel and the cooling system, among other things. I used the e36 air filter assembly as it was what I had on hand and while positioning it, I saw that with the air filter and the charcoal canister needing to be positioned in the same area, I decided to relocate my battery. This was easy for me as my 12/84 production eta did not come with ABS so I had a large cavity on the other side of the engine bay and with the e36's power distribution block on that side of the engine bay, I reused my positive battery line from my m20 harness and ran that up to the e36's power distribution block on the engine harness. I bolted my ground cable to the former bolt hole for my now unnecessary coil.
ECU Location
With that done, I began locating the ECU. The e36 harness positions the ECU in a small pocket in the passenger side corner of the firewall. This is roughly analogous to the location in a stock e28, and with a little trimming to widen the hole for the ecu plug, it fit right in.
Cooling System
The cooling system took me a little while to figure out, but my solution is this: The late e30 318i/e36 318i radiator has a built in expansion tank. This means you don't have to try to locate the coolant reservoir where it won't interfere with the PS reservoir and intake+maf or run the reservoir line all the way to the other side of the engine between the radiator and the front of the engine itself.
Driveshaft
My 528e has a driveshaft with m10 bolt holes while the Getrag 250 from the 325i has an output flange in the same pattern with an m12 bolt hole size. I used a 31/64 drill bit (close enough to m12 for me) and bored out the holes on the driveshaft to match the output flange. Using the 325i guibo and bolts, everything matches right up. There is no need to shorten or lengthen the driveshaft with a Getrag 250.
Alternate solution:
If you have a 30mm thinwall socket, you can remove the output flange from a 528e getrag 260/5 and swap it onto the getrag 250. Another option is the driveshaft from a 5/86 production(according to realoem) or later manual 528e, as this has the appropriate m12 boltholes.
Shift Console
I had the earlier sheet metal console in my car originally, so in order to fit the later aluminum console style shifter, I unbolted the rear mount for the sheet metal console and replaced it with the rear mount from an aluminum console car (in my case, a 1988 325is in the yard). I reused all the aluminum console parts from the e36 with no issues. I also installed a 330xi shifter at this time.
m50b25 swap into a 528e completed (Update 5-9)
m50b25 swap into a 528e completed (Update 5-9)
Last edited by derrith on May 12, 2009 3:33 AM, edited 6 times in total.


 great job!
-
Tammer in Philly
- Posts: 10719
- Joined: Feb 12, 2006
- Location: CHI, IL
Just remember, if an M50 fits, then an S52 with OBD1 swap fits, too.ElGuappo wrote:Its the bees knees ya'all....
There have been many issues to be certain, but Logan has done a tremendous job of working thru what has been pretty much untrodden ground.
Mine is next....I have my m50 sitting there, waiting... 8)
-tammer


In The Peoples Republik of Kalifornia we don't get to just turbo whatever we want...its not like it actually matters what comes out the tail pipe...its about if it was in the engine bay when it was new....grumble grumle....
We have to work around the system, like finding 524td chassis and putting m30 turbos in them...for example...
We have to work around the system, like finding 524td chassis and putting m30 turbos in them...for example...
Sounds great so far!!
I know how this stuff goes, all the little details get left out of the story, but it rarely goes smoothly. Glad to hear that she's running right!
Edit: Great idea with the rear end of the E28 jacked up to get the engine out... It always seems that the engine hoist just won't go that one little bit high enough to get out of the engine bay...
I know how this stuff goes, all the little details get left out of the story, but it rarely goes smoothly. Glad to hear that she's running right!
Edit: Great idea with the rear end of the E28 jacked up to get the engine out... It always seems that the engine hoist just won't go that one little bit high enough to get out of the engine bay...
 Good luck with the new powerplant .
 While I have my doubts about a lot of new cars in a lot of ways, not everything is bad, and the M50 is a sweet engine in a E39, it pulls about as hard with a slushbox as my 535 with a 5 speed. Nice choice for a conversion.
-
Kyle in NO
- Posts: 17638
- Joined: Feb 12, 2006
- Location: Nasty Orleans------> Batten-Rooehjch------>More Souther LA

-
Bimmerguy2002
- Posts: 11975
- Joined: Oct 03, 2007
- Location: Lodi, California

-
Kyle in NO
- Posts: 17638
- Joined: Feb 12, 2006
- Location: Nasty Orleans------> Batten-Rooehjch------>More Souther LA
-
under the radar
- Posts: 581
- Joined: Feb 23, 2009
- Location: Half Moon Bay, CA
 (STANDING OVATION) awesome!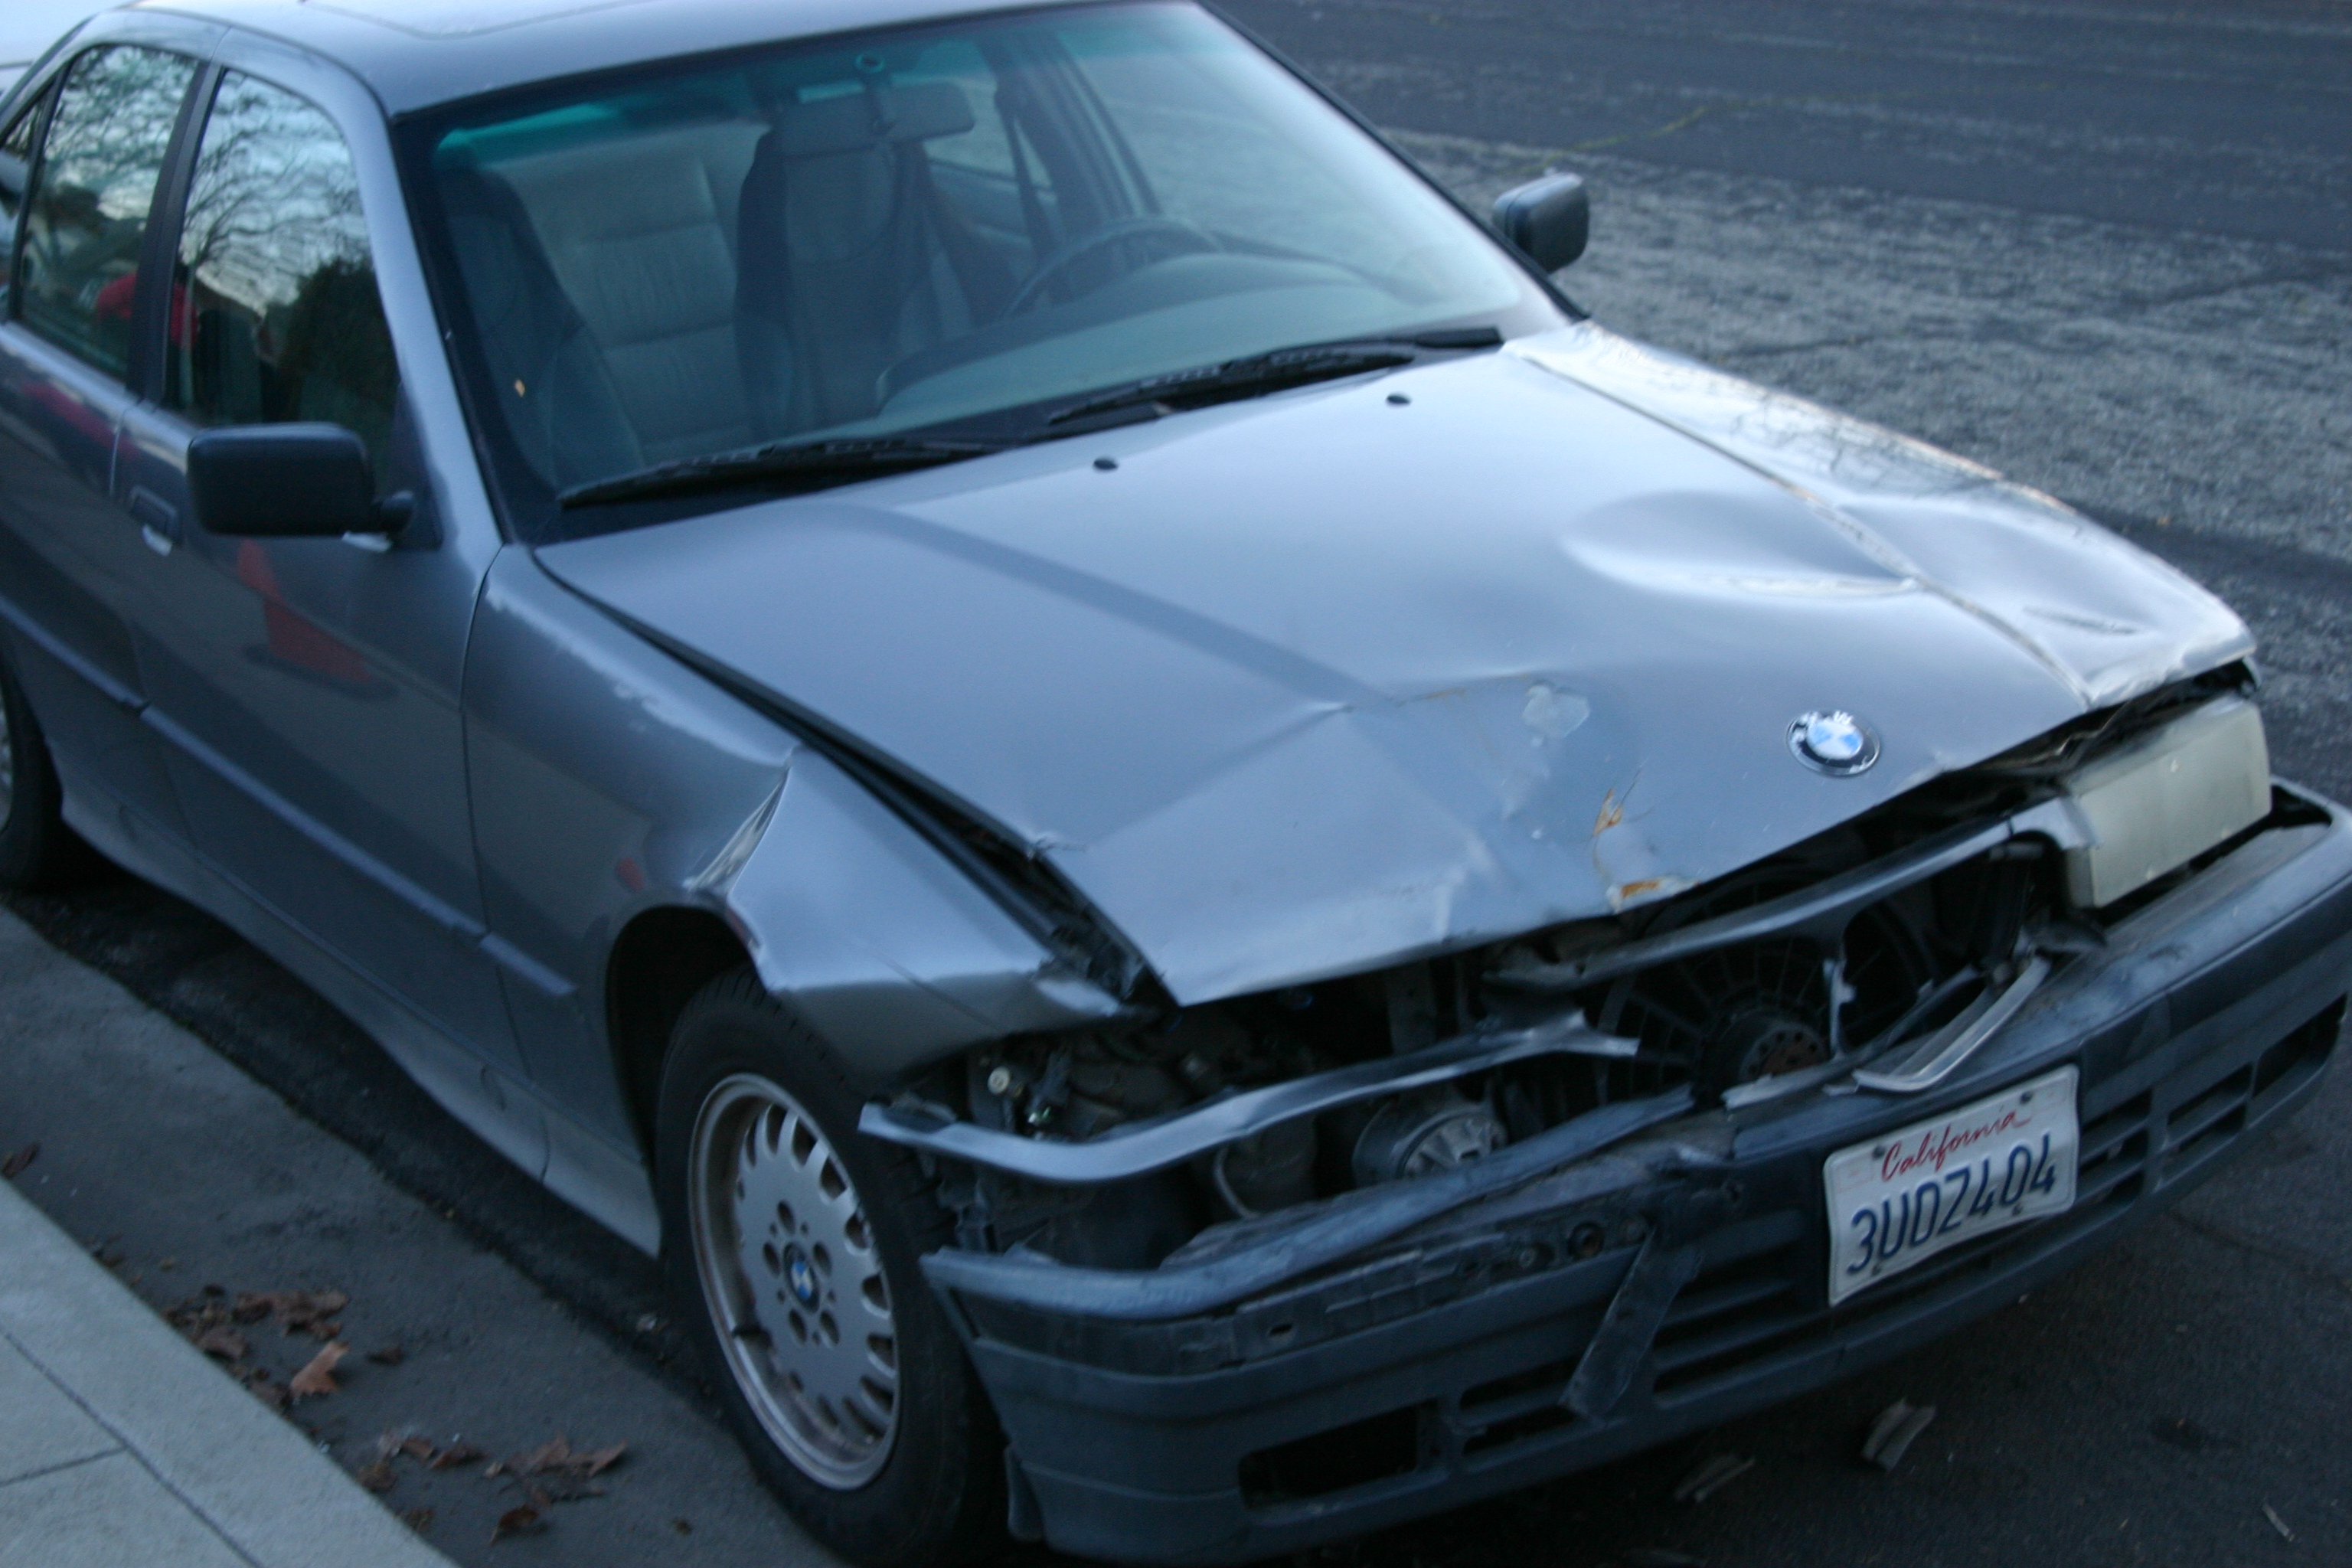


-
maximapitko
- Posts: 168
- Joined: Mar 21, 2007
- Location: Minneapolis,MN
I live in a quiet town in a quiet neighborhood with very wide streets. My brother and I have been working on our cars for the past few years and have made friends with any neighbor who walks by, usually wondering what we're up to this time. The car was up in the air noticeably not working for a good 2 weeks and I was never hassled. I did have a cop roll by and ask me what I was doing and that I really shouldn't be pulling an engine in the street because he was concerned about fluids spilling, but while it was already out of the car on the engine hoist, what was I doing? It looked interesting.maximapitko wrote:I am surprised that the city officials didn't show up at your door with all this work on the street...
-
rlomba8204
- Posts: 4869
- Joined: Feb 12, 2006
- Location: Washington, DC