Page 1 of 6
Rally-x 528e build (caged, head swap, and more!)
Posted: Apr 24, 2013 9:51 AM
by 95maxrider
(This is a copy and paste job from the
original July 2012 posting on Maxima.org)
Quick reference guide to the thread:
325i 885 head swap- Page 1
Big sway bars- Bottom of 2
Milk crate and drifter for a day- Middle of 3
Broken motor mount arm- Bottom of 3
Recaro seats- 3-4
First race win- 4
Failed Bilsteins- 4
M20B25/325i single mass flywheel, E34 front BBK, and E34 rear shocks- 4
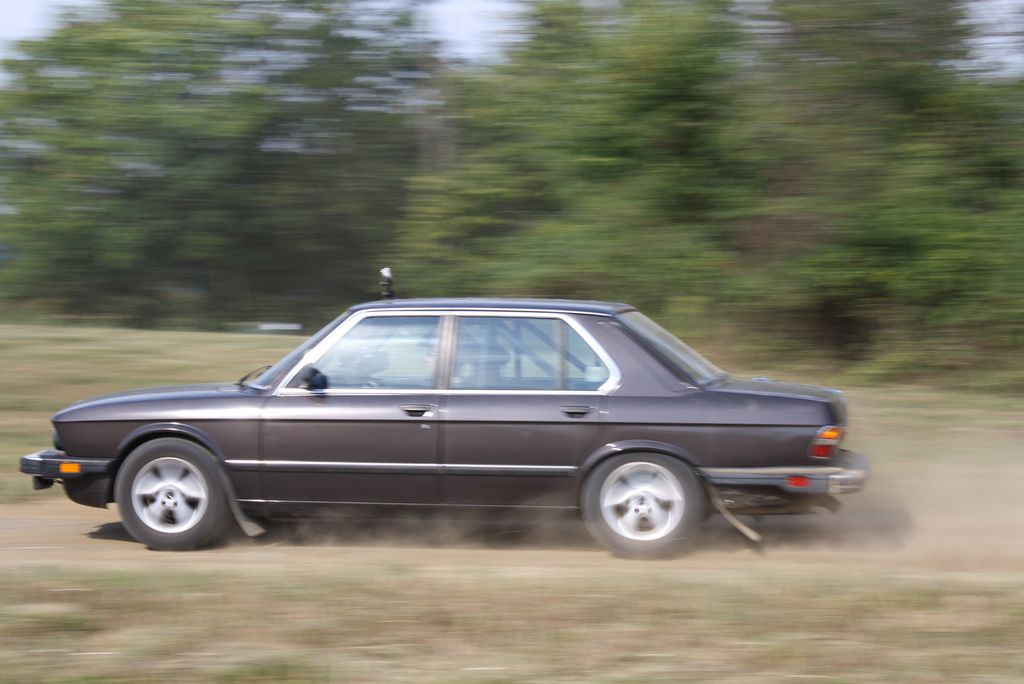
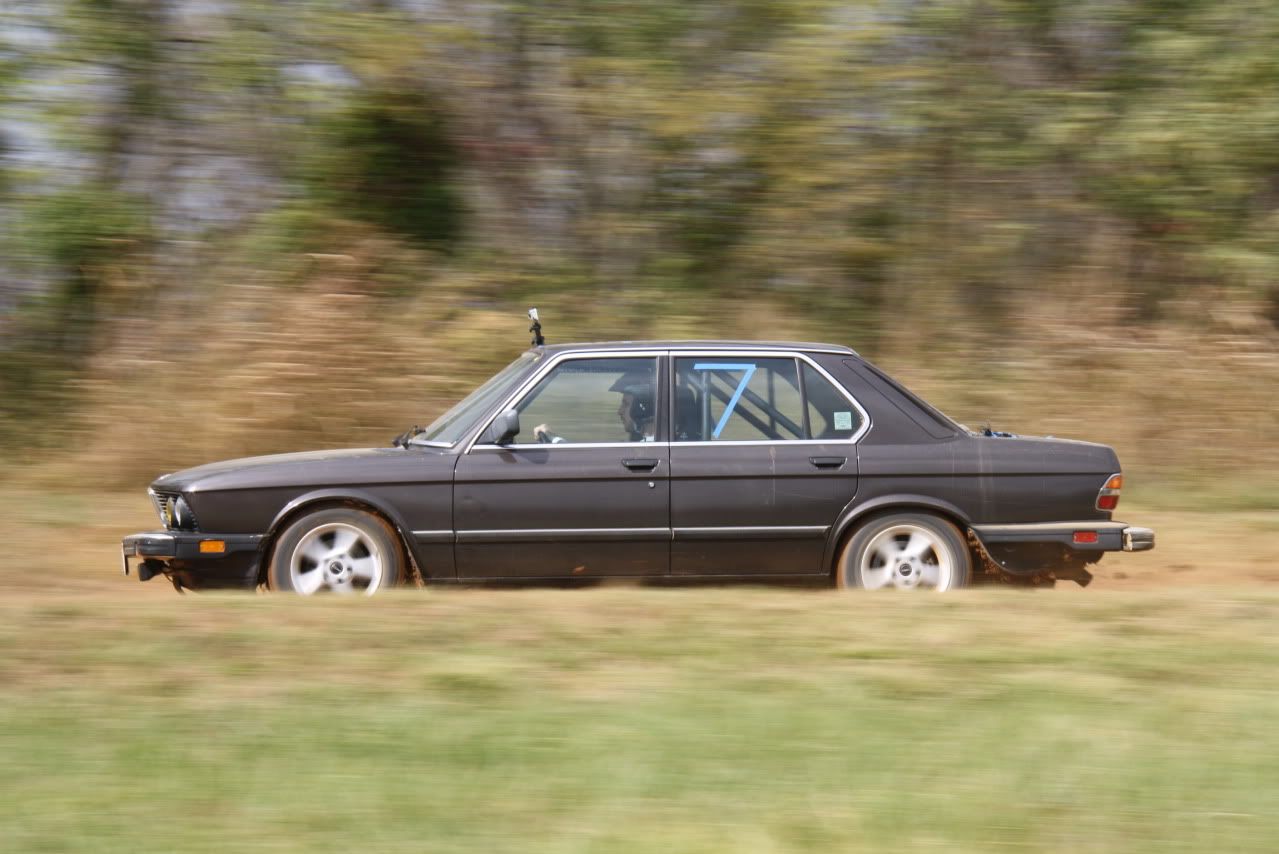
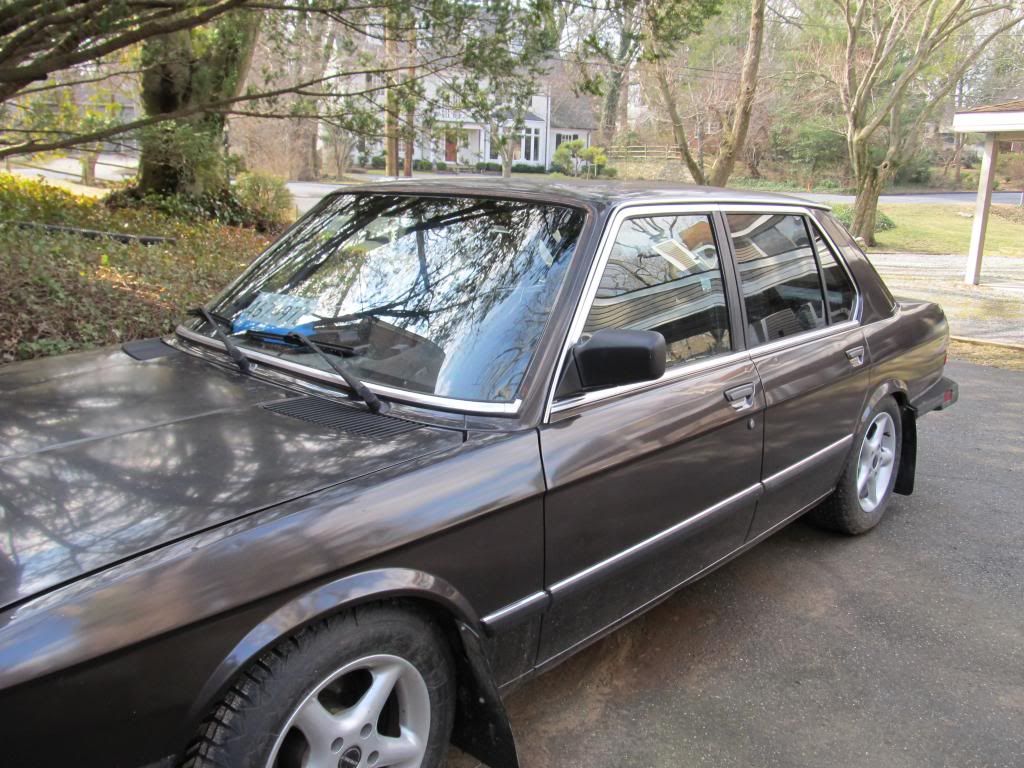
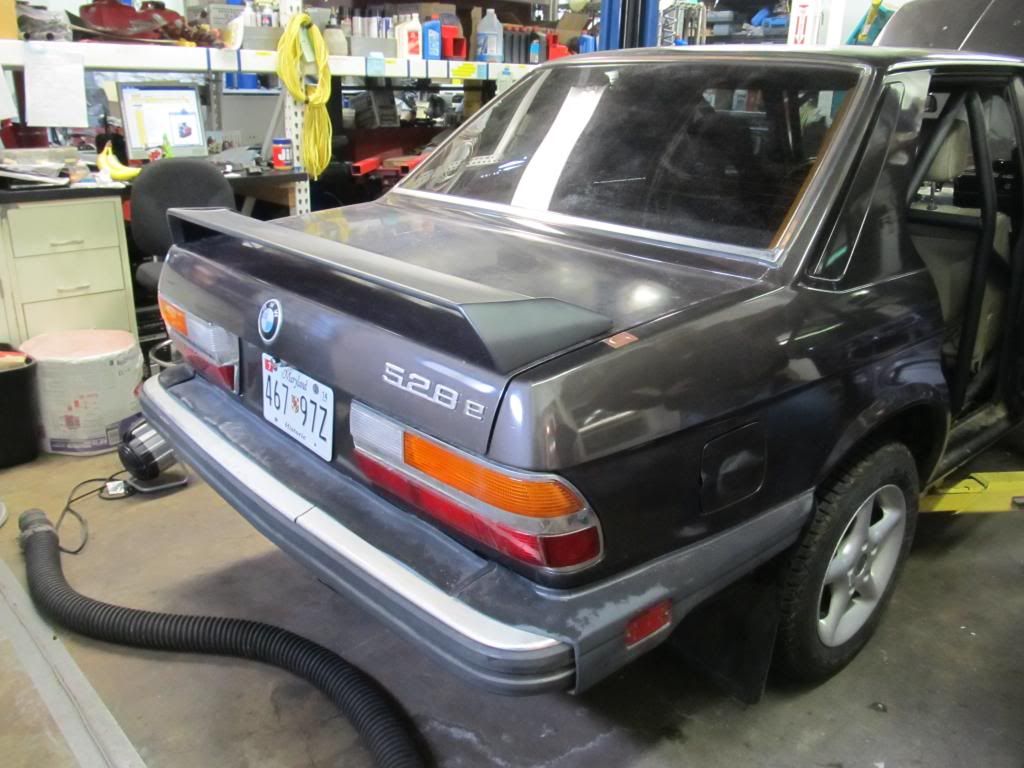
Well I finally graduated from Understeer University and have acquired a 1988 BMW 528e with the 2.7 ETA motor! I still have the I30 for DD and auto-x, but this car is going to get beat up at rally-x and hopefully Lemons. I went in on the car with a friend since we wanted a track car, but didn't feel the need to each own one. When this deal came up, it was too good to pass up. Let me elaborate.
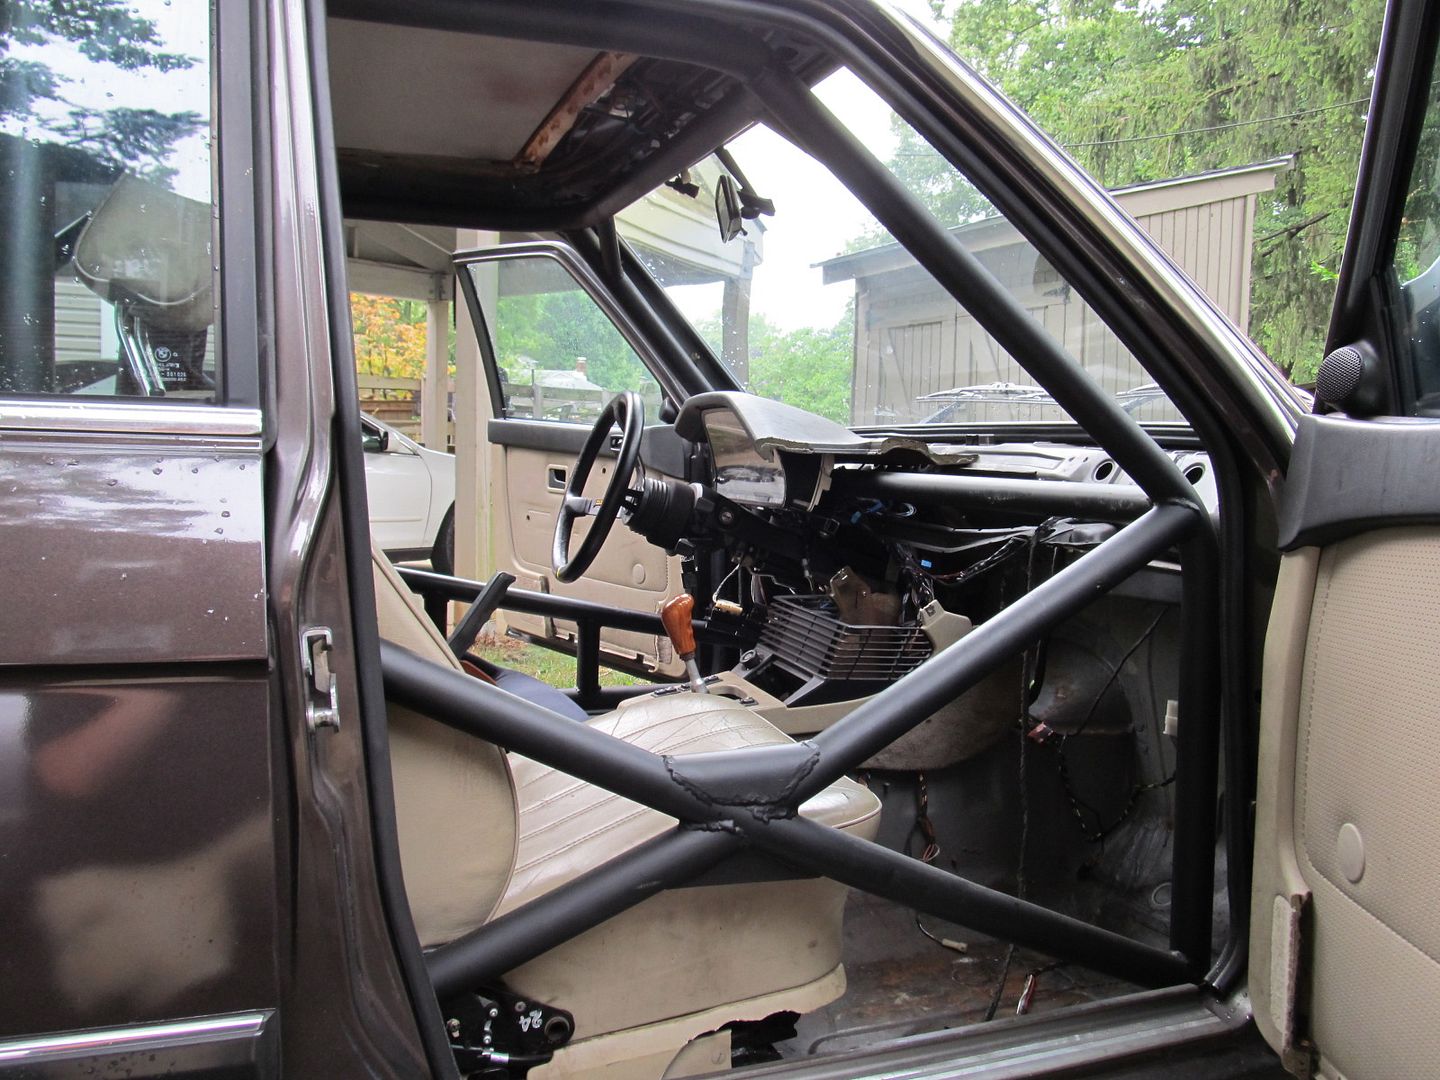
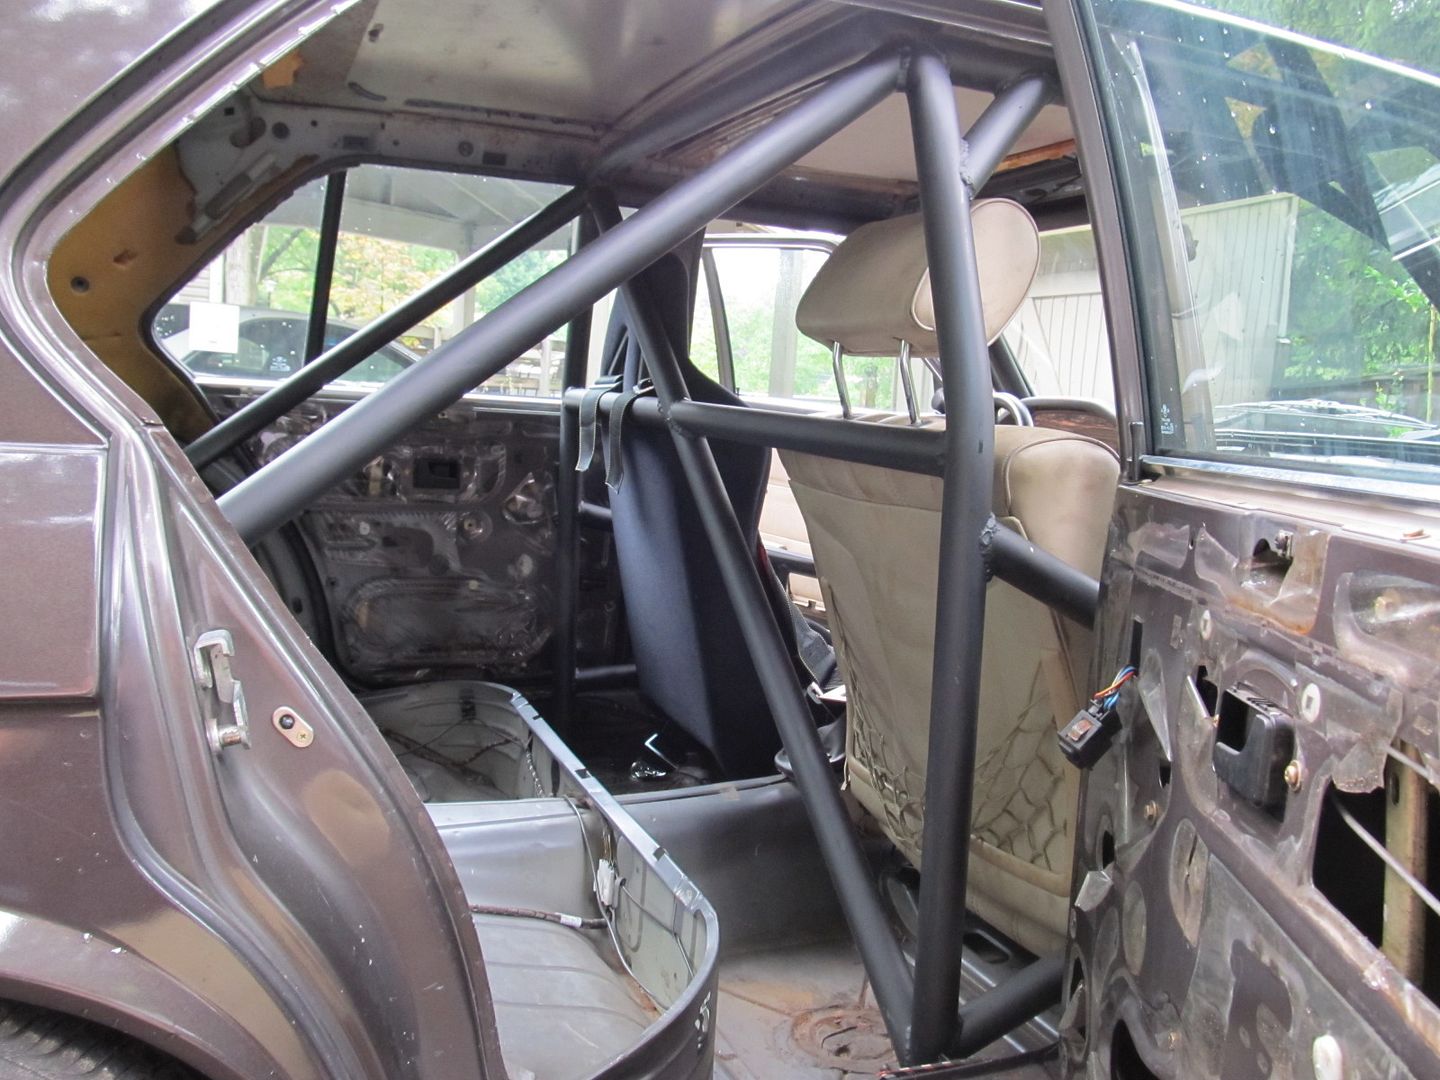
This car was actually already built to run in the 24 Hours of Lemons, but the previous owner needed to get rid of it quick, so we got it for a deal! The only things that need to be done for it to be ready for Lemons is to pad the roll cage around the driver and relocate the battery (kit included!). The car is poo brown and has 217k on it, but seems to run like a champ. Let's do a quick rundown on what is and is not in this car.
Already on the car:
Full custom roll cage
Bilsteins/lowering springs (can't remember the brand)
New front control arm-like things (again, can't remember name....maybe thrust arms?)
All new fluids
Momo racing seat with a harness
Momo steering wheel
3" exhaust after the headers
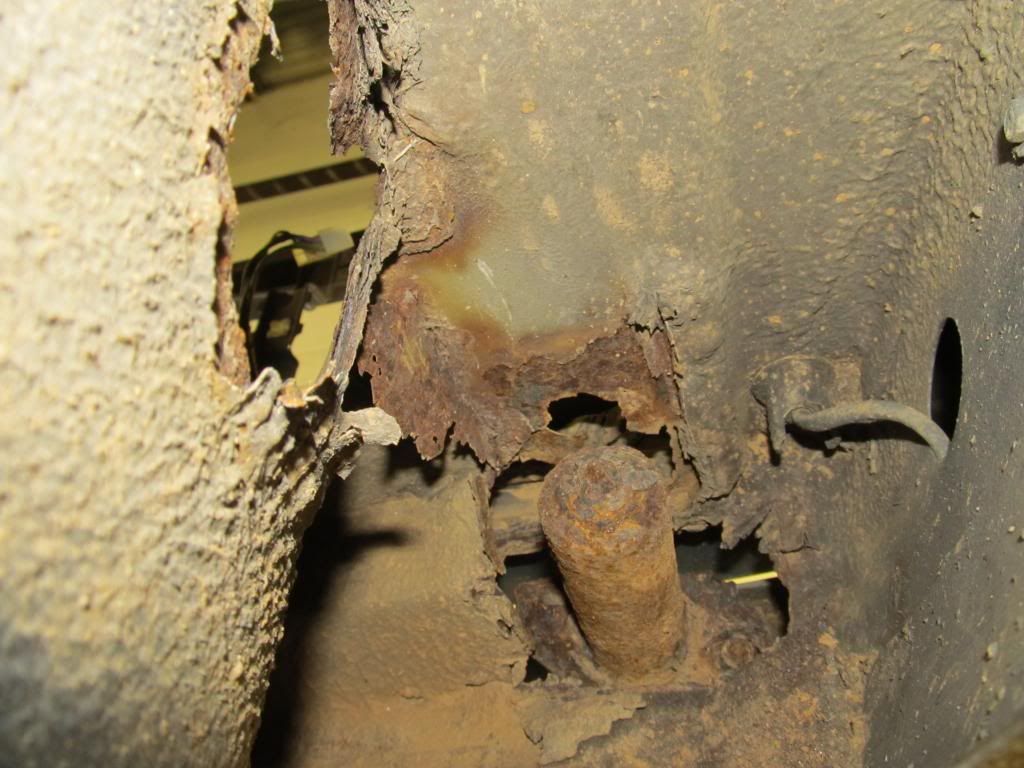
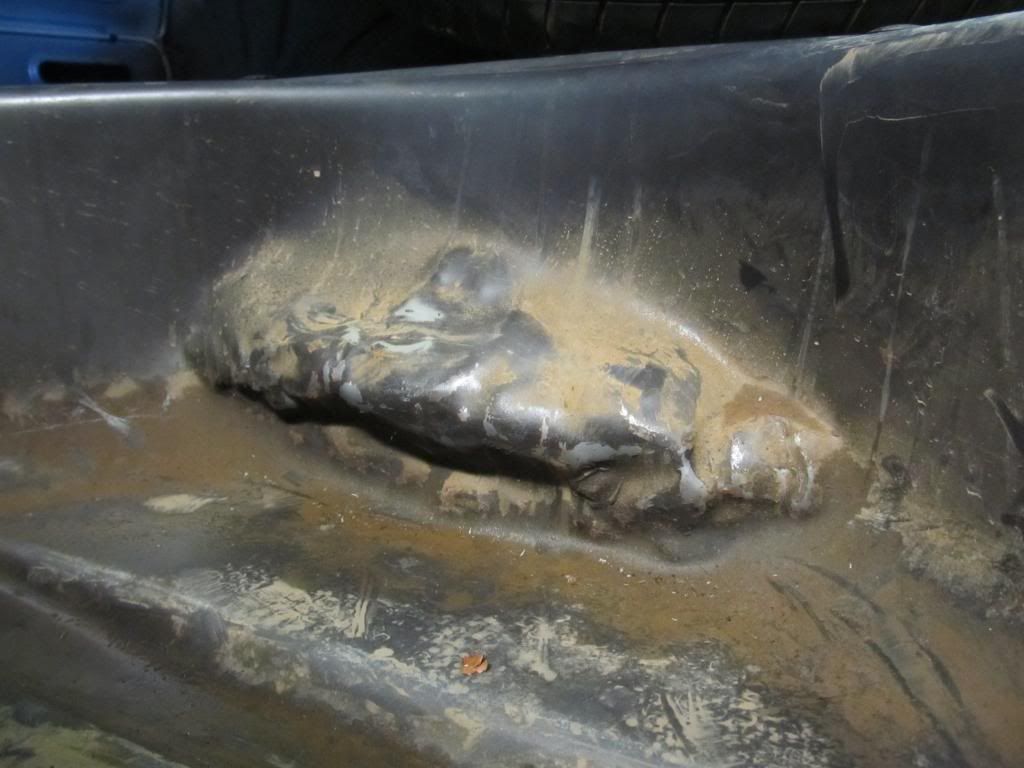
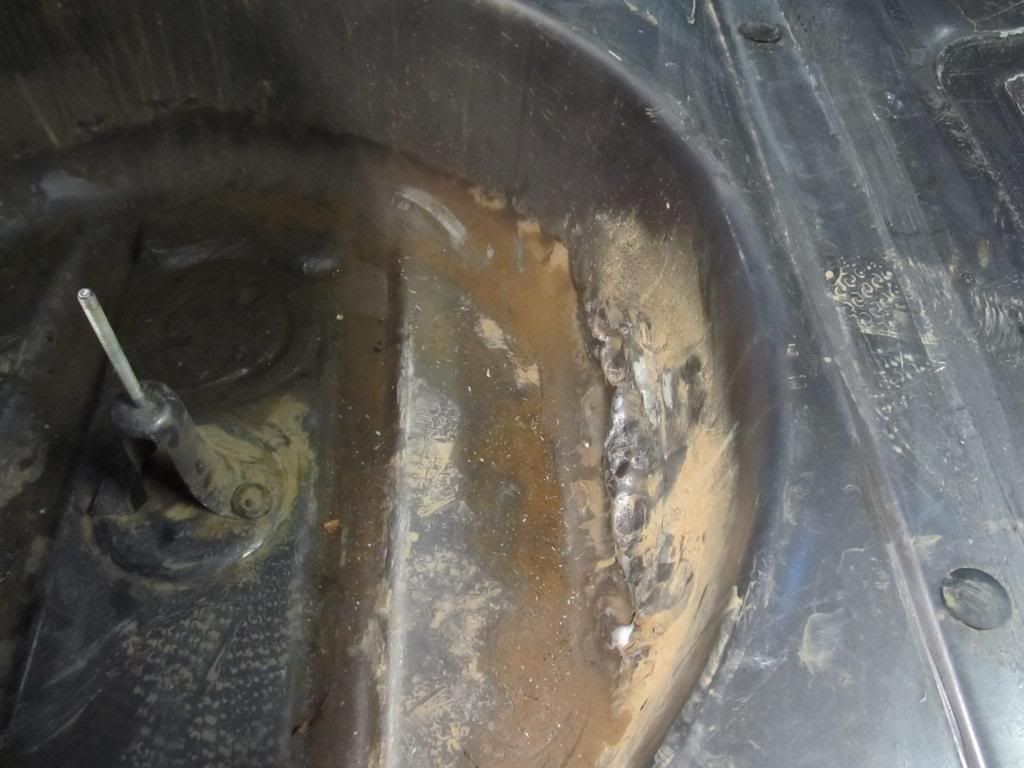
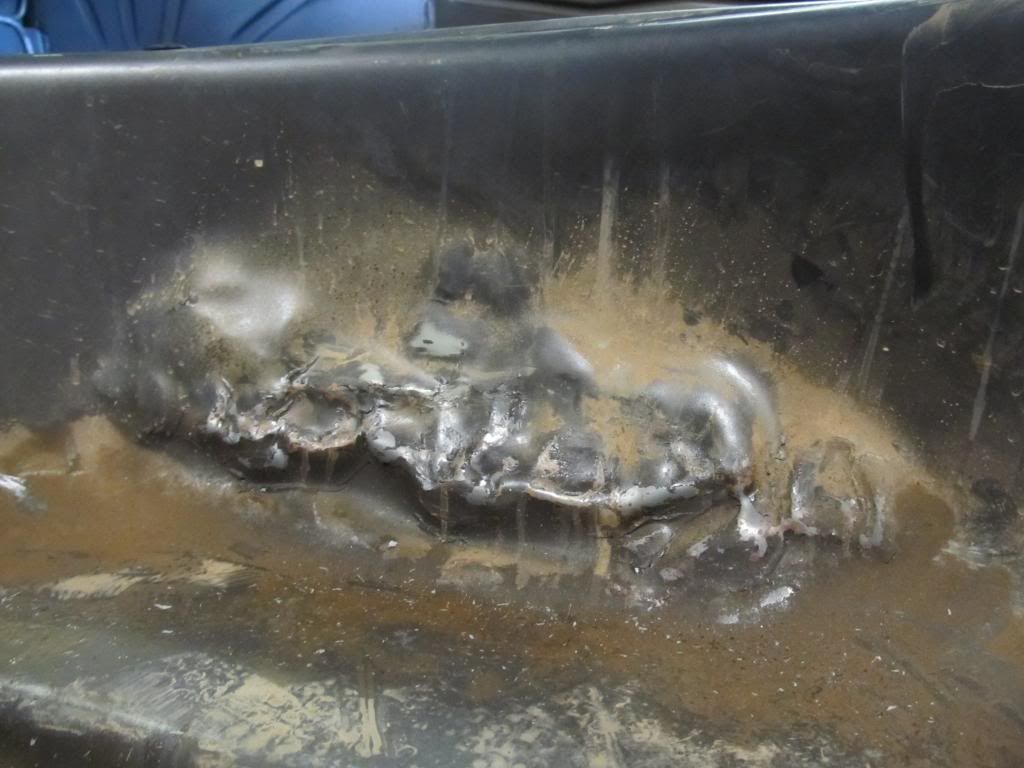
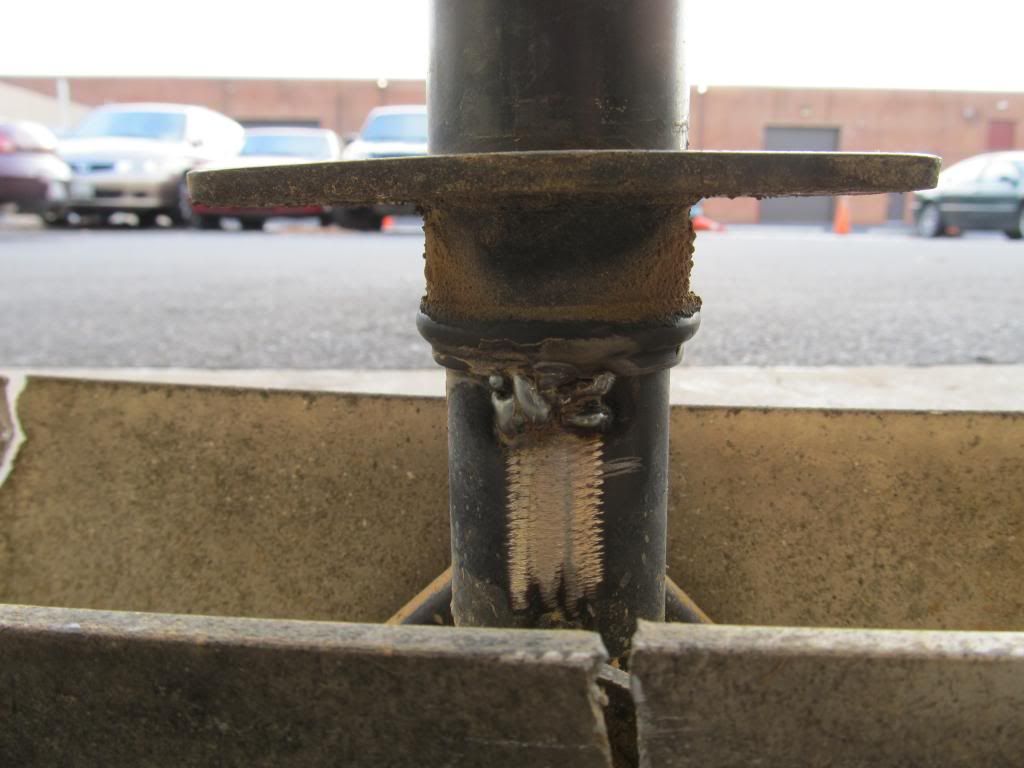
Rear subframe rust fixed, subframe welded to chassis
3.23 LSD
Some Borbet 15" wheels with mismatched 225 AS rubber
Lots of torque (well, compared to horsepower)
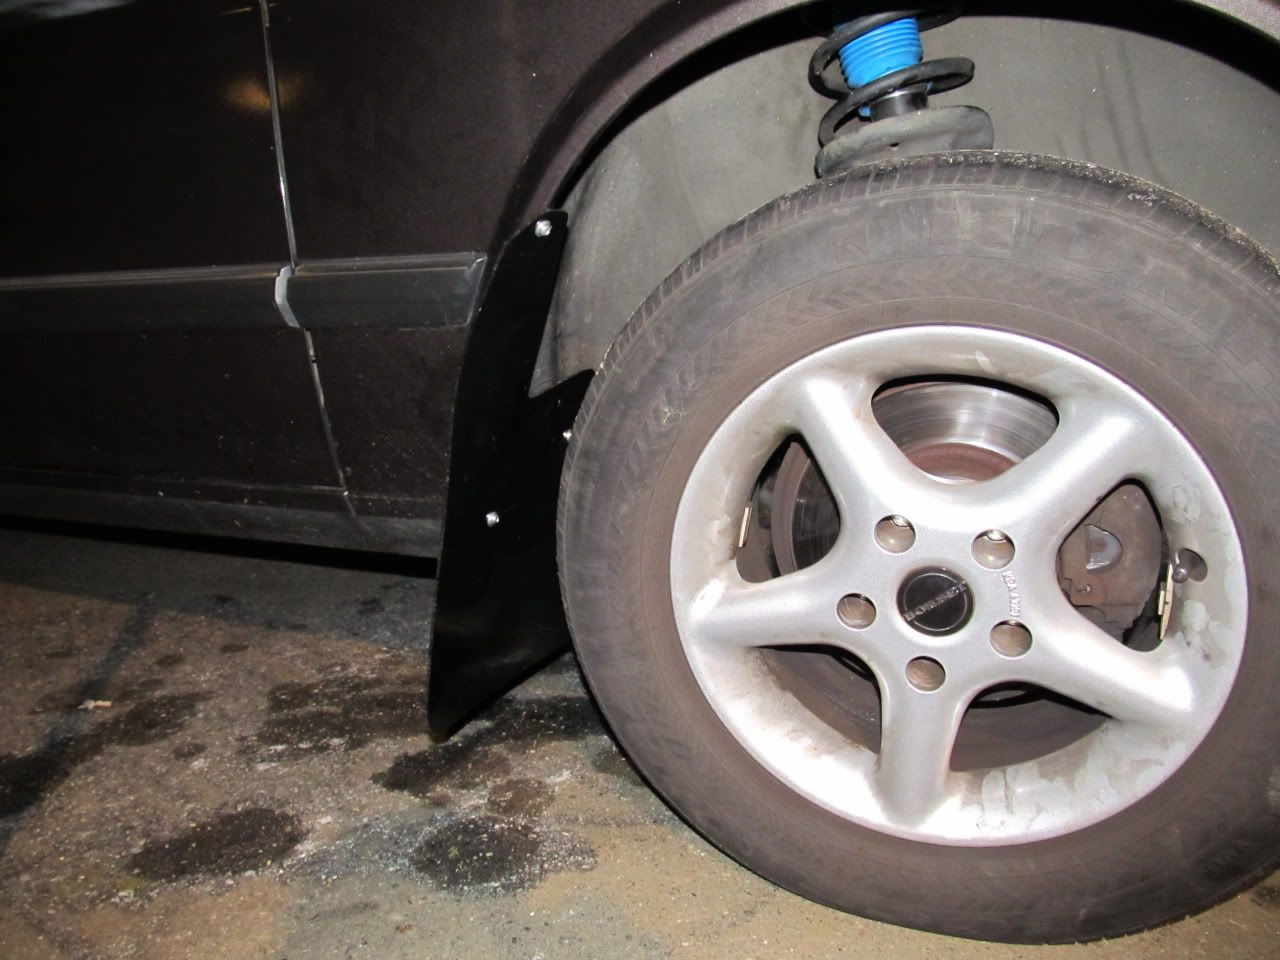
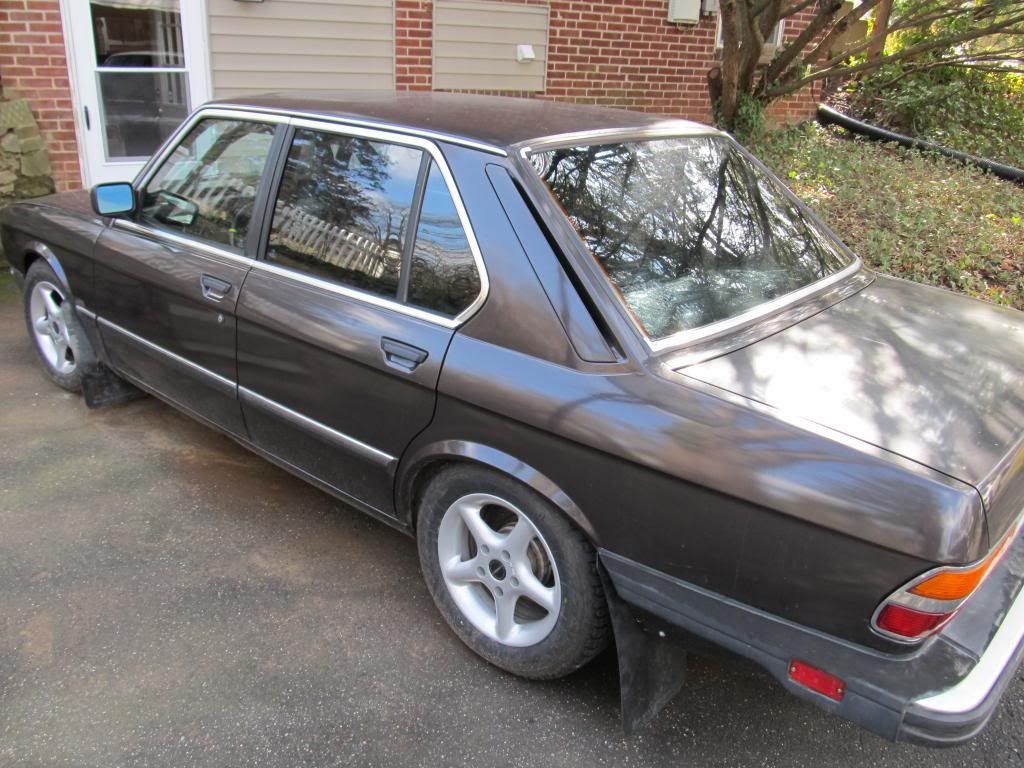
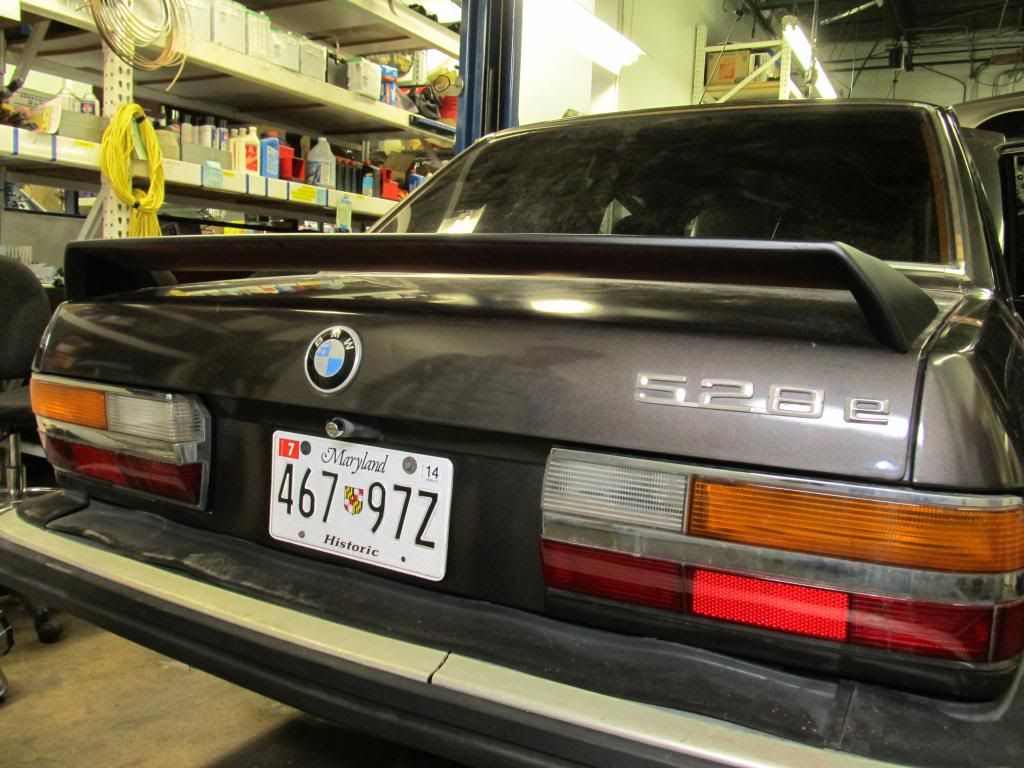
Poo-brown paint that appears to all be factory and in quite good condition.....for now.....I think there are like two dings on the entire car. The body panels are in far superior shape to the ones on my I30

Some assorted pics:
Posted: Apr 24, 2013 9:52 AM
by 95maxrider
Posted: Apr 24, 2013 9:52 AM
by 95maxrider
But wait, there's more!
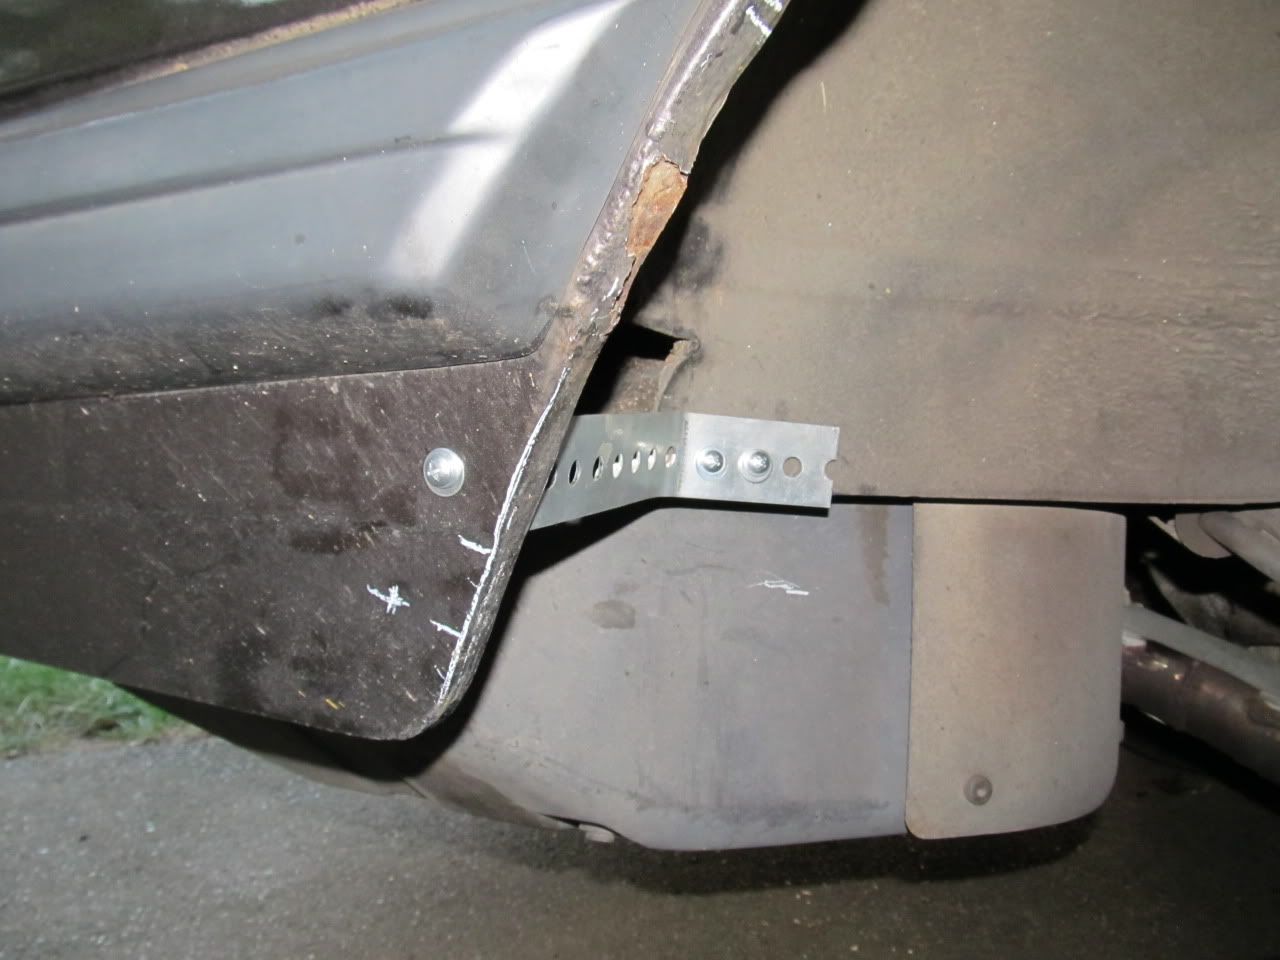
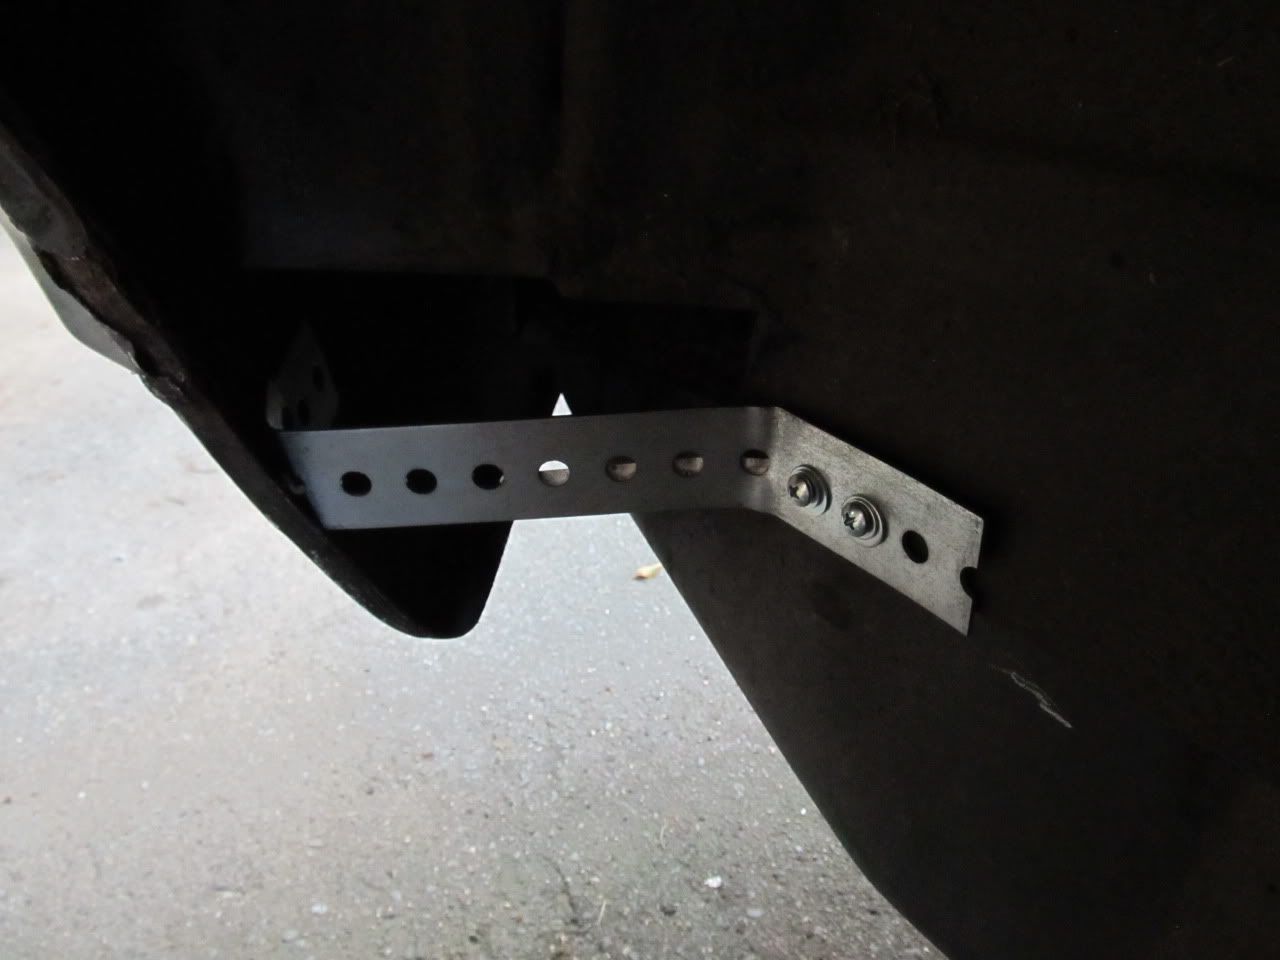
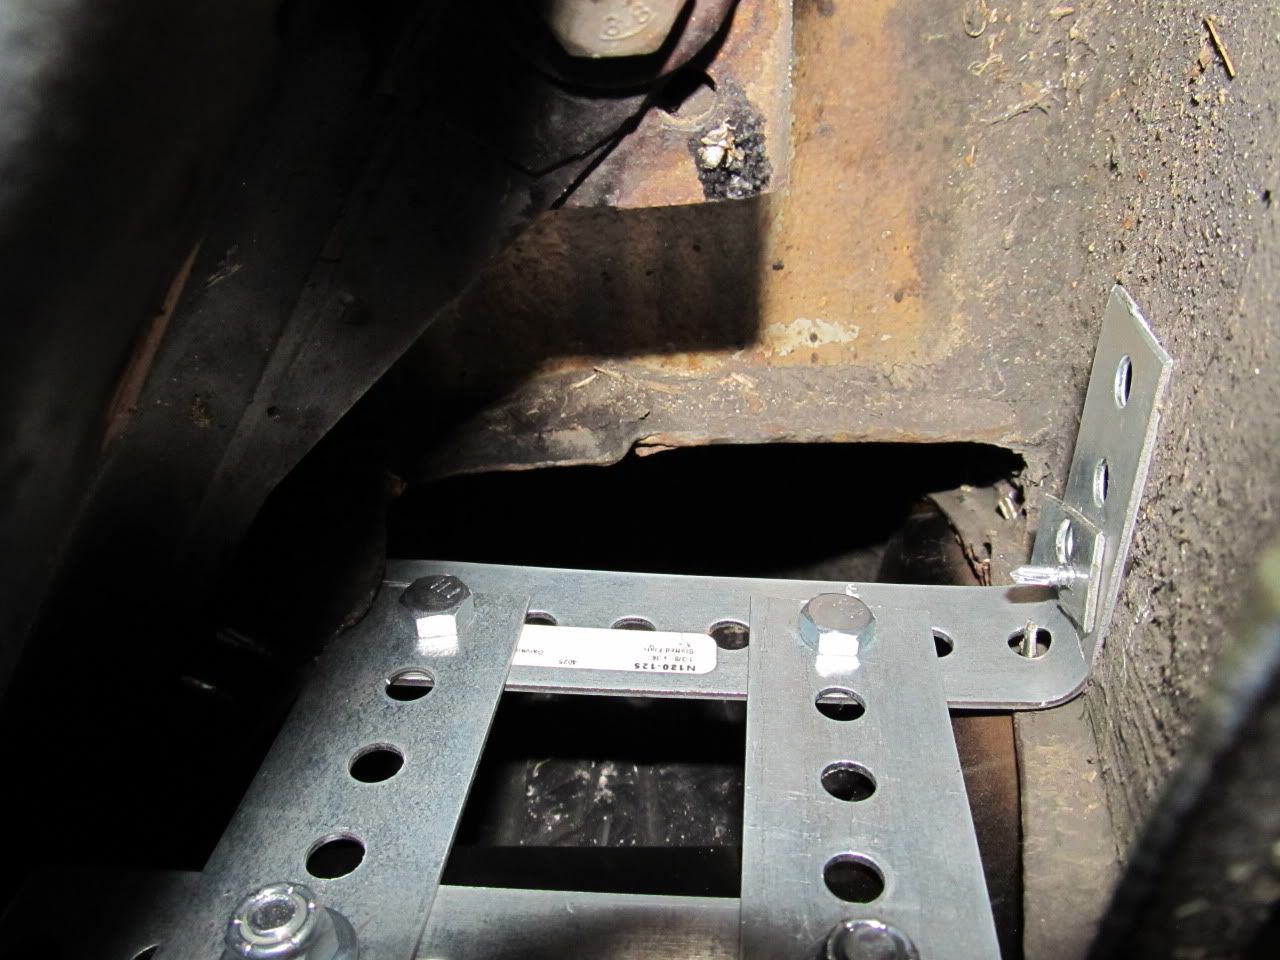
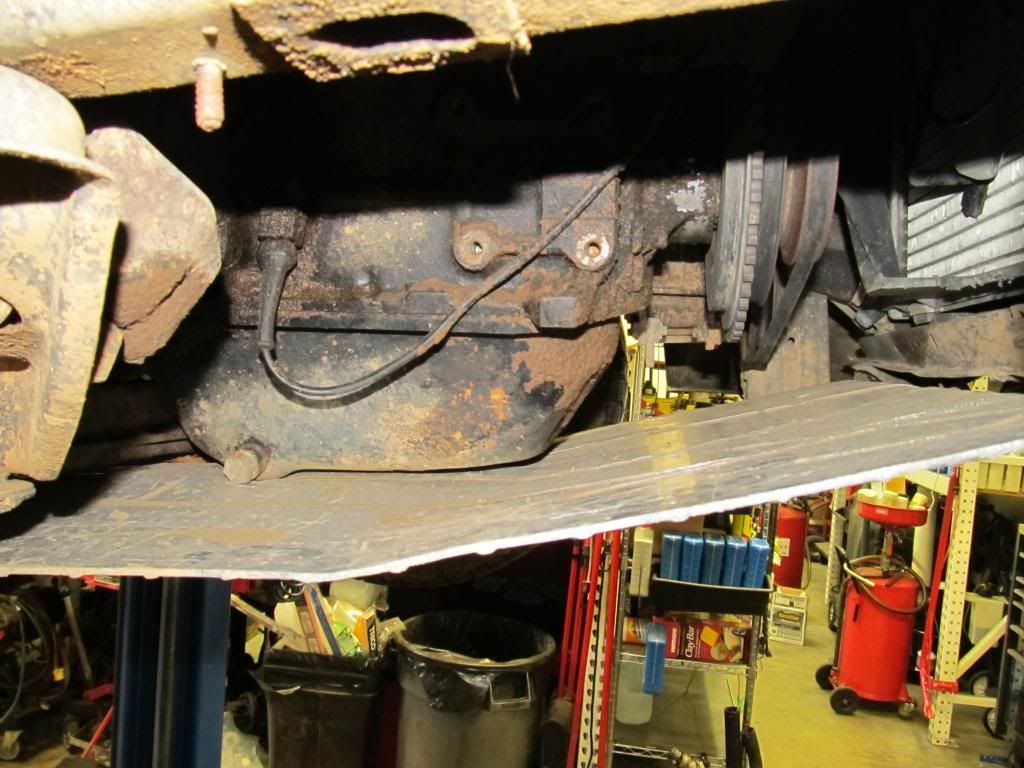
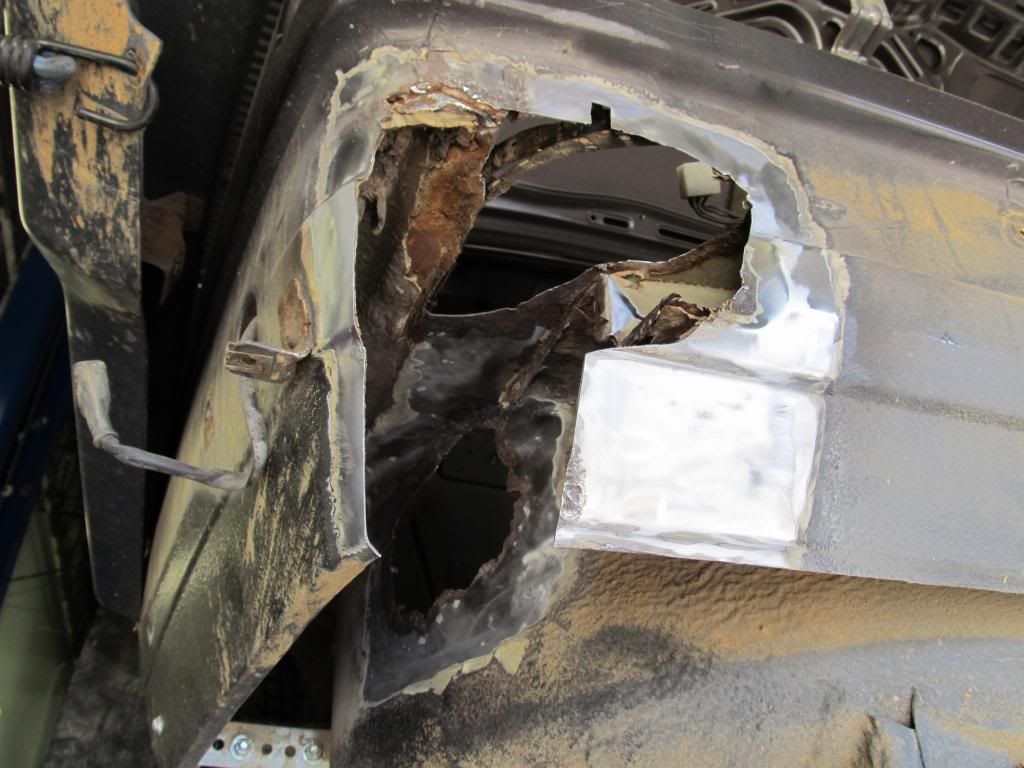
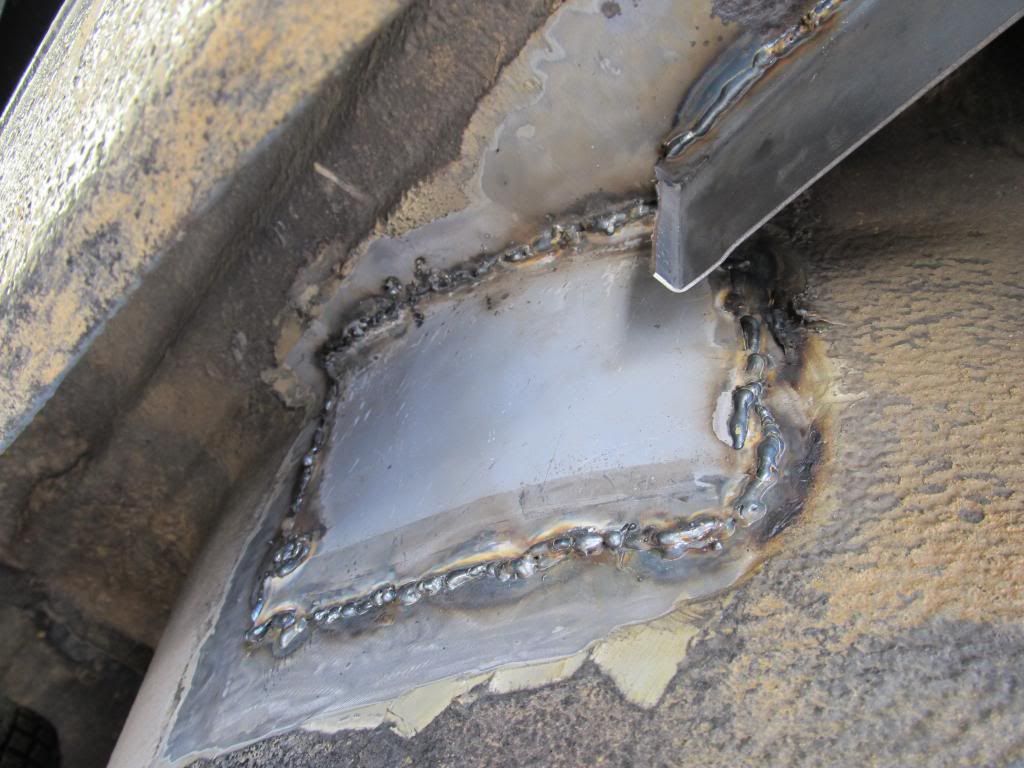
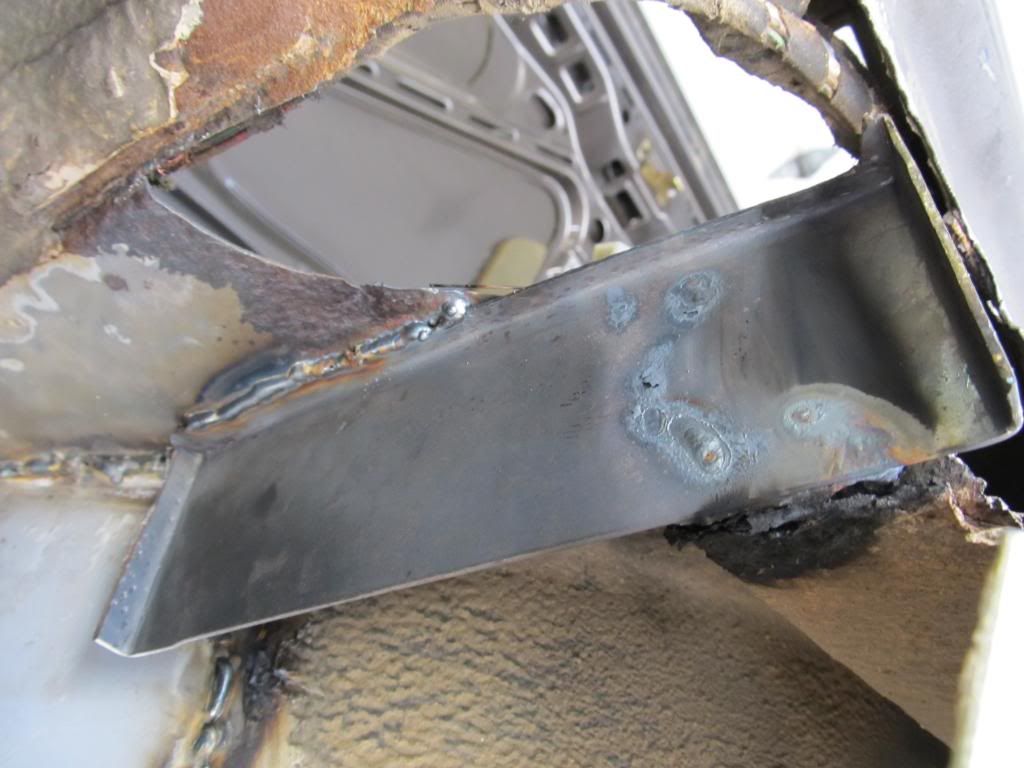
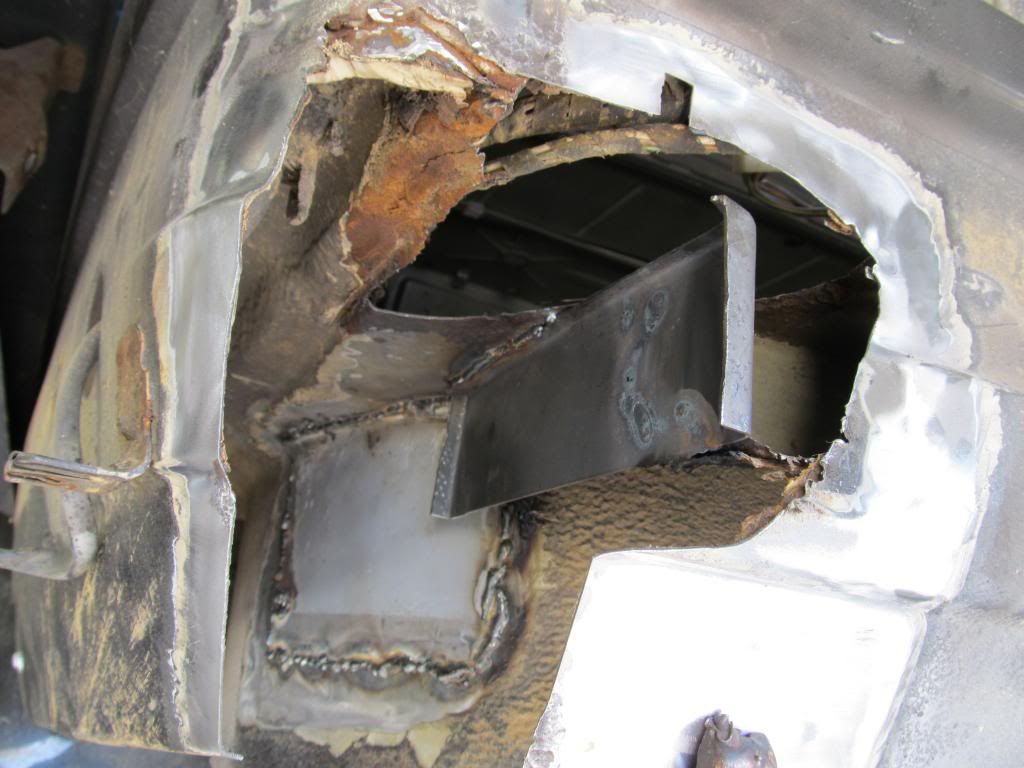
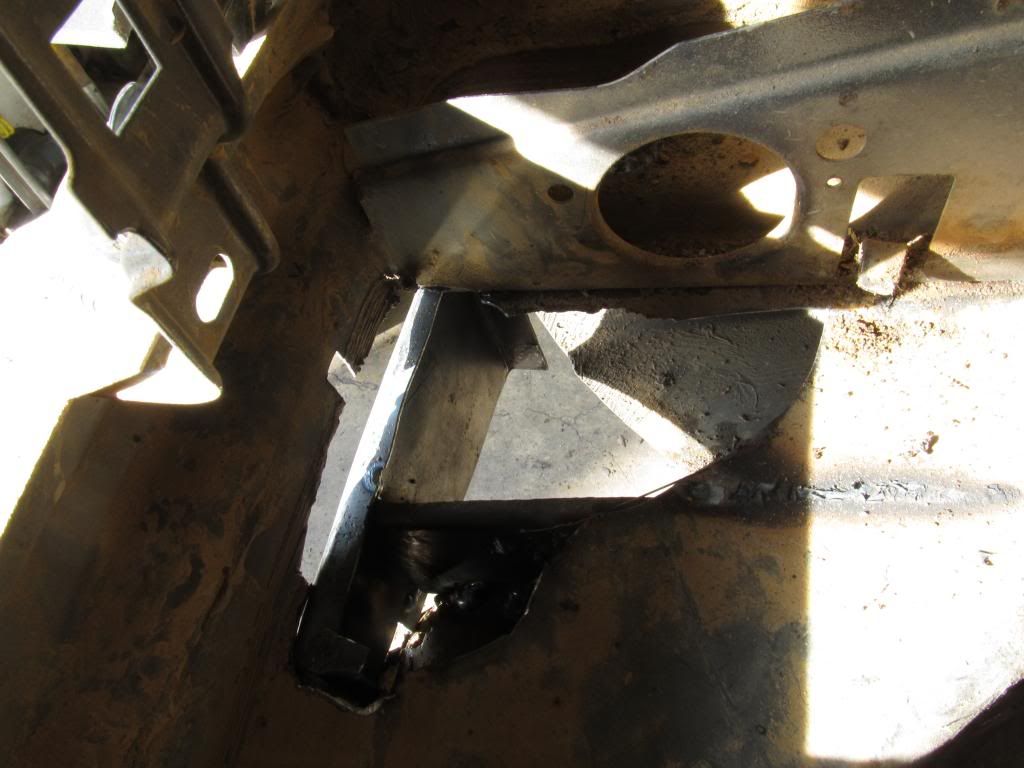
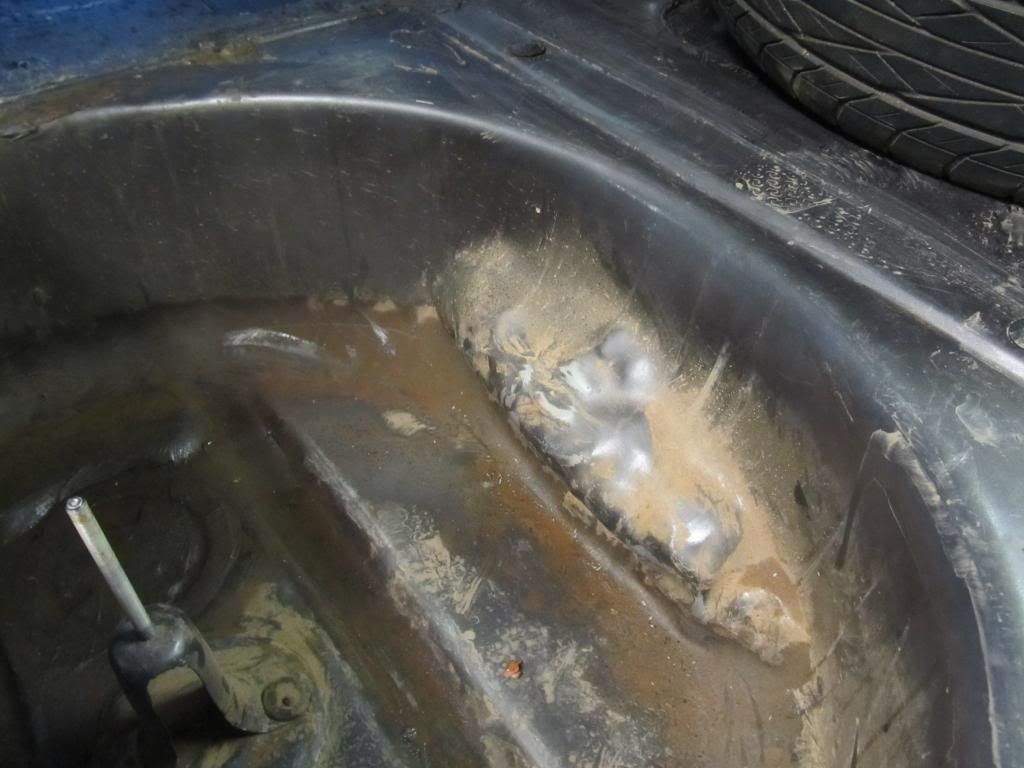
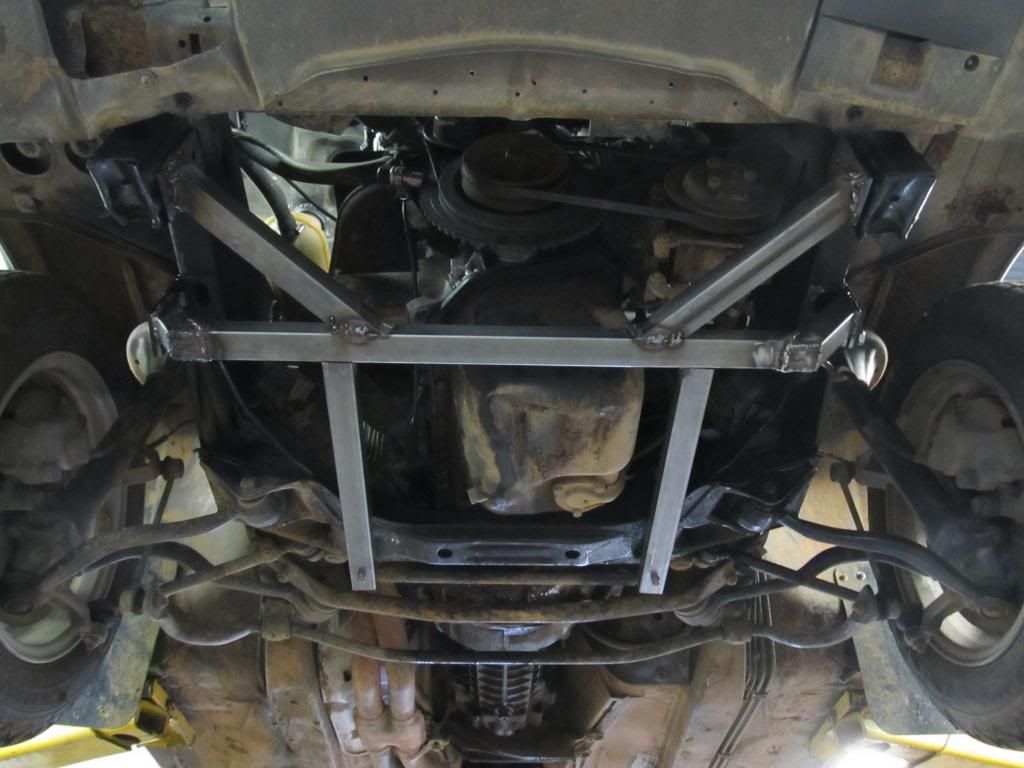
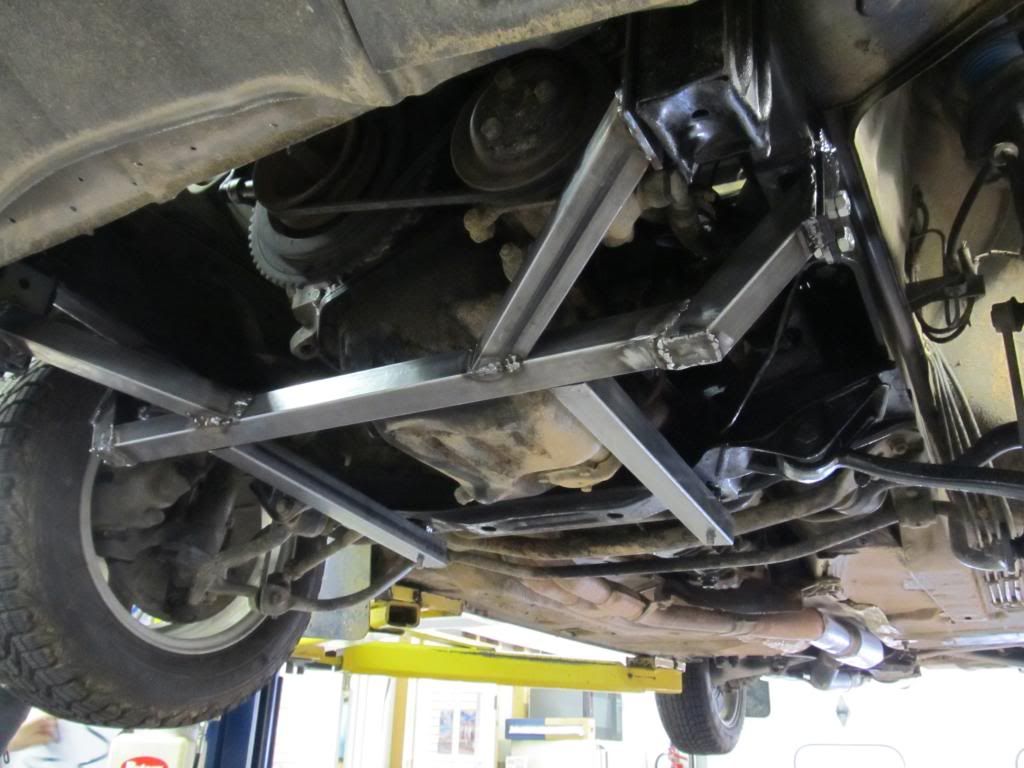
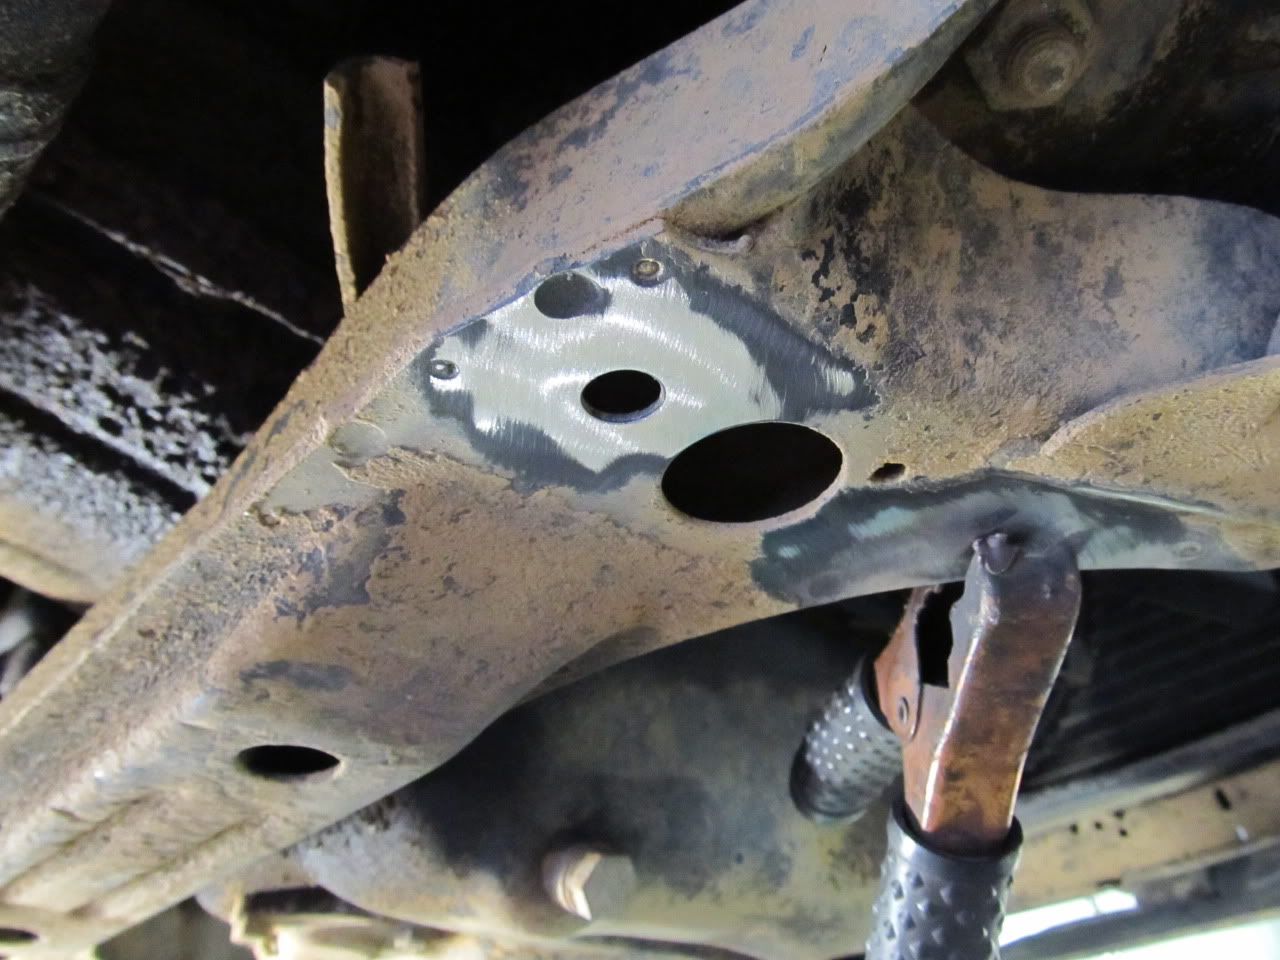
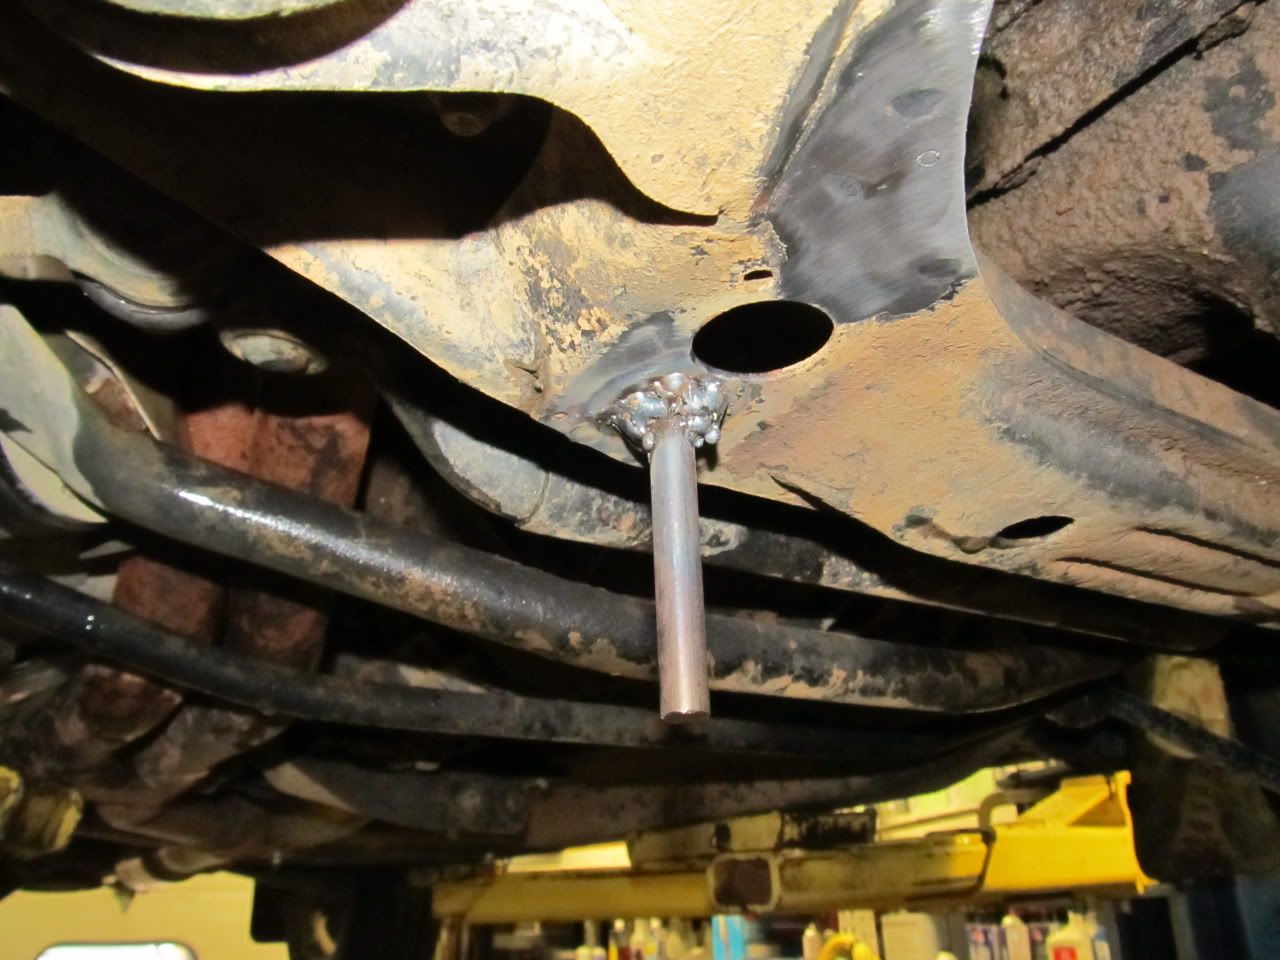
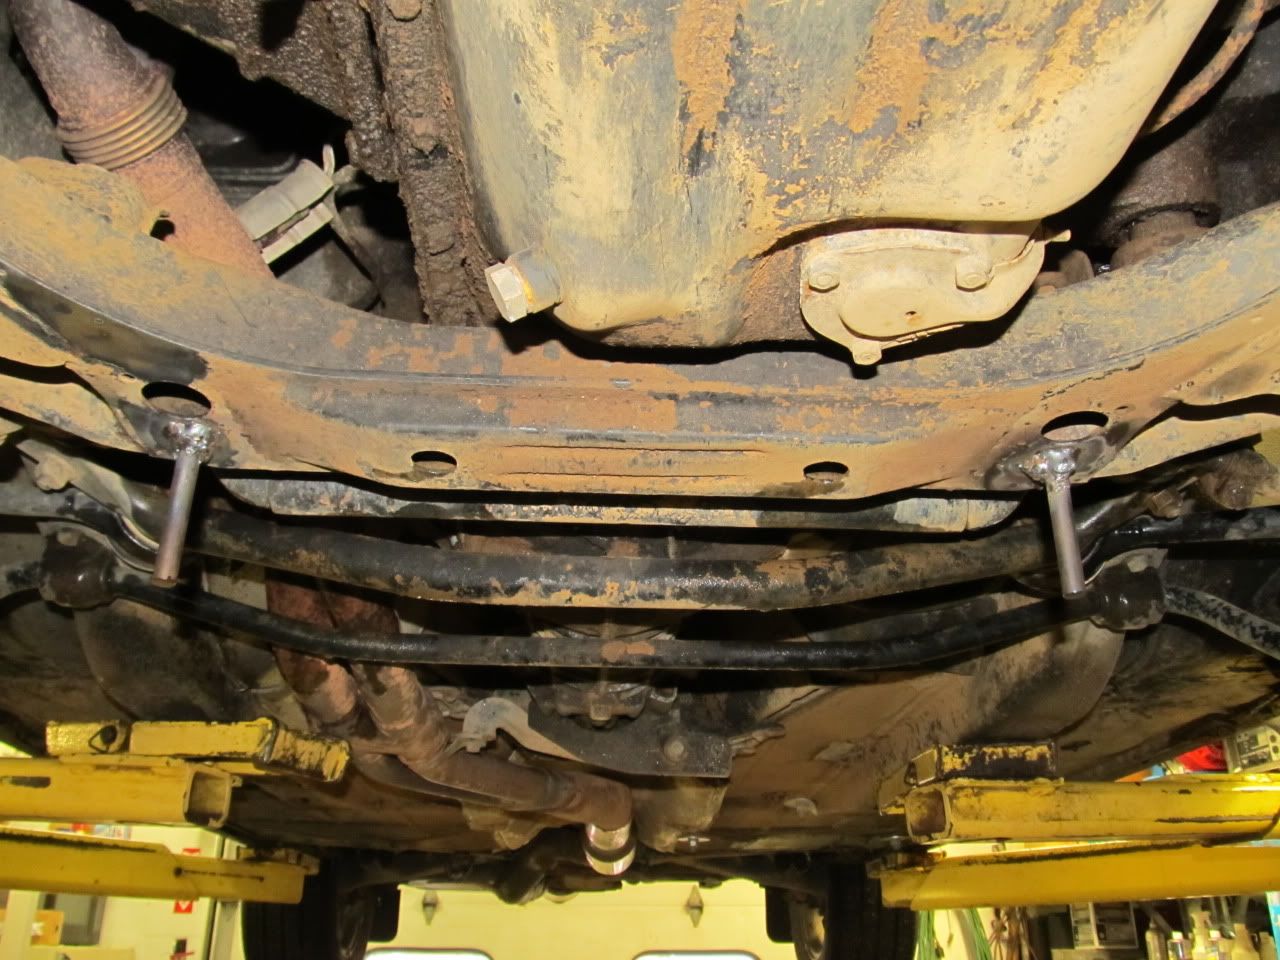
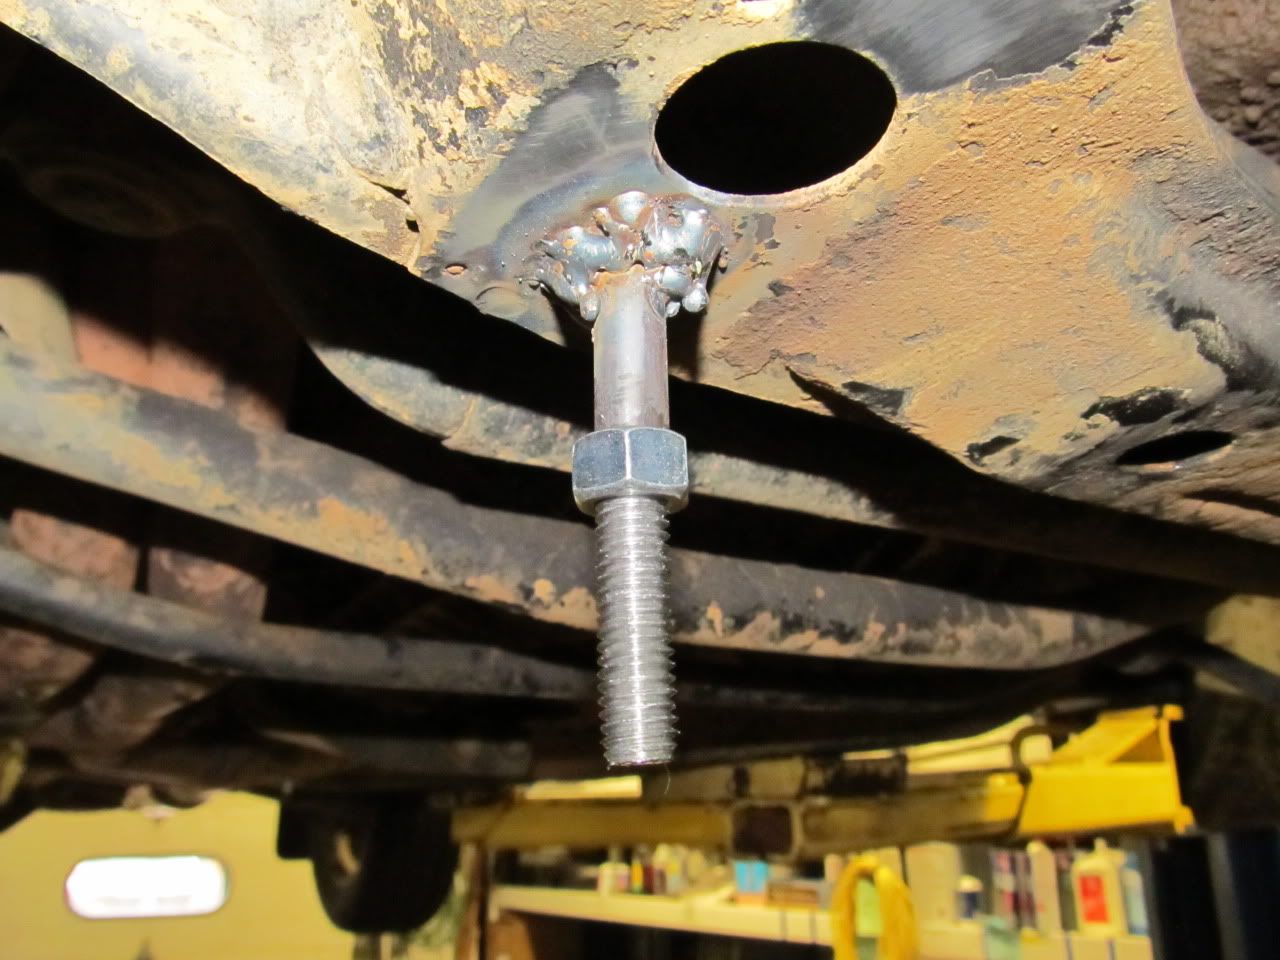
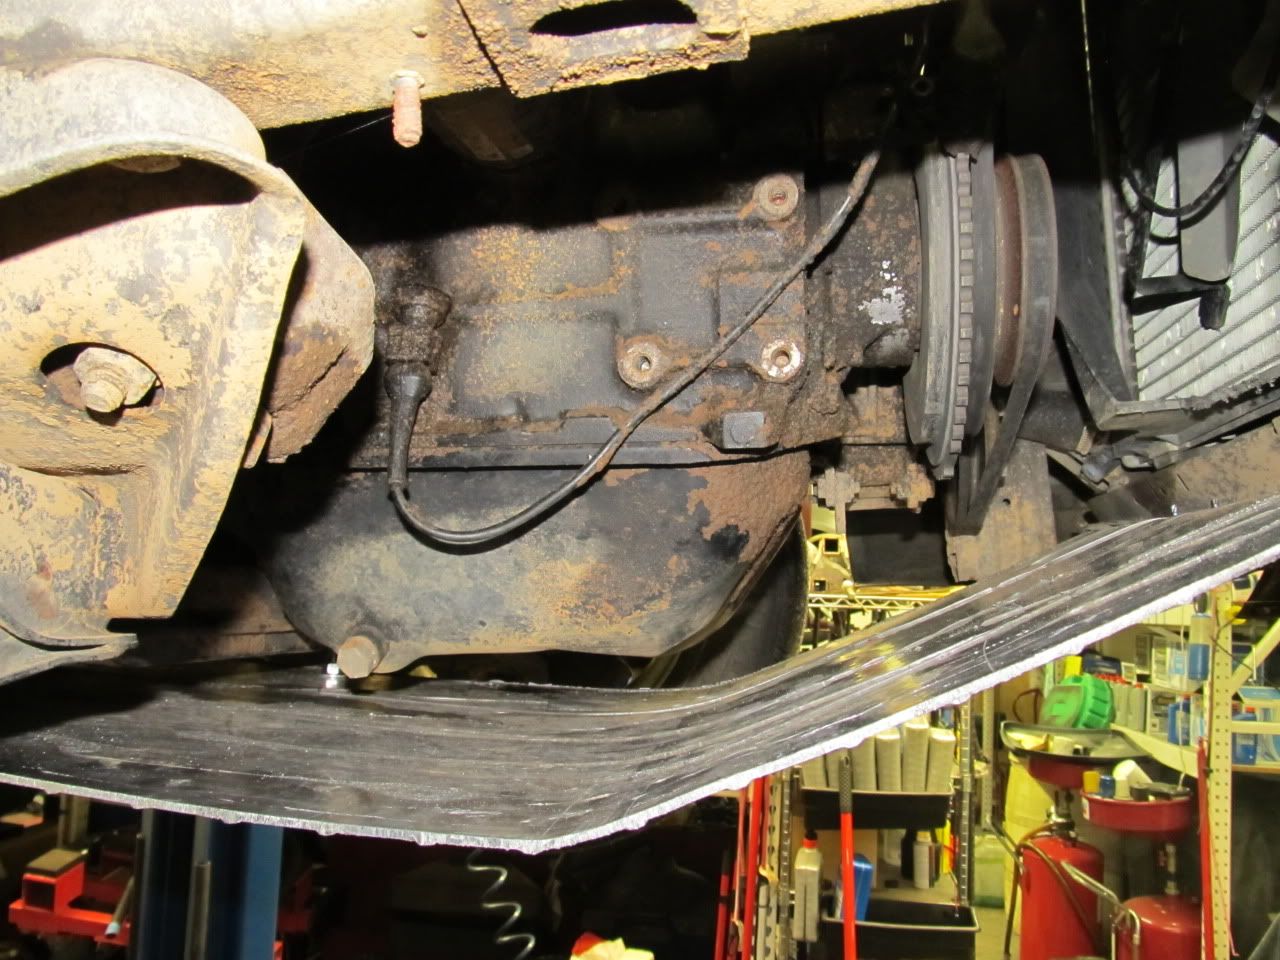
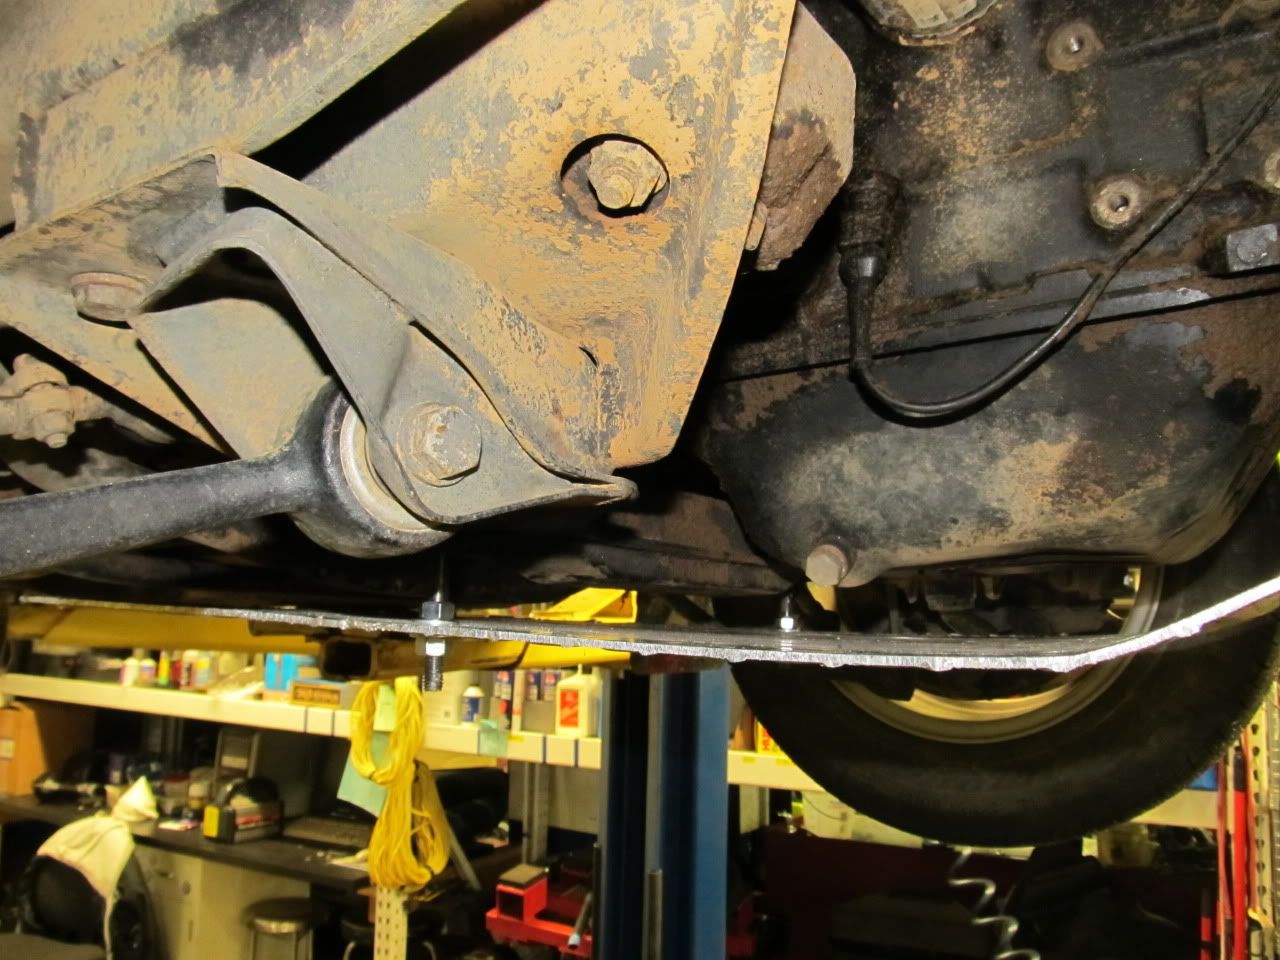
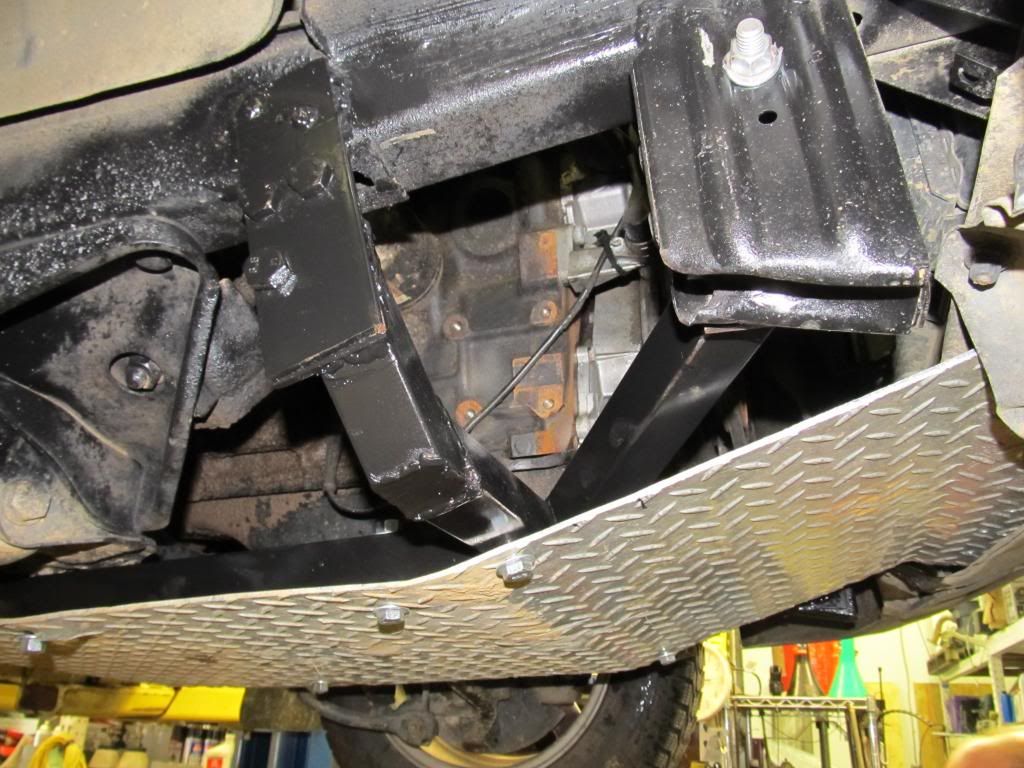
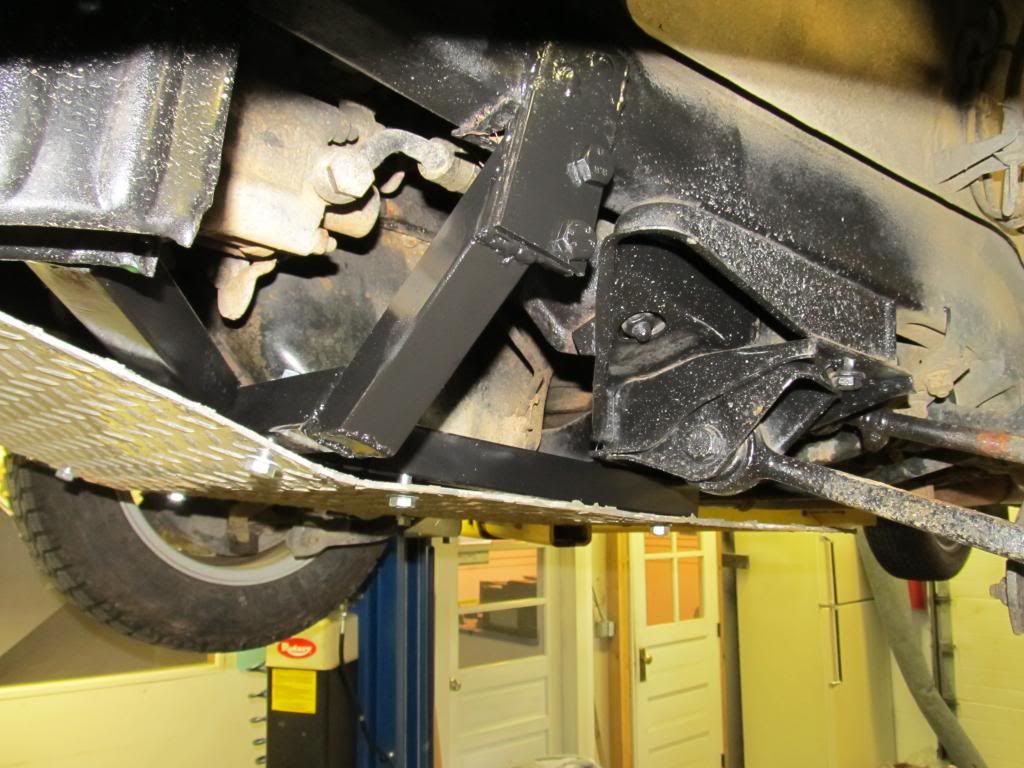
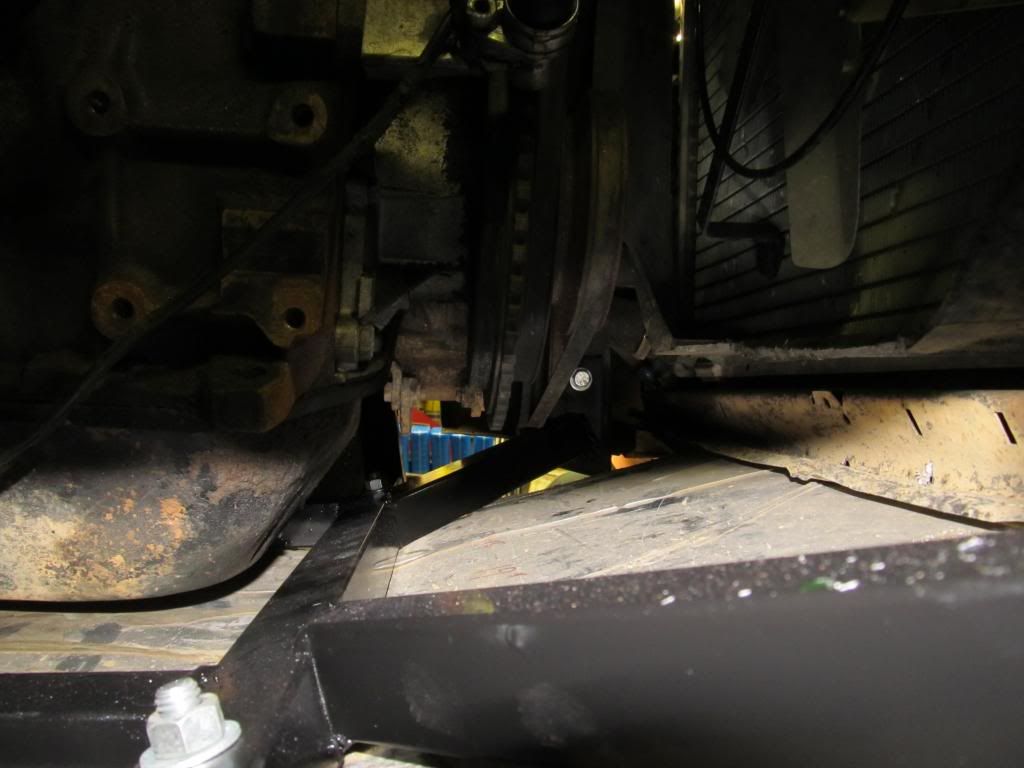
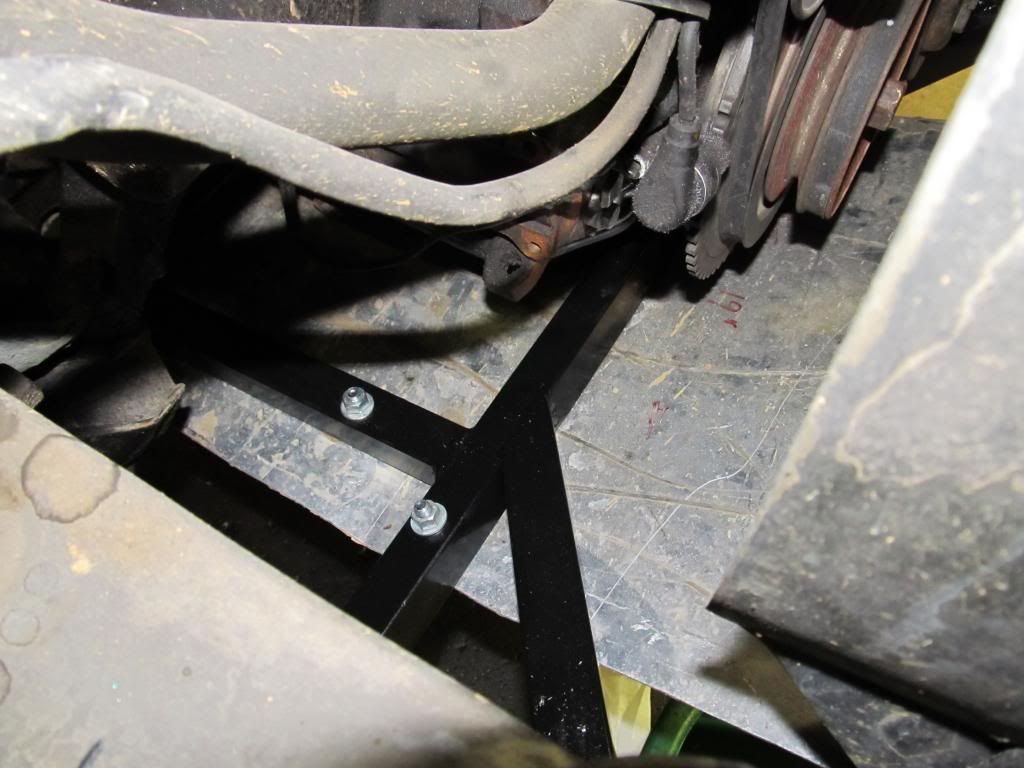
These E28s seem to be notorious for having low oil pans (the lowest point actually sits below the rear section of the subframe), so a skid plate was in order. There were two options we could purchase, but we wanted to keep it cheap, so we attempted to make our own. A friend had a sheet of diamond plate aluminum lying around, so we decided to try to use it. After much cutting, we had our initial section. Unfortunately, there wasn't a good way to attach it to the rear section of the subframe, so some welding was in order. Step in Eric at Joe's Professional Auto Care (the shop I used to work at). Eric was the one who welded on the fender braces for my I30, and I know I can trust him. Get to work!
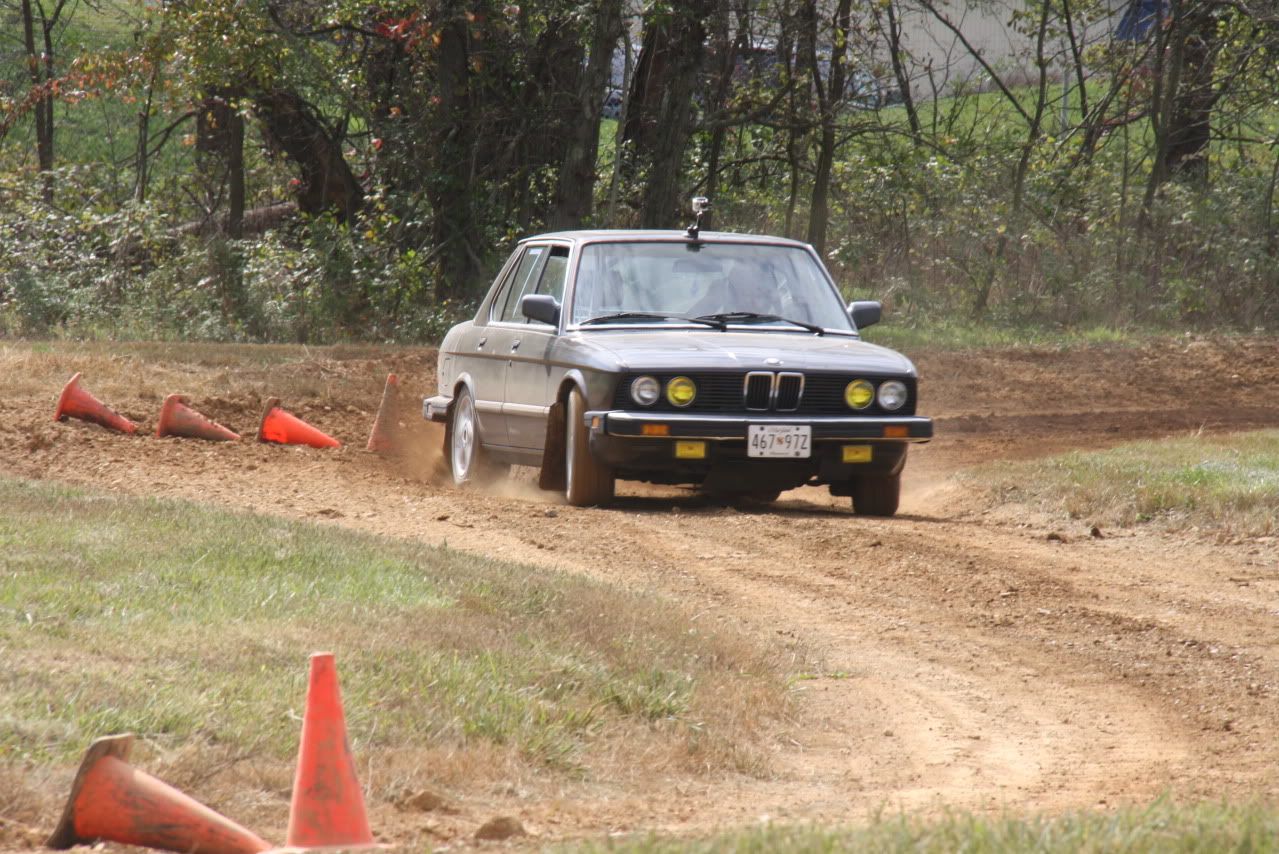
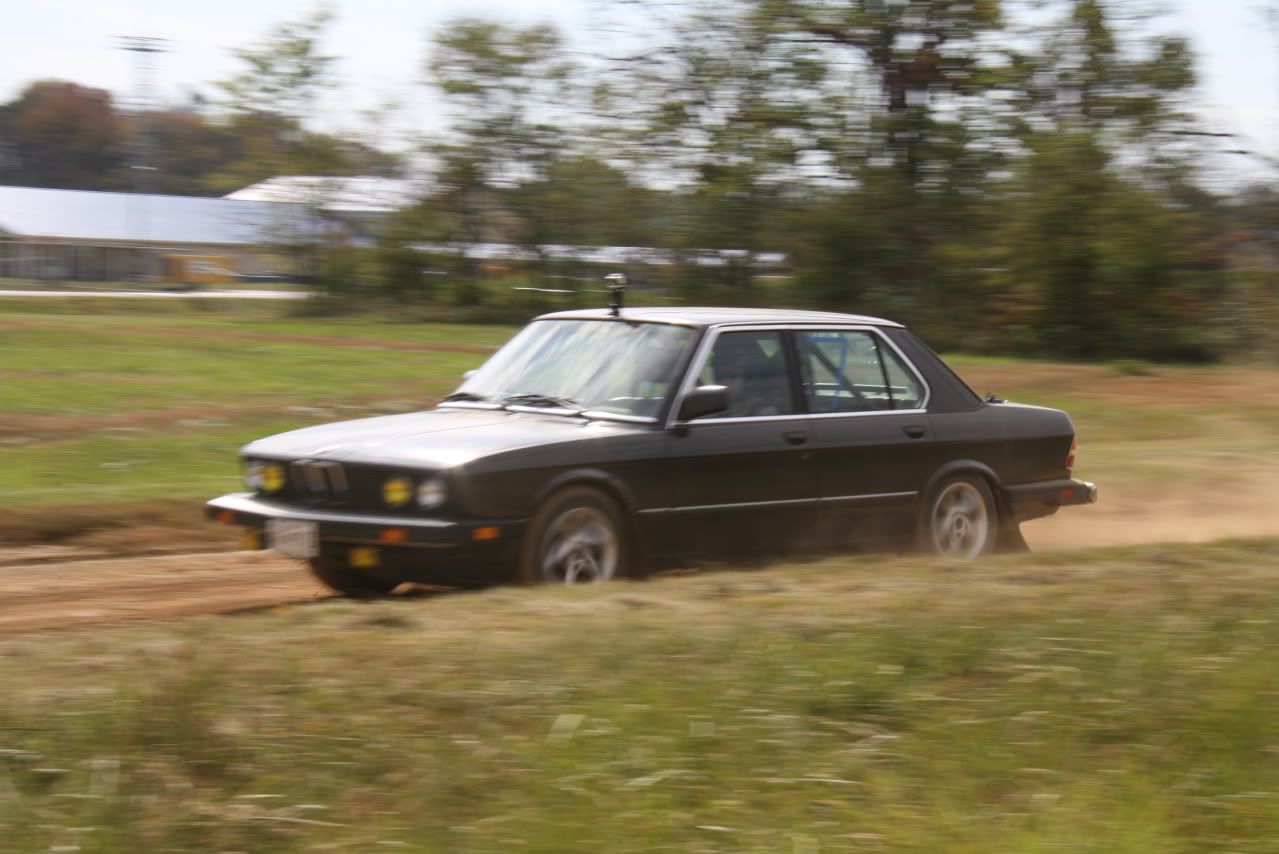
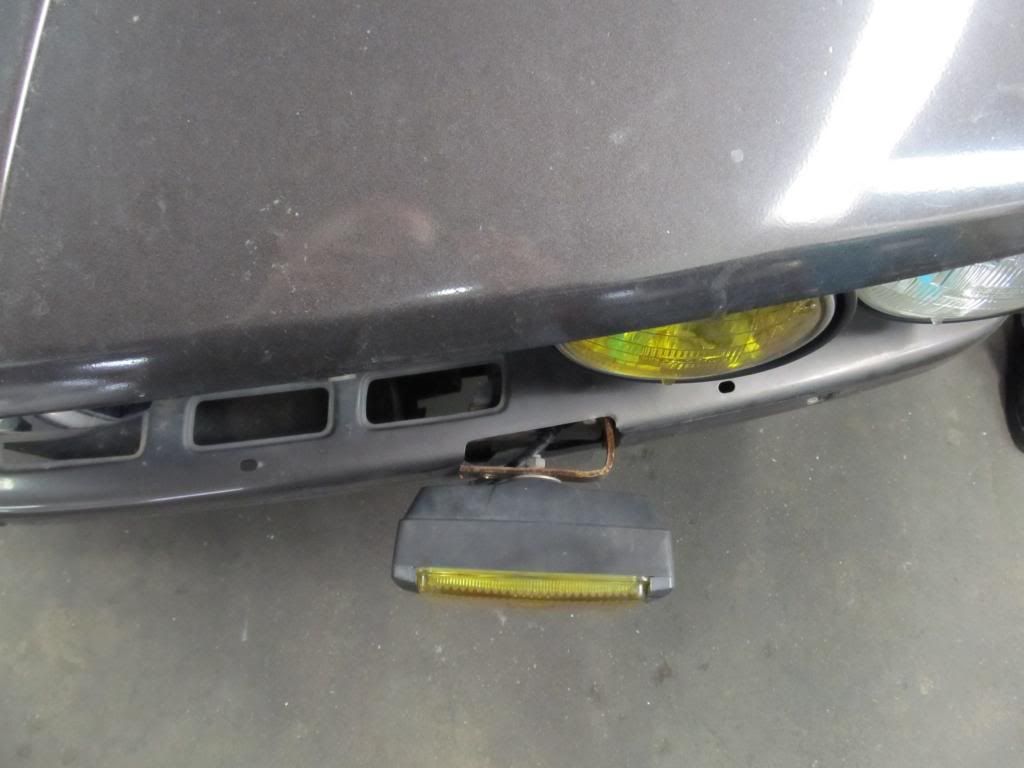
Did somebody say pee beams??? (Krylon Stained Glass, Yellow #9024, $15)
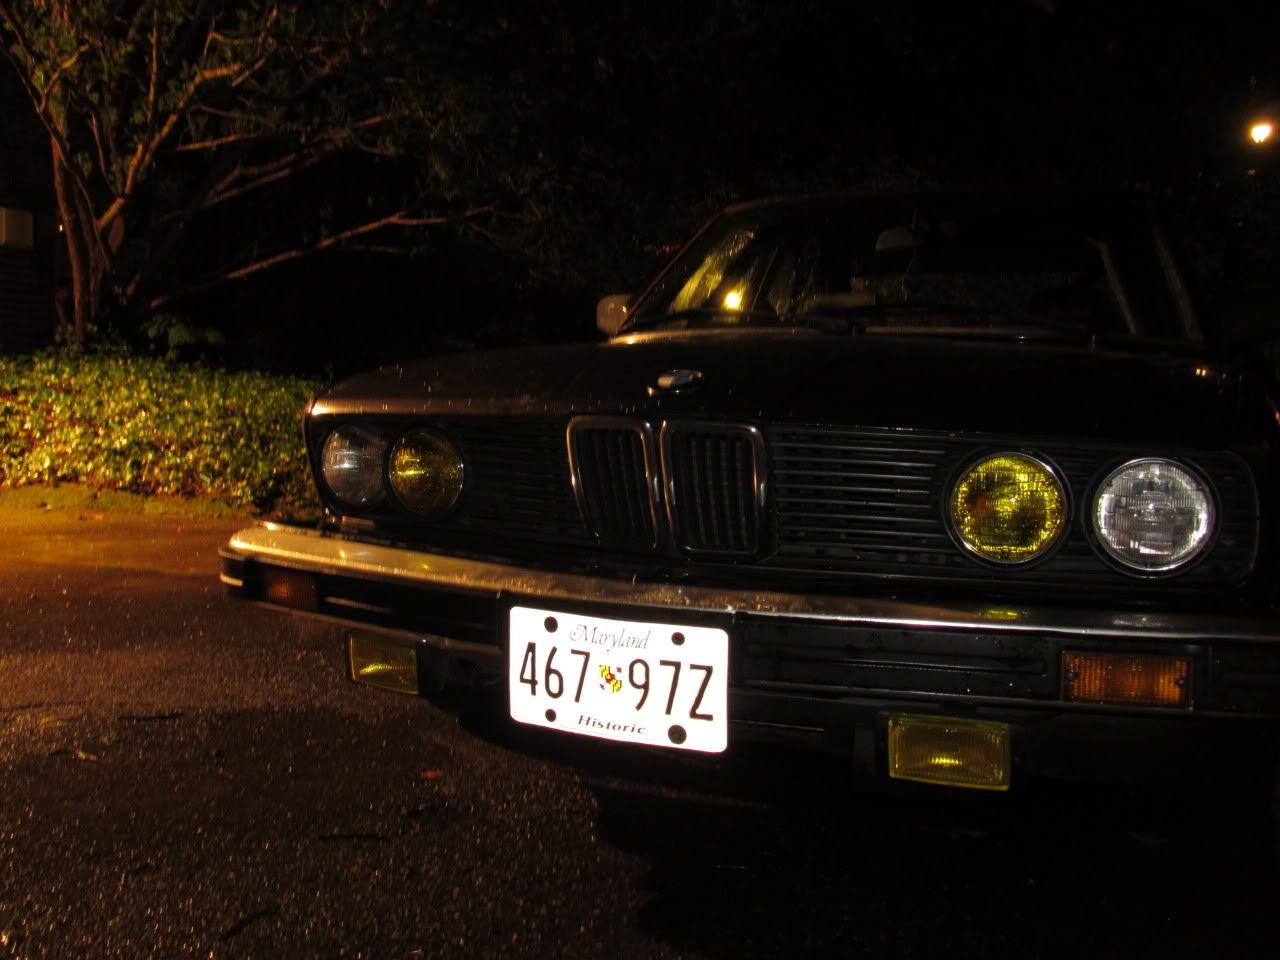
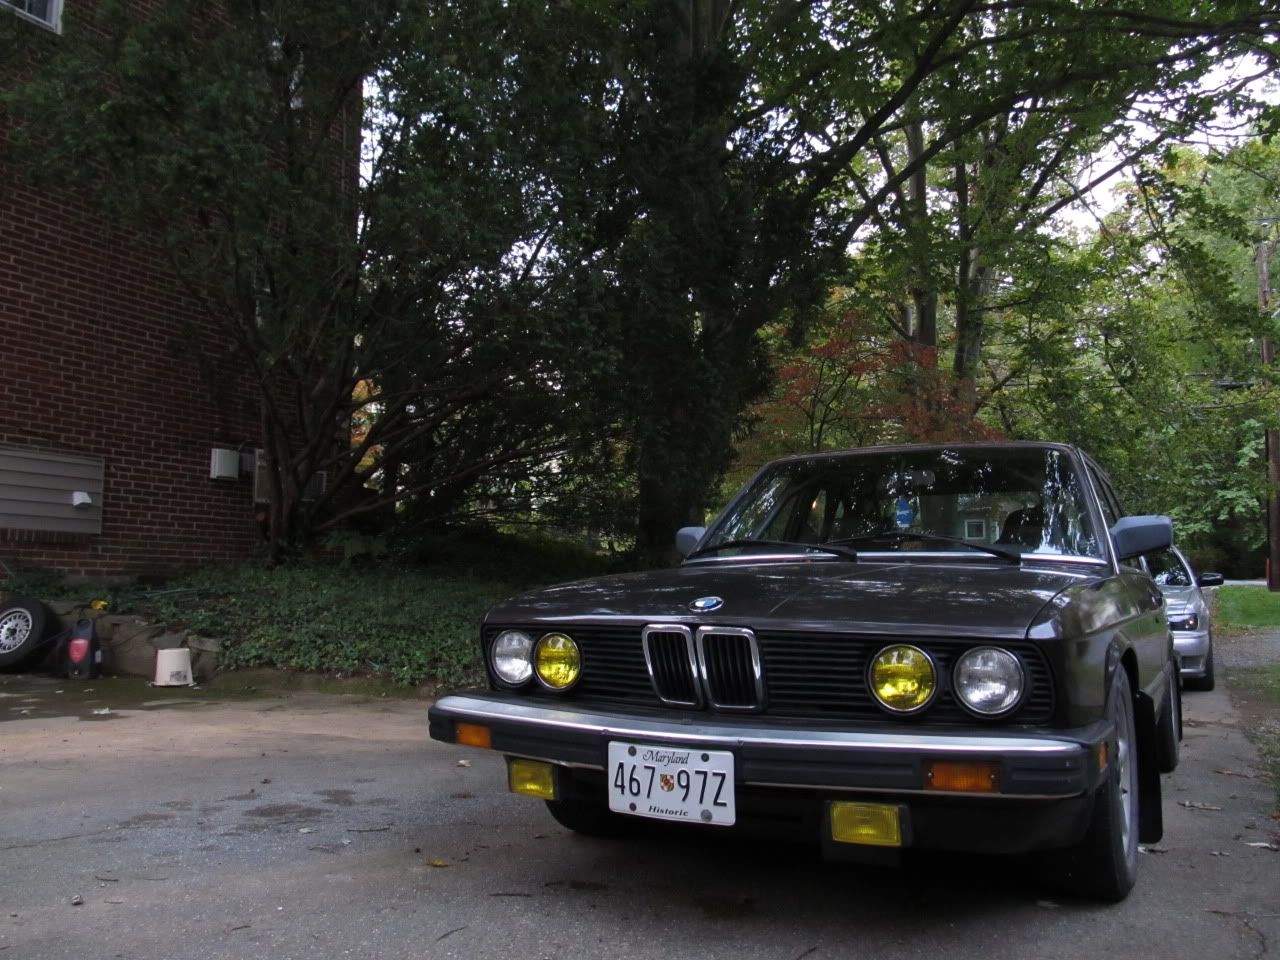
Yup, she's a rally-x car now for sure!
Posted: Apr 24, 2013 9:54 AM
by 95maxrider
Posted: Apr 24, 2013 9:55 AM
by 95maxrider
Posted: Apr 24, 2013 9:55 AM
by 95maxrider
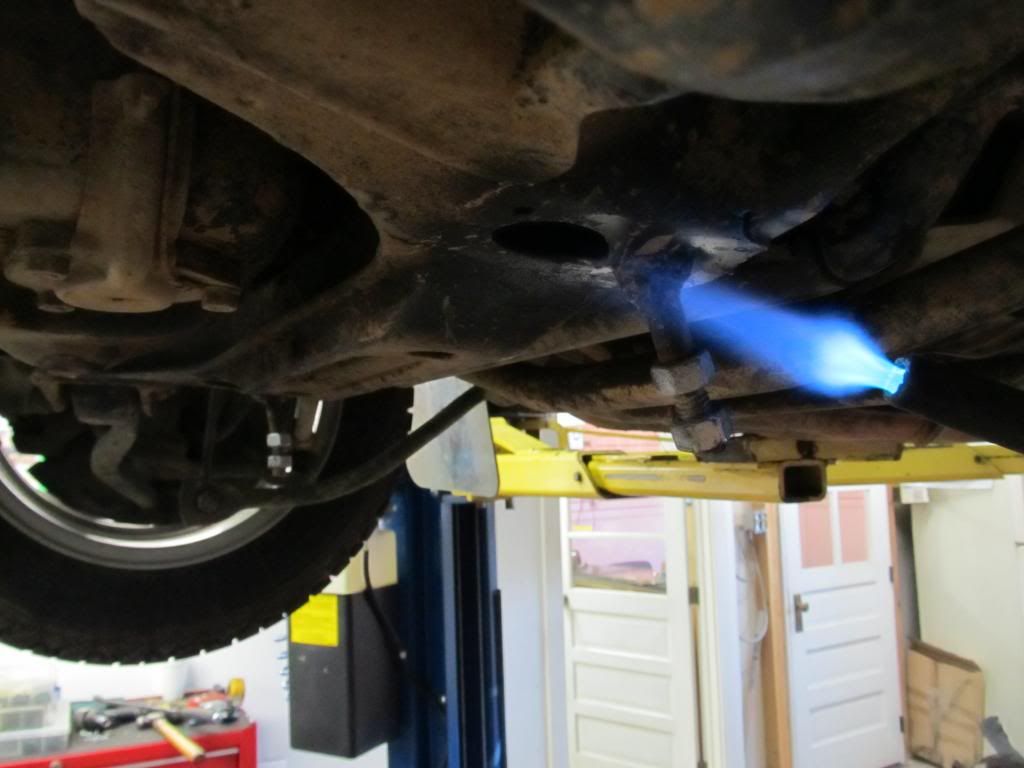
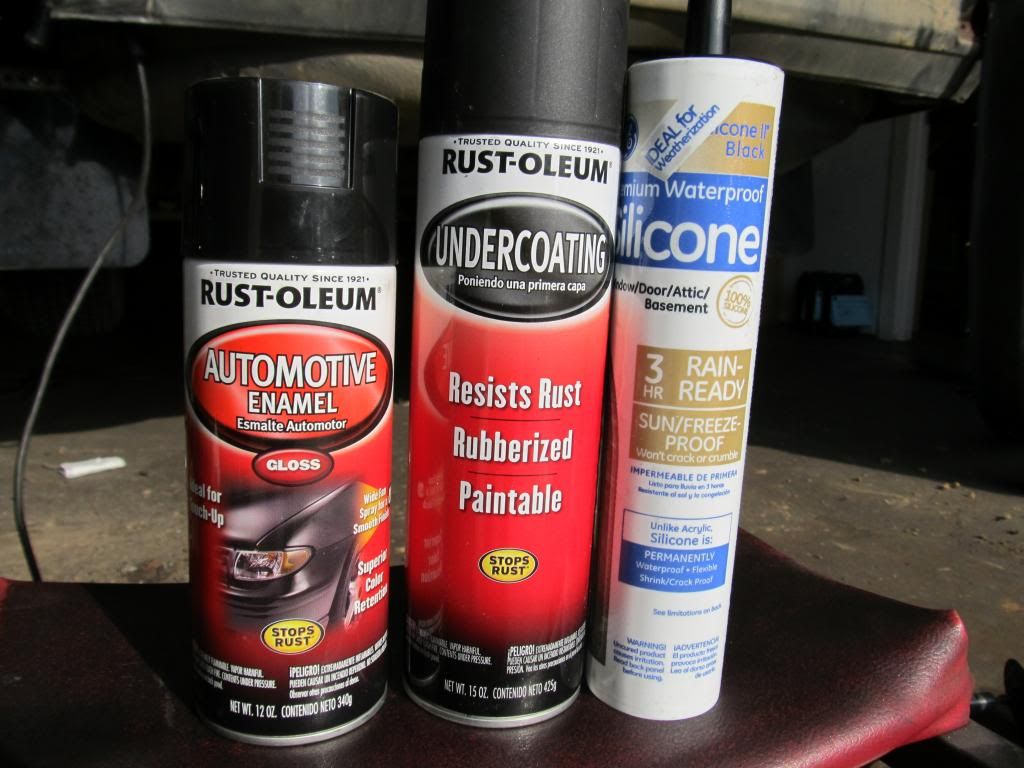
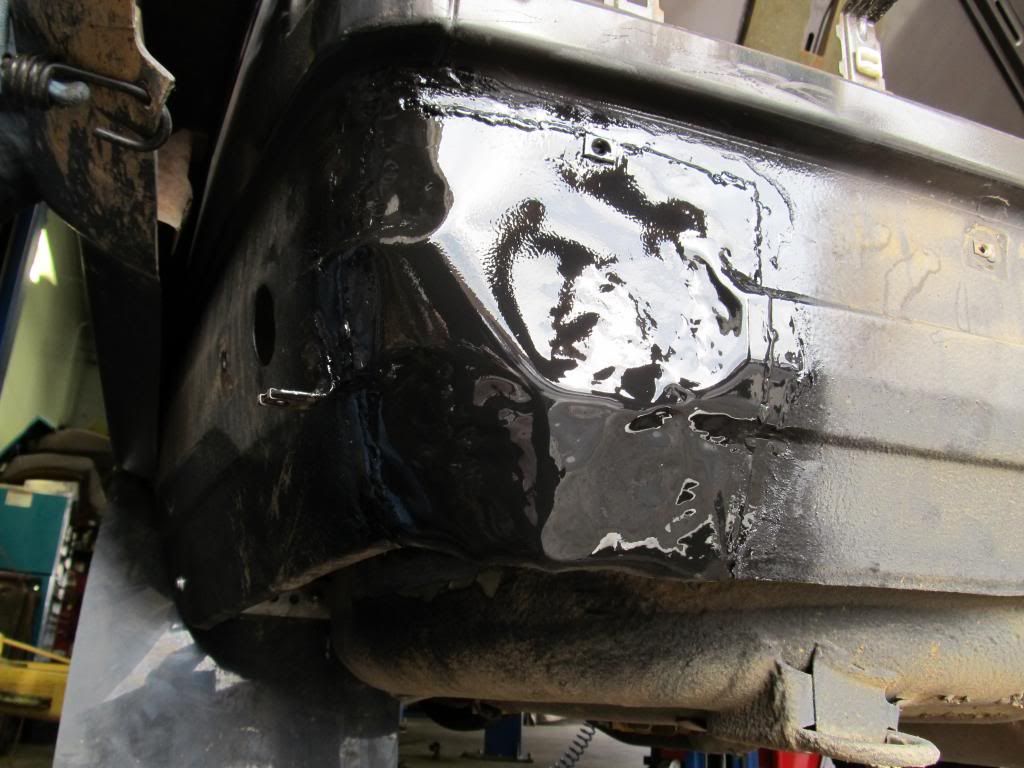
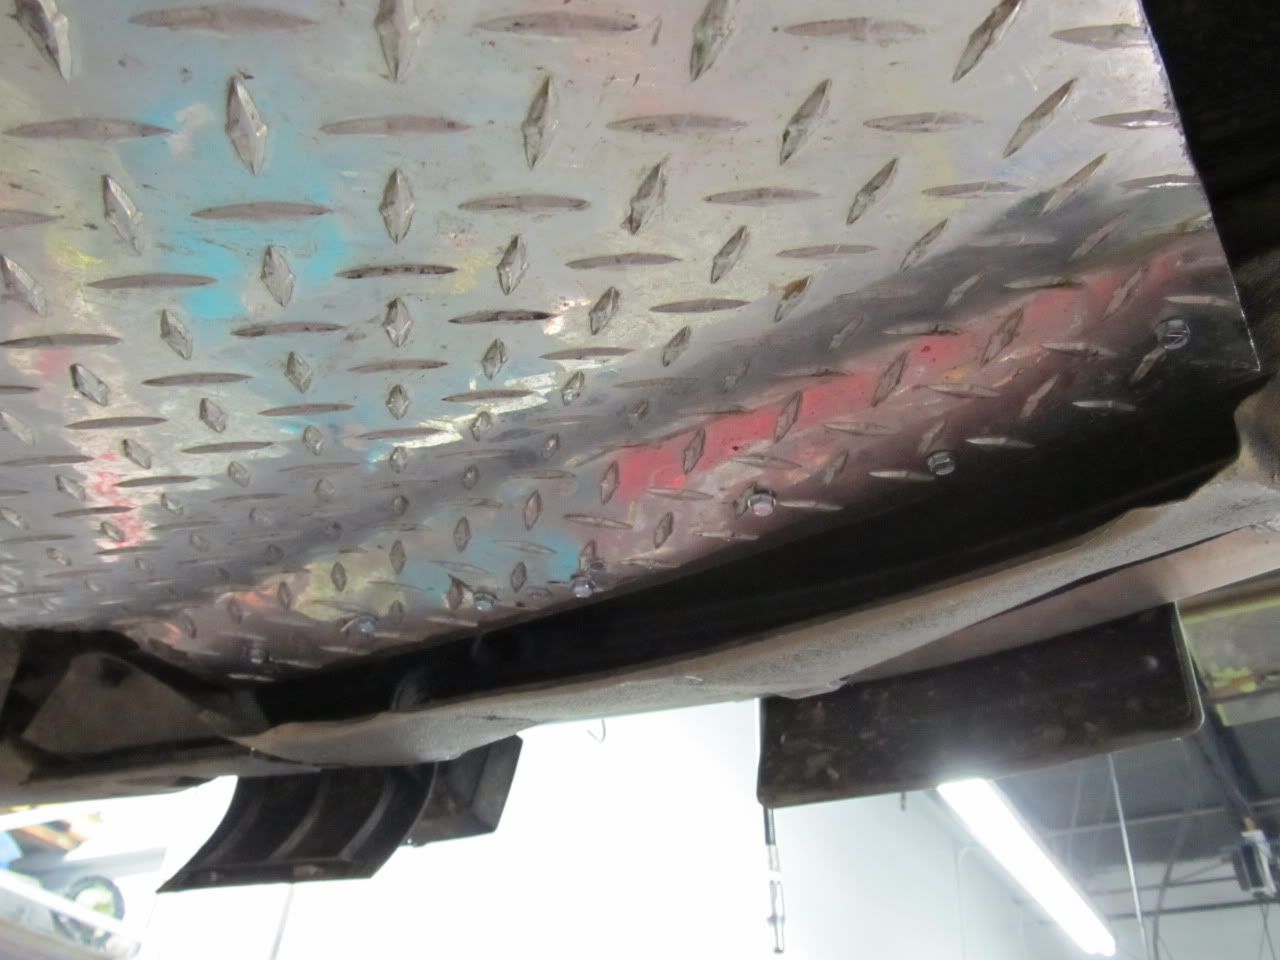
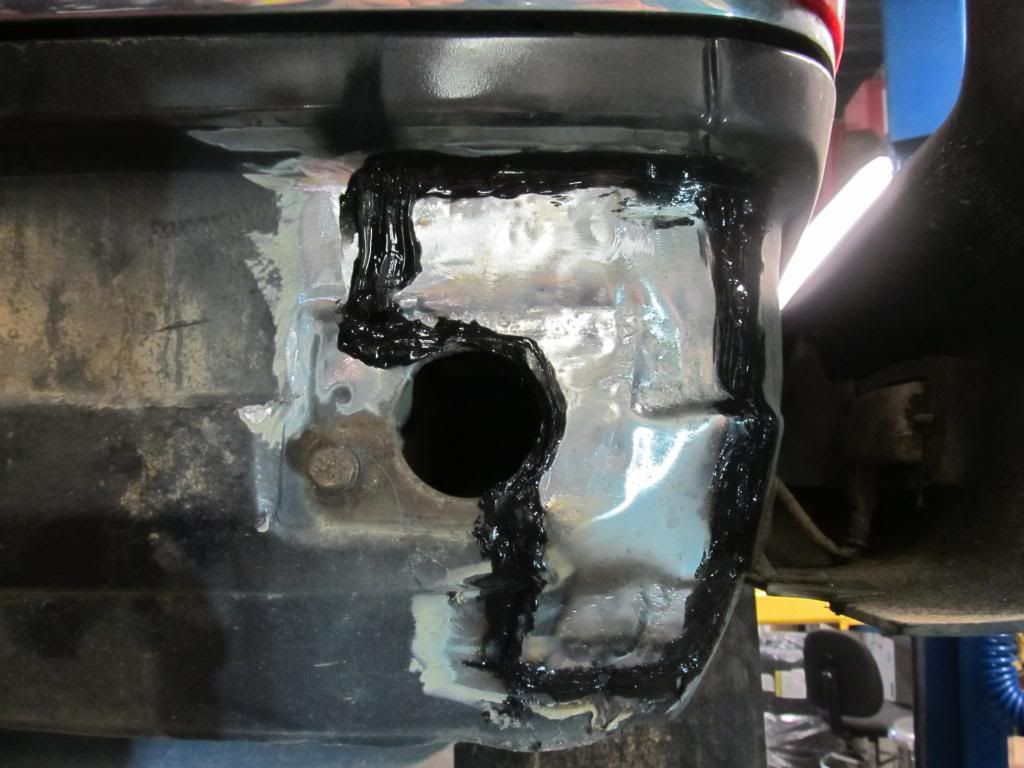
Time for some rubberized undercoating
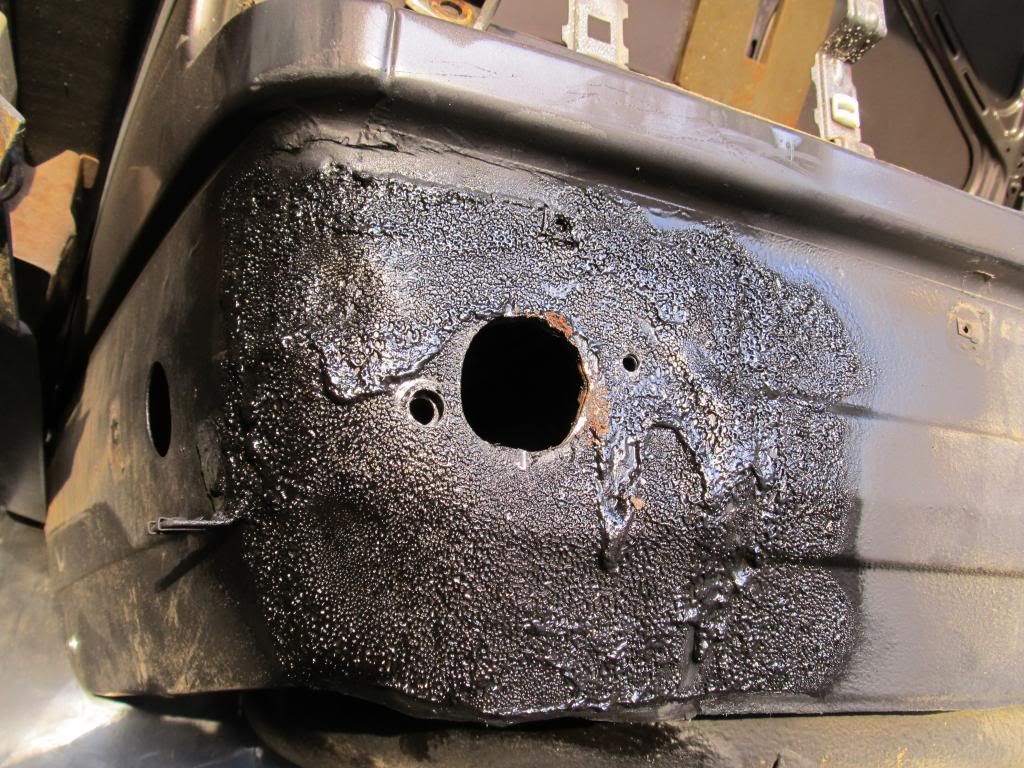
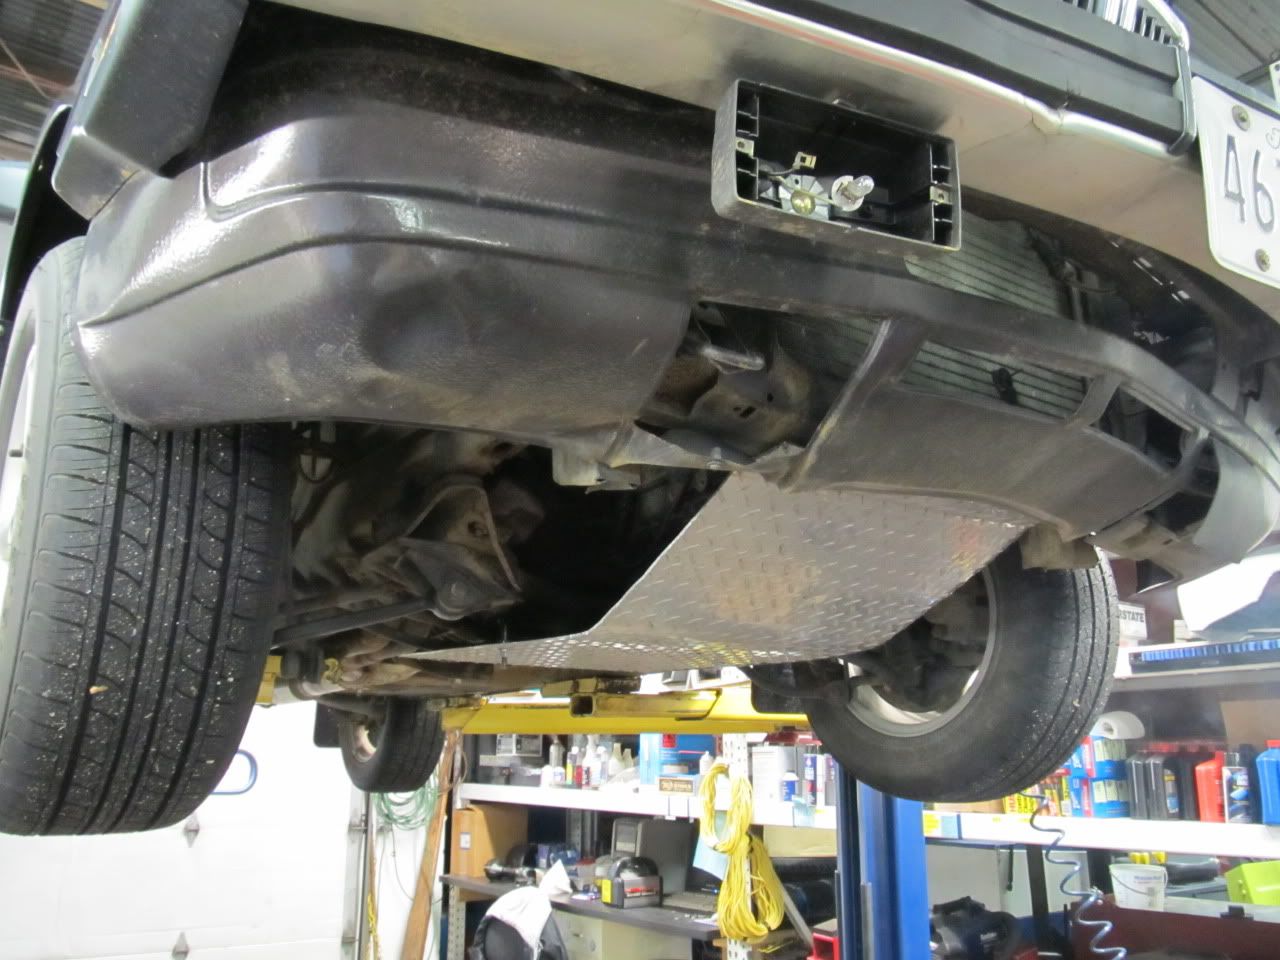
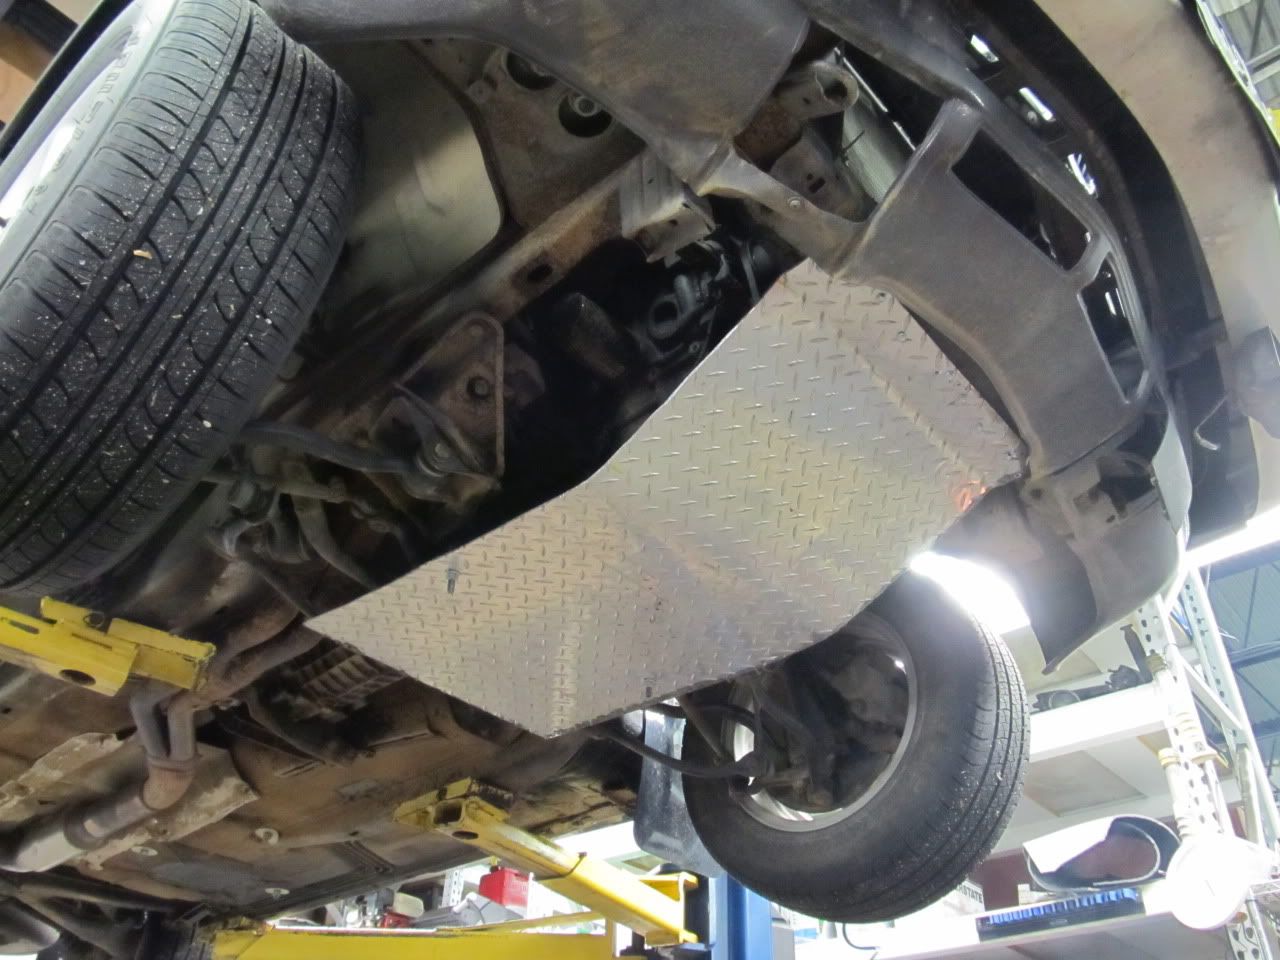
All done!
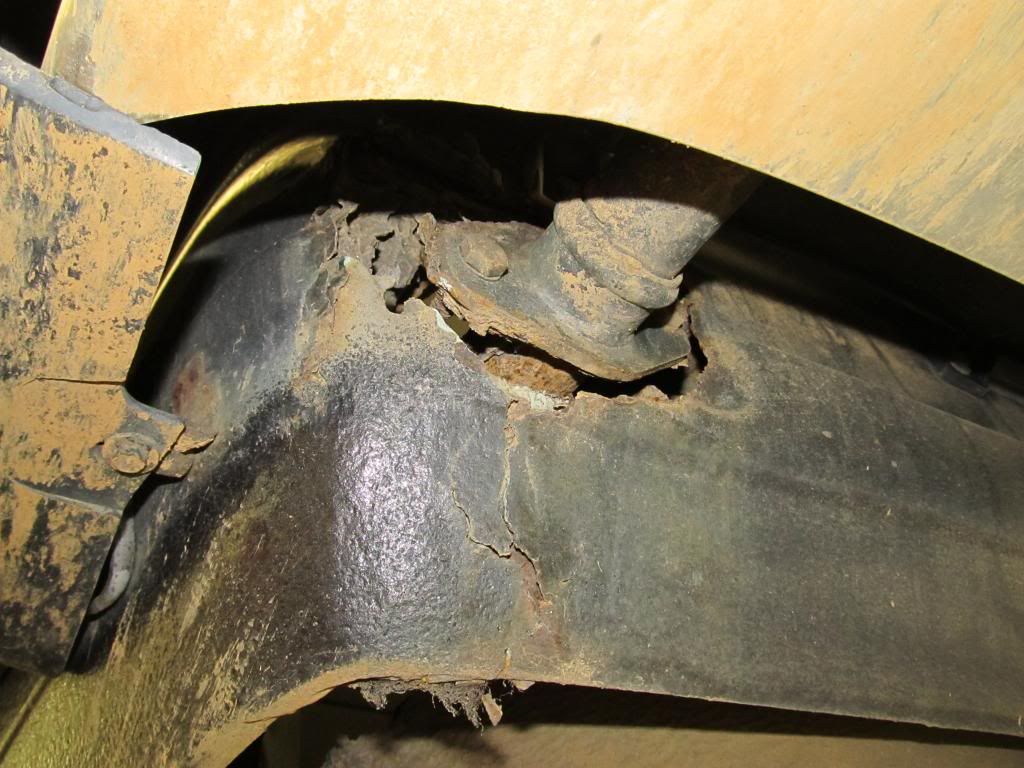
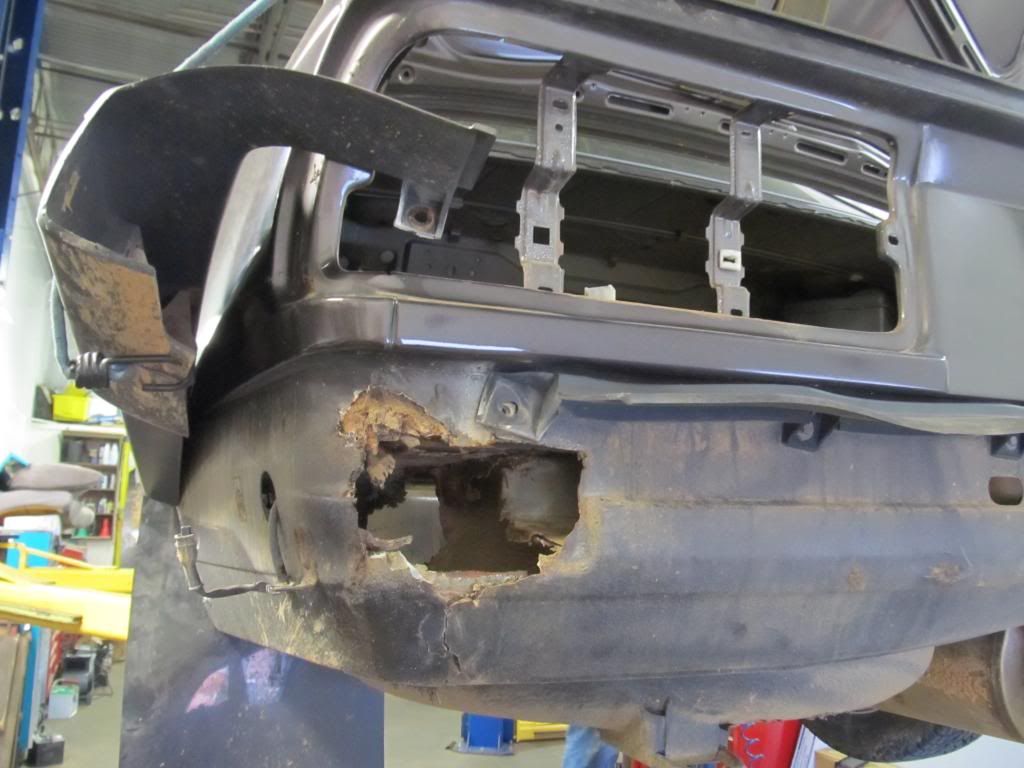
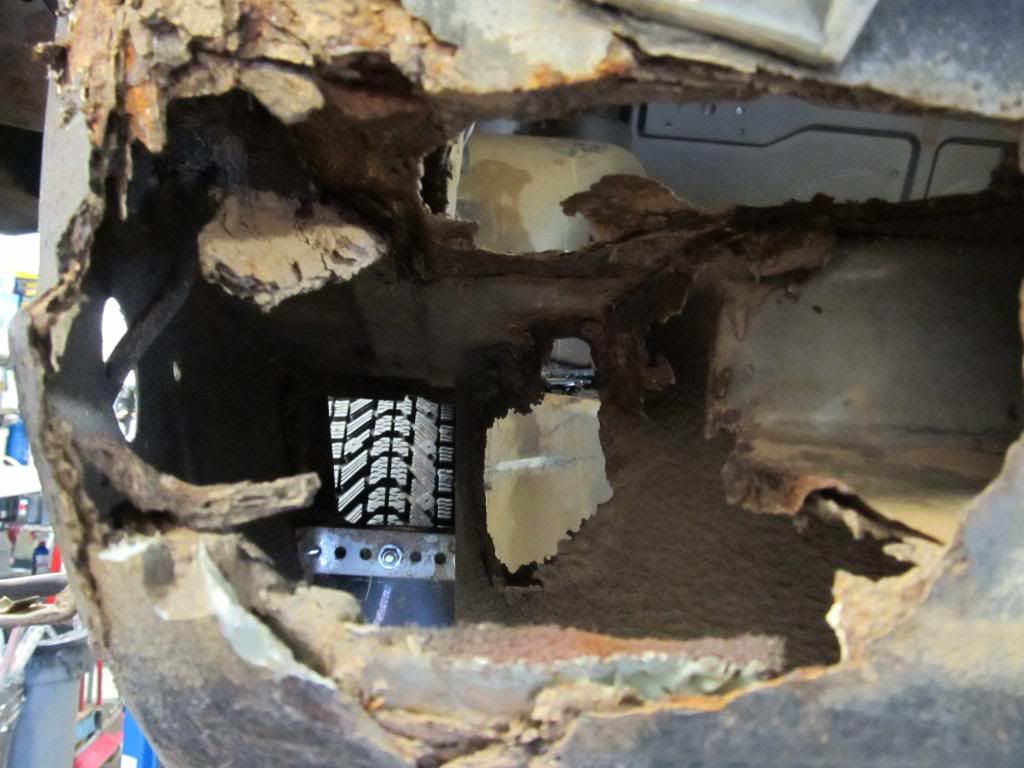
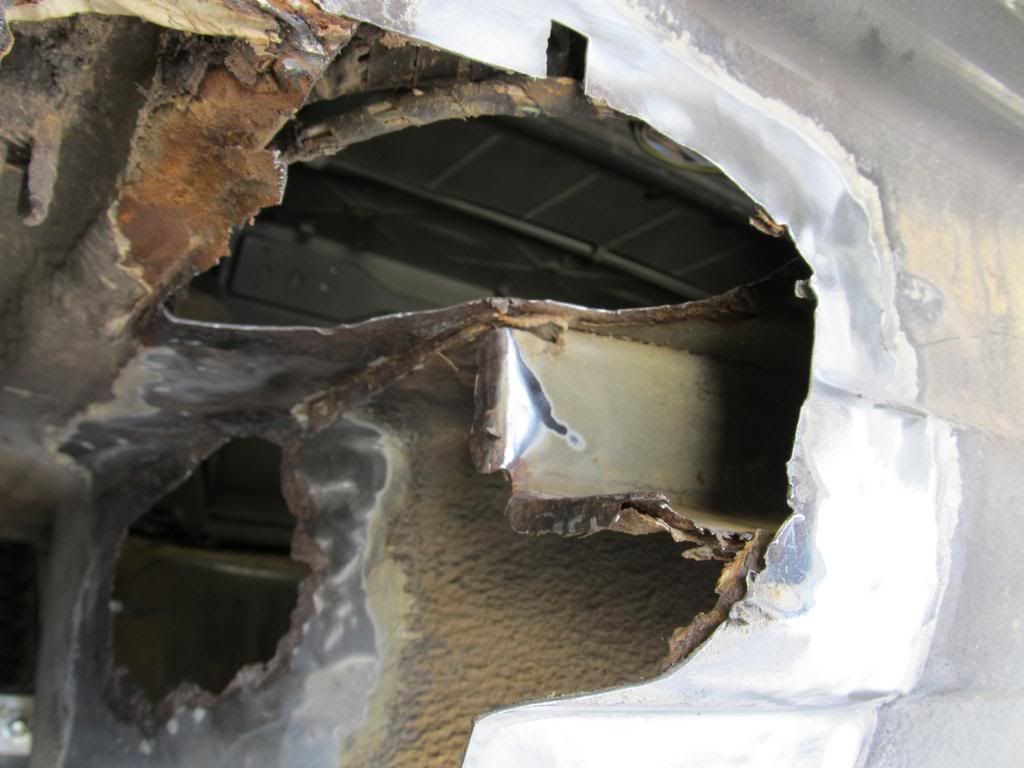
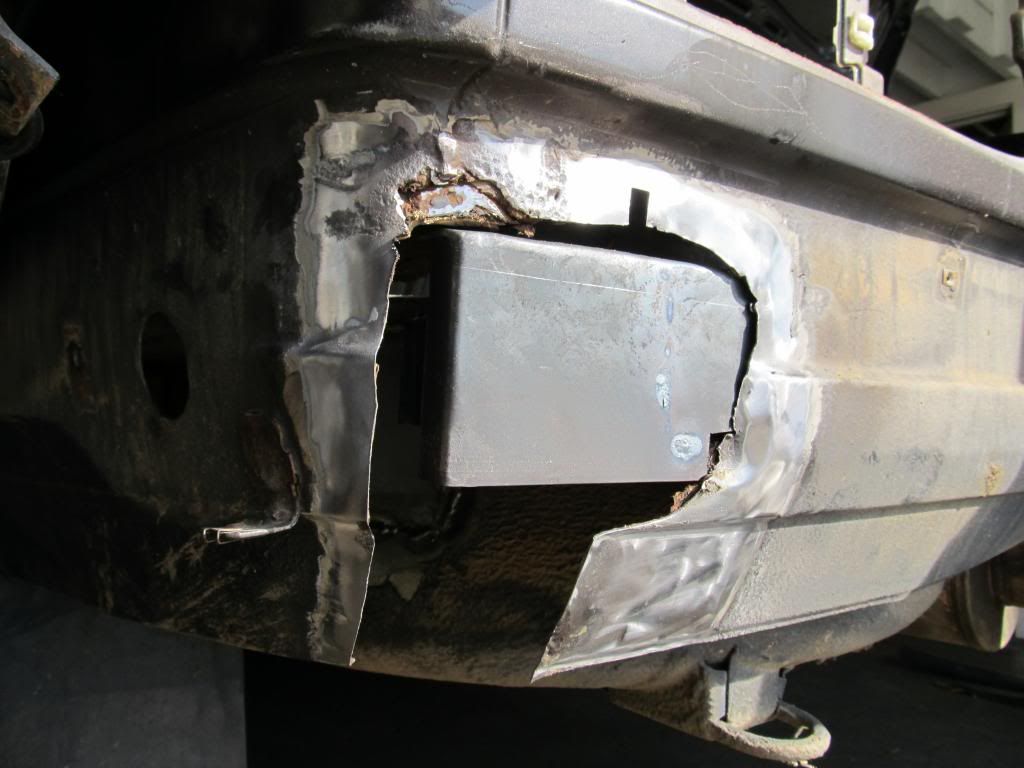
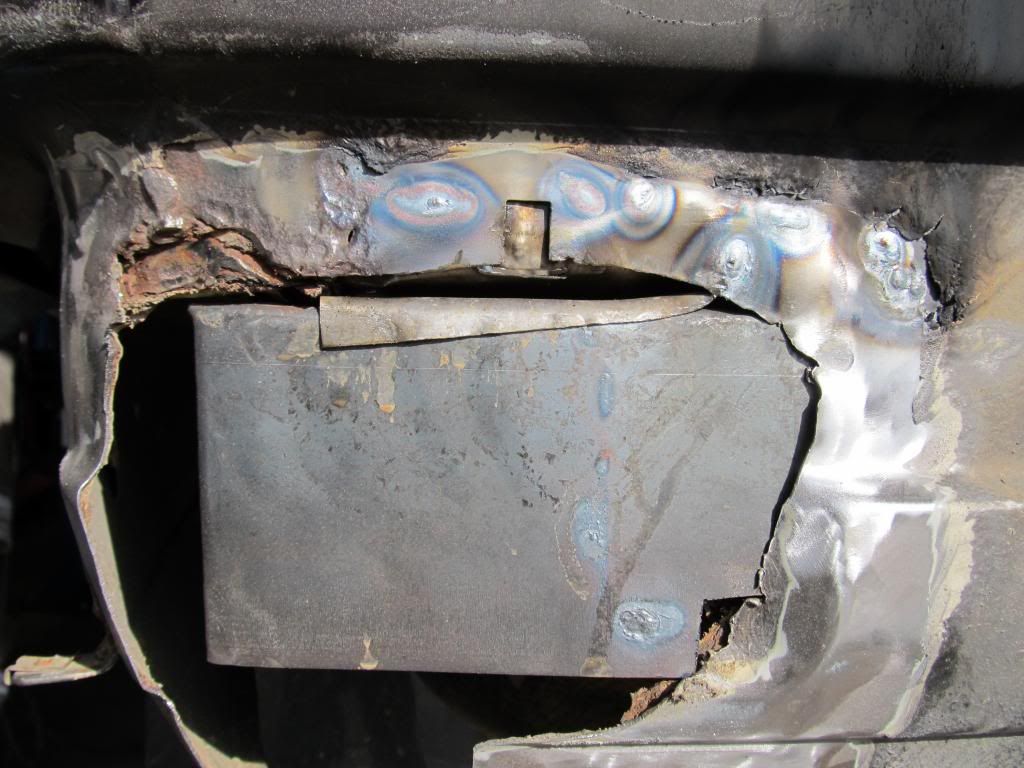
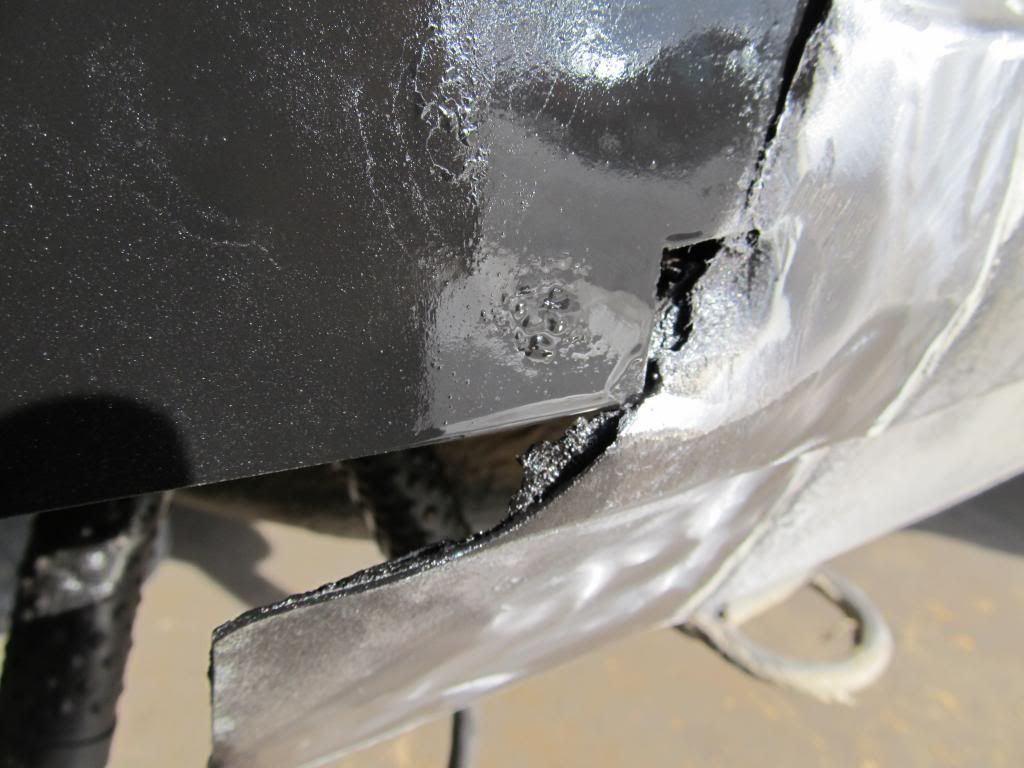
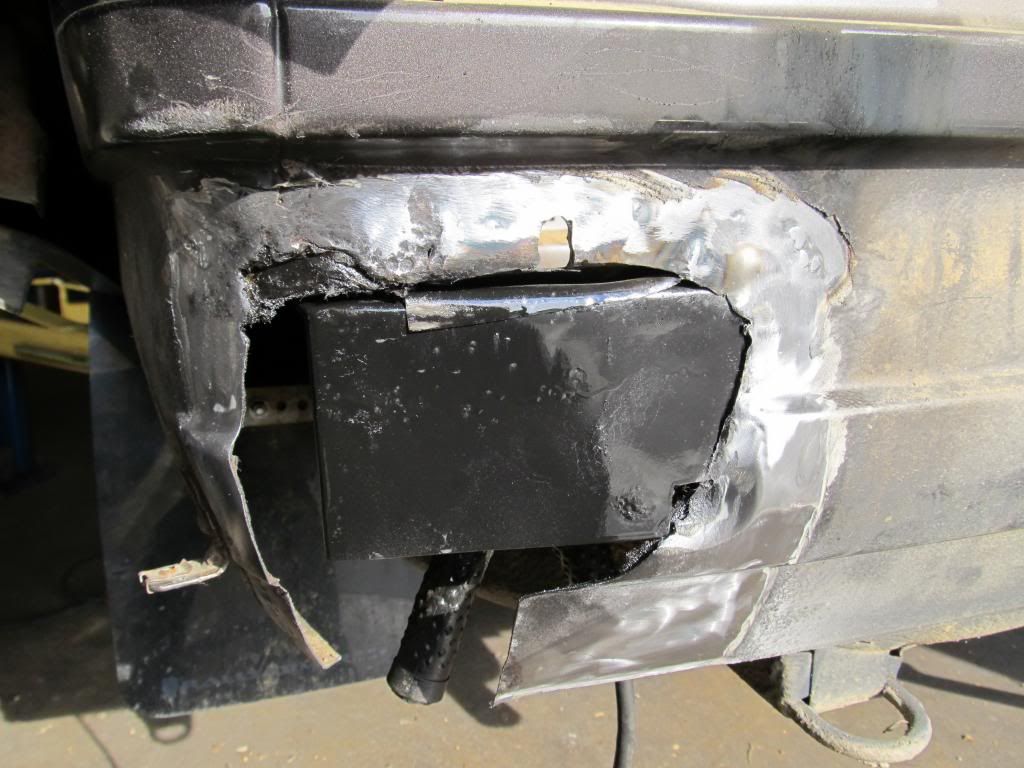
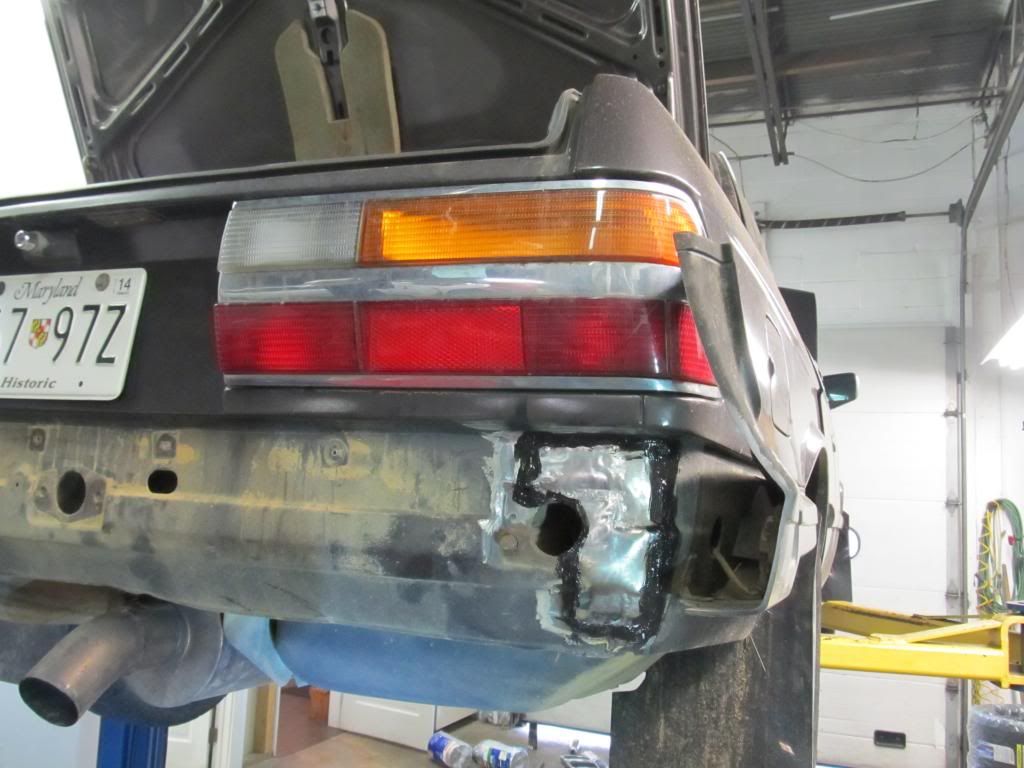
Um, I think it's broken
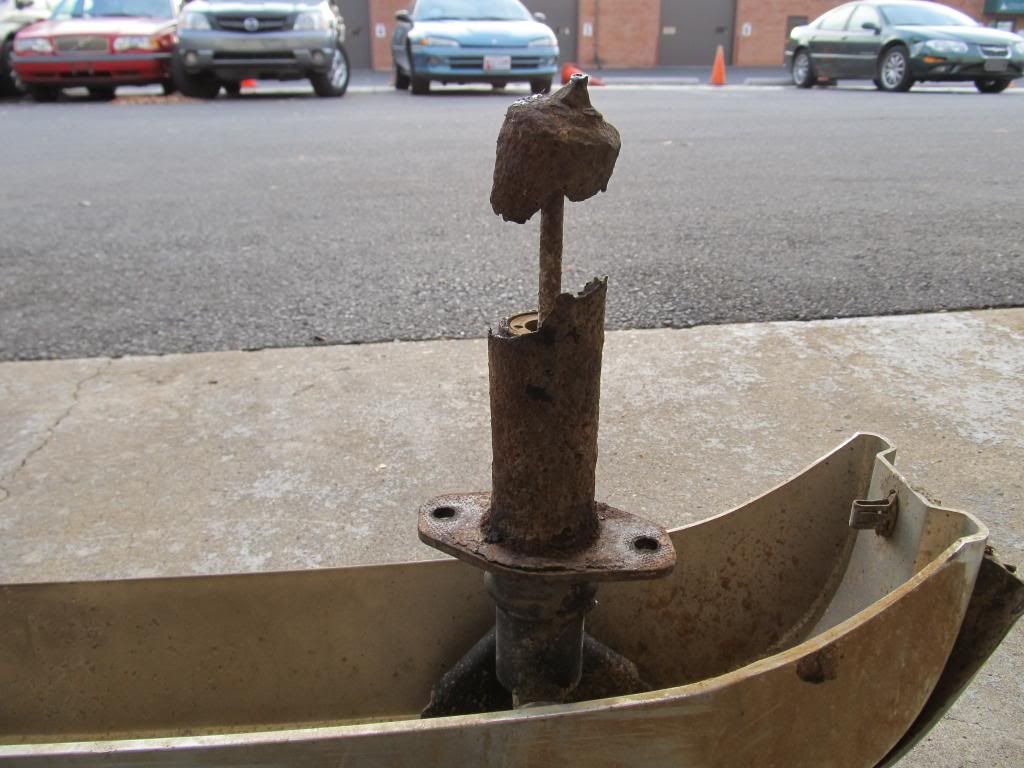
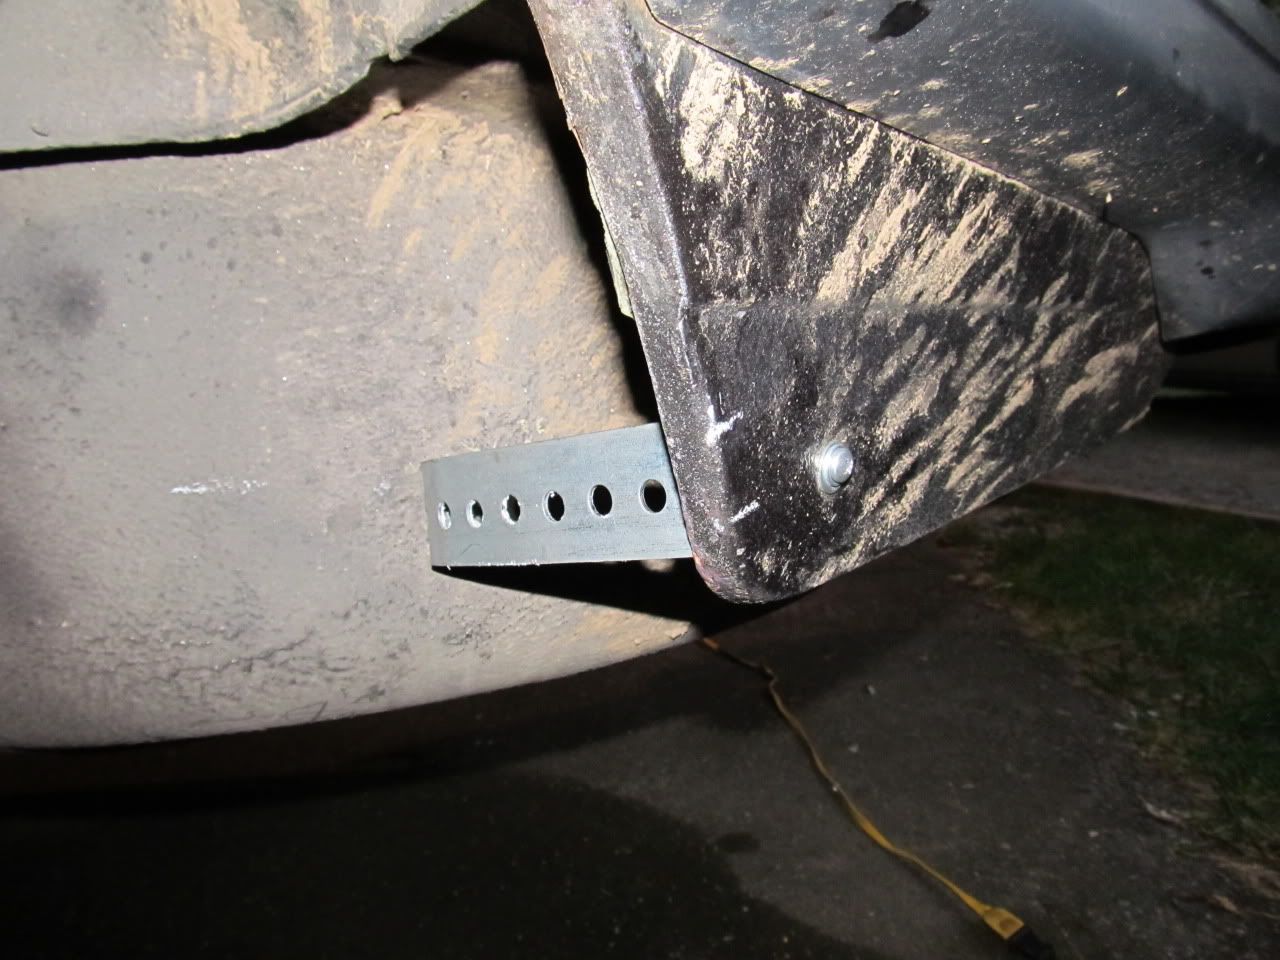
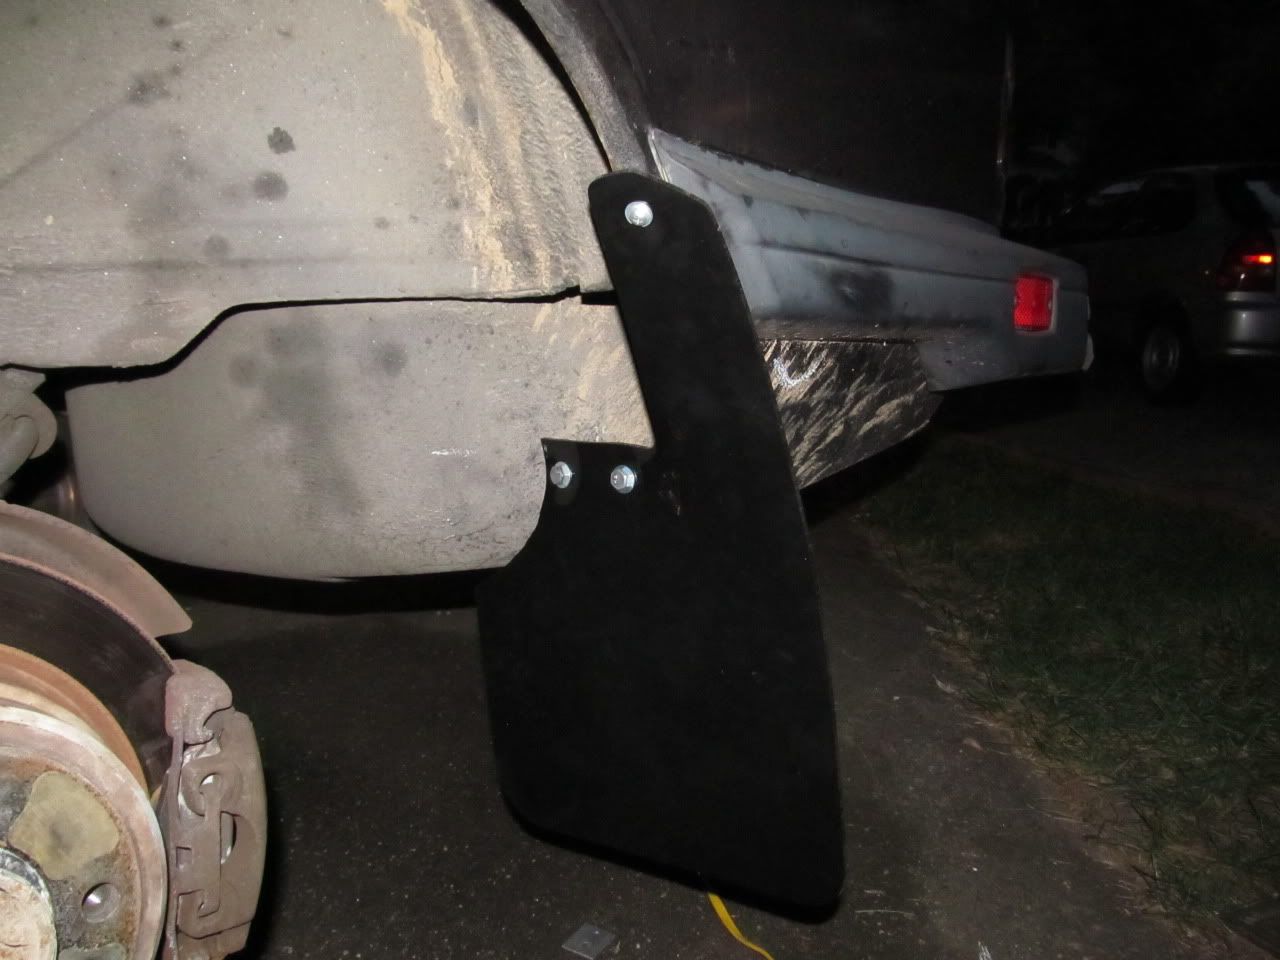
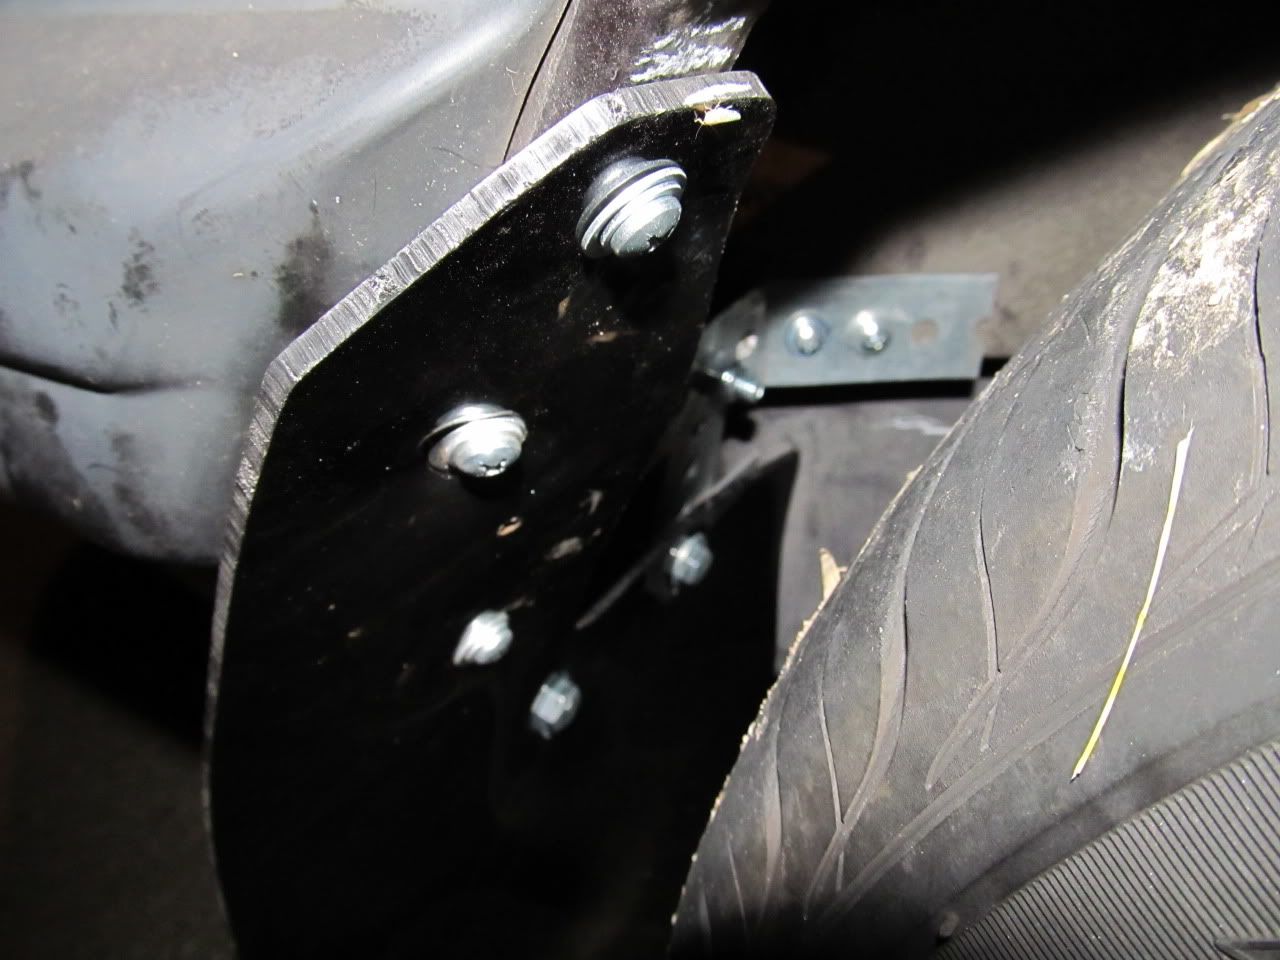
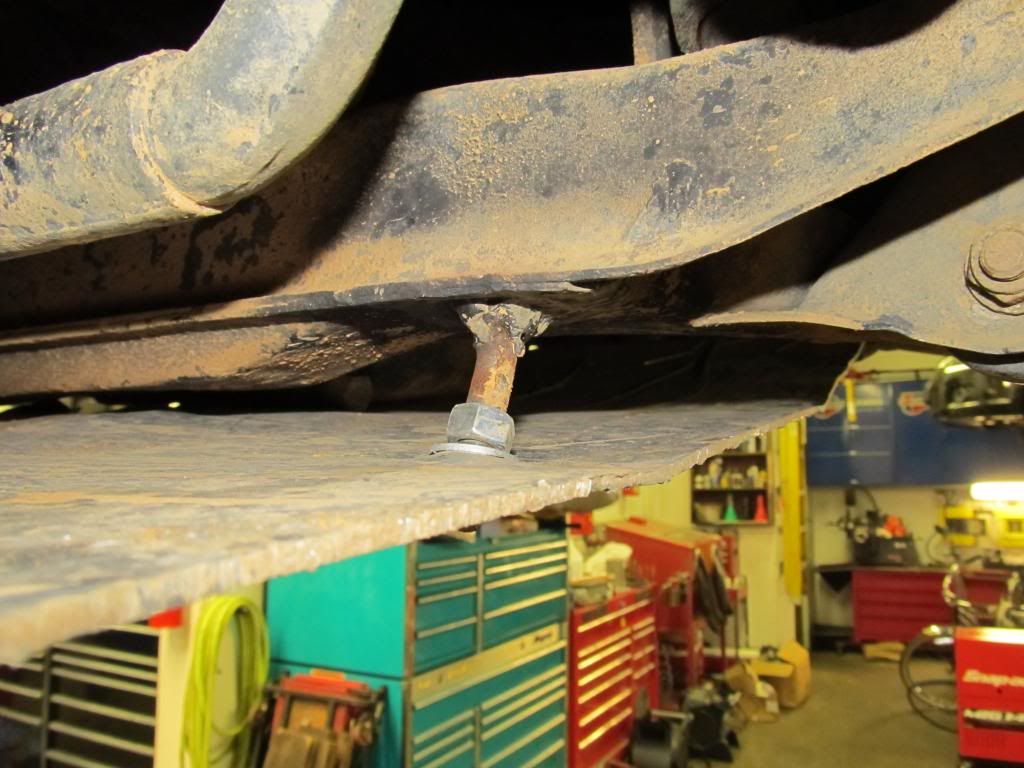
So we had planned to do the normal method of tucking in the diving board bumpers by drilling out the oil and sticking a bolt through to hold it in place. Eric had other plans!
We ended up tucking about 1.5" of the rear bumper. We had other plans for the front though...
Pictures of finished product are coming....
Posted: Apr 24, 2013 9:55 AM
by 95maxrider
I'm not sure if it's my computer, the new Photobucket, or the org, but I have no idea why these pics aren't coming up full size. Let me know what you see on your end.
Well it's been a while since an update, so I think one is in order!
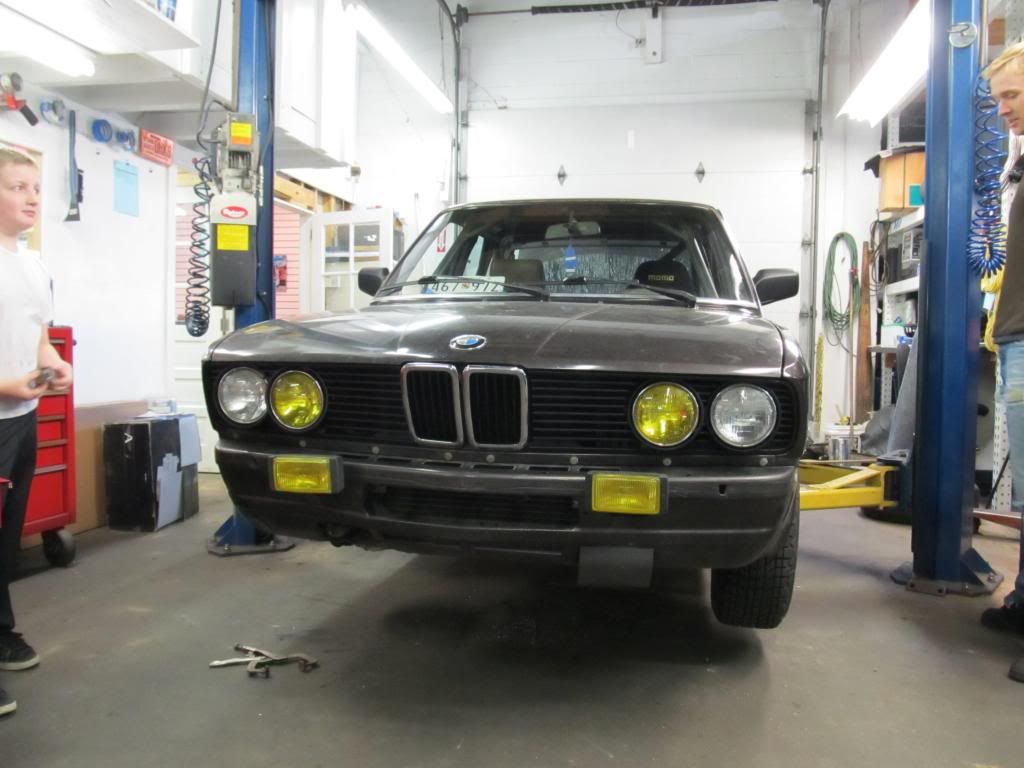
First, some pics of the car with the front bumper removed


Then it was on to the passenger side to fix a bit of surface rust. It was only on the exterior panel and wasn't anywhere near as bad as the other side. Unfortunately, I didn't get any good before pics, so these will have to suffice.
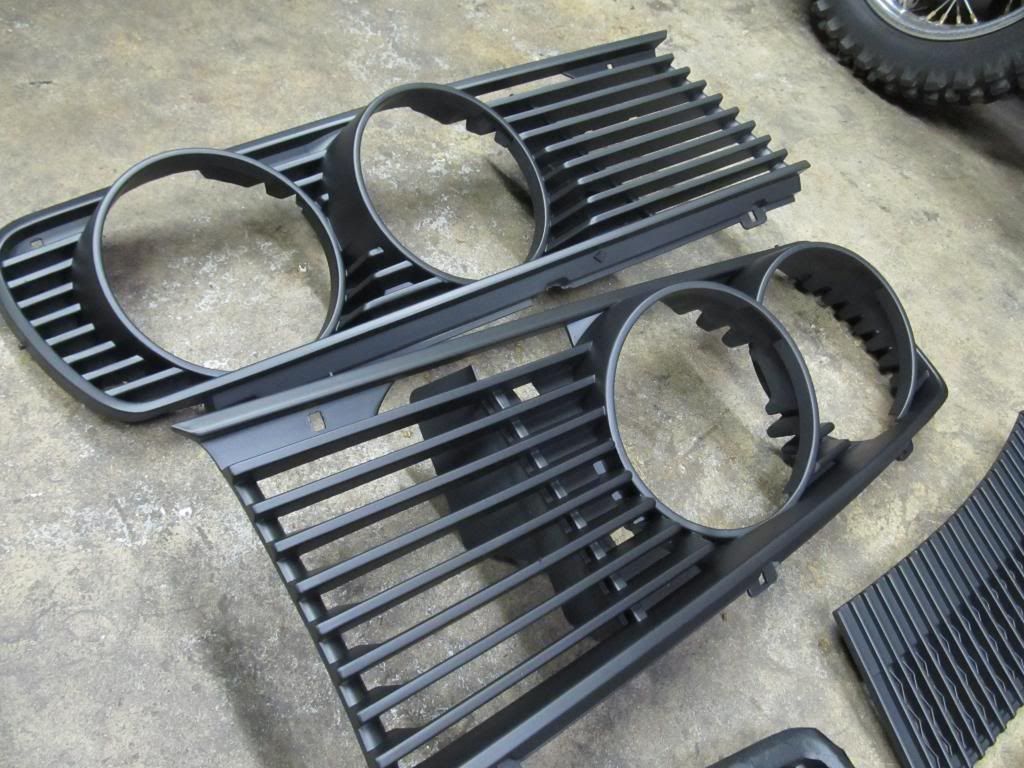
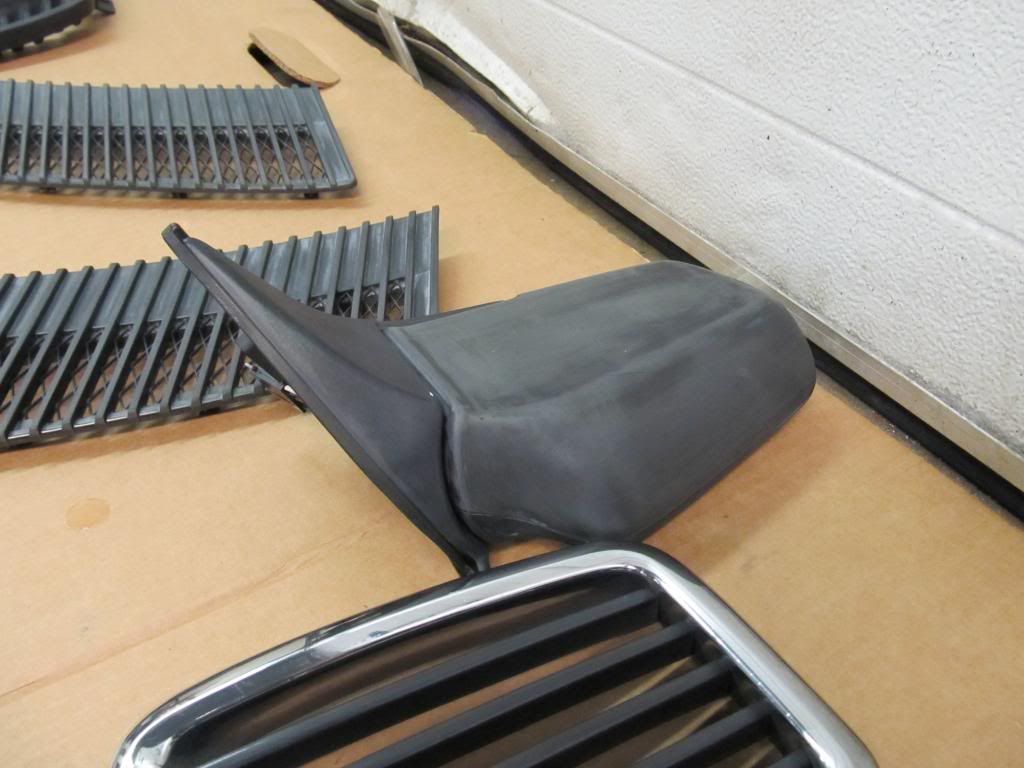
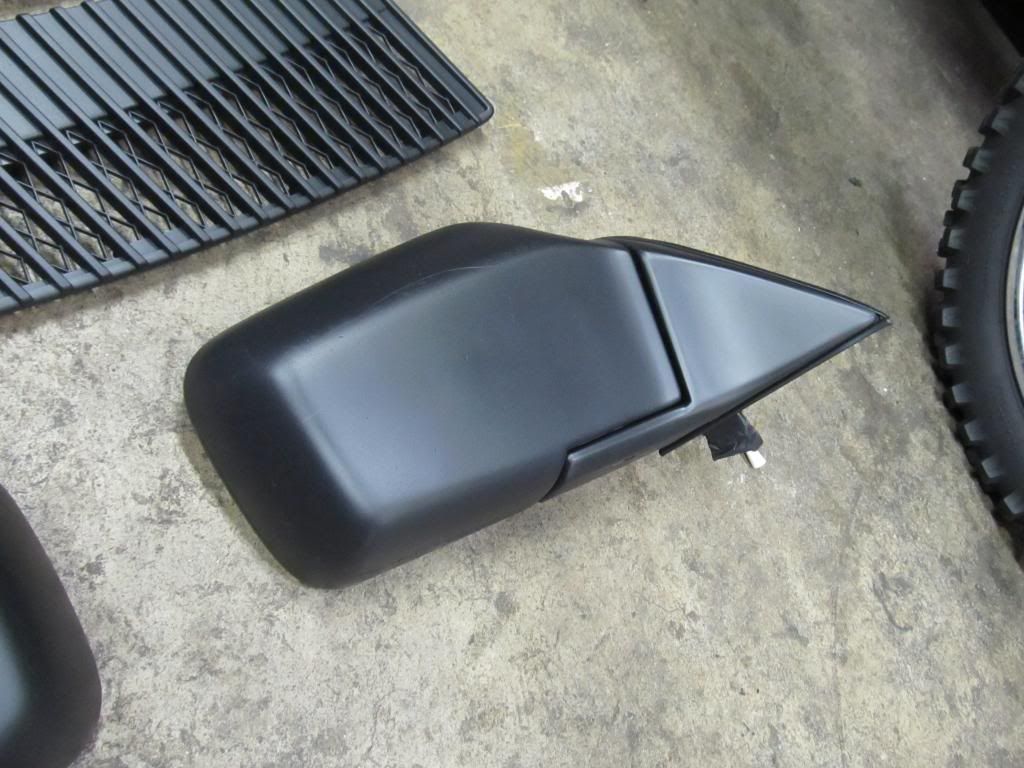
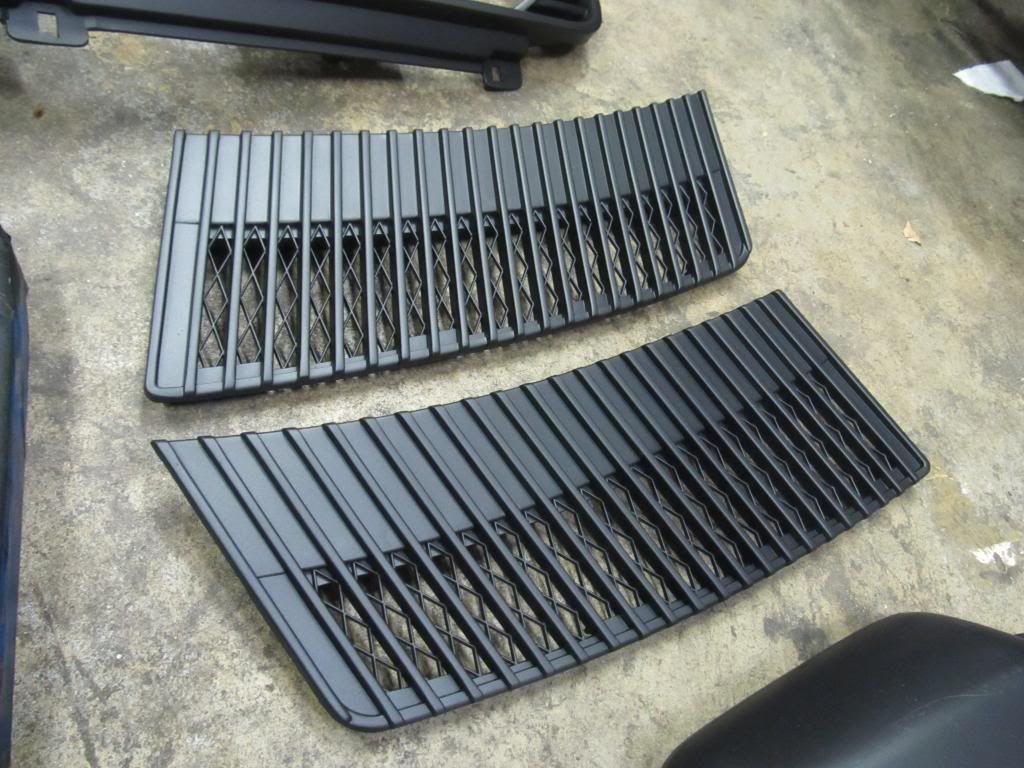
The black plastics on the exterior of the car were pretty faded, so I sanded them down, cleaned them off, and painted them flat black. Thankfully, it turned out pretty well.
Before:
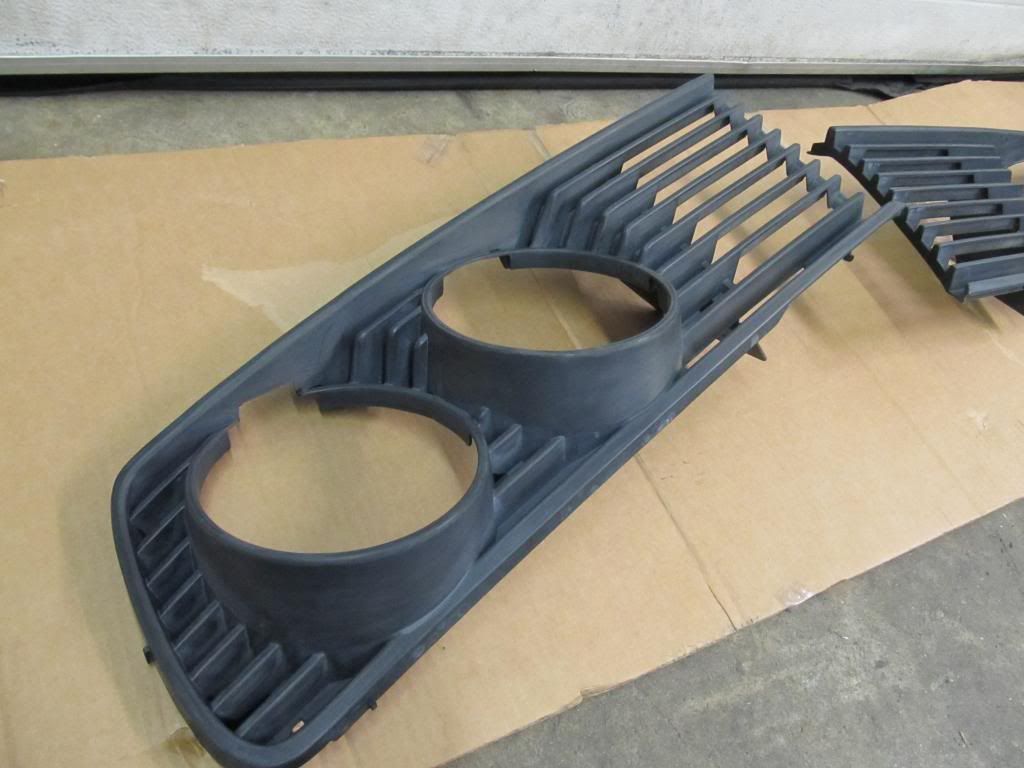
After:

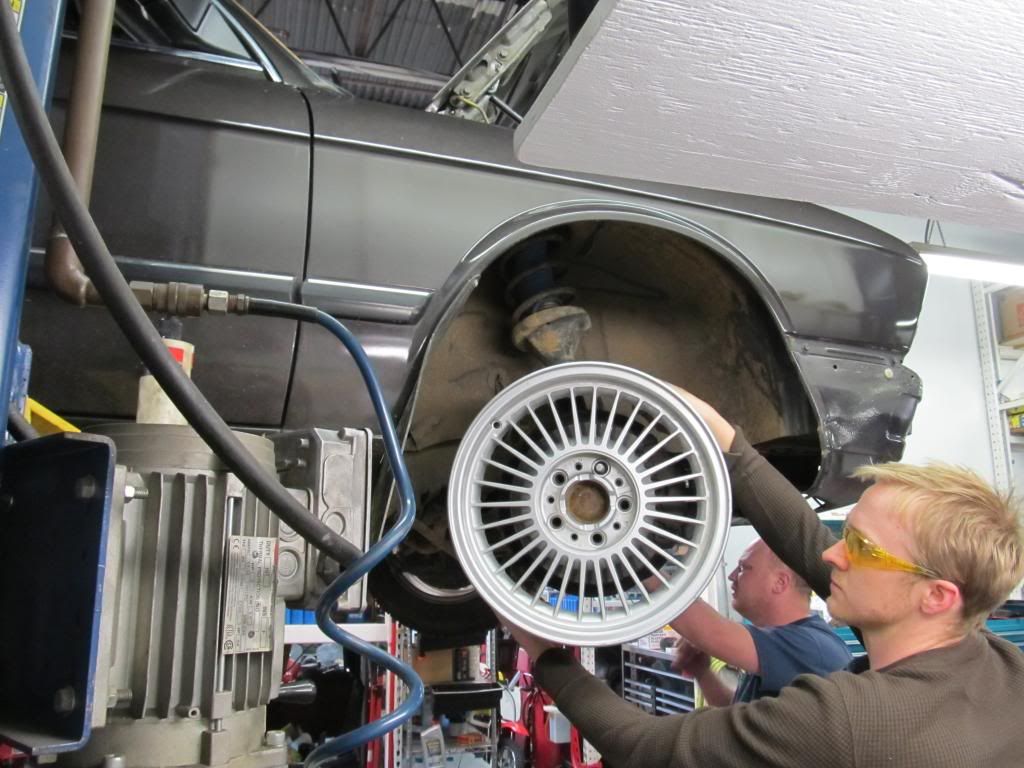
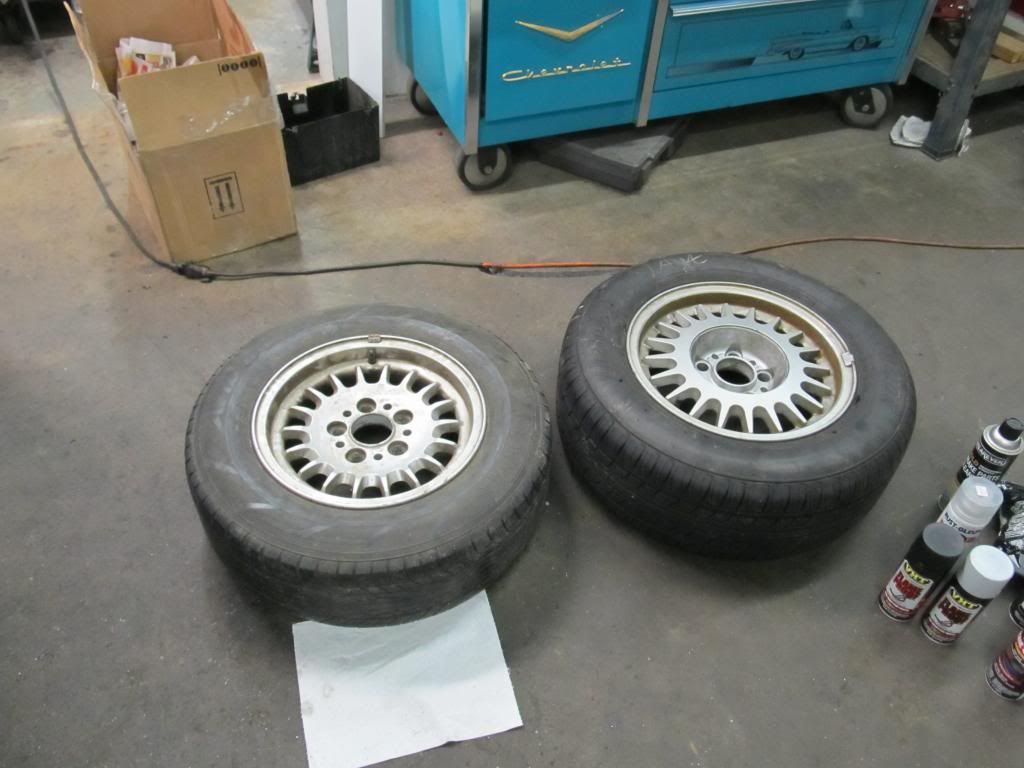
We decided to test fit one of the style 4 wheels, and learned it pretty much rubs against the strut, so we need at least a 12mm spacer.
Posted: Apr 24, 2013 9:56 AM
by 95maxrider
Posted: Apr 24, 2013 11:01 AM
by bavarianautowrks
This is excellent.
Posted: Apr 25, 2013 9:30 AM
by BDK
Ivo built a rally car for Dakar (IIRC) and installed an e34 Shocks/Springs to give it extra ride height....
Pretty cool, Email him for pics and specs.
Posted: Apr 25, 2013 10:39 AM
by leadphut
Awesome! Love the skid bracing too. Keep the updates coming!
With the weight balance, I bet these cars do well when jumped. I think you need to jump the car. This car wants to be jumped. Jump the car!

Posted: Apr 26, 2013 8:42 PM
by 95maxrider
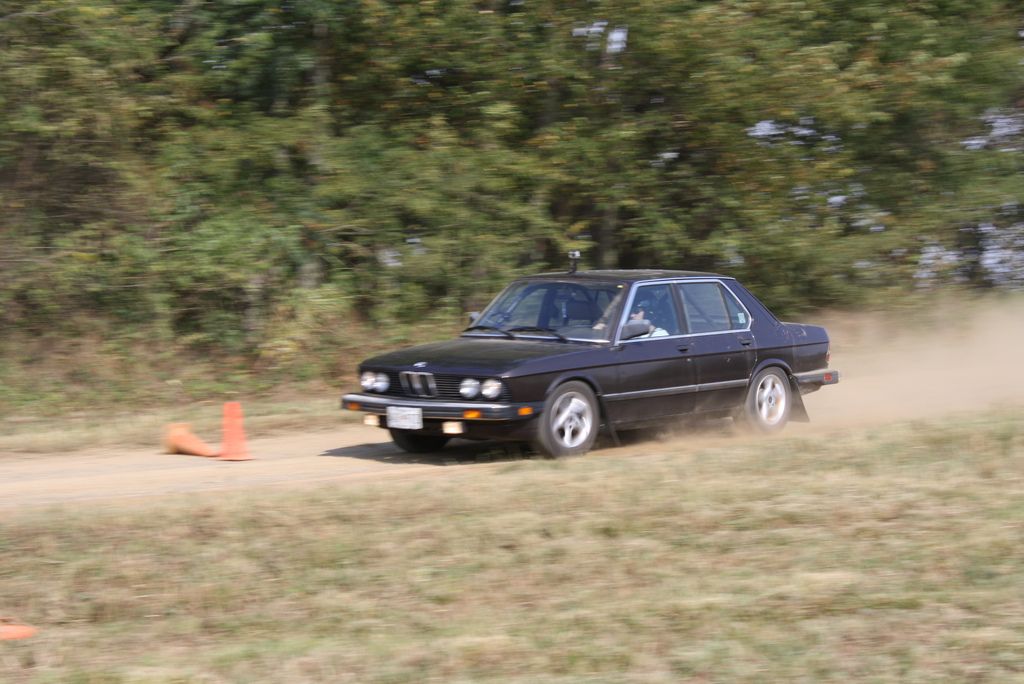
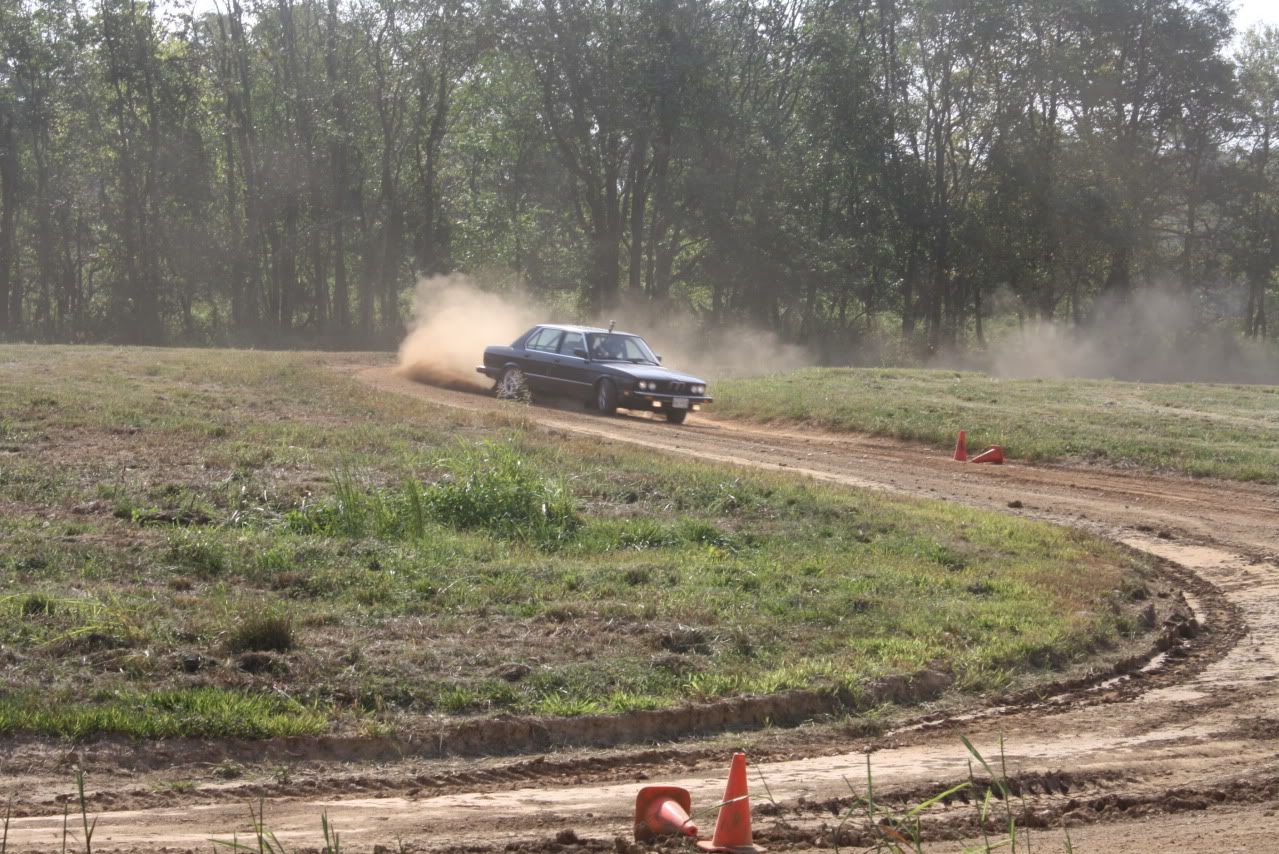
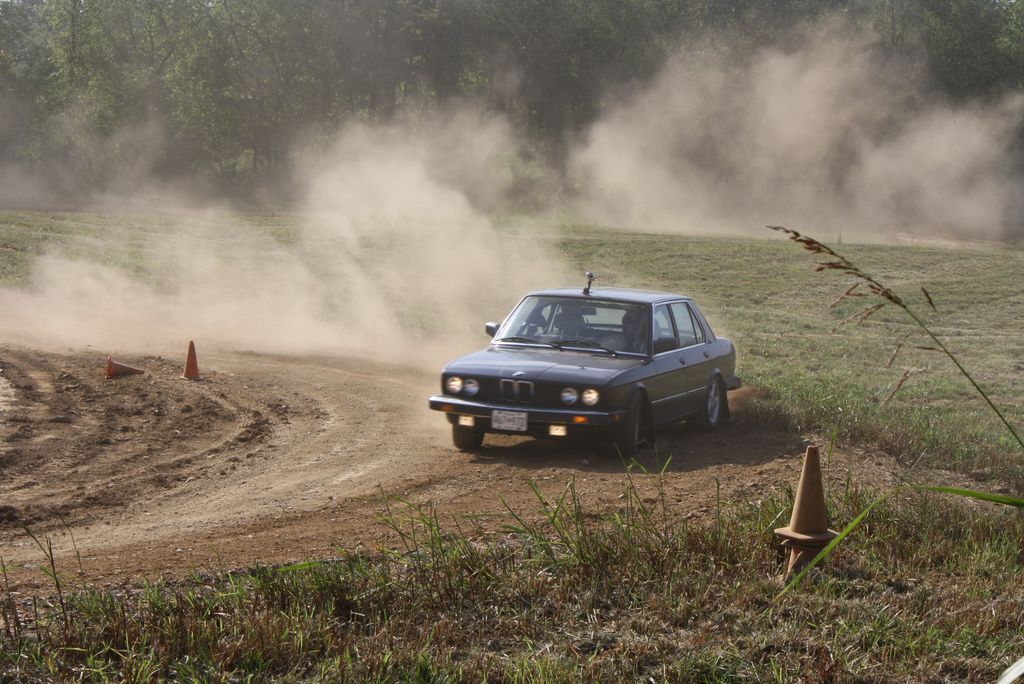
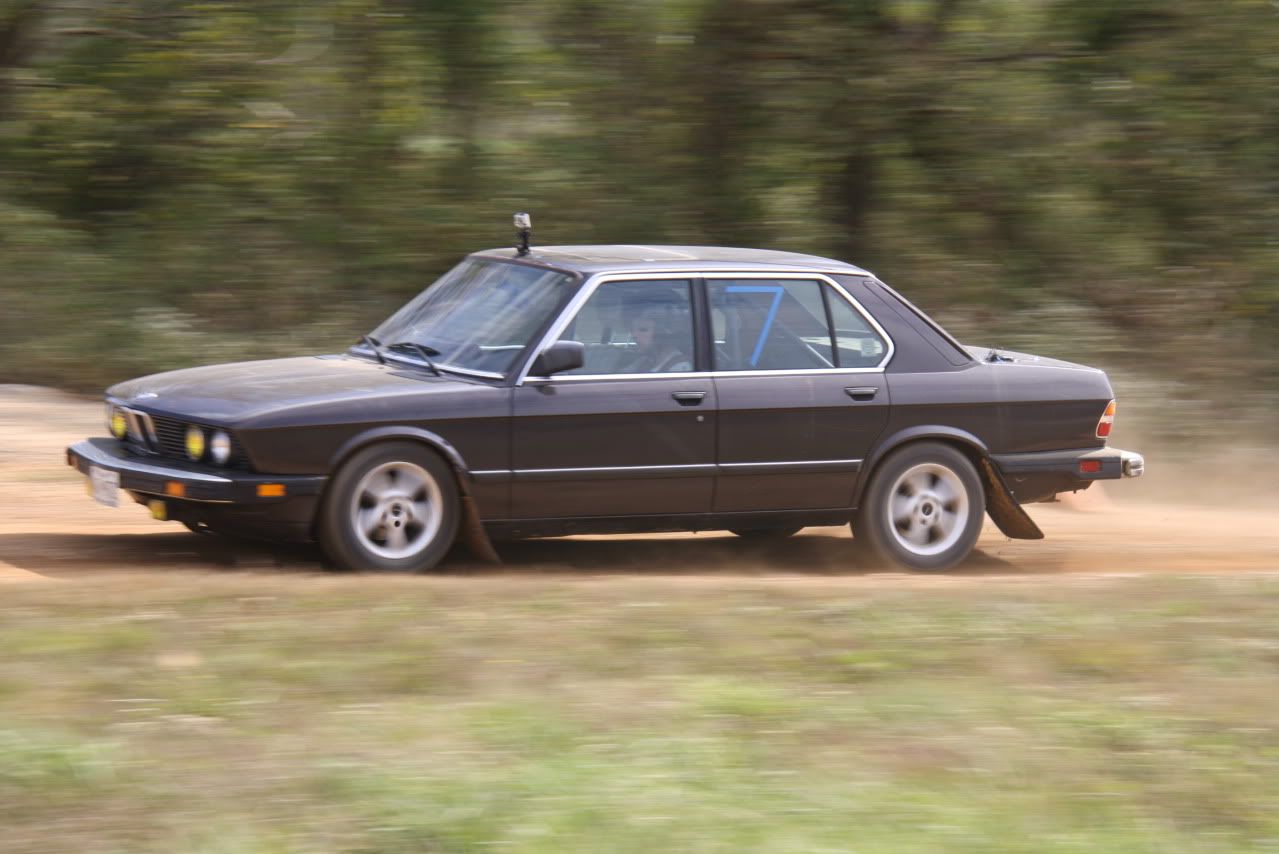
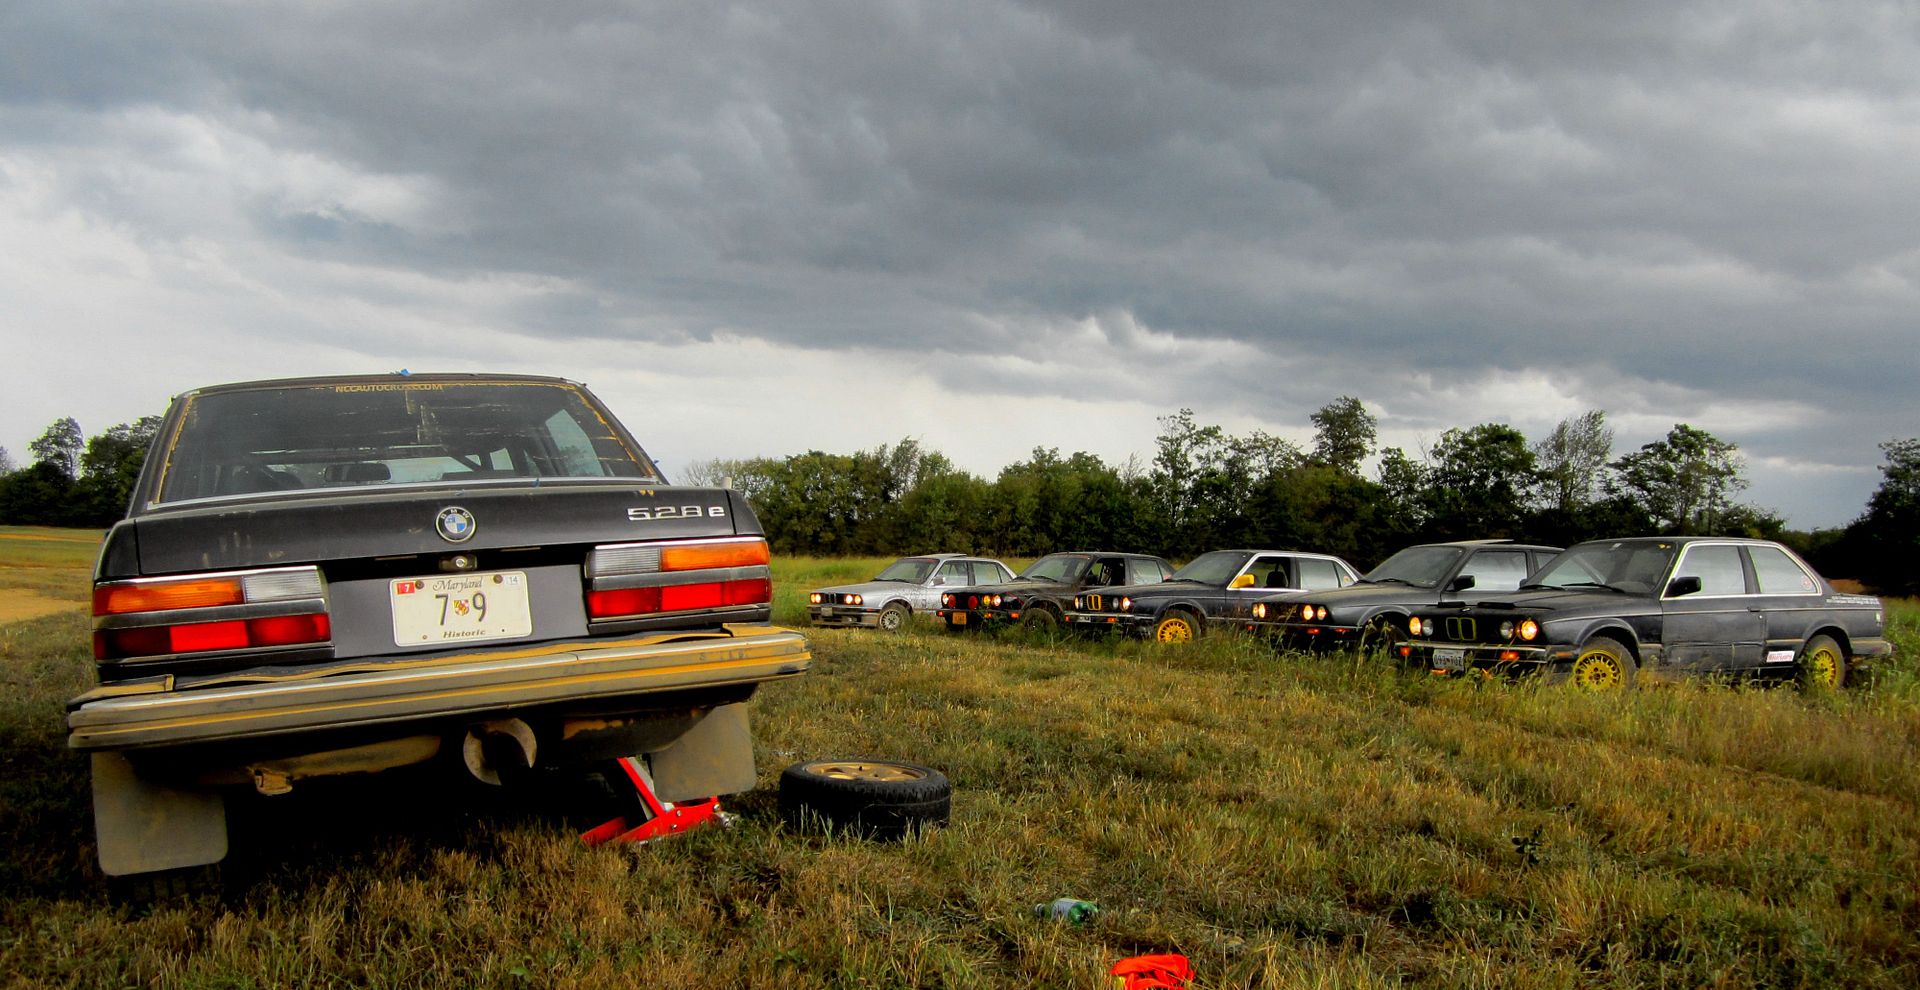
Here's a pic my buddy took at our first race where we popped a tire after like three runs. The E30s look on...
We run with a local group called "The Dirty E30s", you can check out their Facebook page for more.
Posted: Apr 26, 2013 8:44 PM
by 95maxrider
Posted: Apr 26, 2013 8:46 PM
by 95maxrider
Well we spent all day in the garage yesterday and got a fair amount of stuff done.
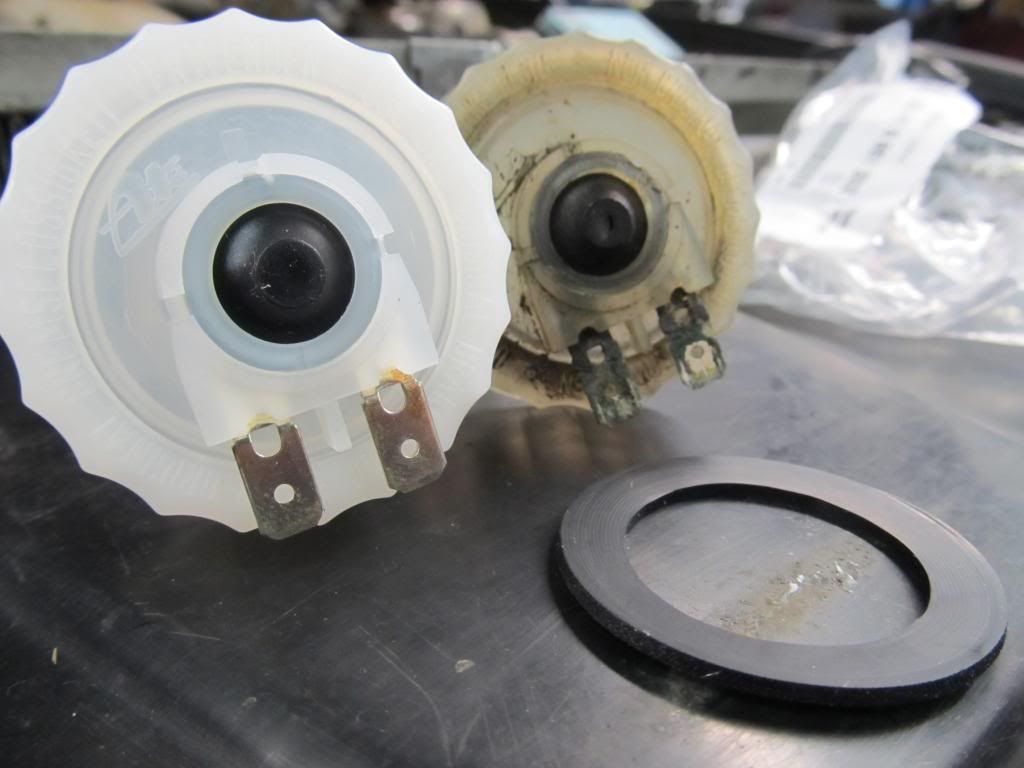
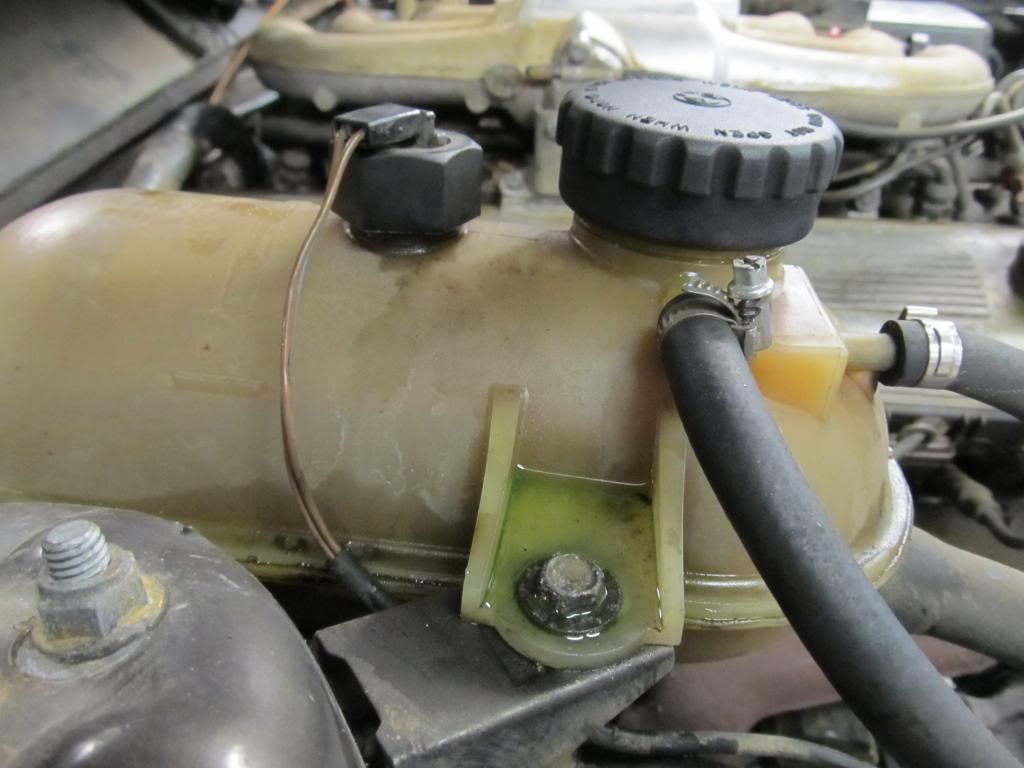
First up was comparing the new PS and brake fluid reservoir caps to the old ones to find out why the old ones were leaking. Closer inspection revealed a torn rubber cap on the brake fluid cap and a worn out/crushed rubber o-ring on the PS cap. The will hopefully take care of two fluid leaks in the engine bay.
Old PS cap
New PS cap
New and old brake fluid caps
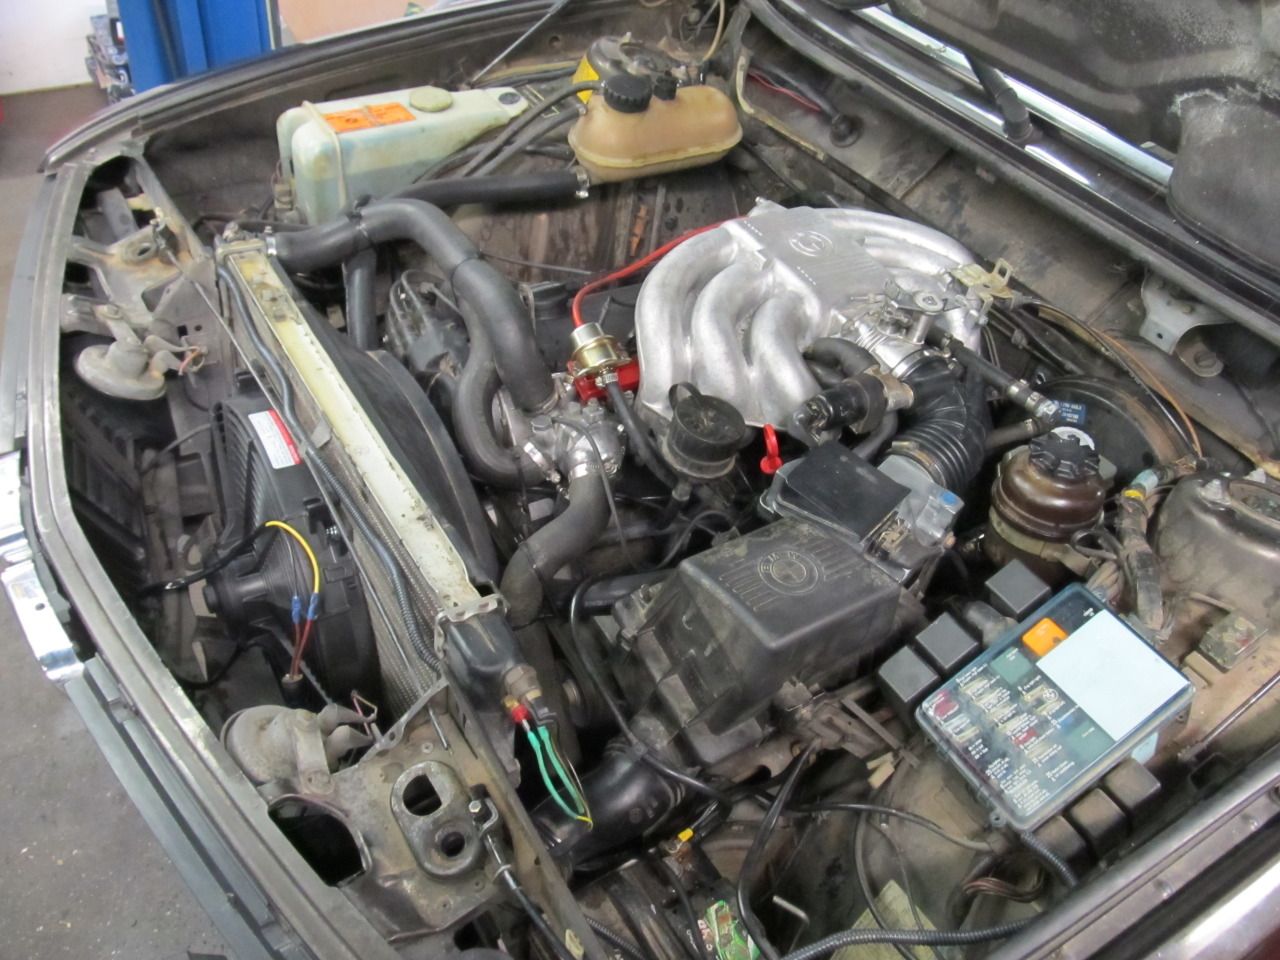
Then it was on the replace the leaking coolant hose under the IM. This was the thing that was leaking at the final event last year, and not the HG. The hoses had started deteriorating and expanding, and the connector used wasn't exactly meant for the job.
Location:
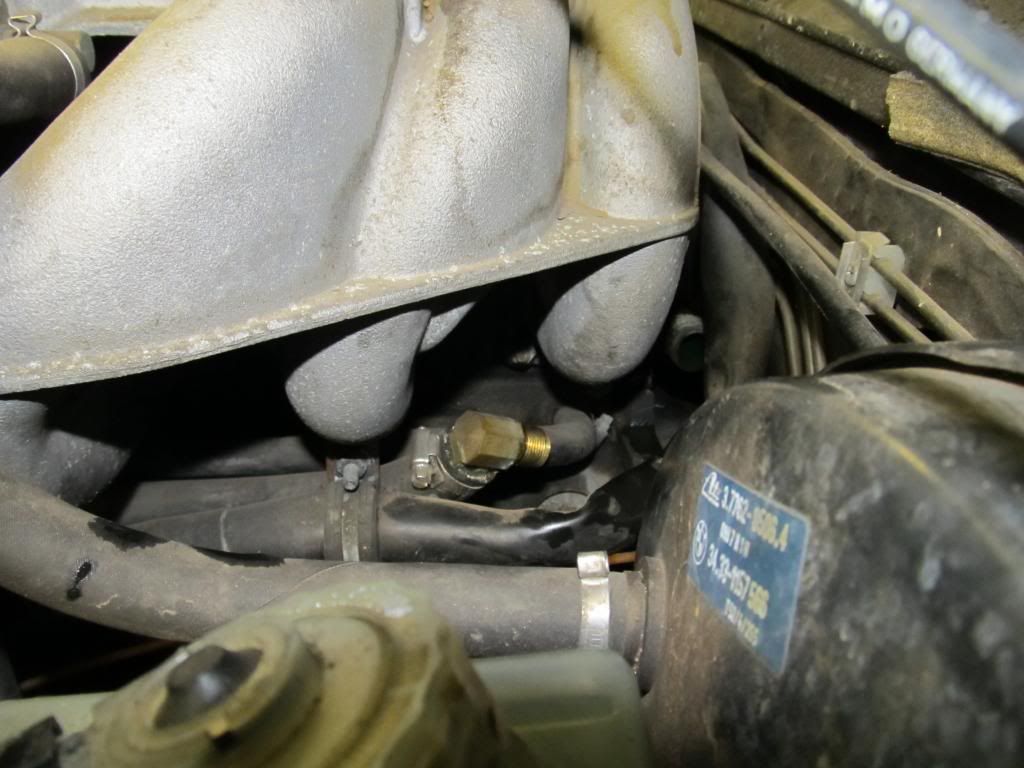
The culprit
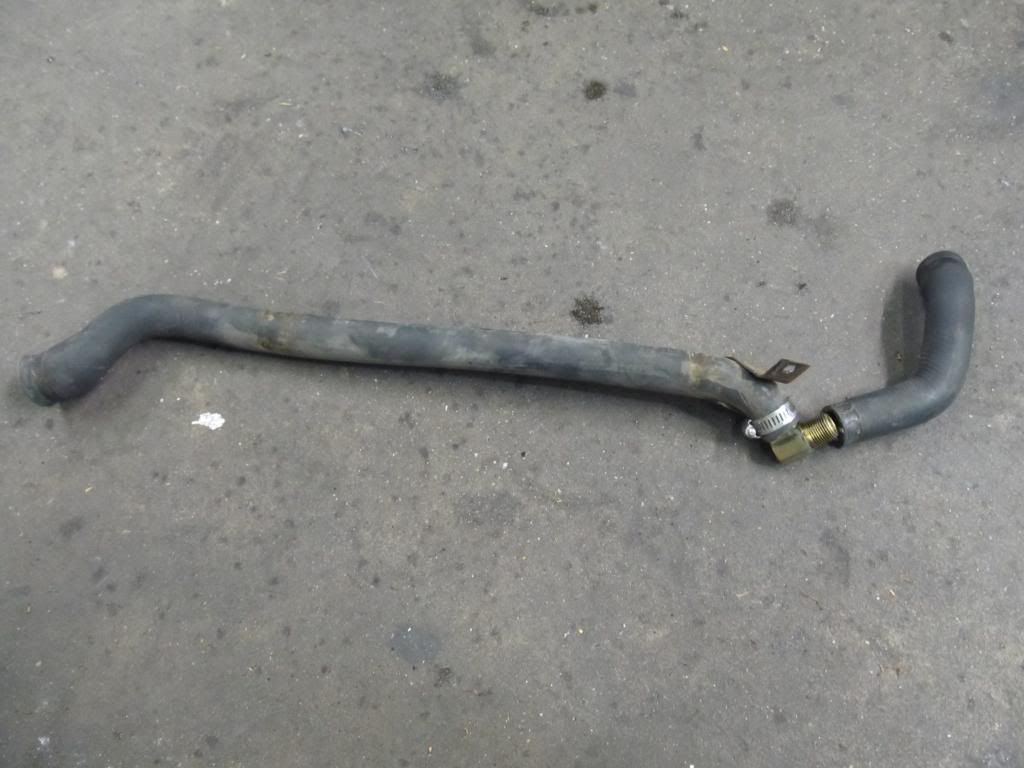
The solution
After filling and burping the system, we found another leak. Hooray! This one was coming out of the fluid level sensor for the coolant overflow tank. I'm thinking we should replace the sensor and the tank at the same time and just be done with it.
We then mounted that one 15" tire we had to buy at the test and tune last year when I popped a dry rotted tire on a wheel I got off the forums. It's a bit bigger than the stock 14"!
And then we applied the decals on top of our 20% tint

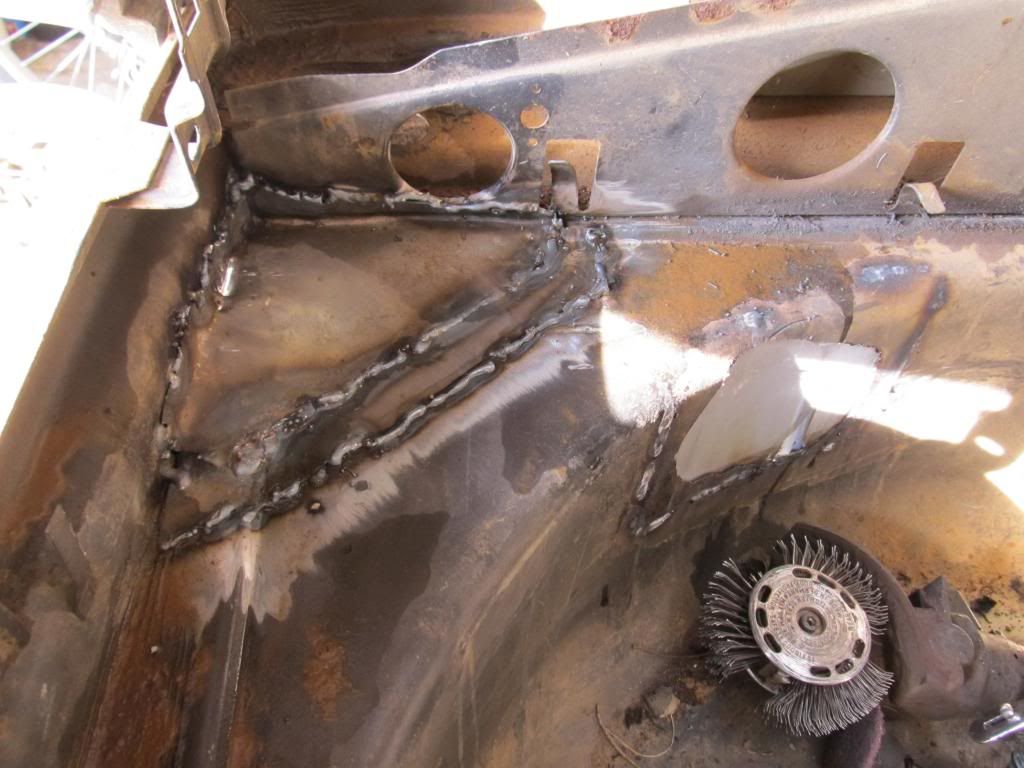
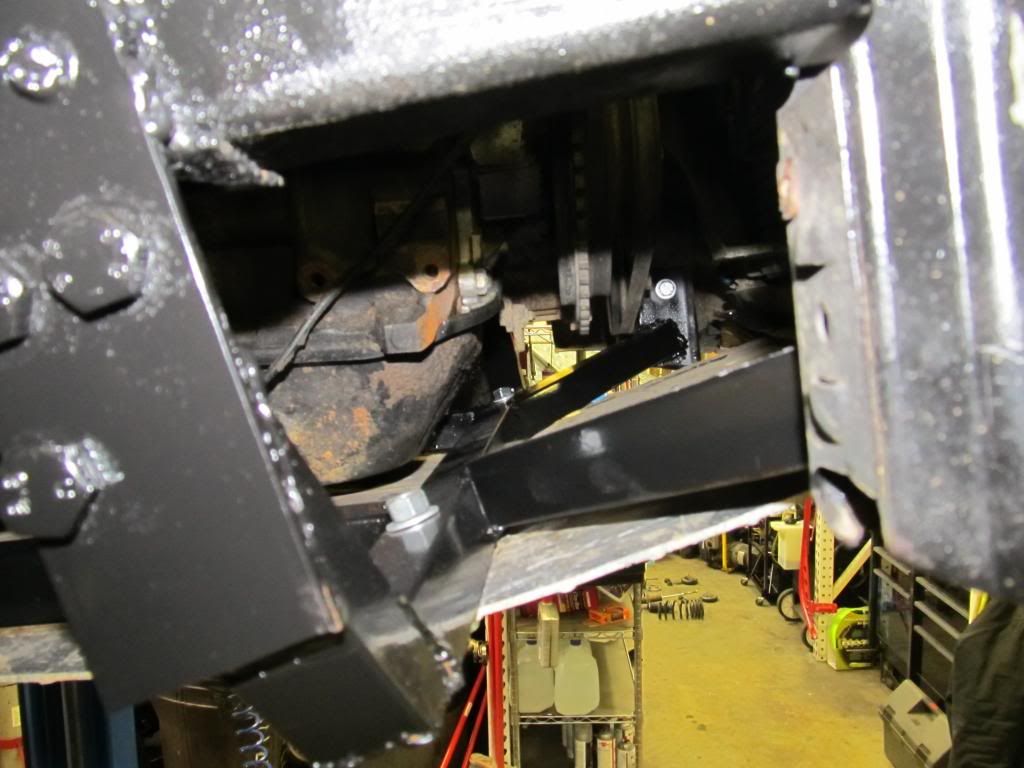
Then Eric finished welding the bracing for the skid plate (it was just tack welded before in some areas) and painted it up.
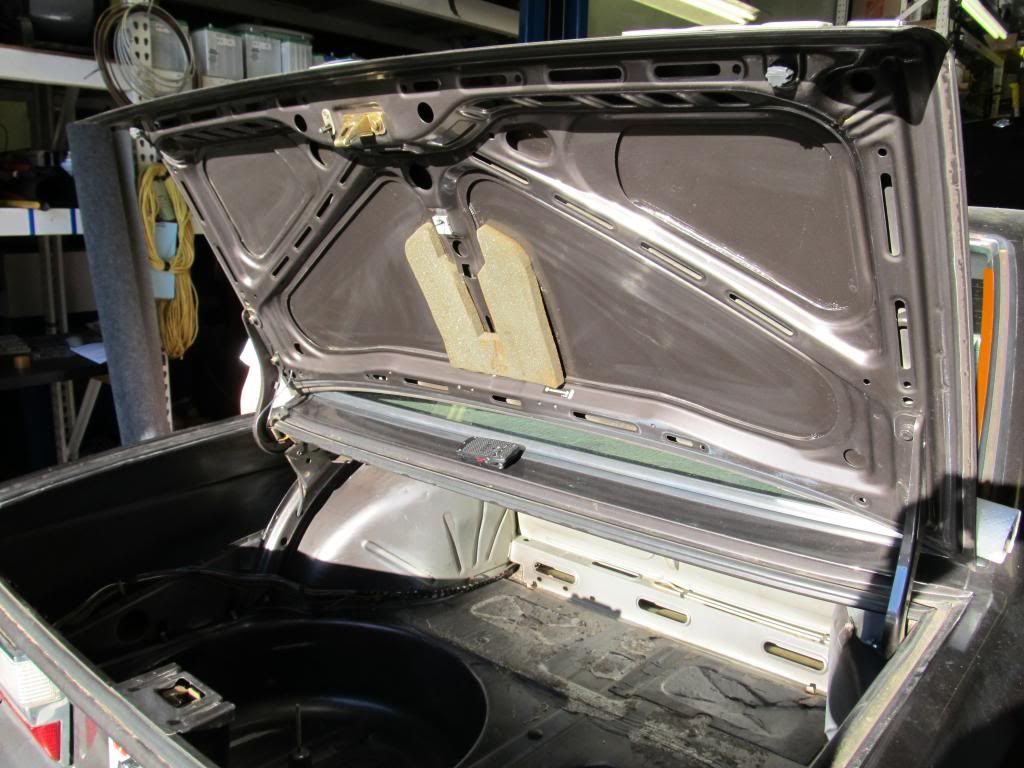
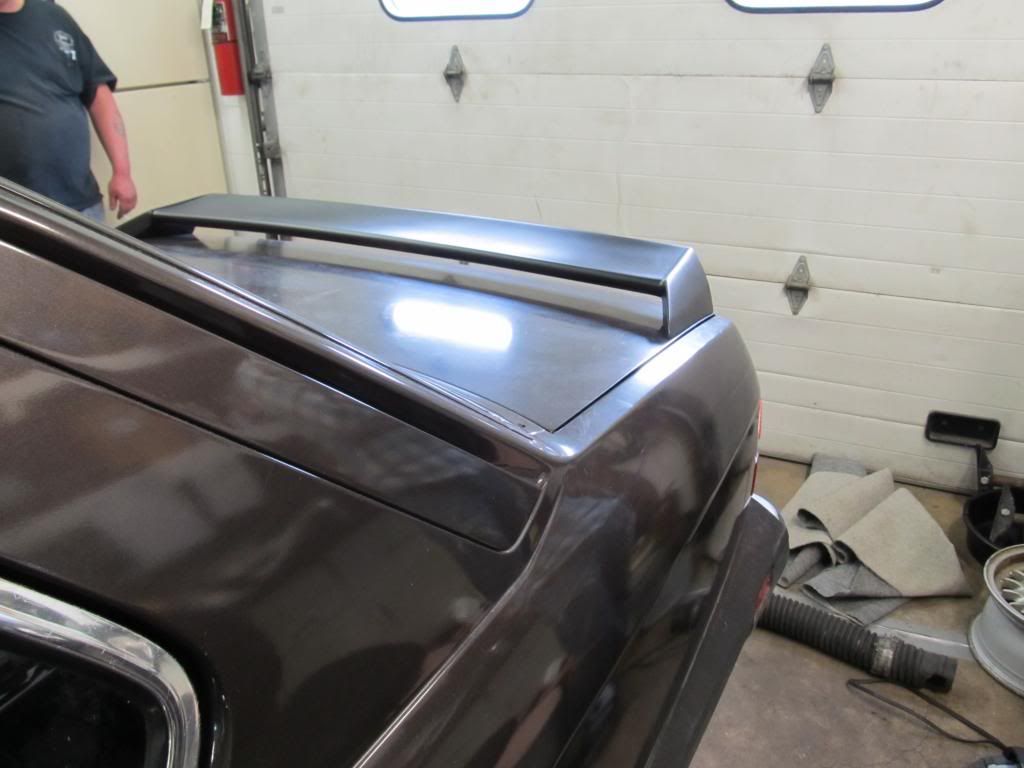
Then I painted the spoiler we found on Ebay and test fitted it on the car
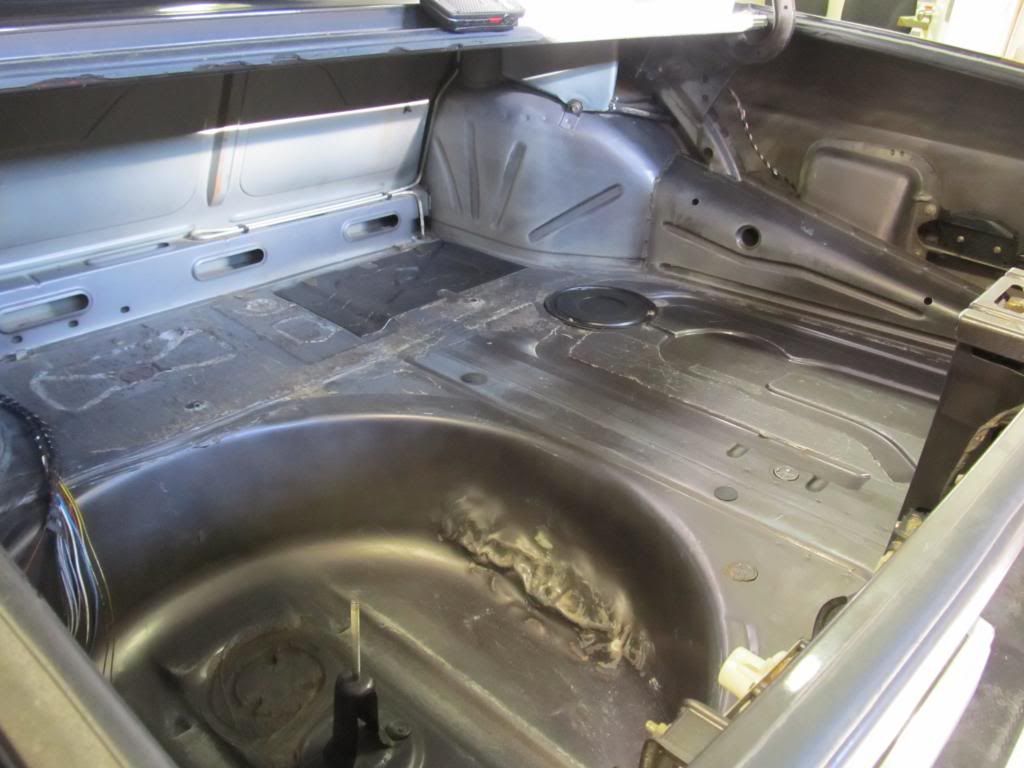
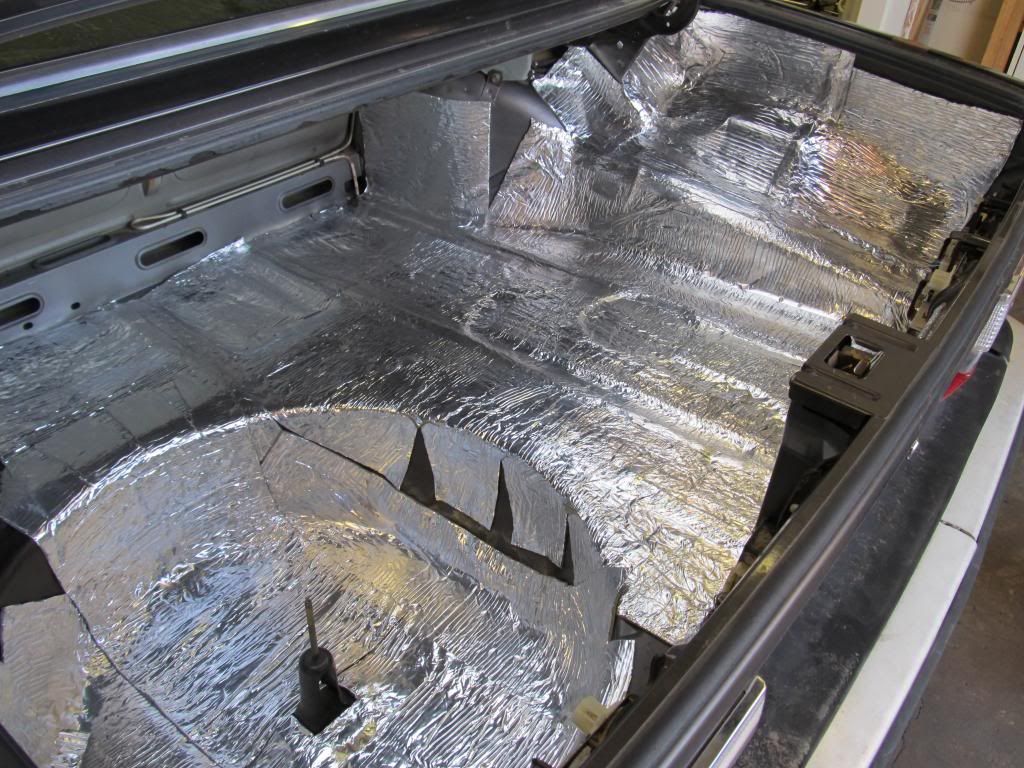
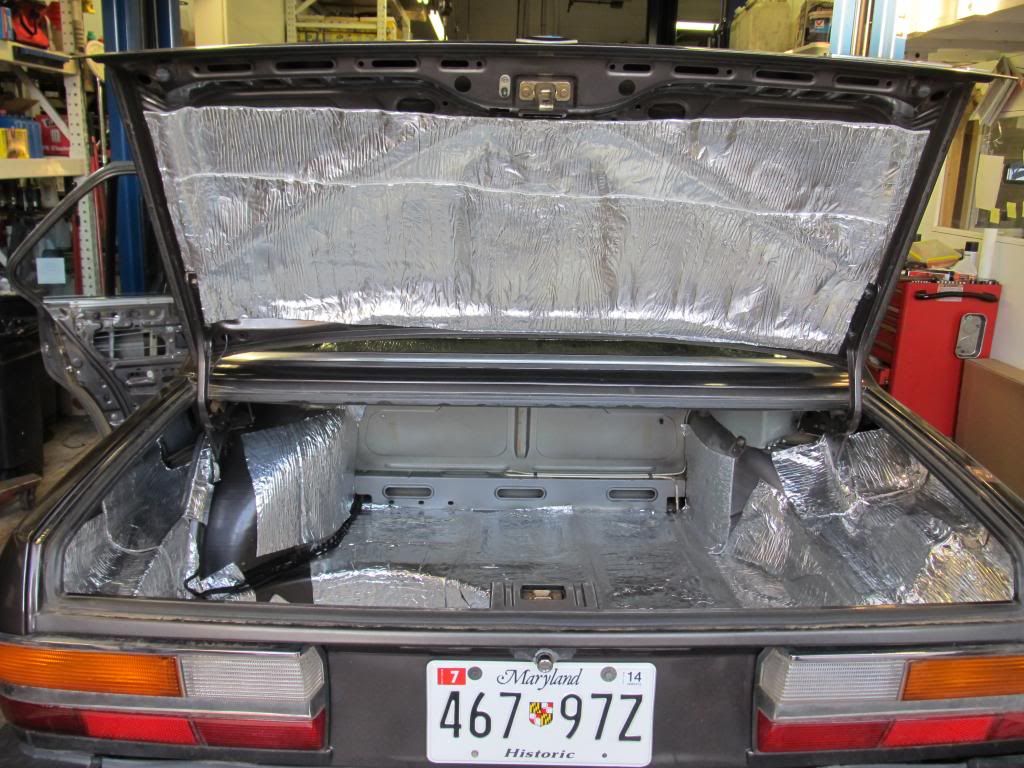
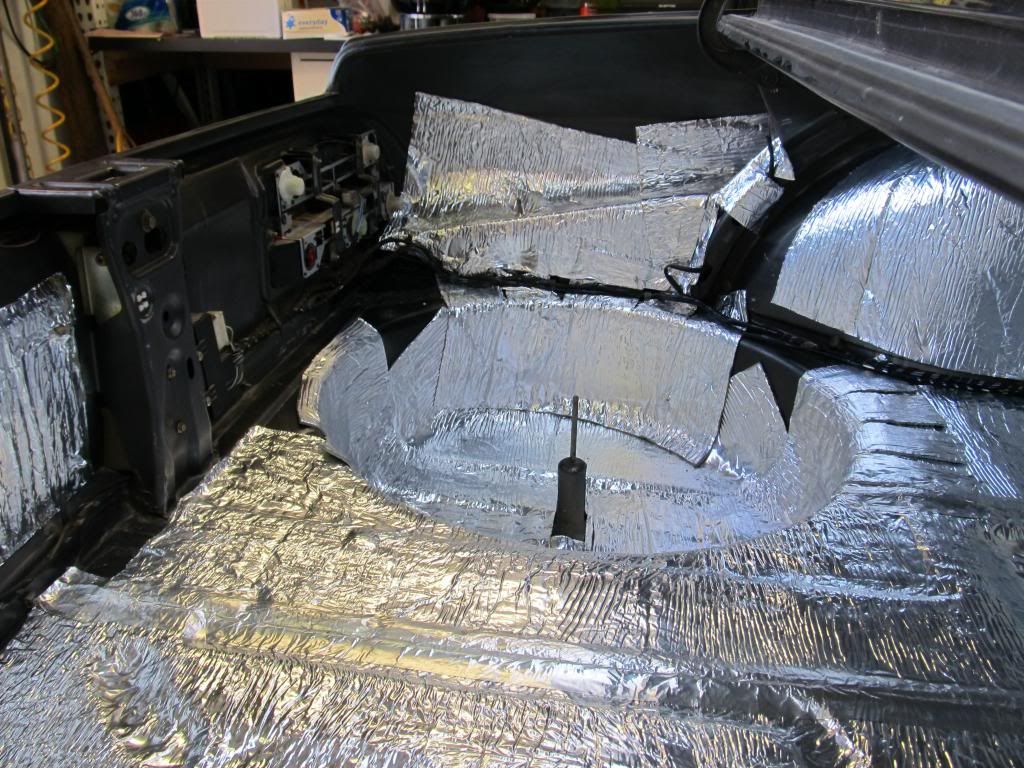
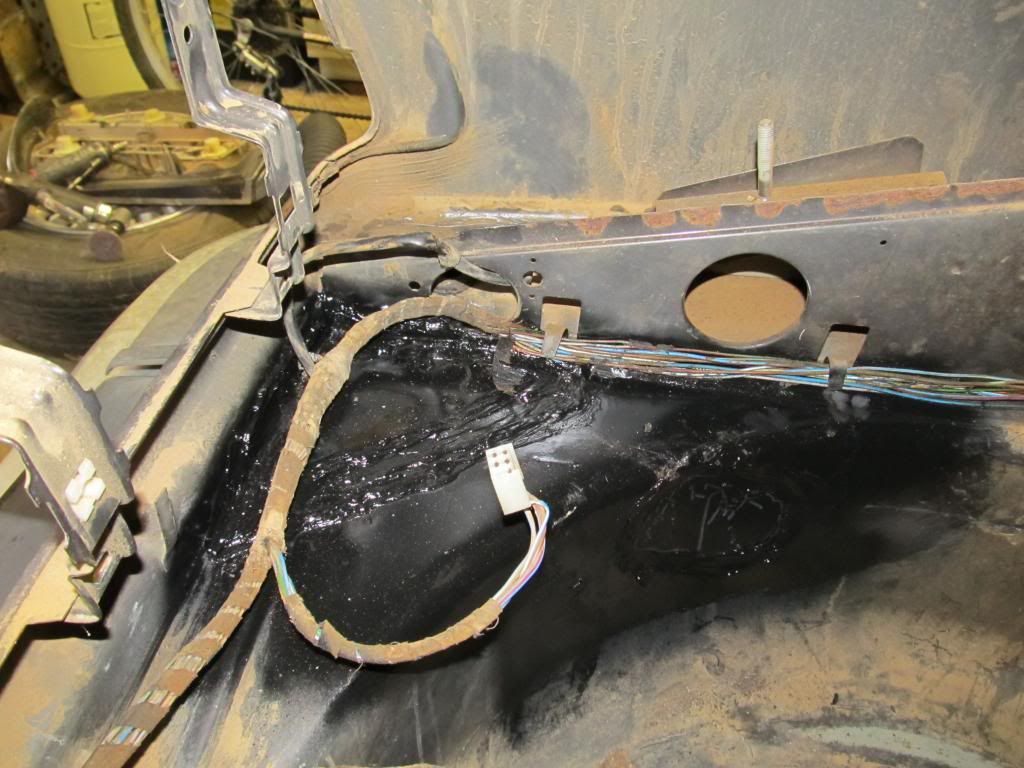
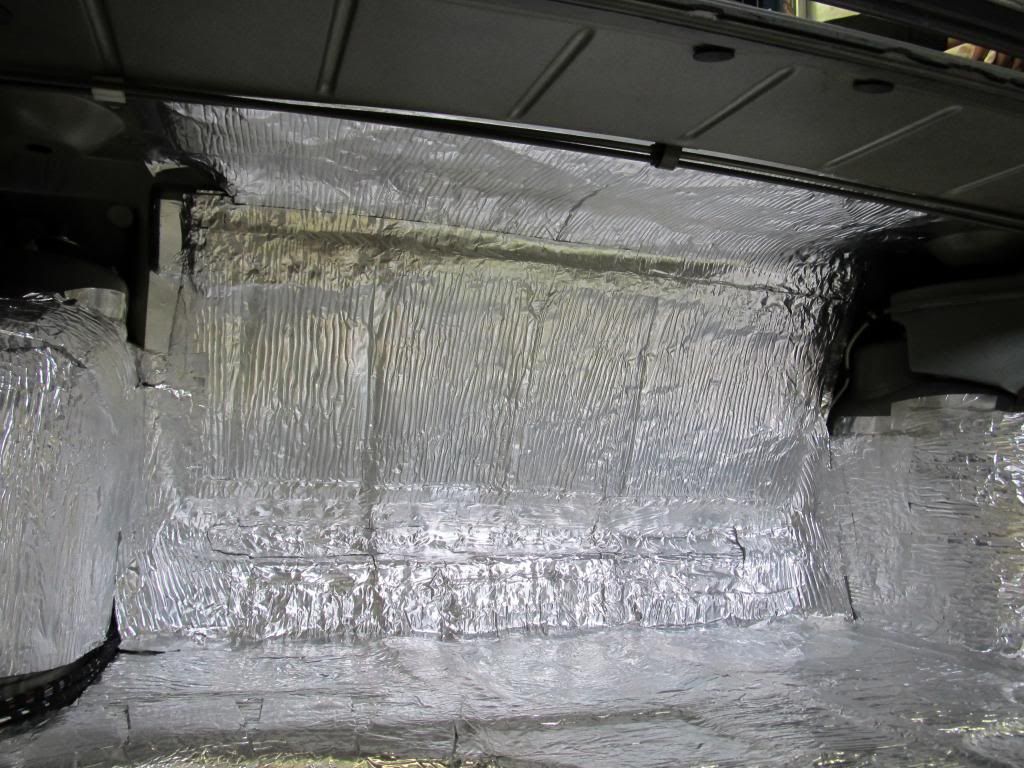
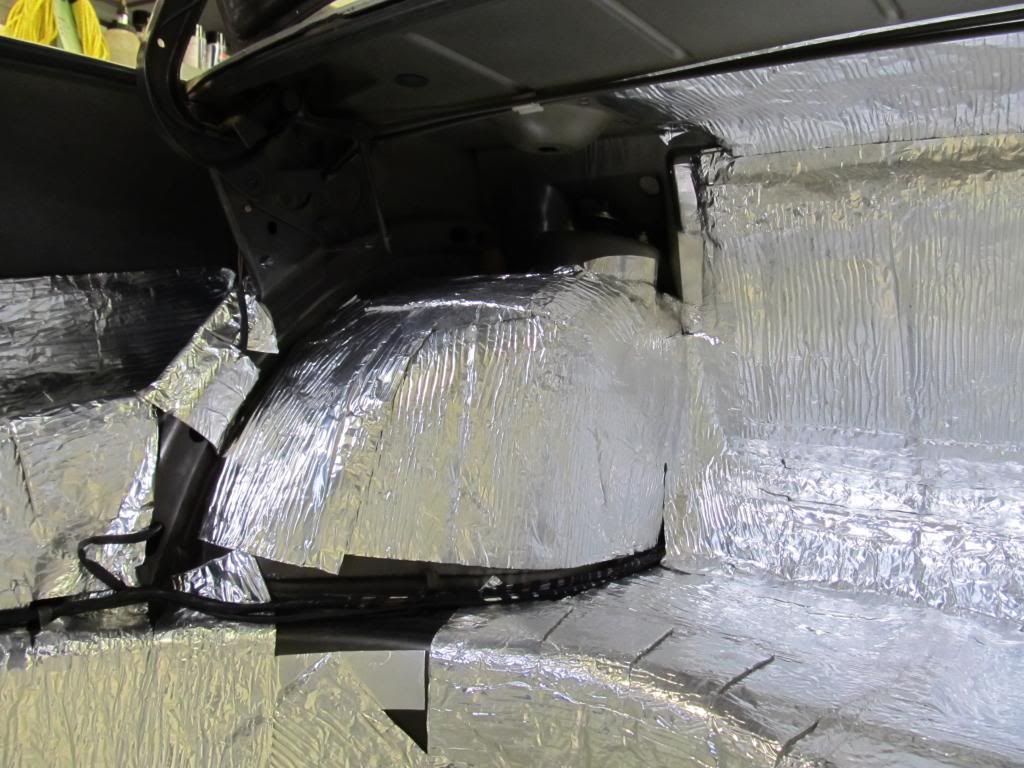
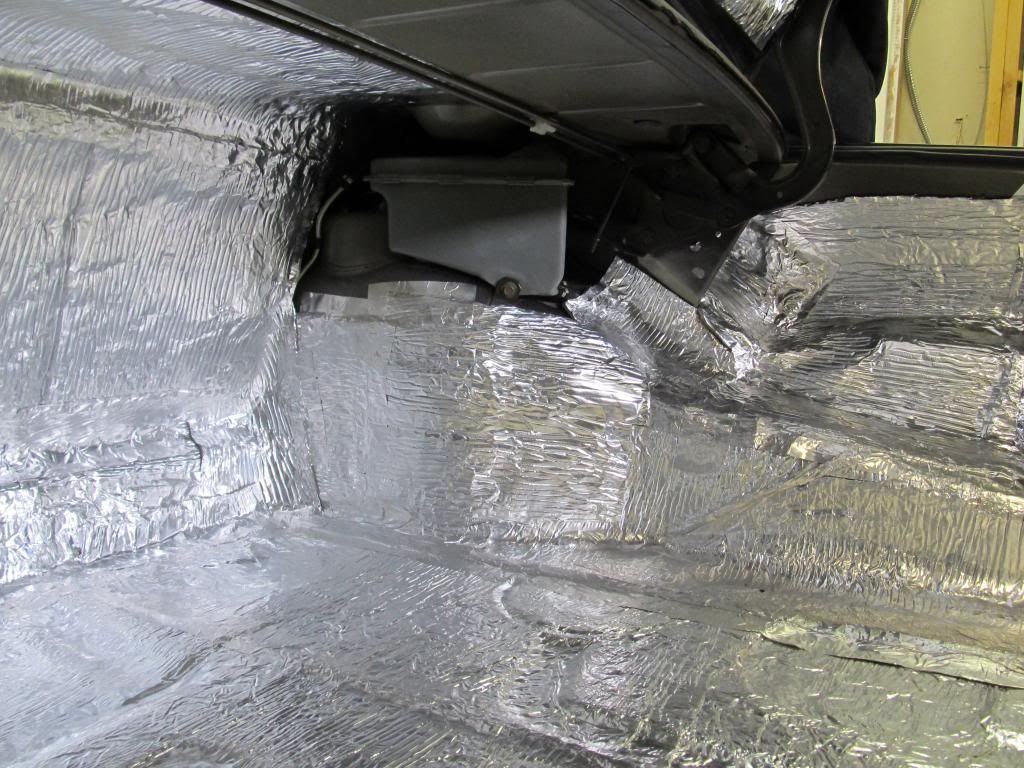
And did some more sound deadening in the trunk
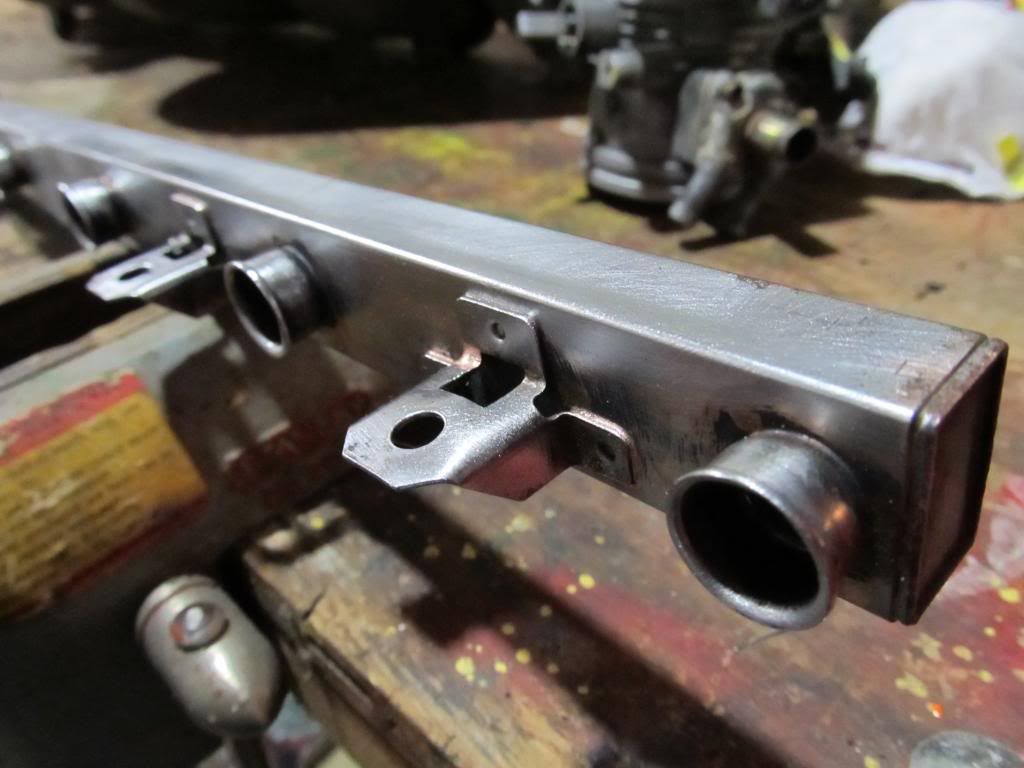
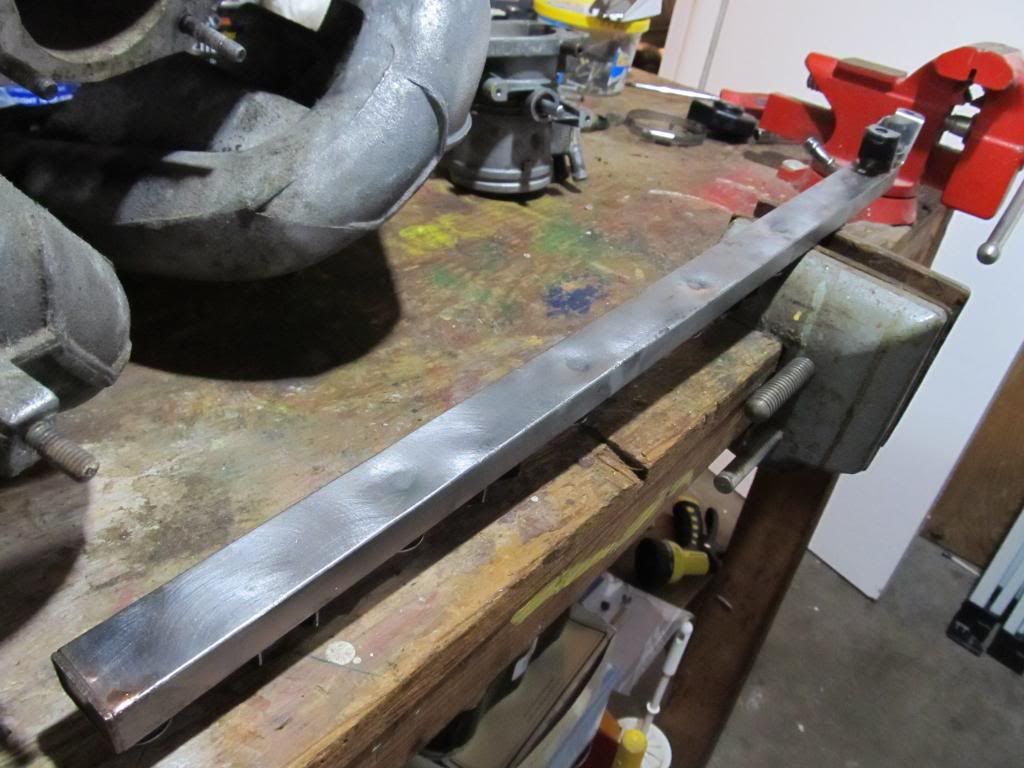
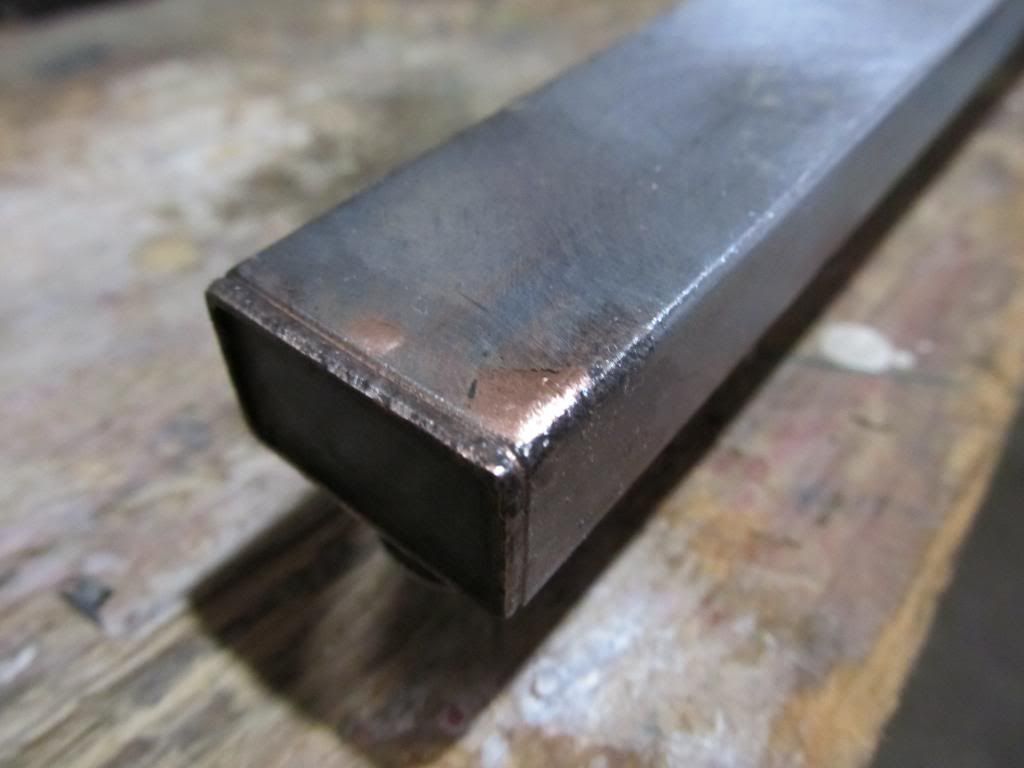
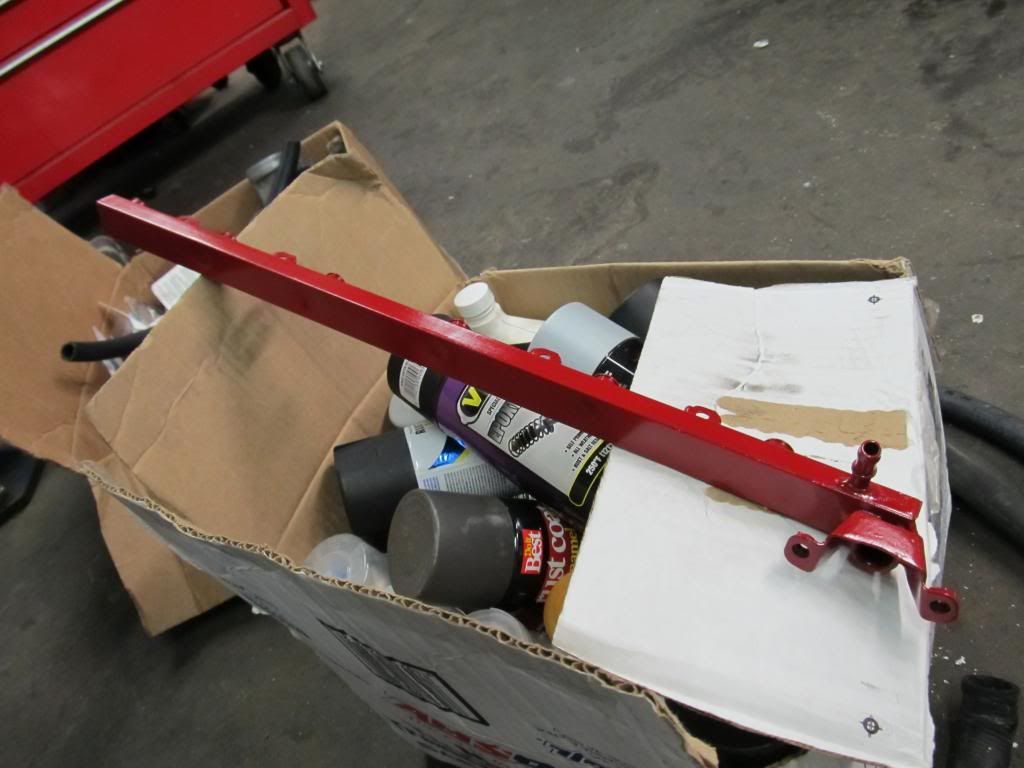
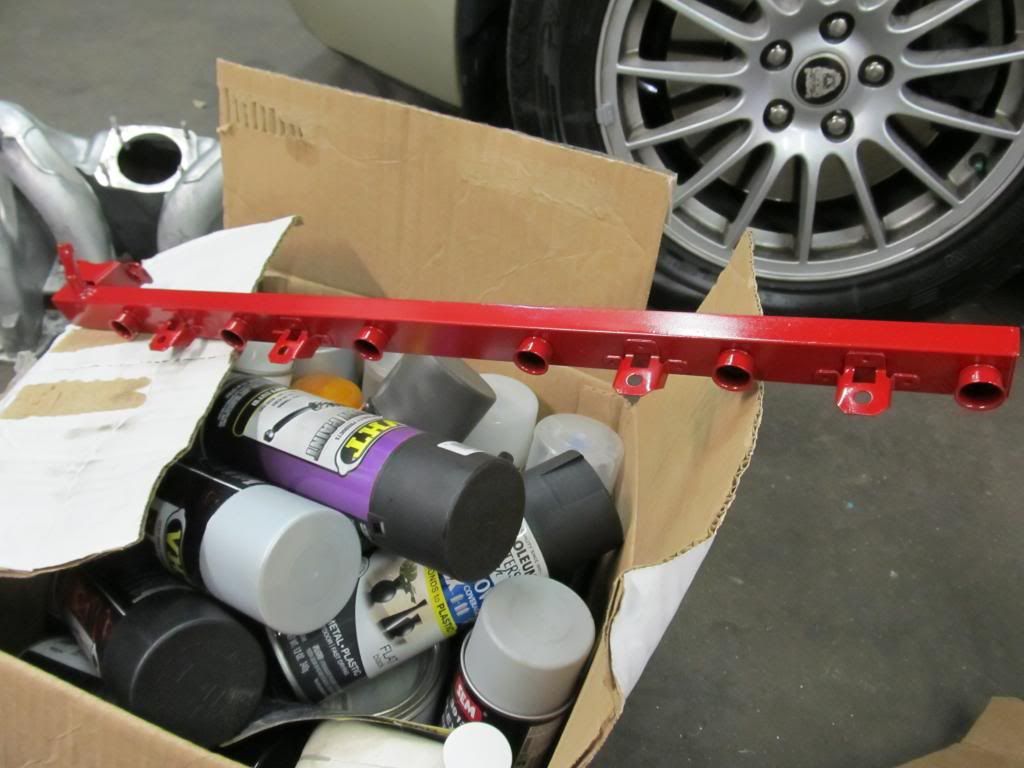
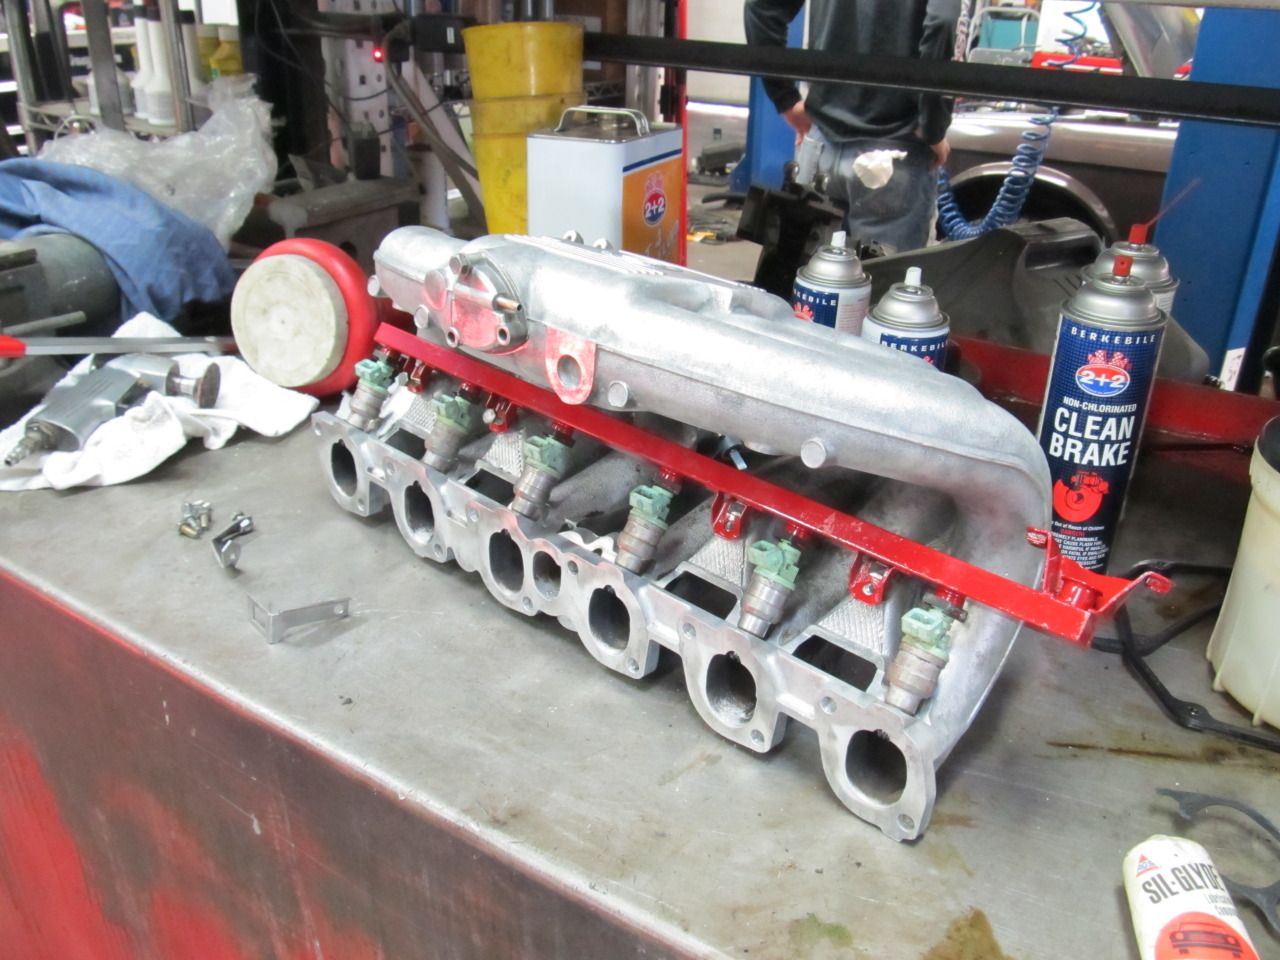
And painted our fuel rail....
Fun times! Now we just have to relocate the battery, customize the PS seat belt to fit with the roll cage and tie up some loose ends, then it's ready for the head swap!
Posted: Apr 26, 2013 8:47 PM
by 95maxrider
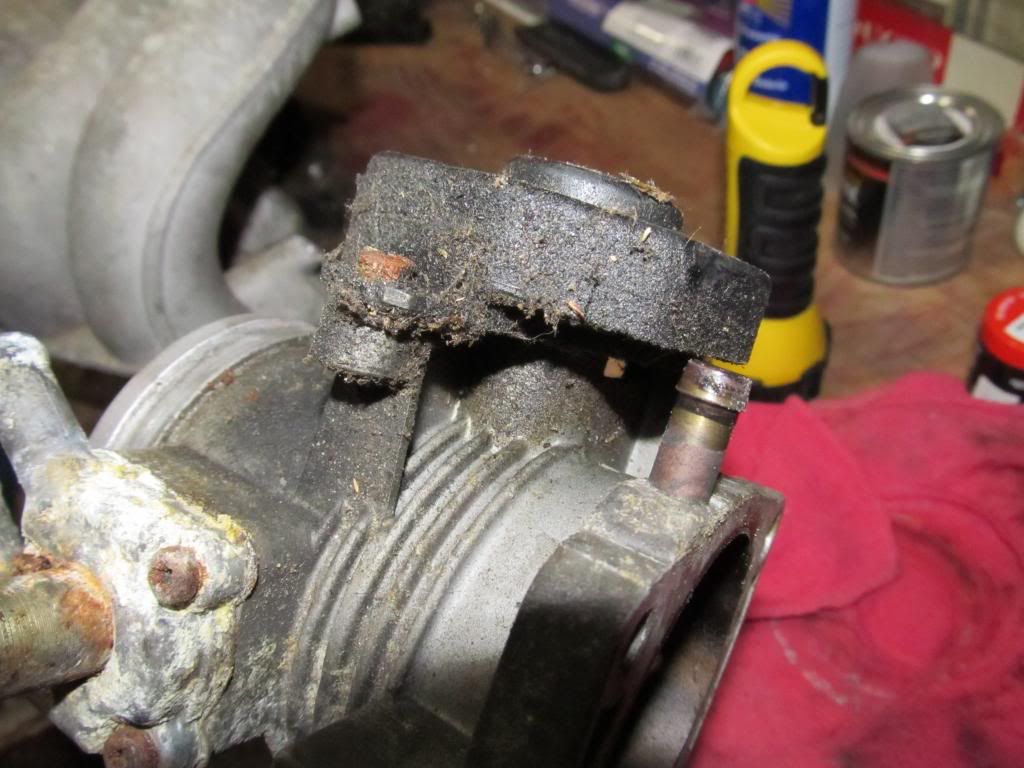
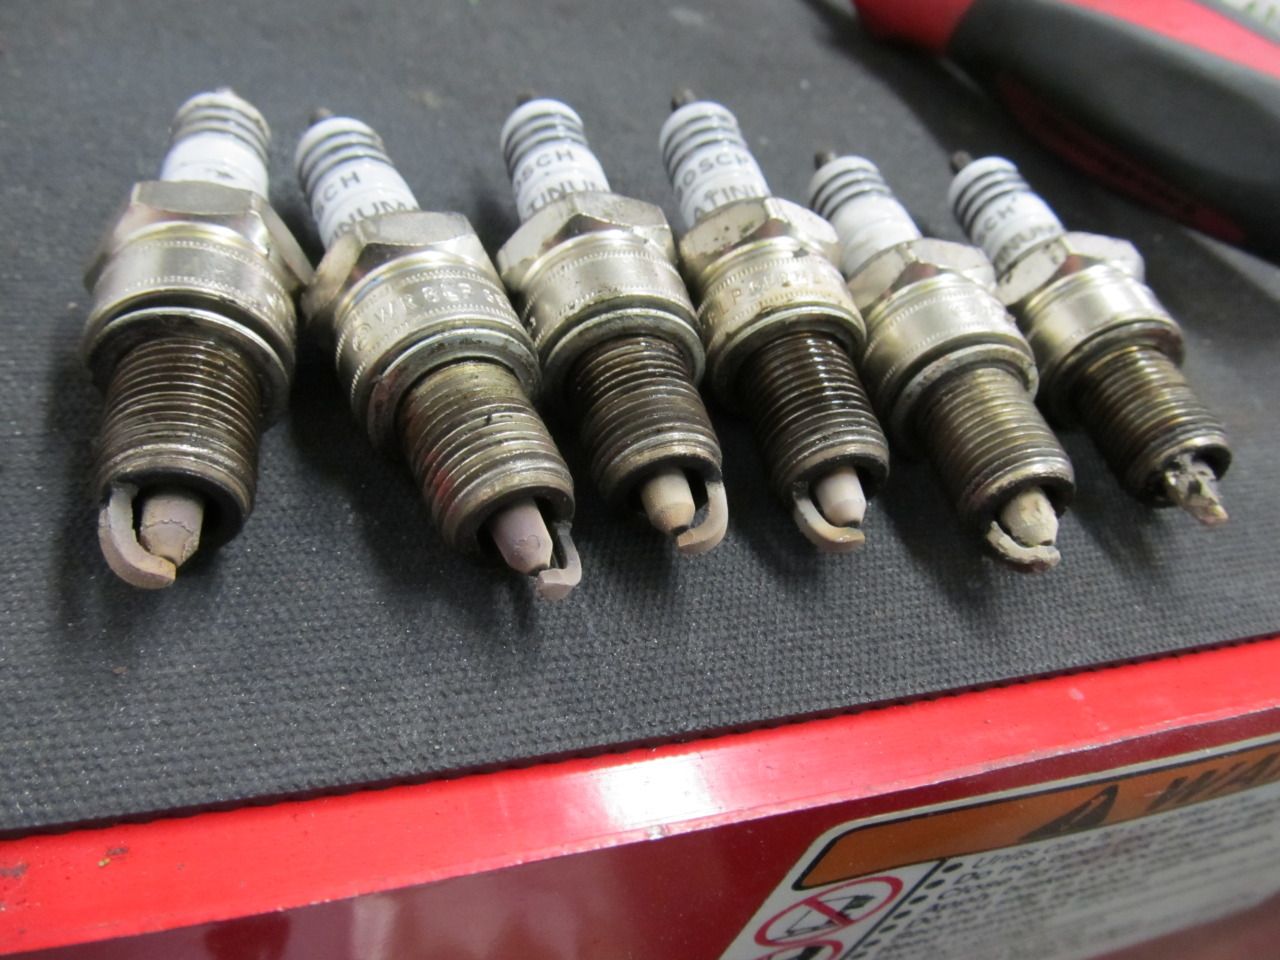
With two weeks left until the first race, it was time to install all the "i" parts and get this motor to make some power! Upon disassembling the motor, we discovered some problems:
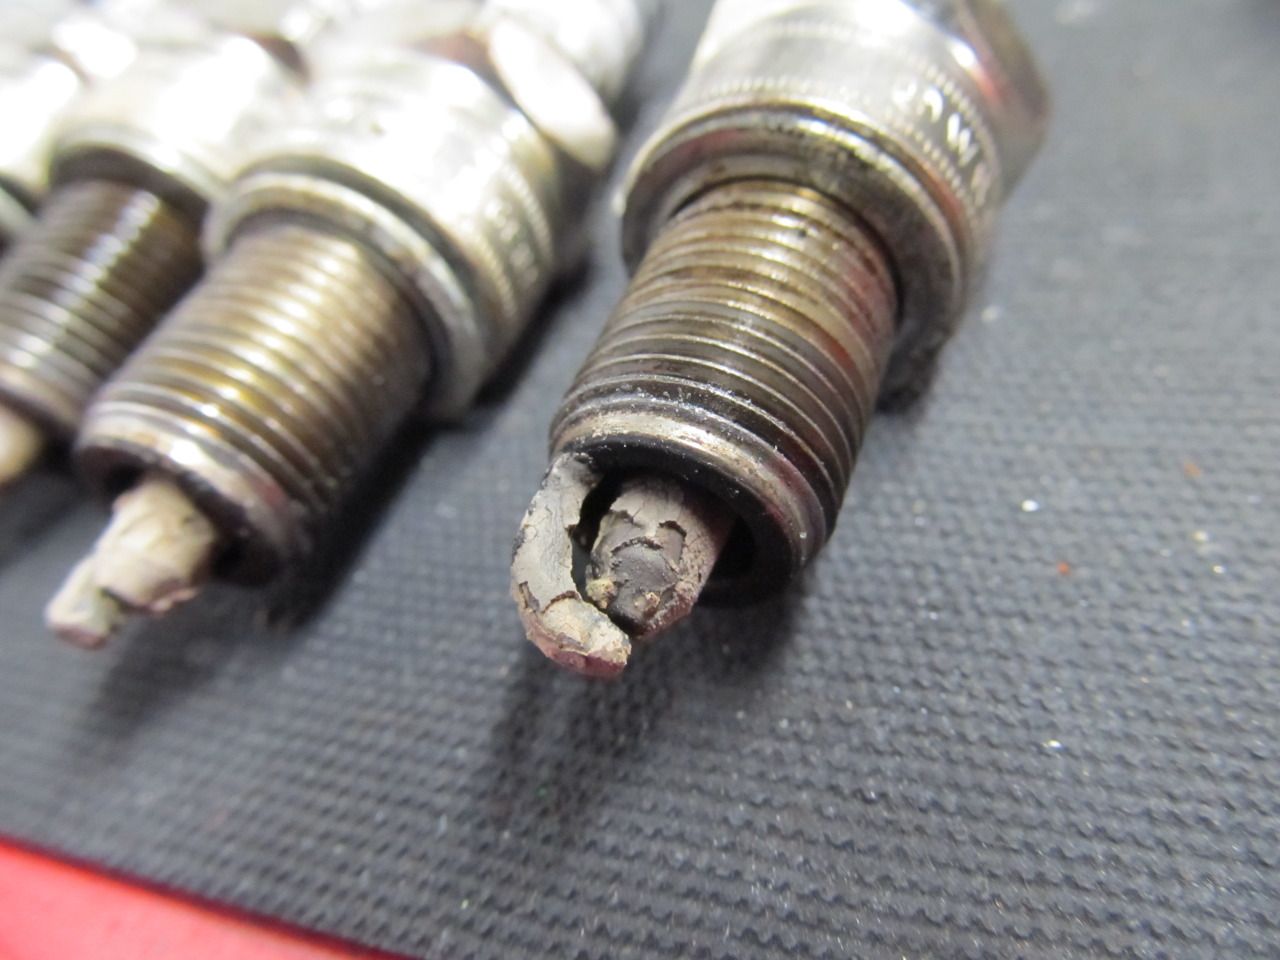
1. One of the spark plug boots wasn't properly seated. Most likely have been running on 5 cylinders
2. Our FPR was pretty much dead
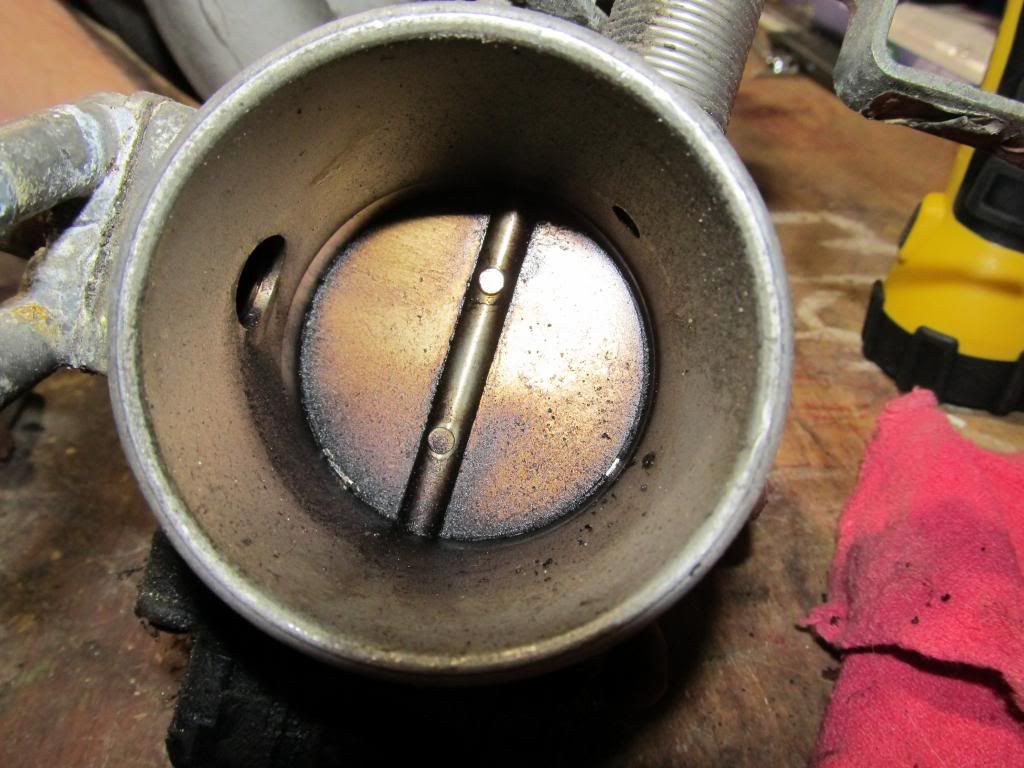
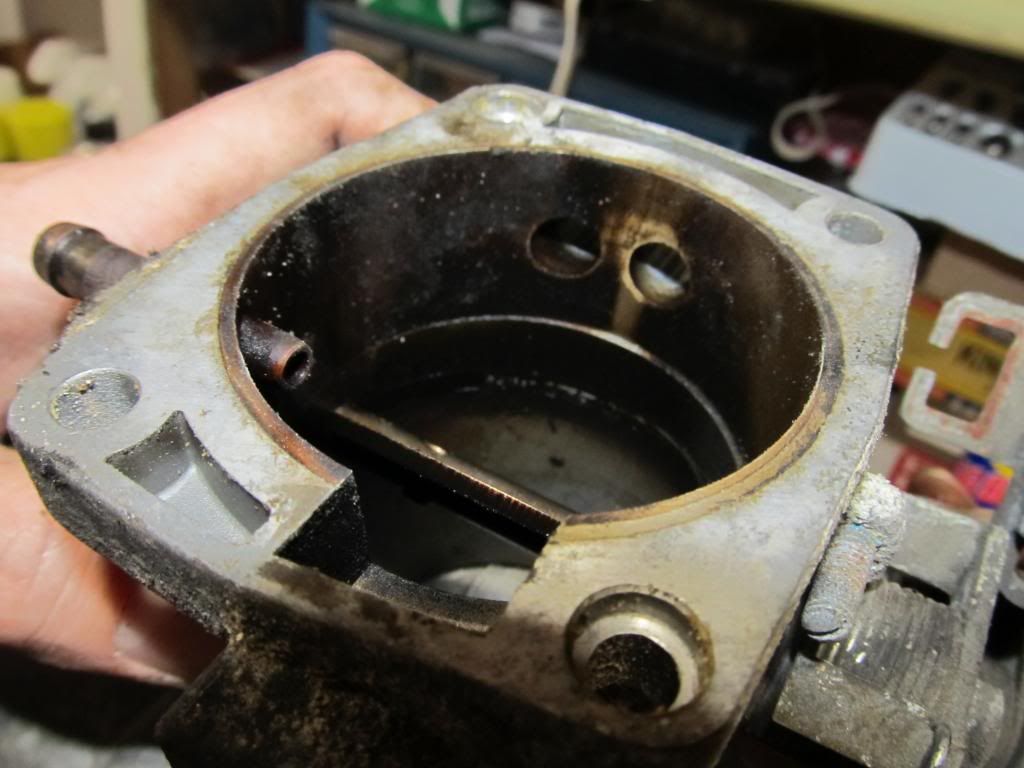
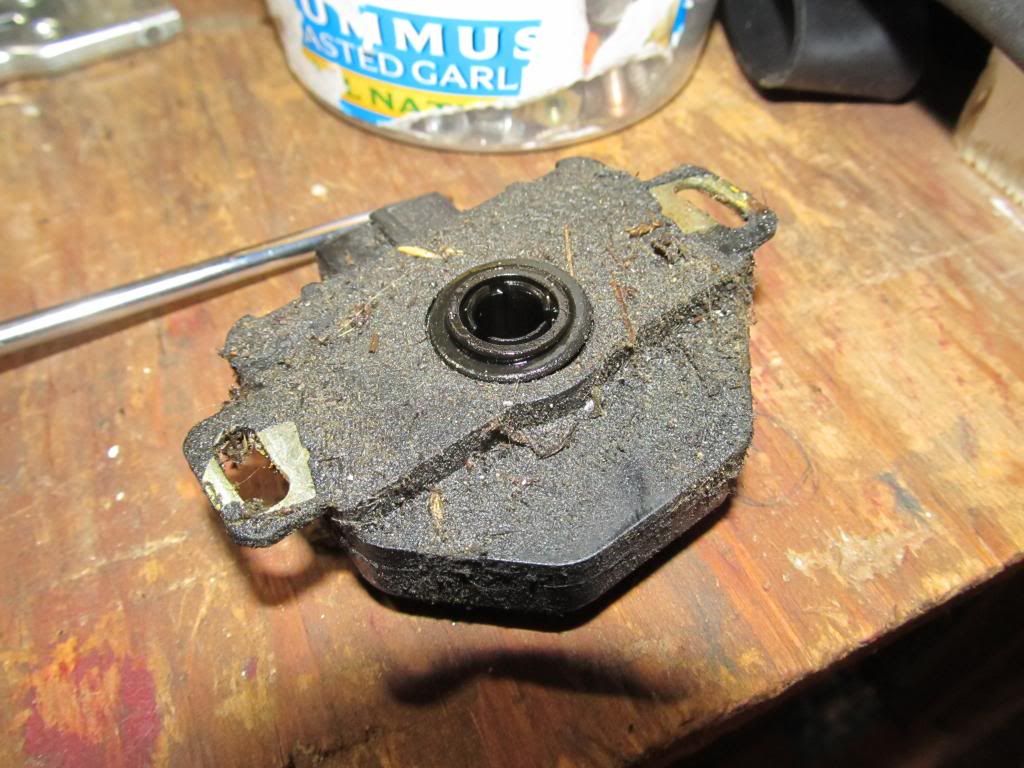
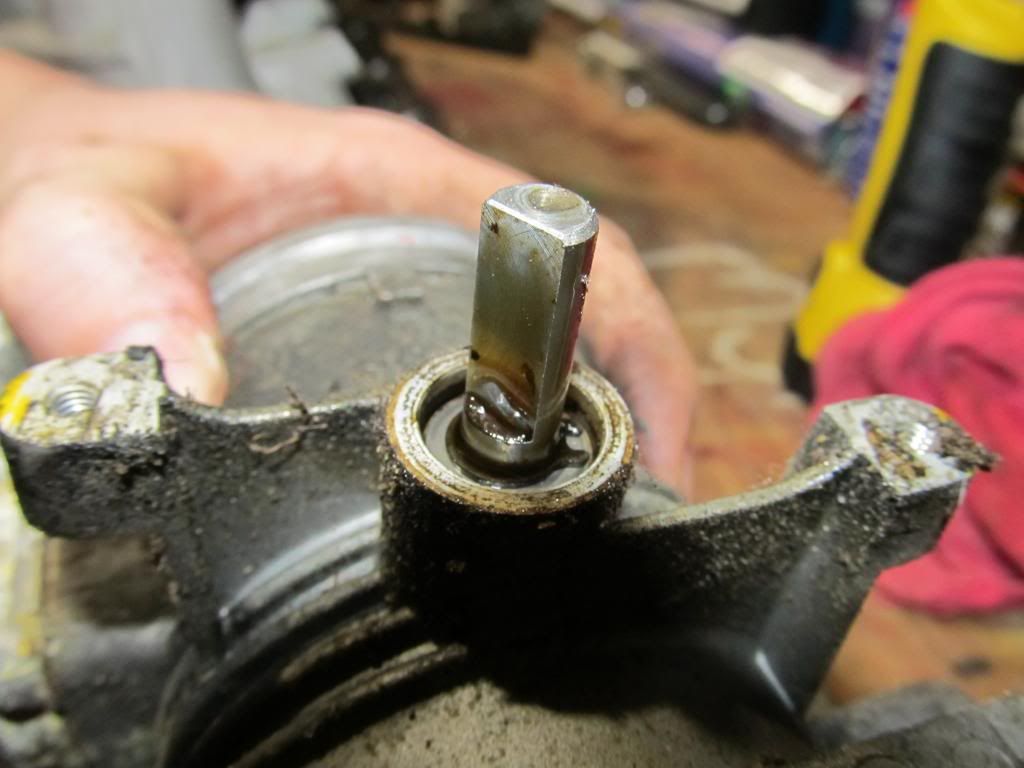
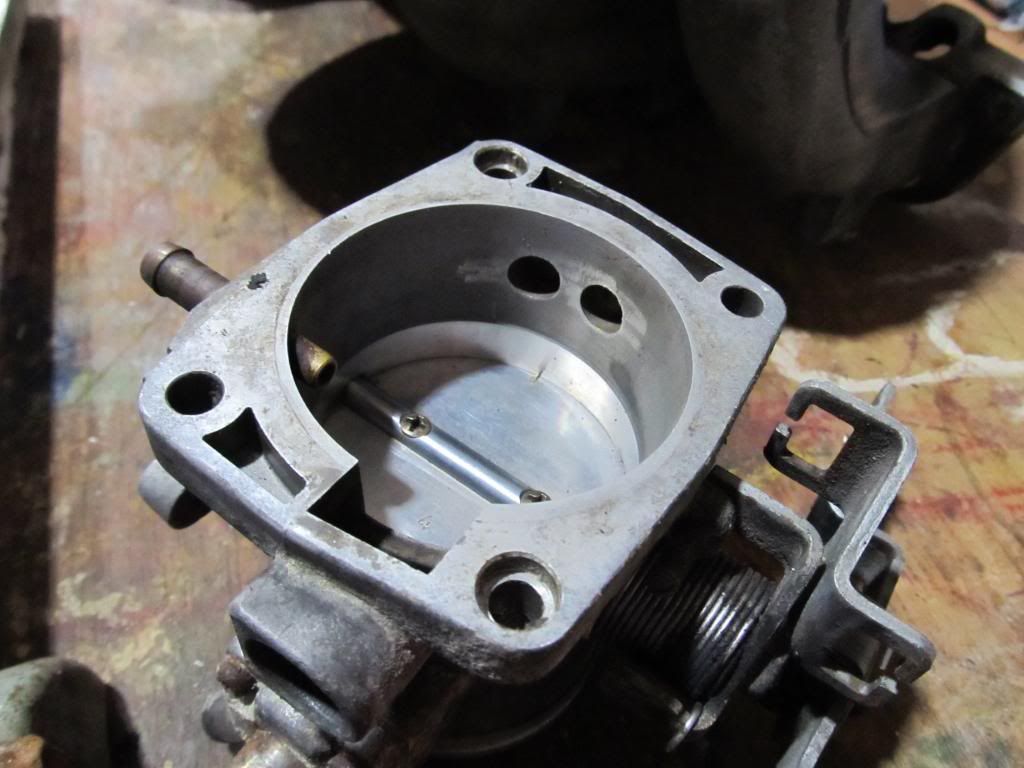
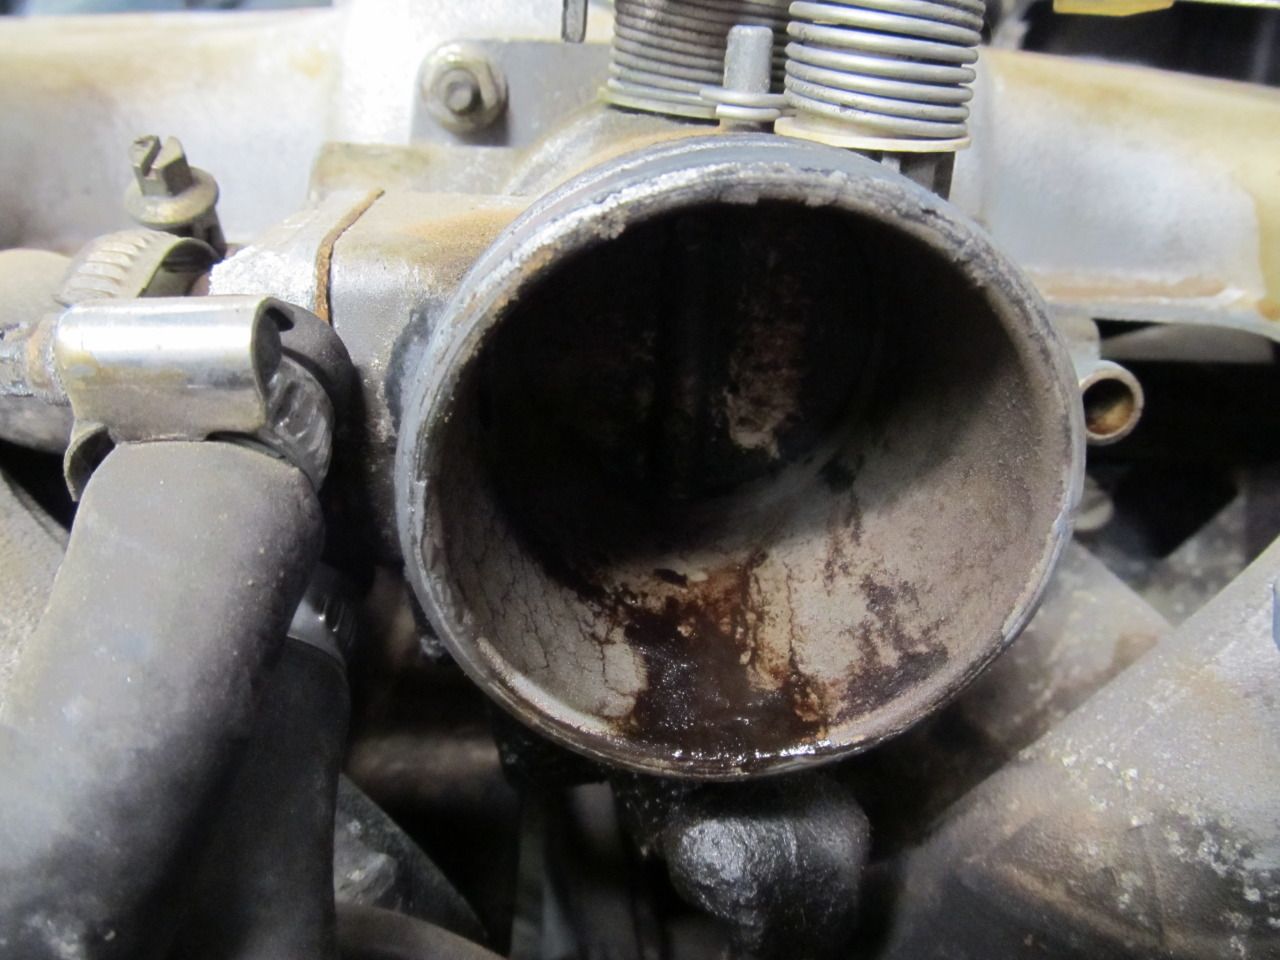
3. The TB wasn't installed properly and wasn't seated
4. The spark plugs were disgusting
The old TB
Old plugs
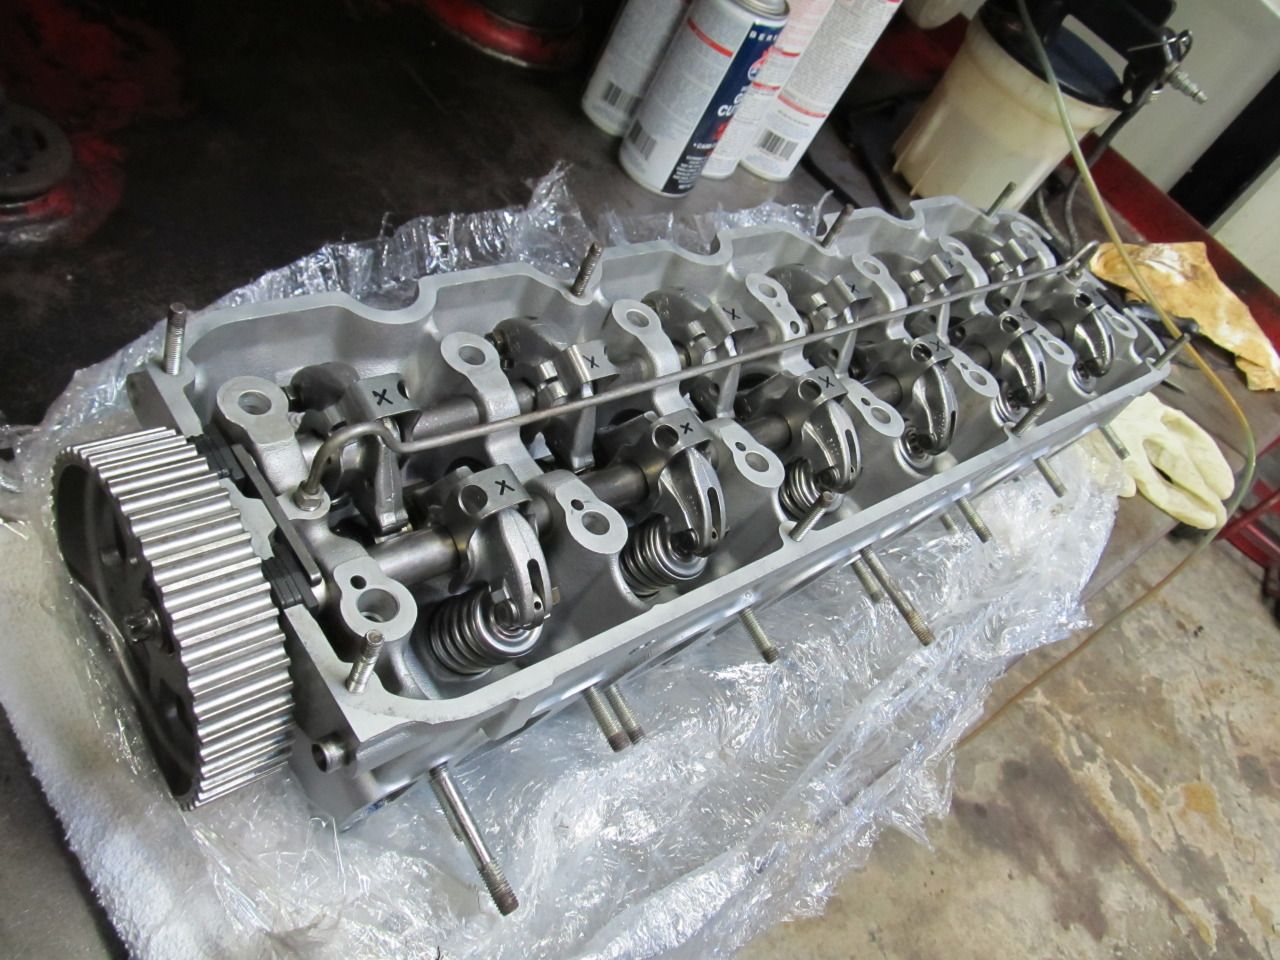
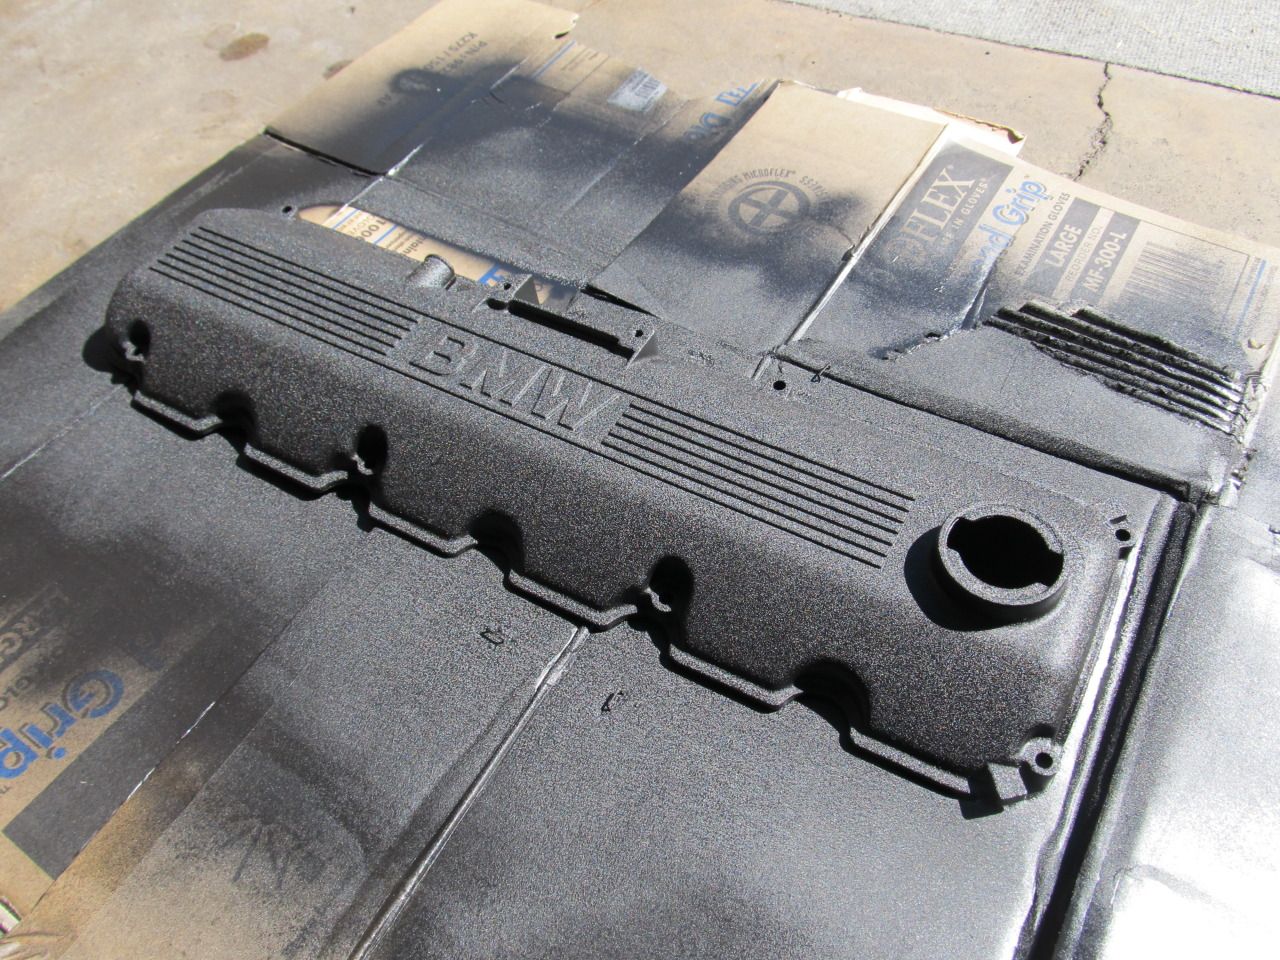
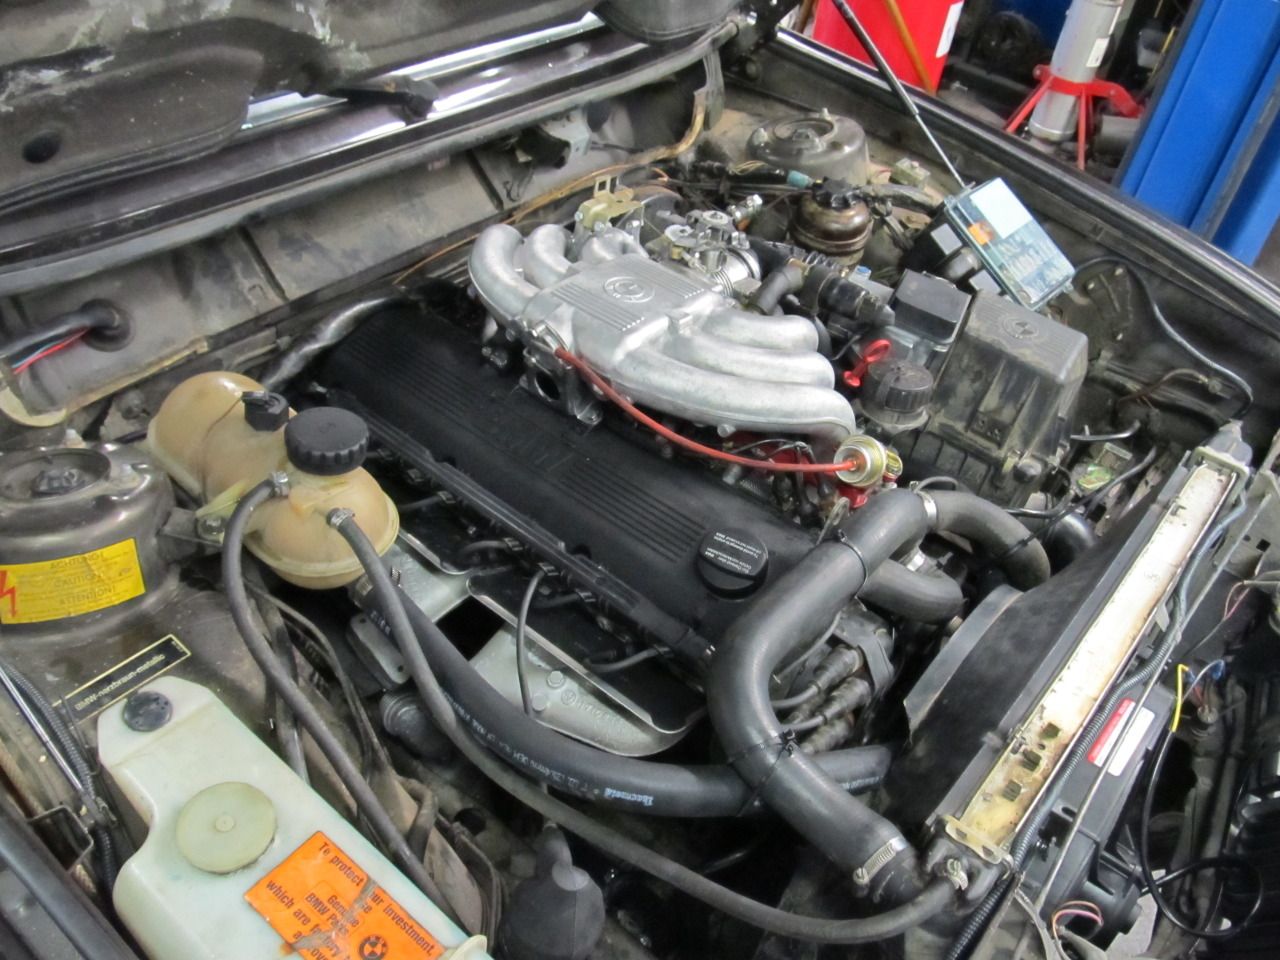
New/rebuilt head
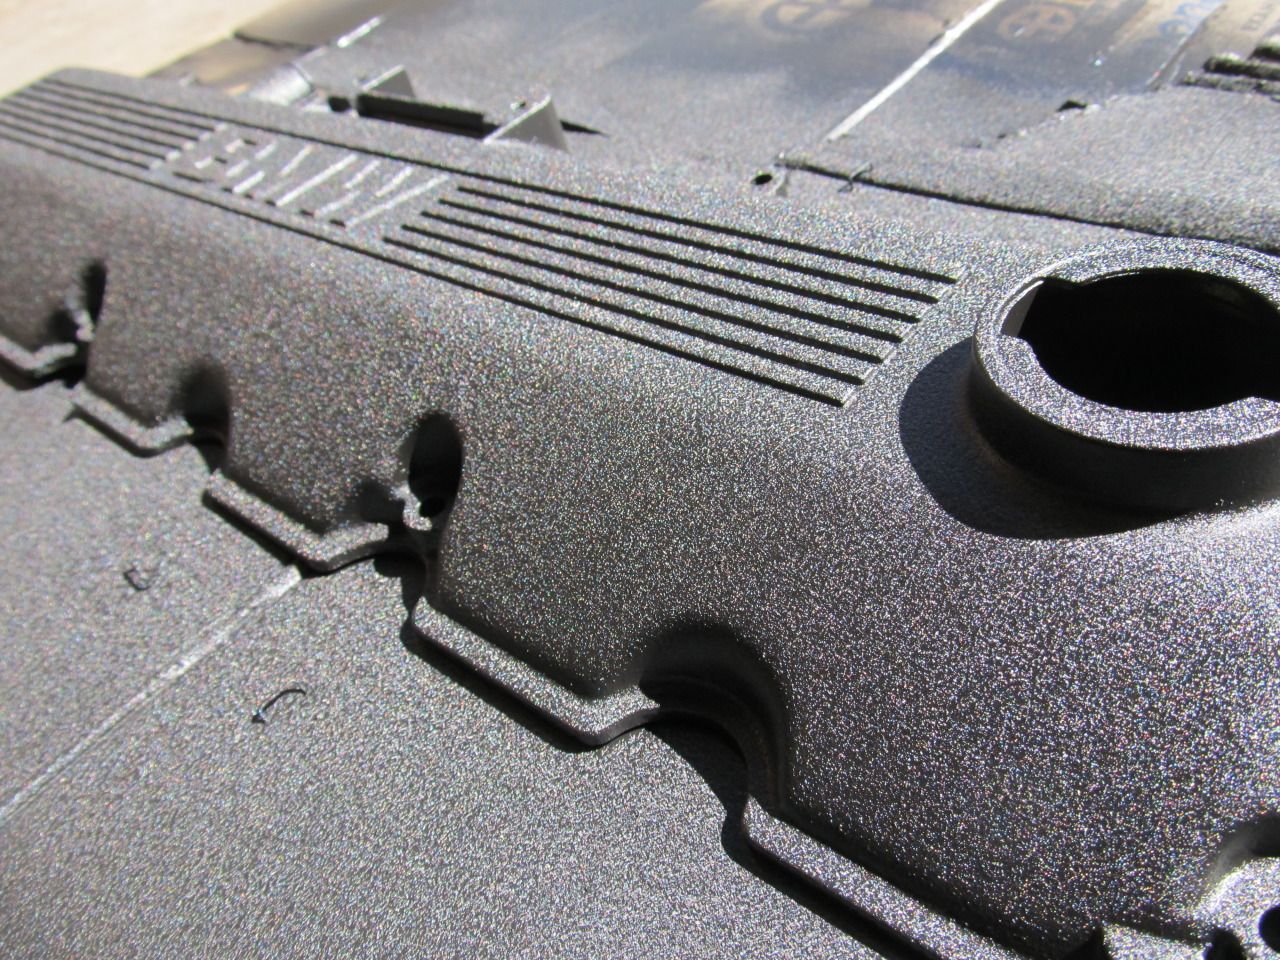
Valve cover before:
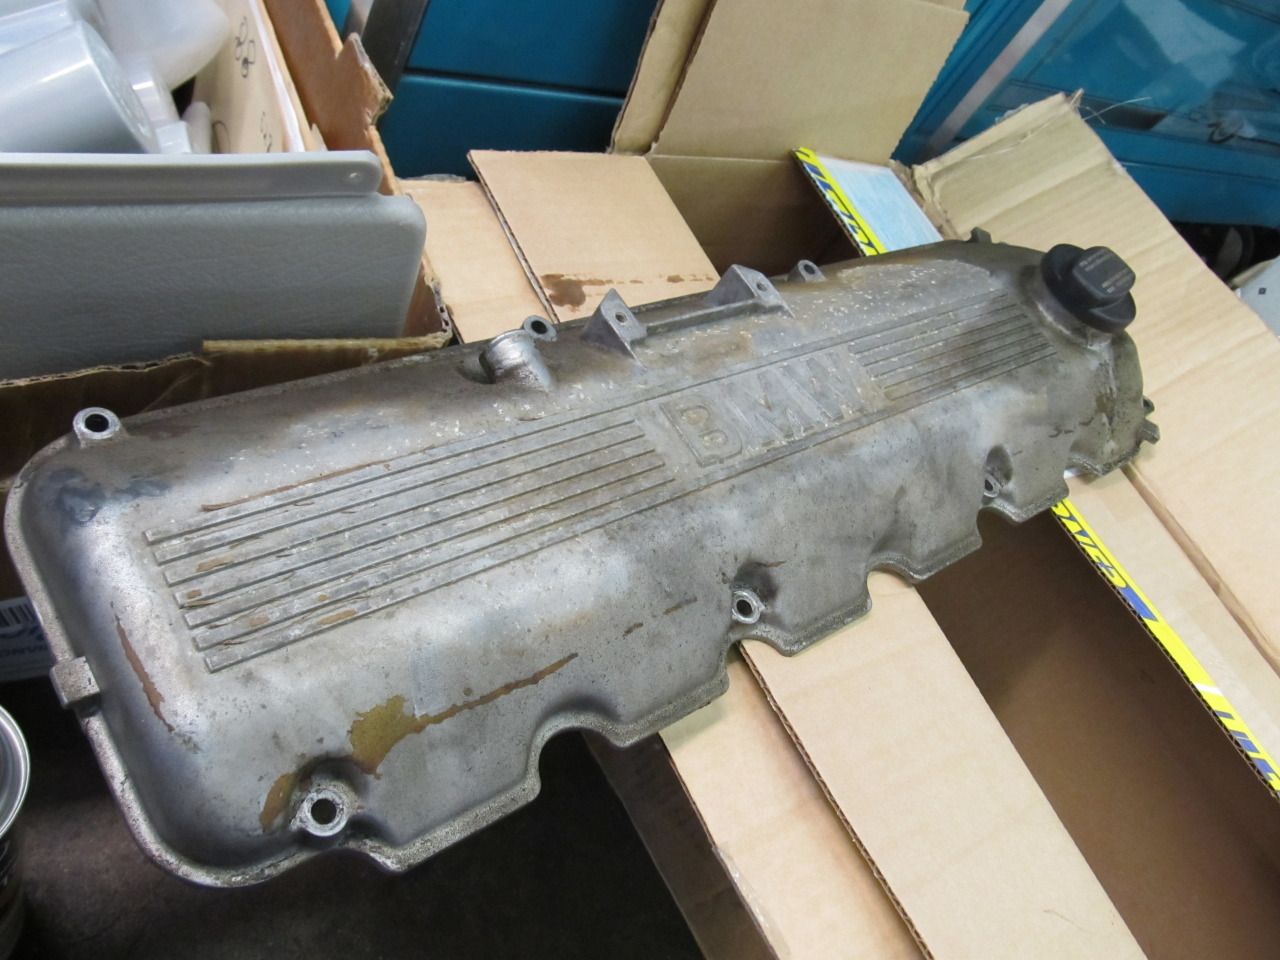
and after
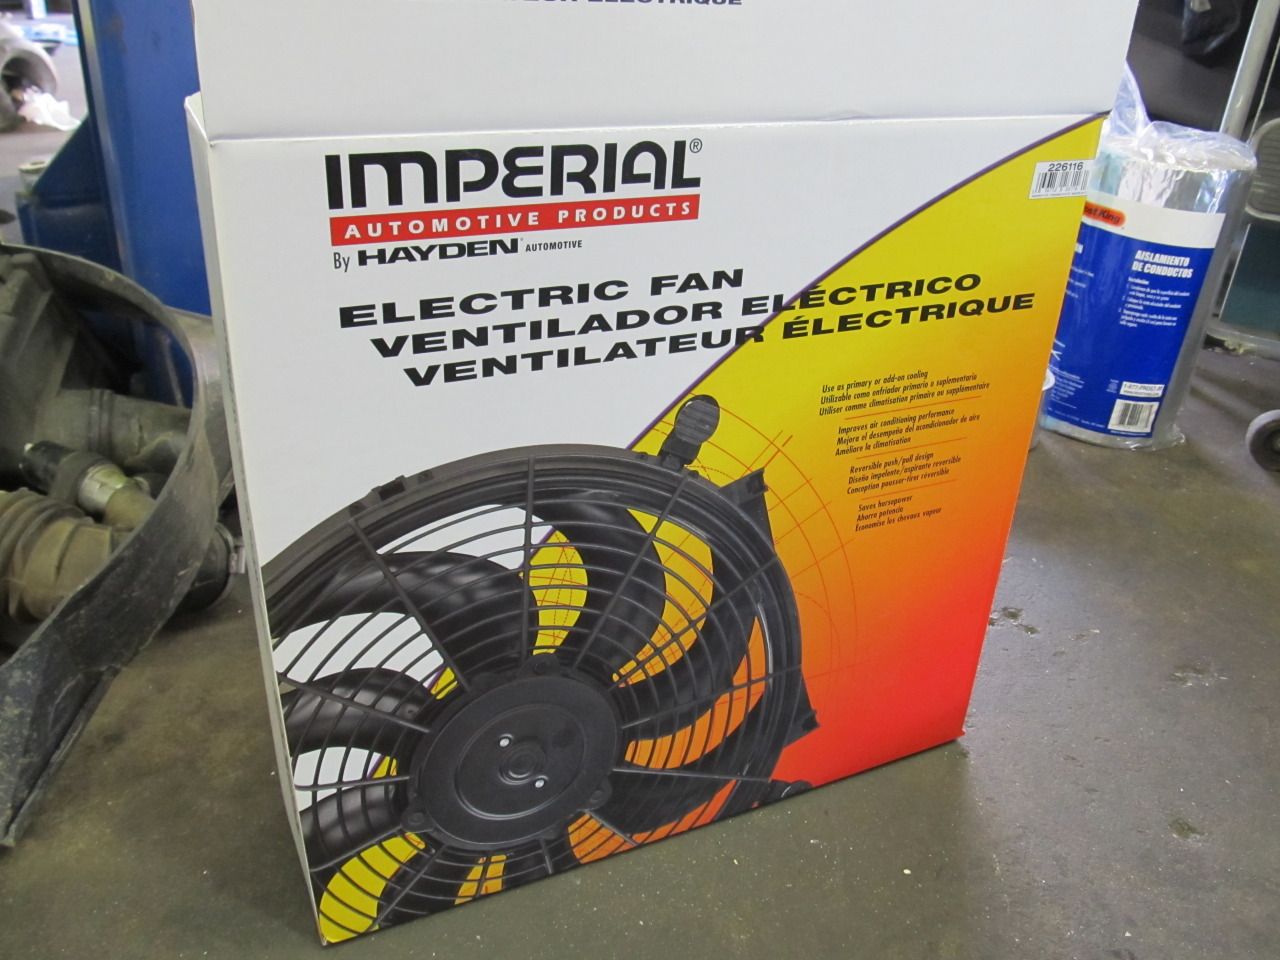
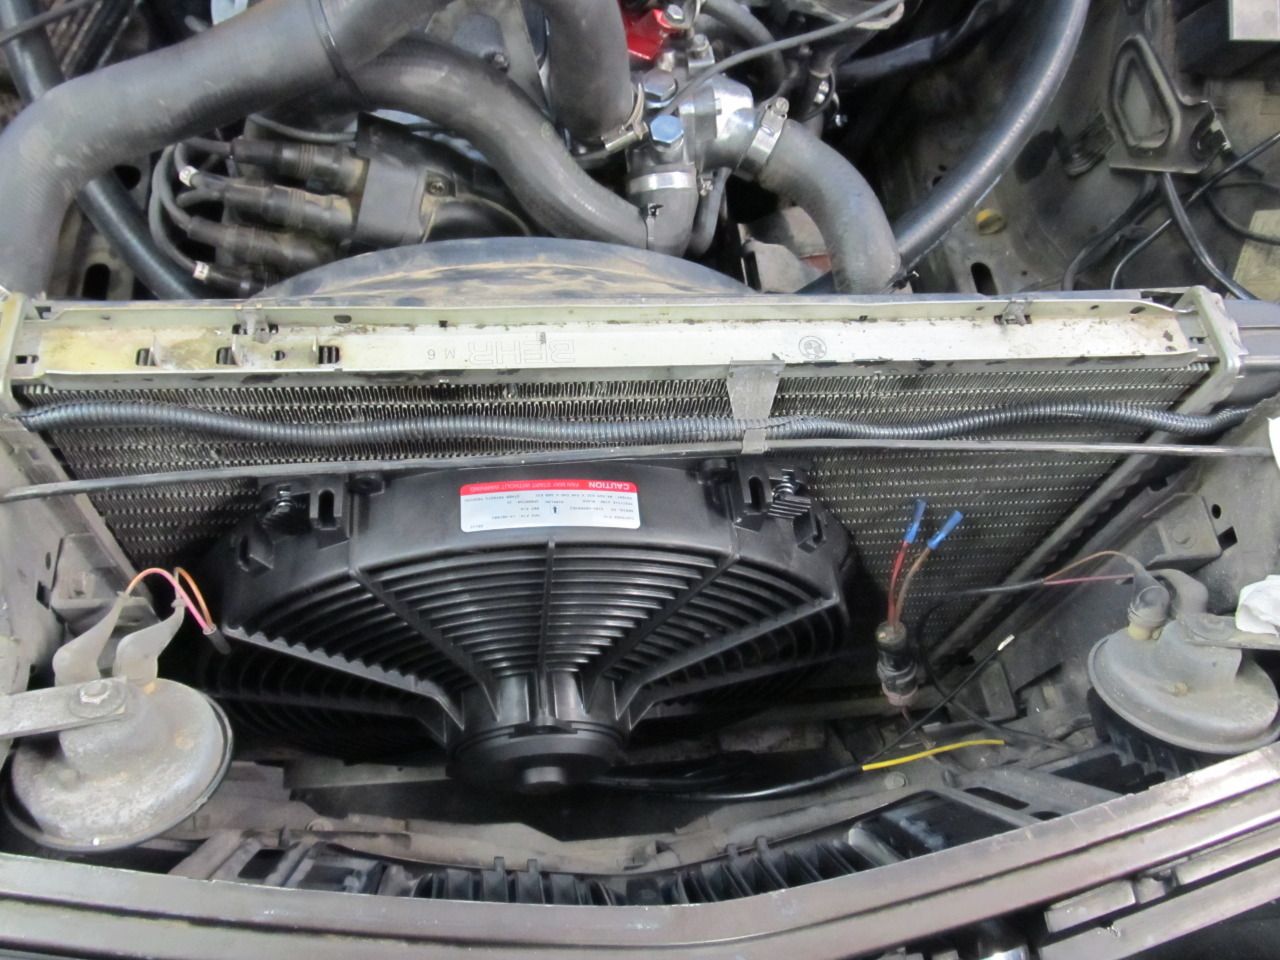
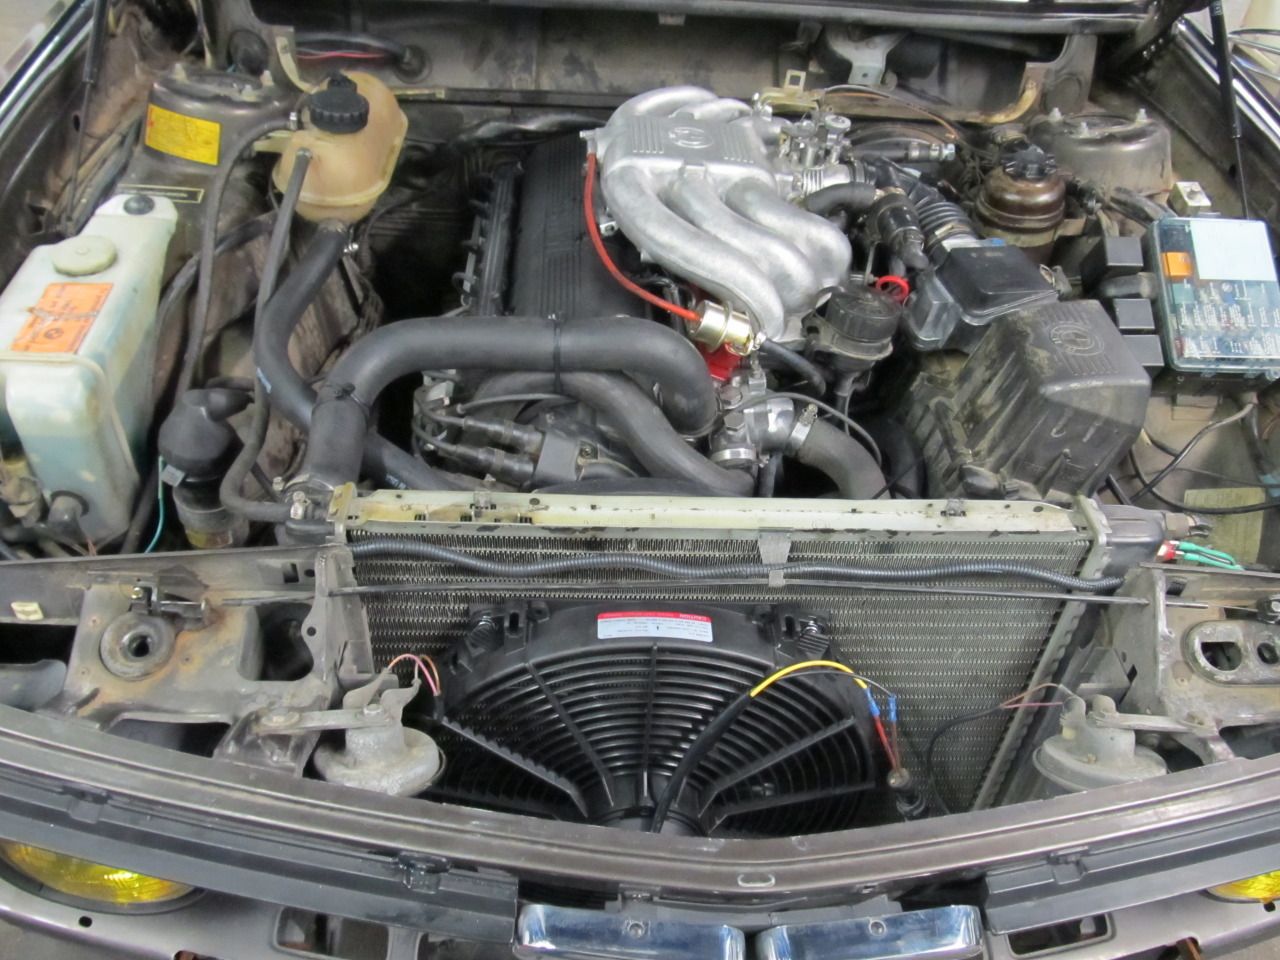
We also switched out our old dinky fan with bad bearings (blades wobbled) with this 16" unit from Advance Auto Parts. This thing really moves some air!
Old

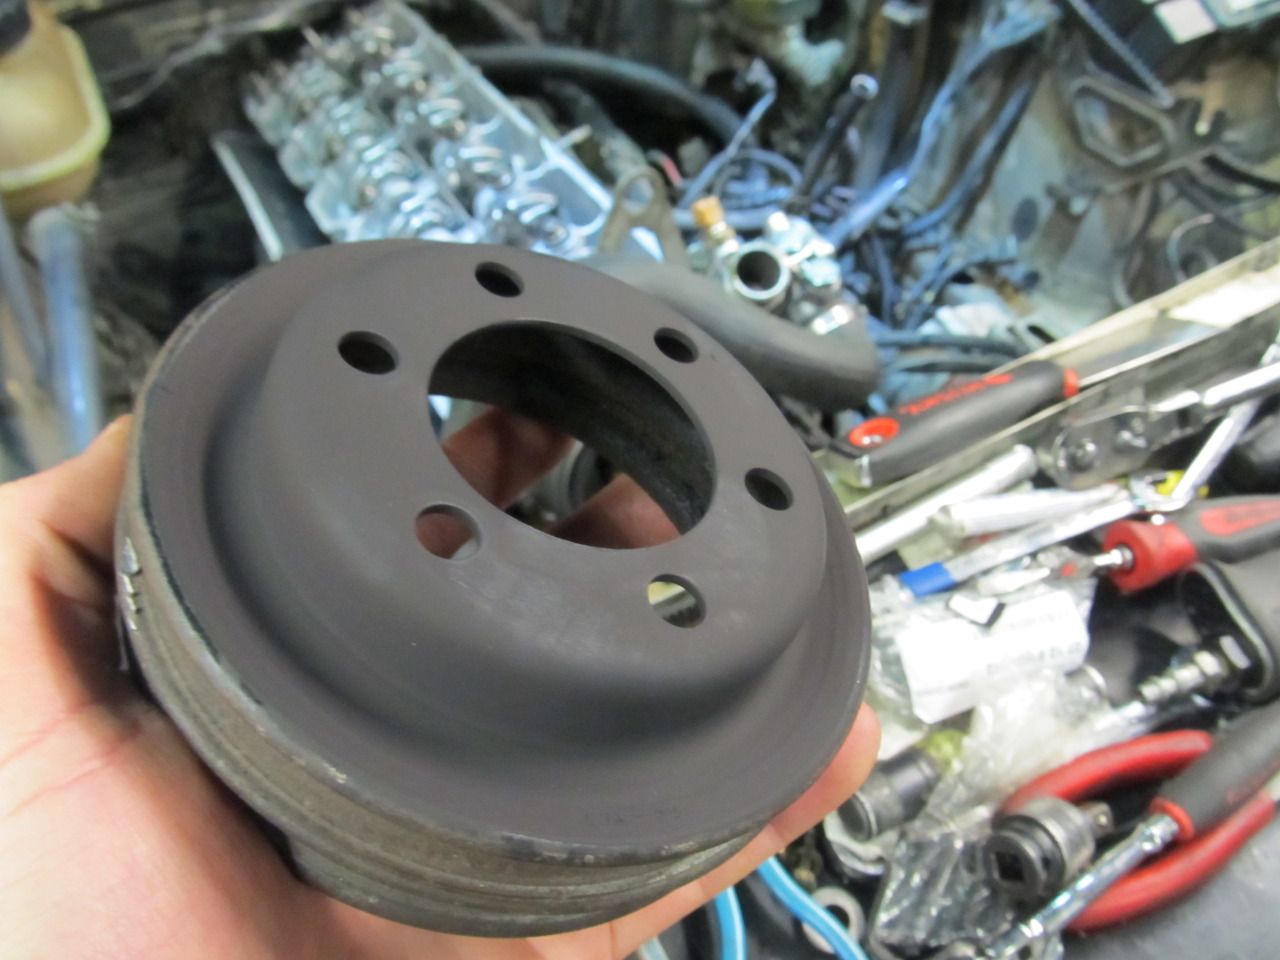
Painted these guys with some flat black paint we had lying around....
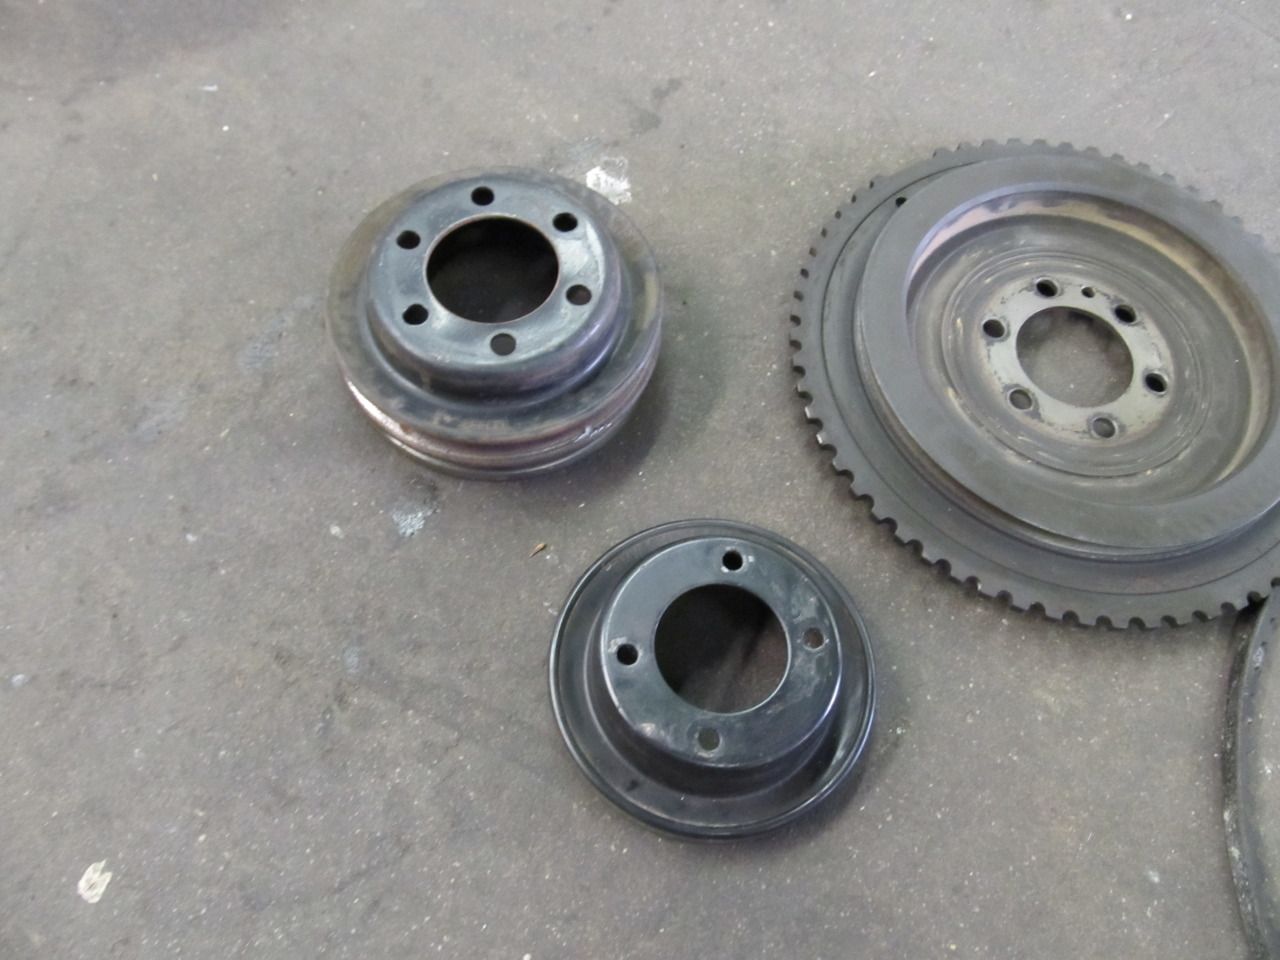
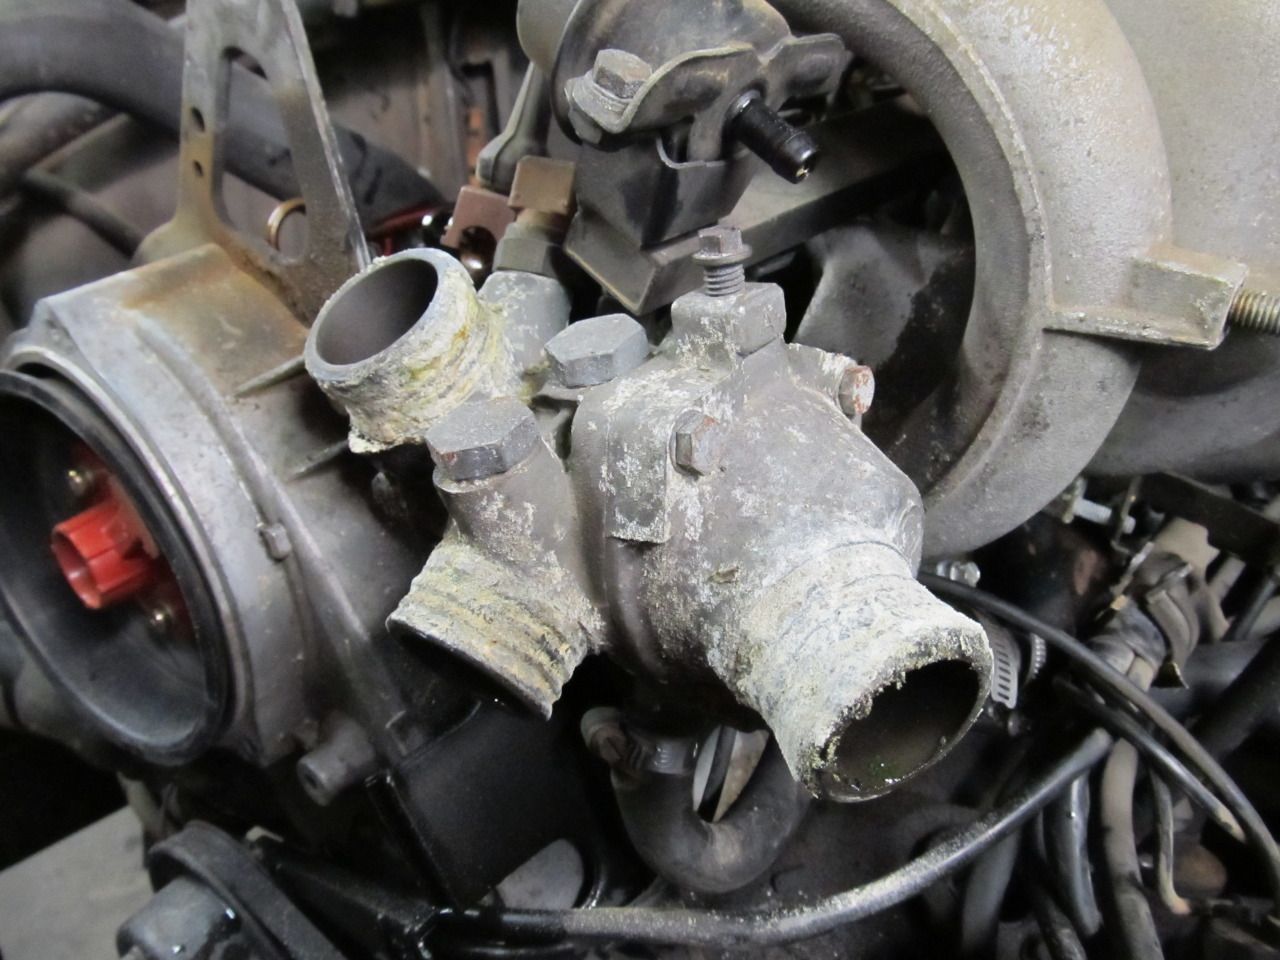
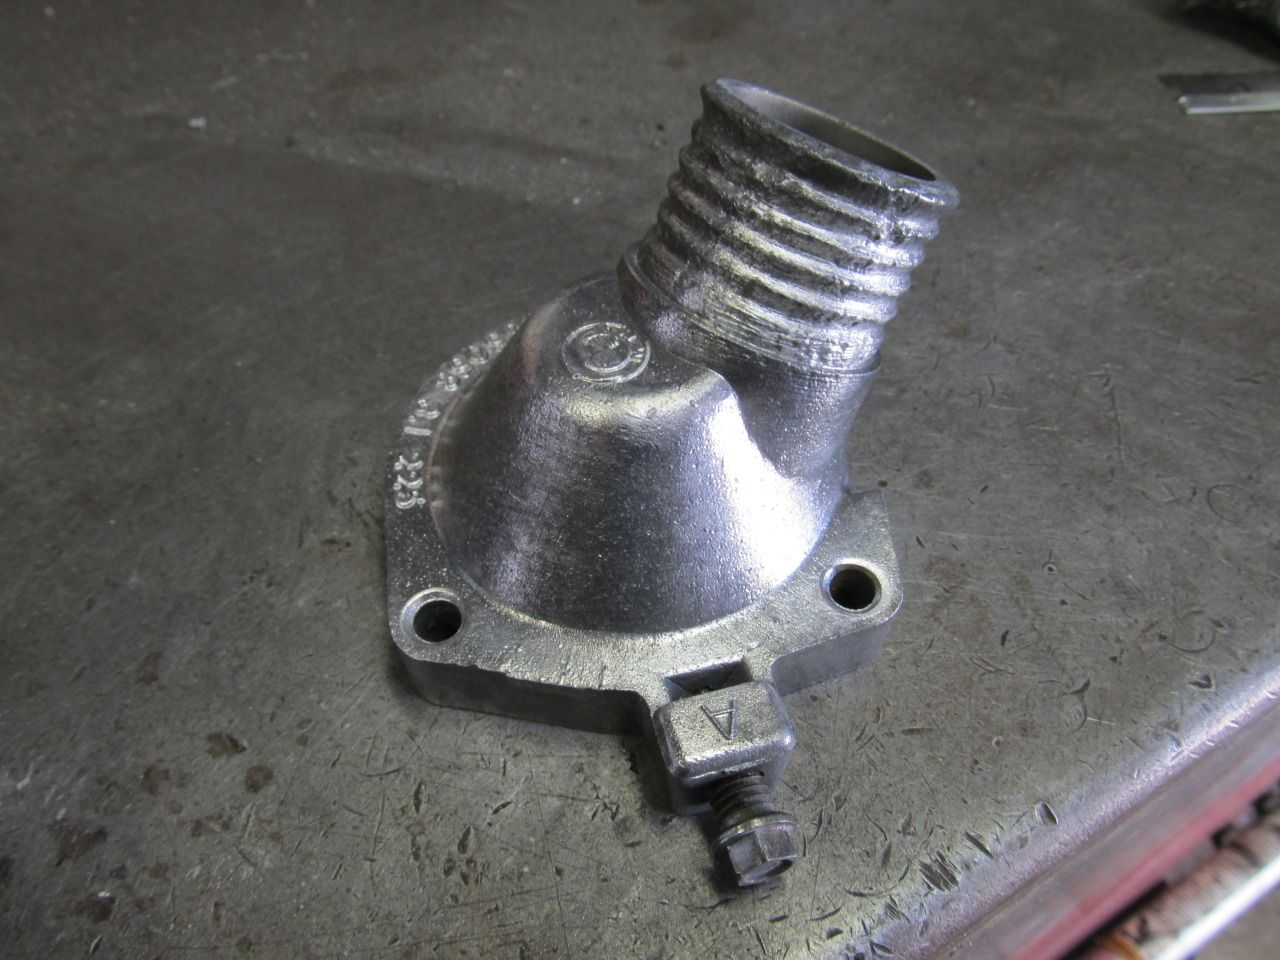
The thermostat housings were disgusting
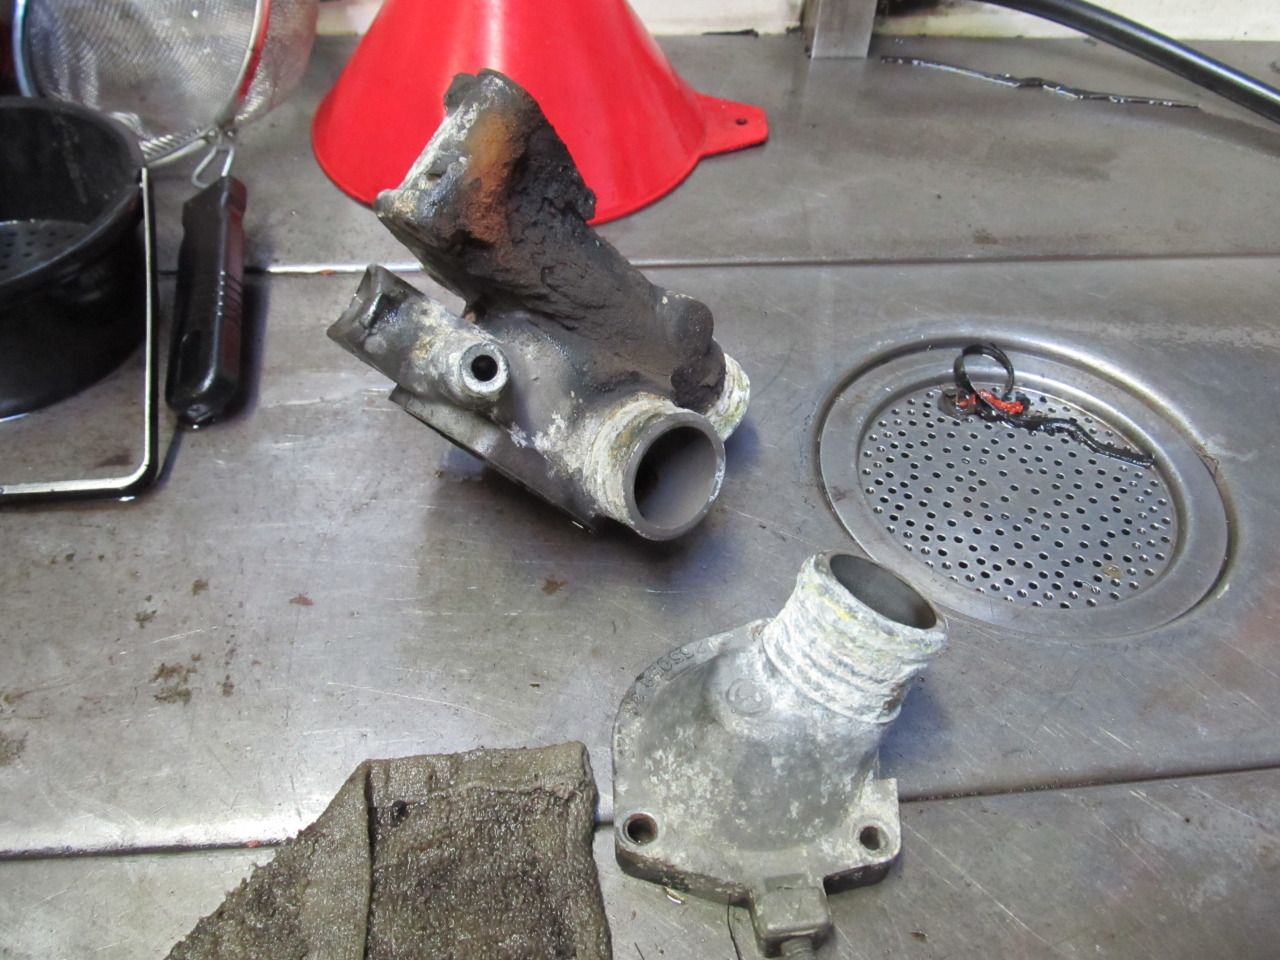
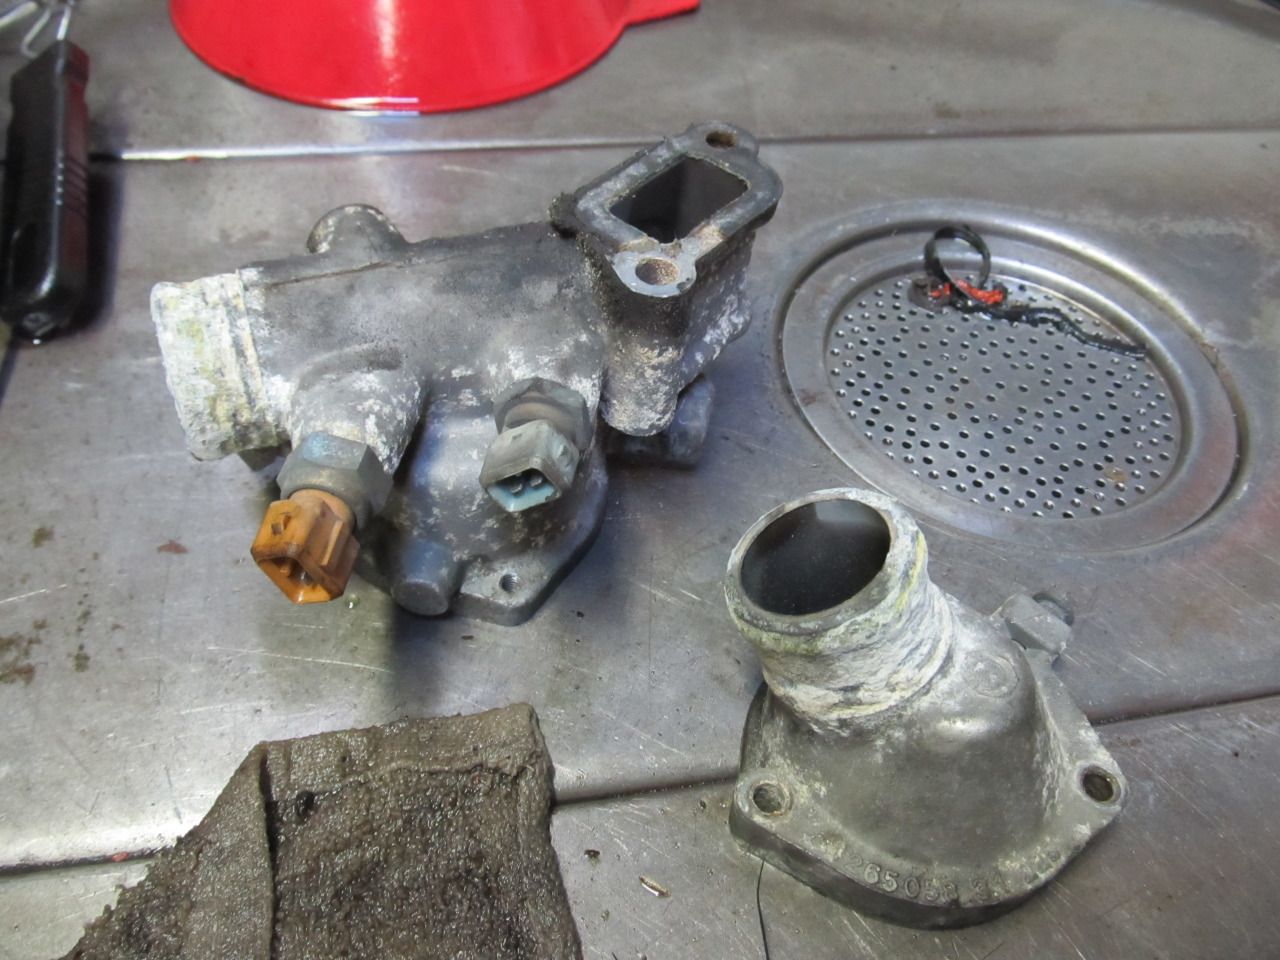
Posted: Apr 26, 2013 8:48 PM
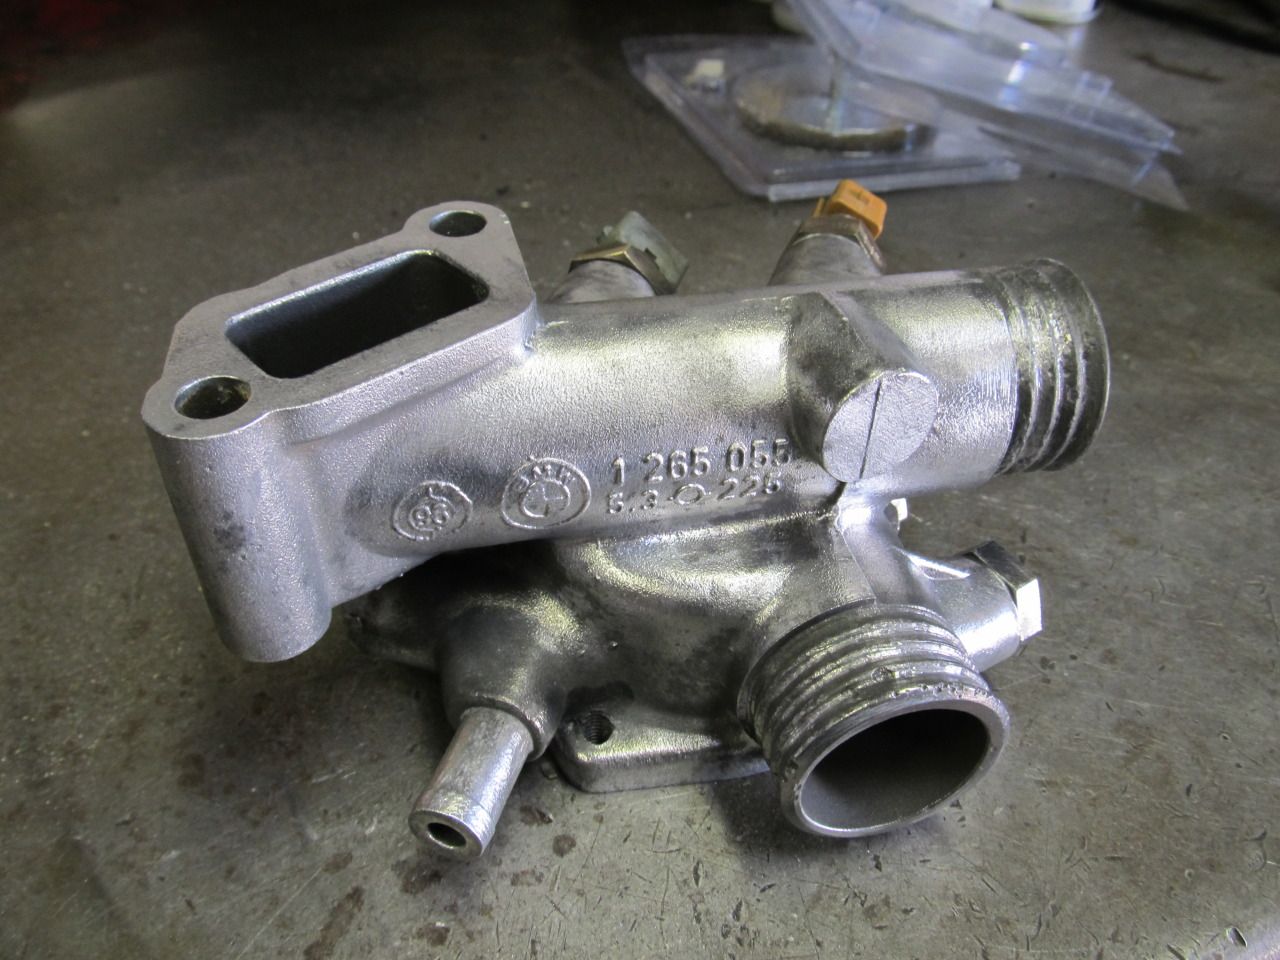
by 95maxrider
And after some time with the wire wheel
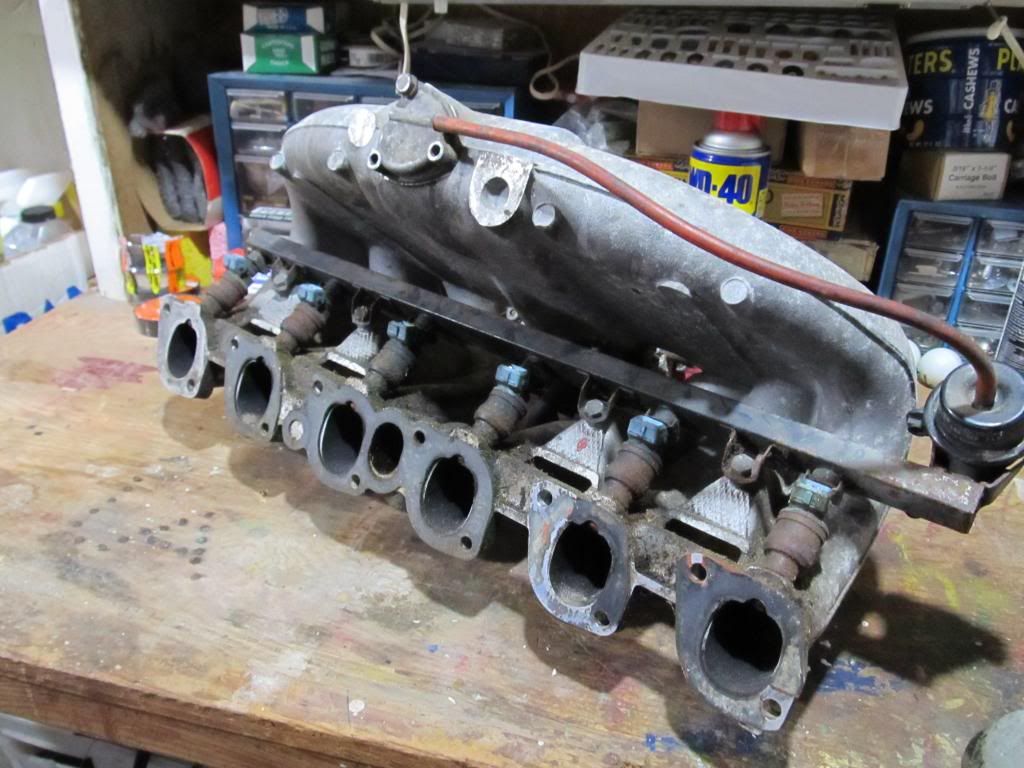
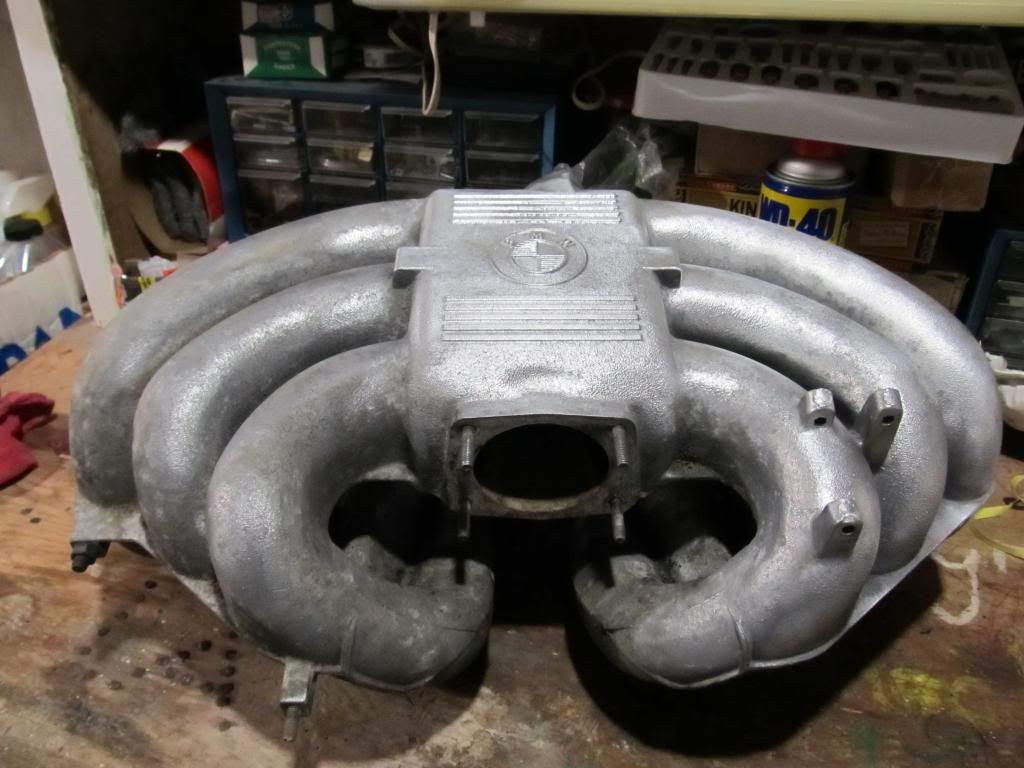
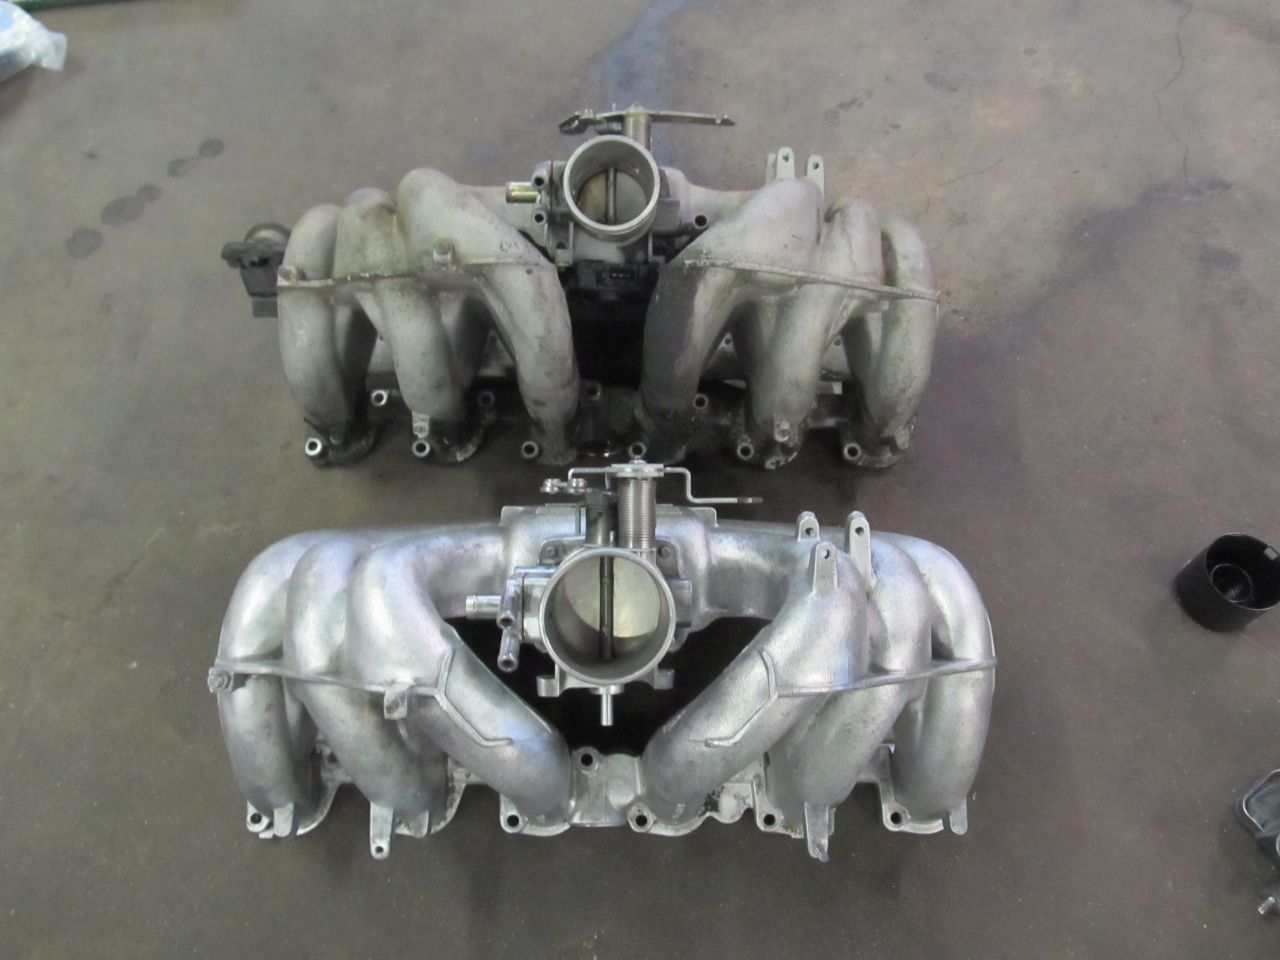
Also cleaned up the new IM. Here's a size comparison with the old eta
And the block...
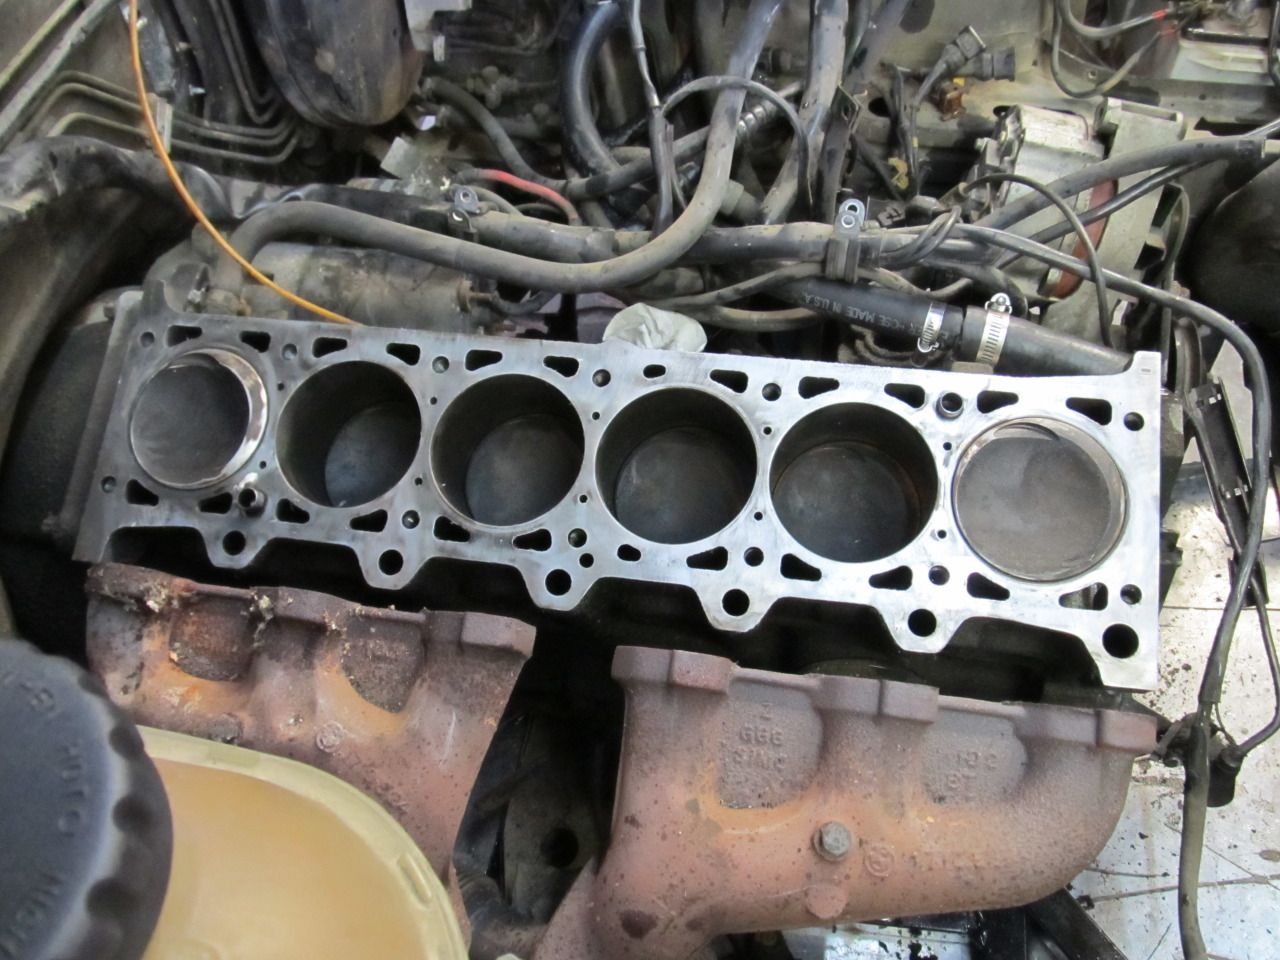
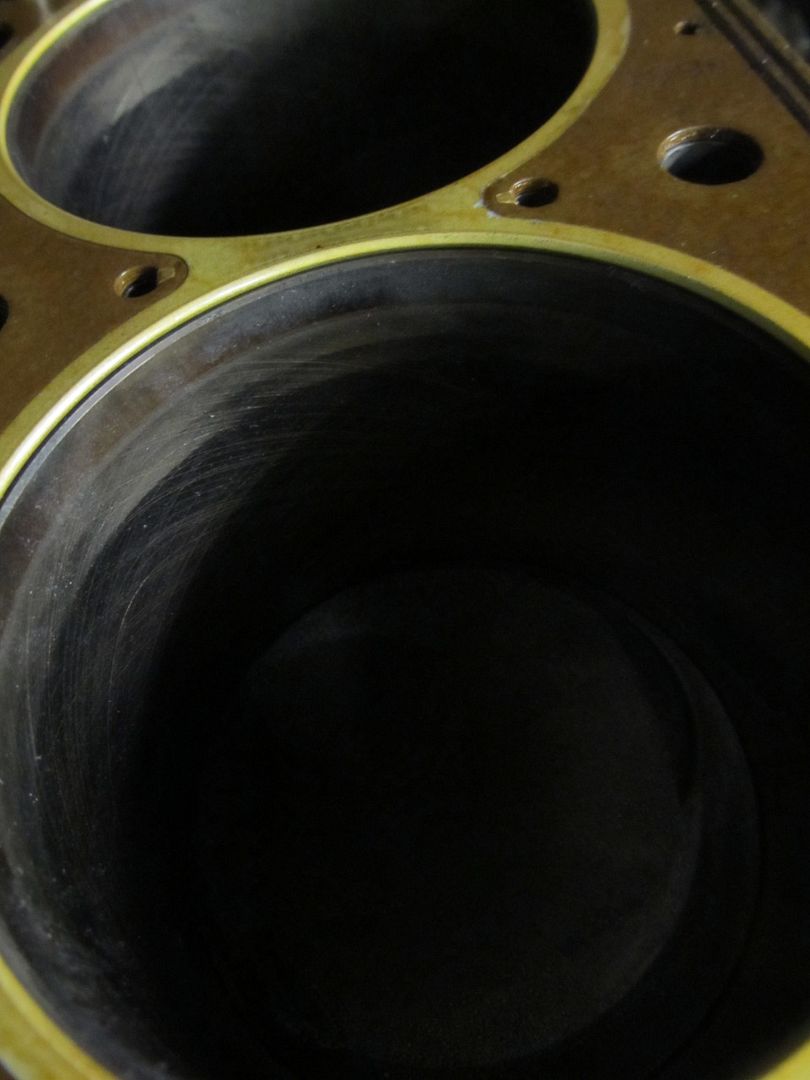
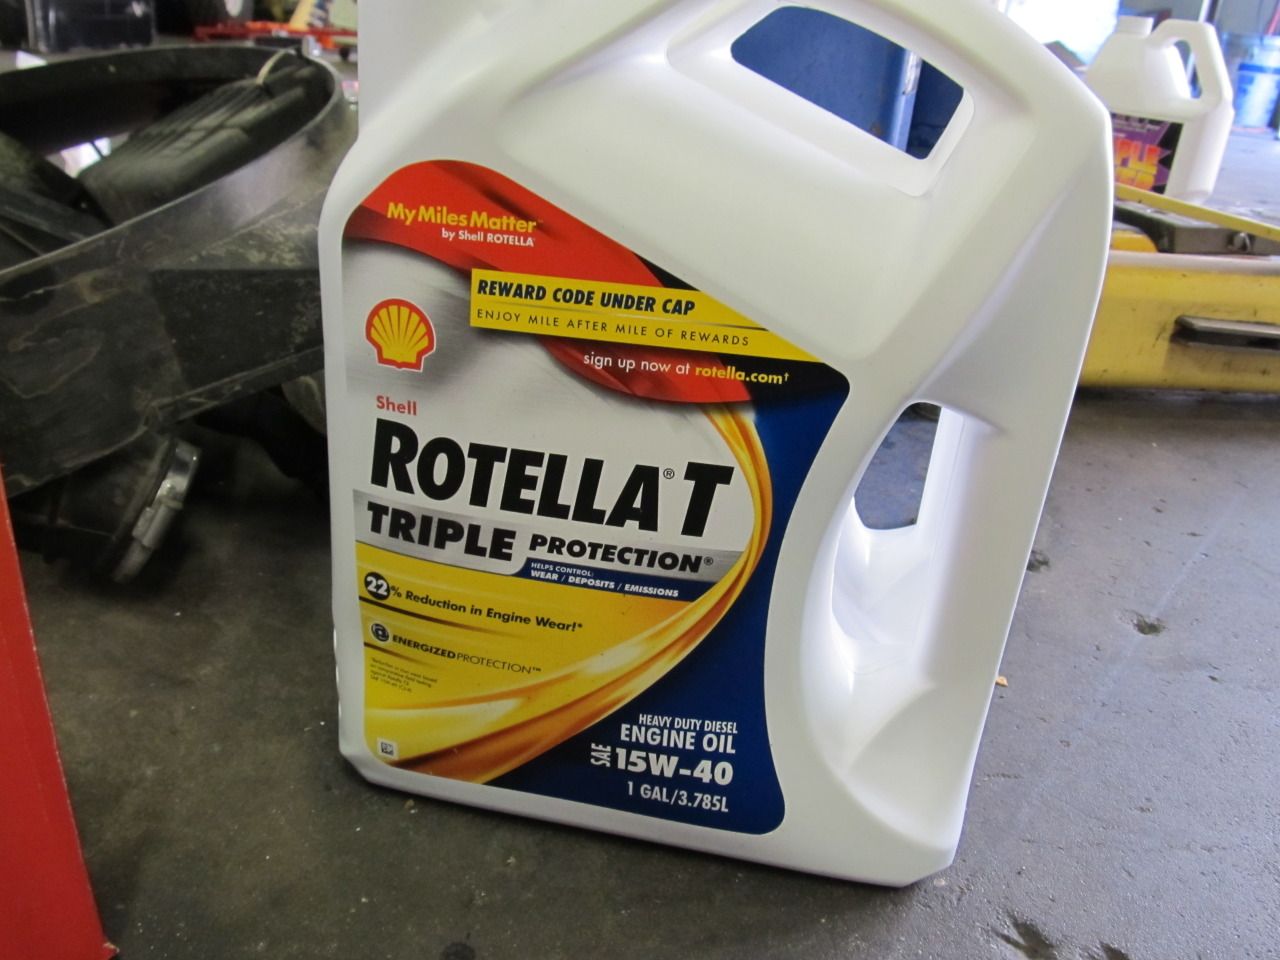
Patrick recommended we get the Rotella T Triple 15w-40
And some more sound deadening...
Assembly...
This is what we had to make to get the "i" water pump to work with our ETA radiator/overflow tank. I'll post more details later.
Installed (right, like it was just that easy...)
There a whole long, terrible story that goes with these pictures, but I don't have the energy to tell it right now. Let's just say this took about 20 hours, and it isn't perfect yet.
Posted: Apr 30, 2013 1:47 AM
by Acid House
Awesome thread, looks like fun!
I wanna see an edit of some of those GoPro videos.
Posted: Apr 30, 2013 8:58 AM
by 95maxrider
Acid House wrote:Awesome thread, looks like fun!
I wanna see an edit of some of those GoPro videos.
Ask and ye shall receive.
Here are two vids from the last event. This is one of the three courses available to us, and it's my least favorite. E28s don't do so well on the tight stuff, and it makes me yearn for an E30
Well apparently mye28 doesn't like to embed youtube clips (or at least not in the way I'm familiar with) so you'll have to follow the links
http://www.youtube.com/watch?feature=pl ... vMWpu6nmBI
http://www.youtube.com/watch?feature=pl ... em9kJrxSWk
Posted: Apr 30, 2013 10:14 AM
by Brad D.
Great build!
Posted: Apr 30, 2013 2:49 PM
by unt0uchable
Awesome build! Love it.

Damn you and your clean body panels! Wanna trade fenders, hoods, trunks, and doors

lol
Posted: May 01, 2013 9:11 AM
by 95maxrider
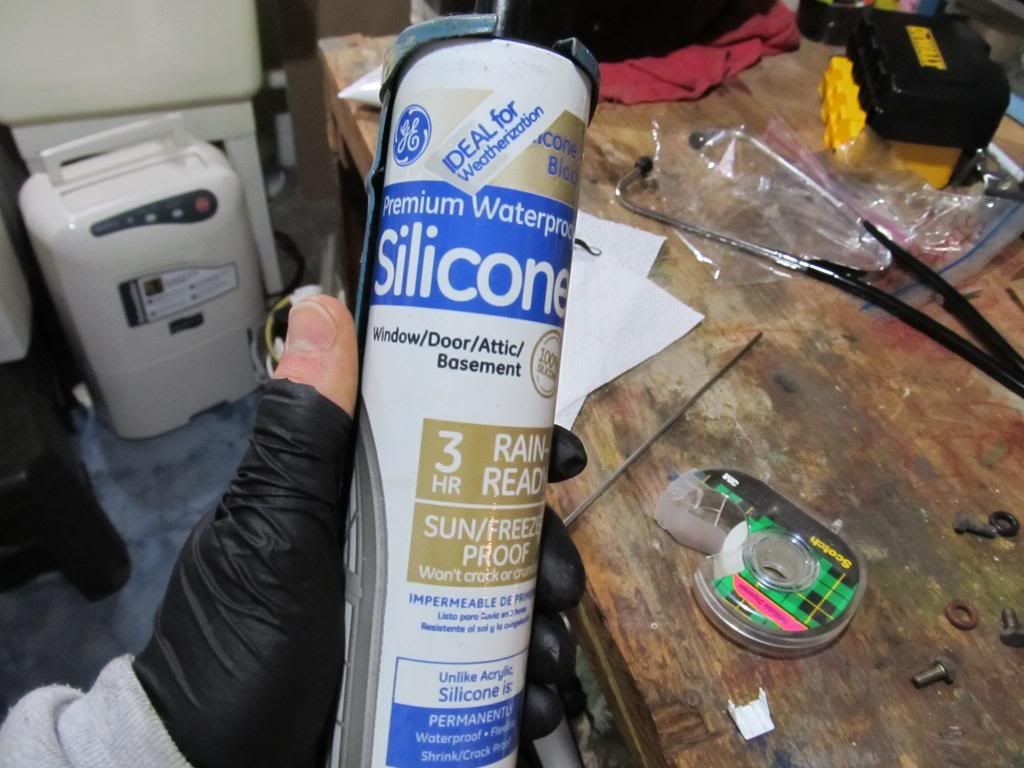
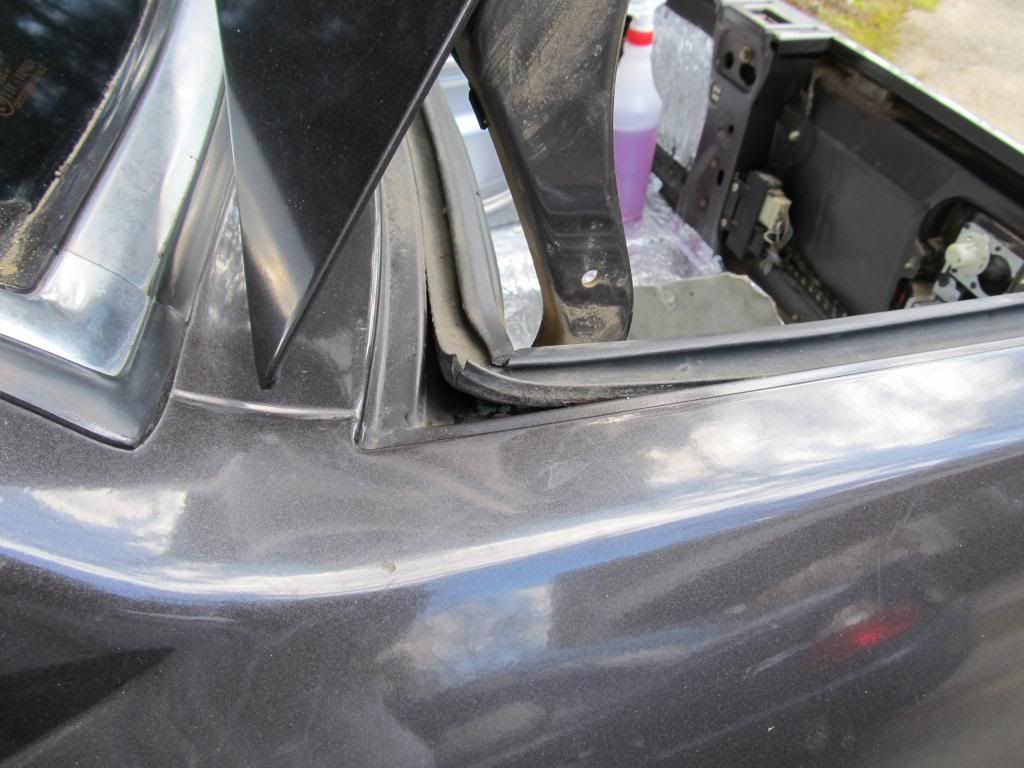
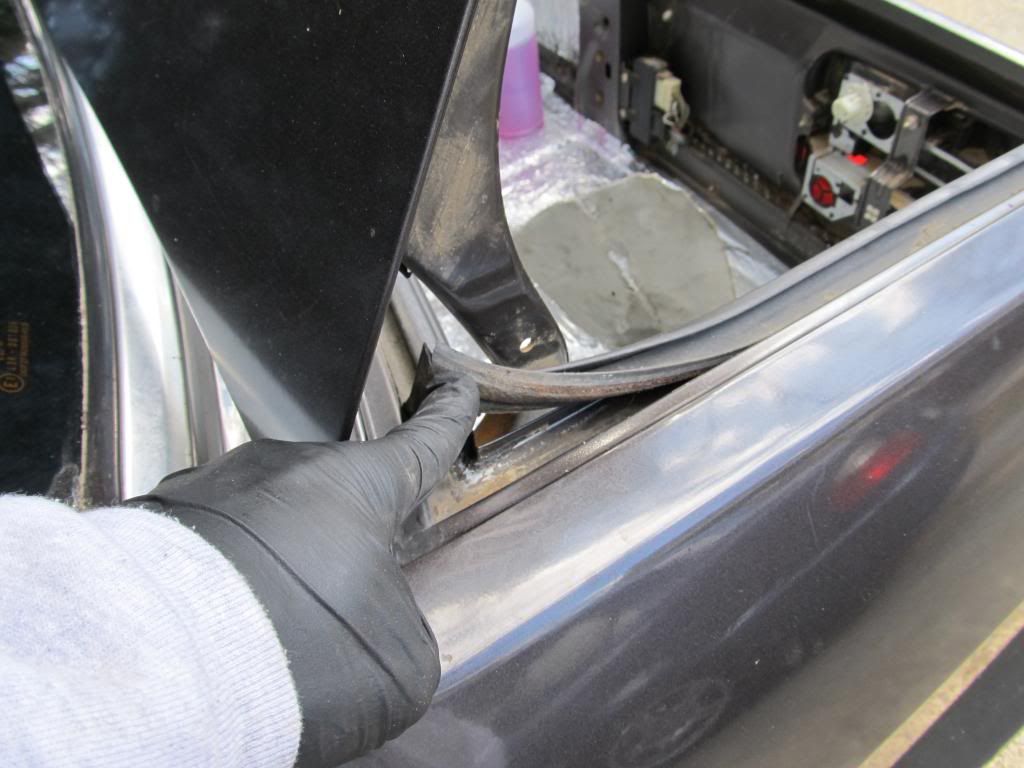
The car has had problems with rain leaking in at the corners of the windshield, so I decided to put some silicone down and see if it helps. The corners of the windshield have a pretty good curve to them, and water tends to pool there, so I wanted to build the area up a bit so the water drains better.
Front:
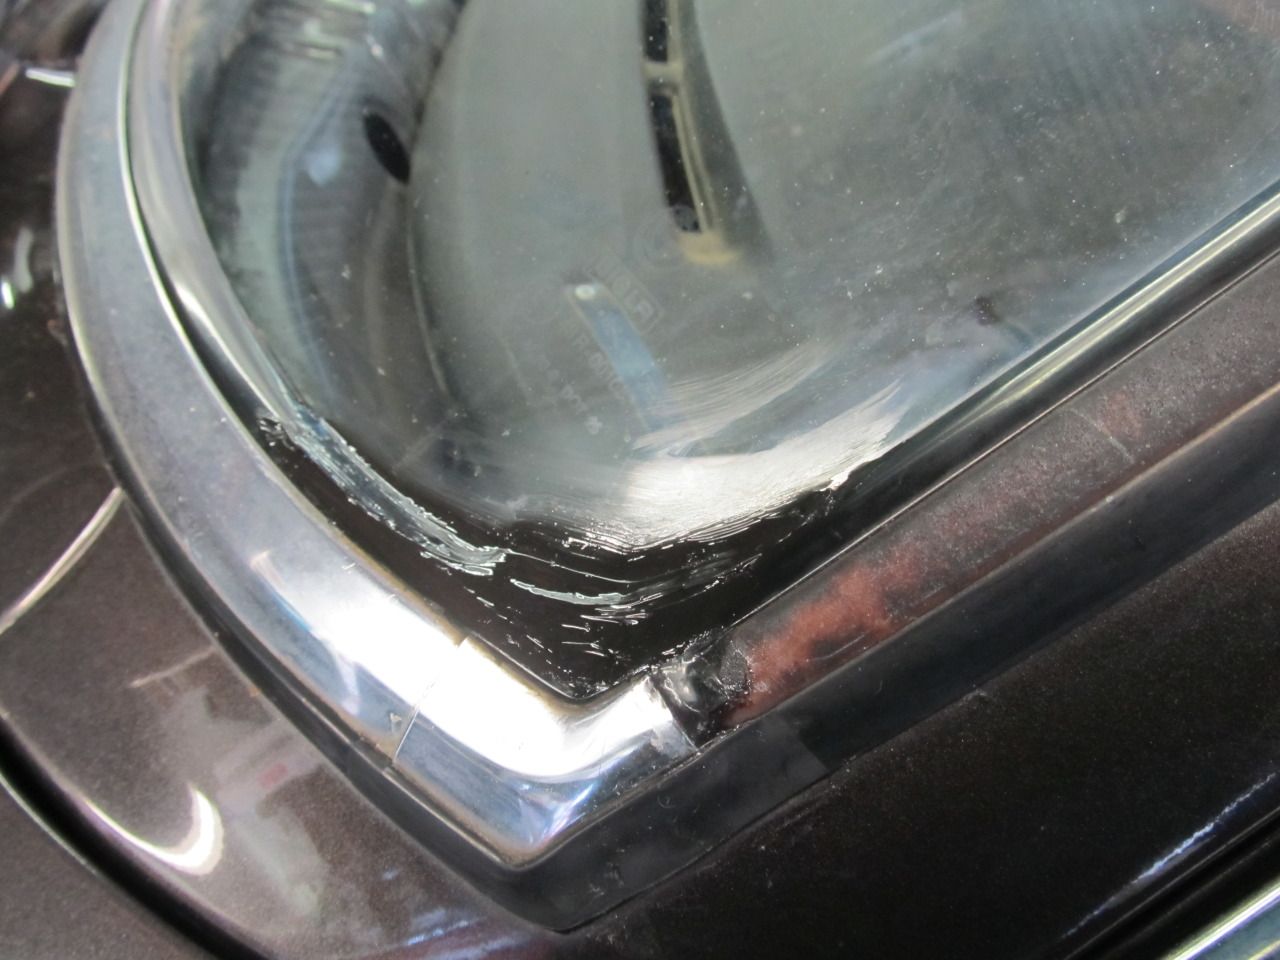
Rear:
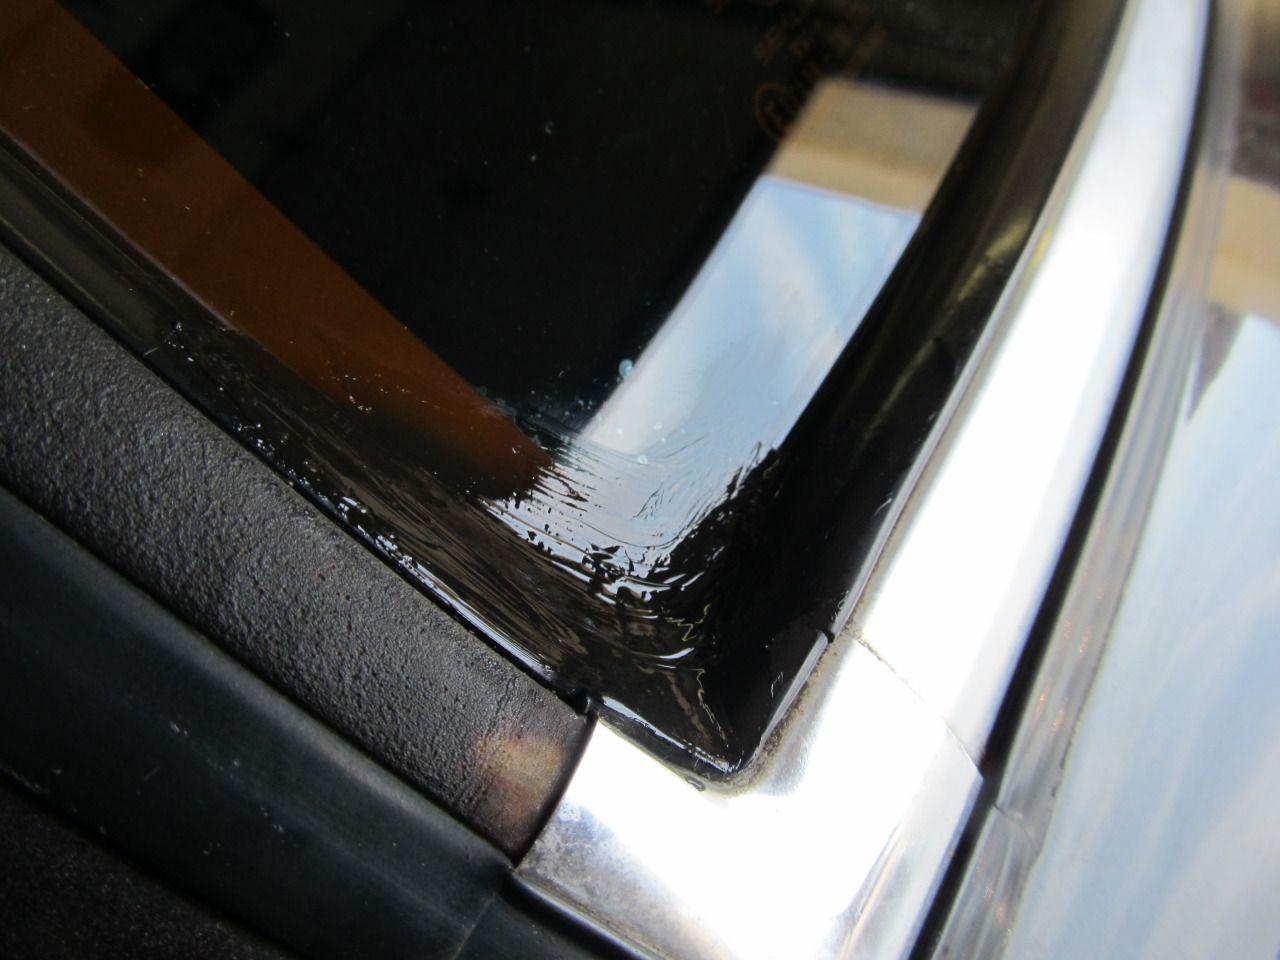
Unfortunately, after yesterday's rain there was still a good amount of water in the car, so something is clearly still leaking. I'm considering doing the entire base of the windshield and seeing if that does anything, but if it doesn't I'm going to have to consider replacing the seal/windshield
Thank god we don't have carpets, because if we did, we would have no idea the leaks existed.
Posted: May 01, 2013 9:12 AM
by 95maxrider
[quote=irish44j;3642743]or it could be your chipped ECU isn't working and not firing the injectors. Did you try them with the stock ECU?[/quote]
I must not be getting notifications for this thread, hmm....
We haven't installed the chip yet for that exact reason.
Update: So after going over everything for many hours, we covered everything that could have been wrong and changed out the second set of rebuilt M50 injectors and put in the 2.5i injectors that came with our IM/TB. And guess what? The car fired right up on the second crank after fuel was primed! There is something seriously wrong with these injectors Maksim is sending out. If our car runs perfect with both 2.5 and 2.7 eta injectors, but not at all with his, I think there is something wrong. I'll post more on this if/when it gets resolved. It's really not cool how many hours we have wasted due to these bum injectors. What do you guys think is a fair way to resolve the situation? Is a refund enough?
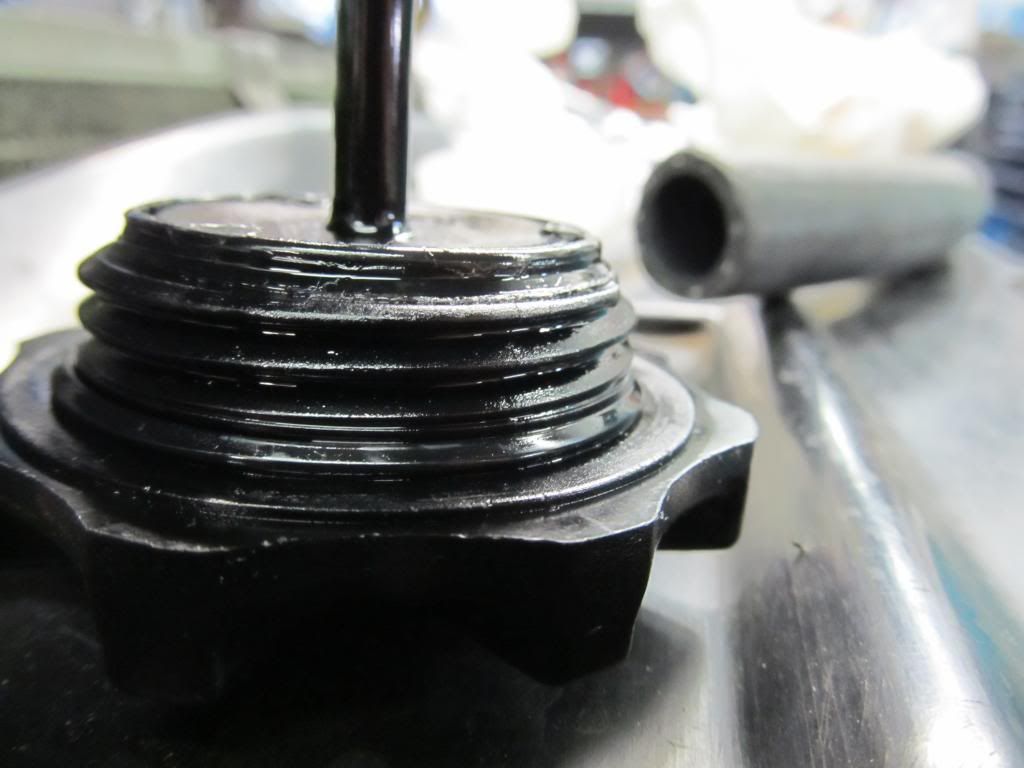
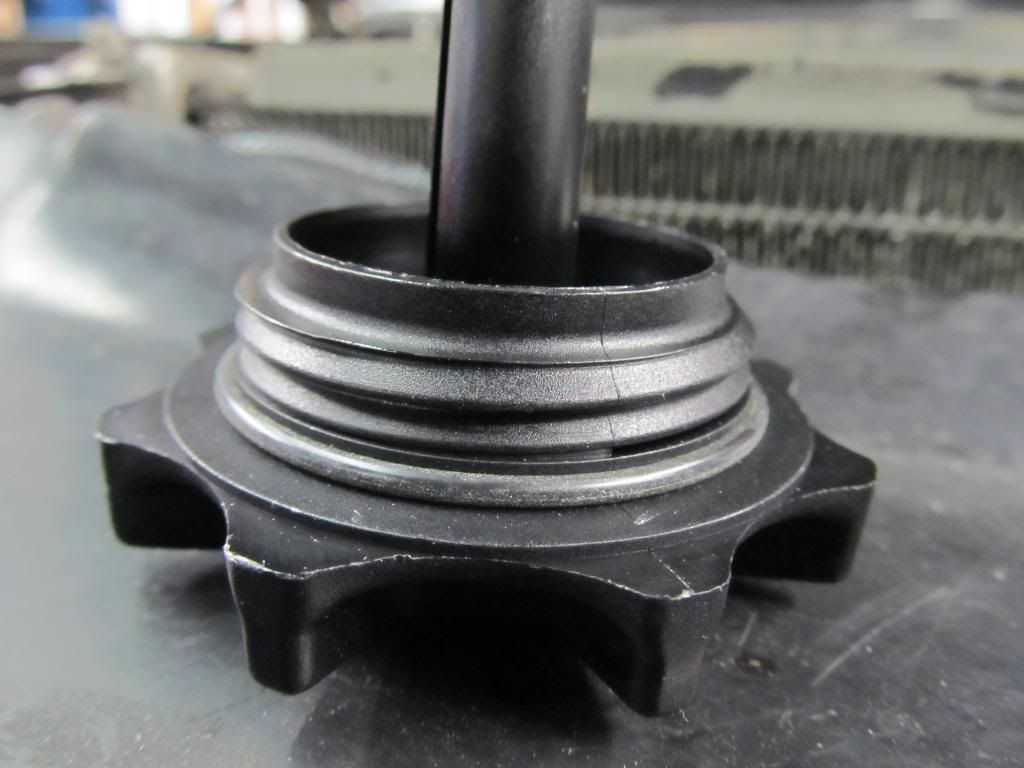
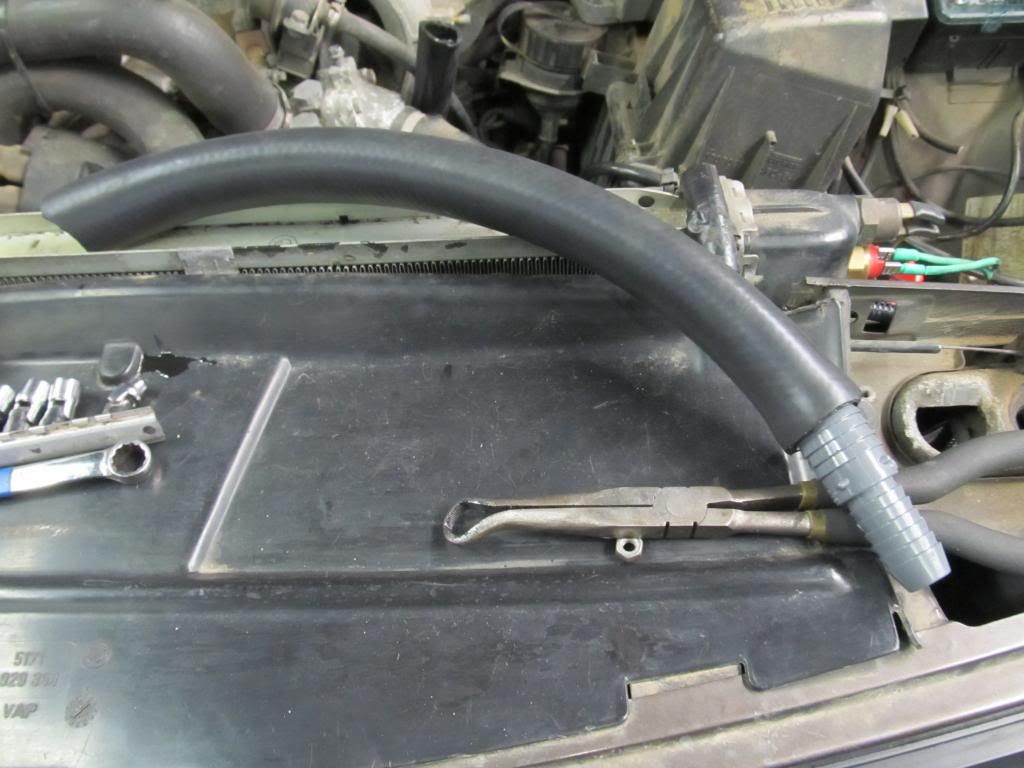
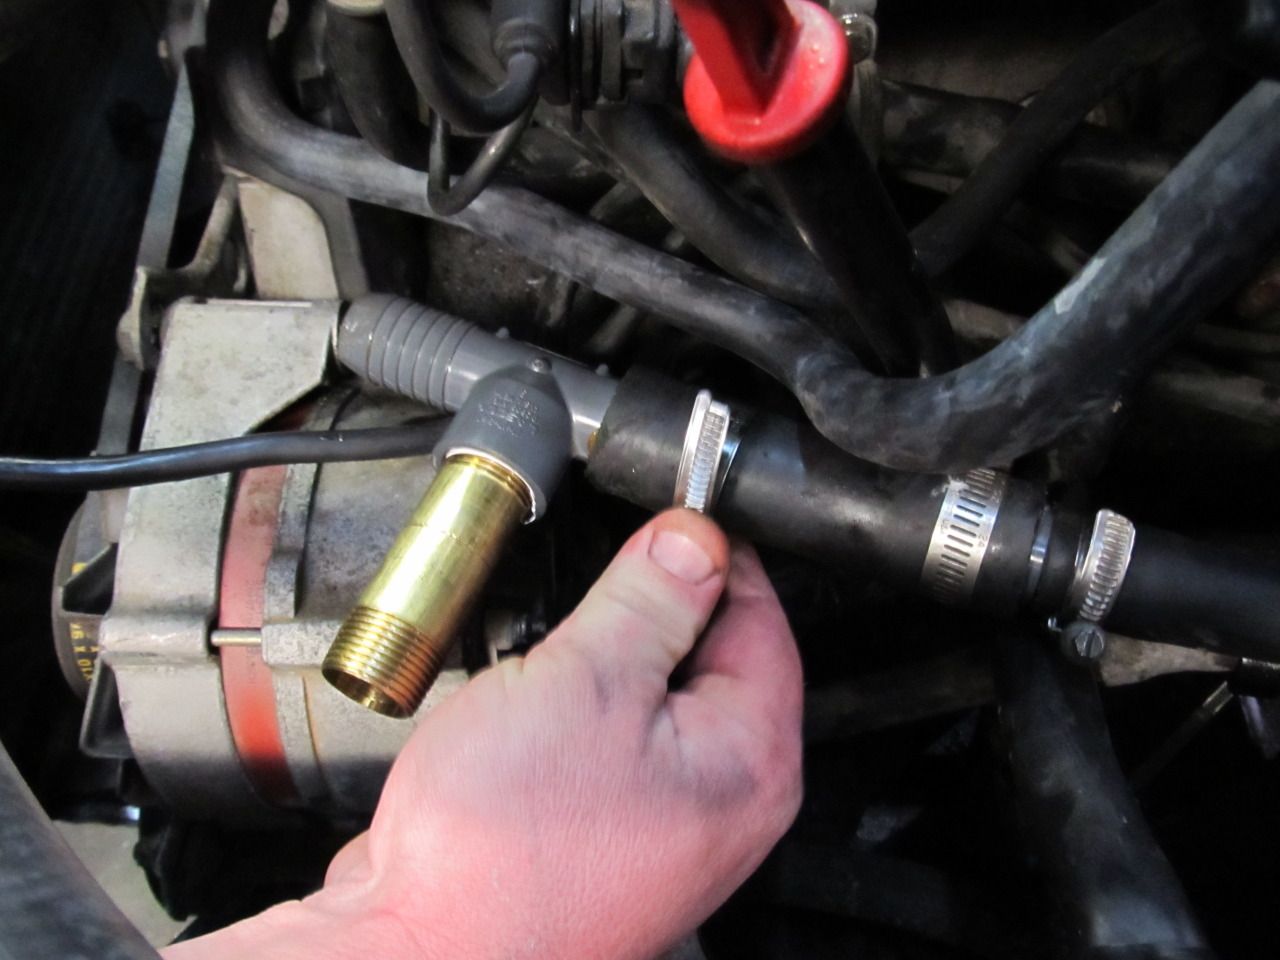
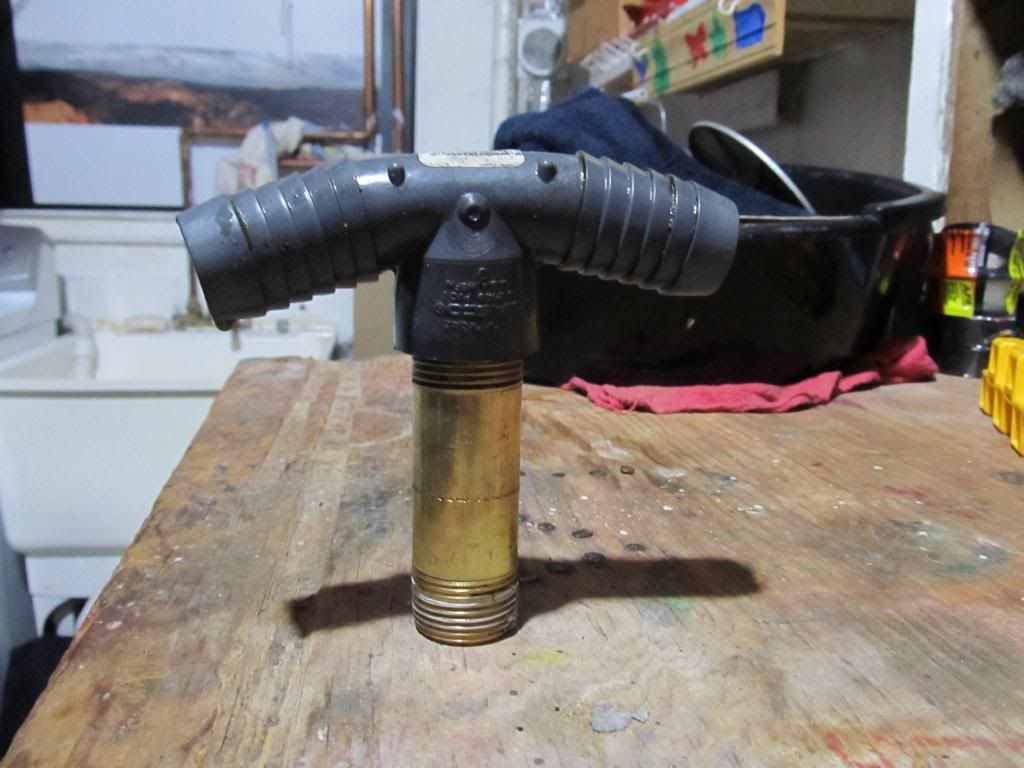
Well in working on everything yesterday we discovered what was at first a minor coolant leak at the tee we made to get the "i" water pump to work with our SETA radiator and overflow tank. Due to lack of parts available at Home Depot, we had to combine a 1" OD plastic barbed hose fitting with a threaded female section on the bottom with a 1" threaded metal pipe to go to the overflow tank. We checked the hose clamps and they were a little loose, so we tightened them up. It also looked like the metal section wasn't completely threaded into the plastic section, so I tightened it up with a vise grip. Unfortunately, this seemed to make matter much worse, and our intermittent drip became a steady trickle. Time to get a new tee!
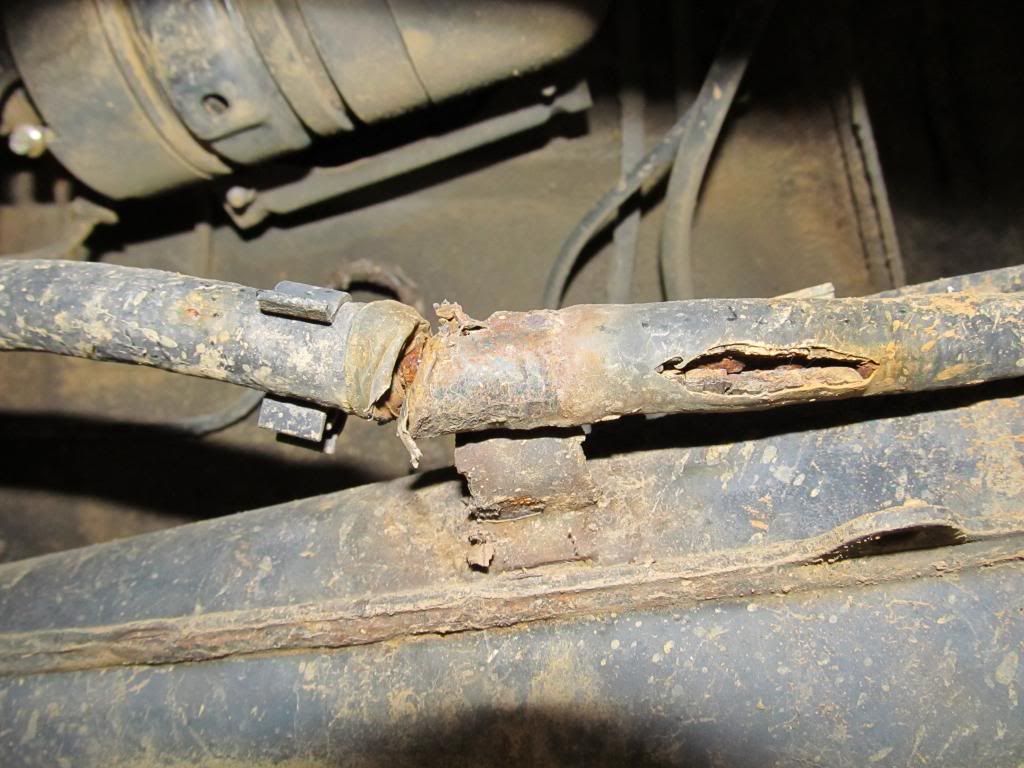
This is what it looked like when we installed it:
And this is what our tee ended up looking like after about an hour of run time:
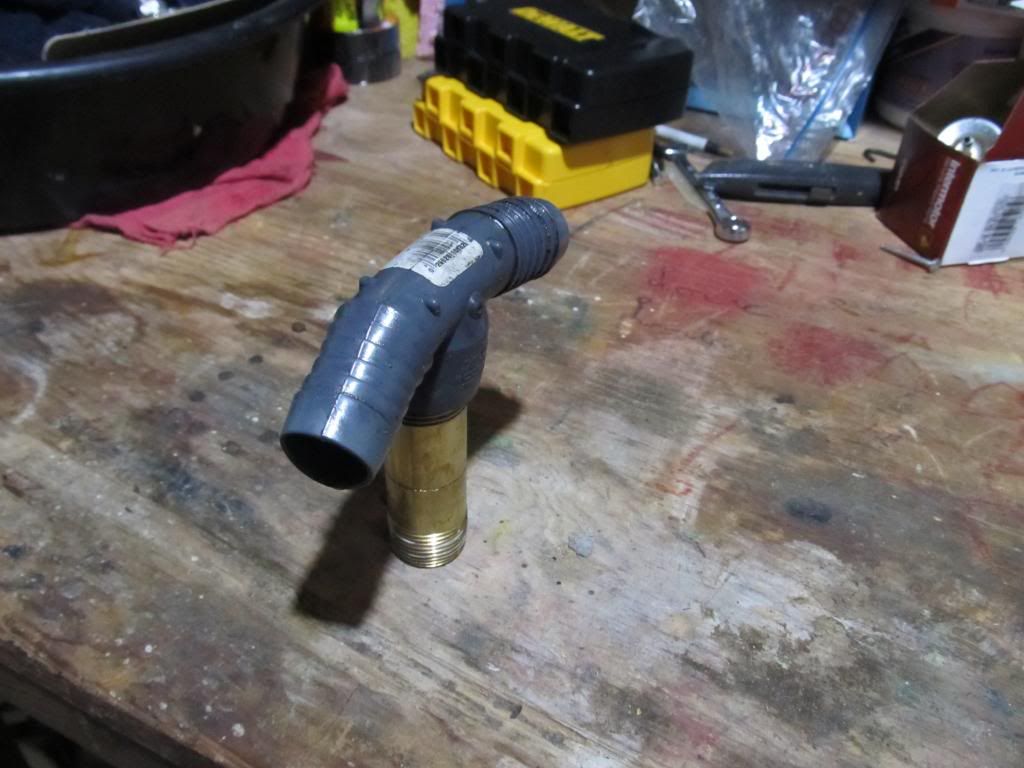
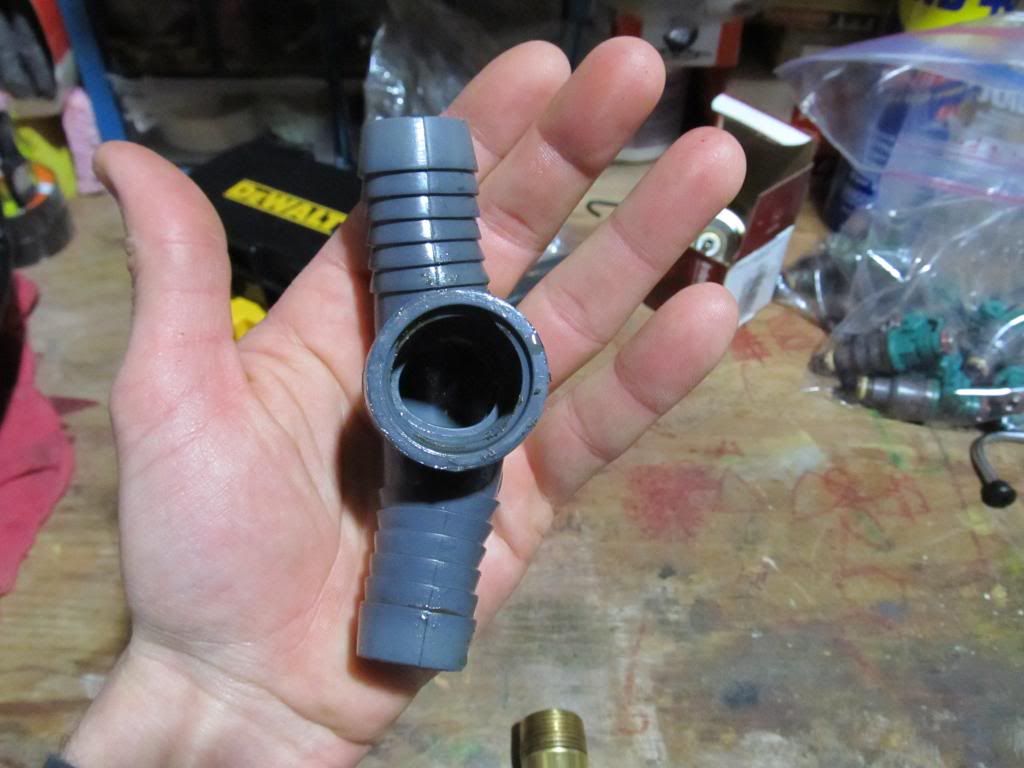
Not so good, this thing is supposed to be straight! Looks like the tension of the hoses bent it when it got hot, which would explain why tightening the metal part just made it worse since the threads weren't true anymore.
So we ran to the hardware store just down the street and picked up another plastic tee fitting, but this time we found one that was already a tee and didn't need a metal pipe. It's the same material was what we pulled out, and is really only in the car until we can find a metal one at a Home Depot or Lowes. Regardless, we got the new tee installed and there are no leaks. We drove the car around and it seemed happier than it did with the SETA injectors on the 173/351 ECU. I do miss the old low-end grunt of the SETA, but it sure is nice having power above 4000 rpm. I'm a little disappointed that we won't get to run with the 17lb injectors and chip this weekend, but we will live. More updates to come!
Posted: May 01, 2013 9:12 AM
by 95maxrider
Posted: May 01, 2013 9:13 AM
by 95maxrider
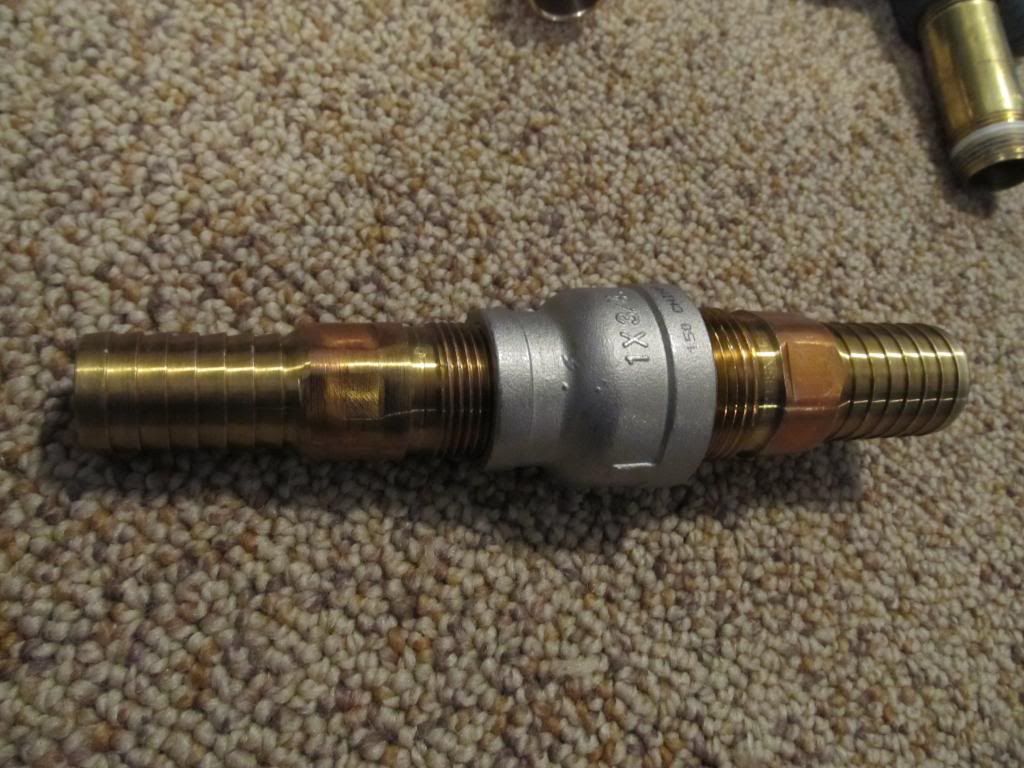
Well we redid those weird parts of the cooling system the night before the first race and luckily it has all held together so far. I spent many hours and more money than I would like to admit to get these pieces. Damn lead-free piping in Maryland!
The new plastic tee we put in a few days earlier had already started to collapse after 30 minutes of drive time. The new ones won't be doing that

Old vs. new
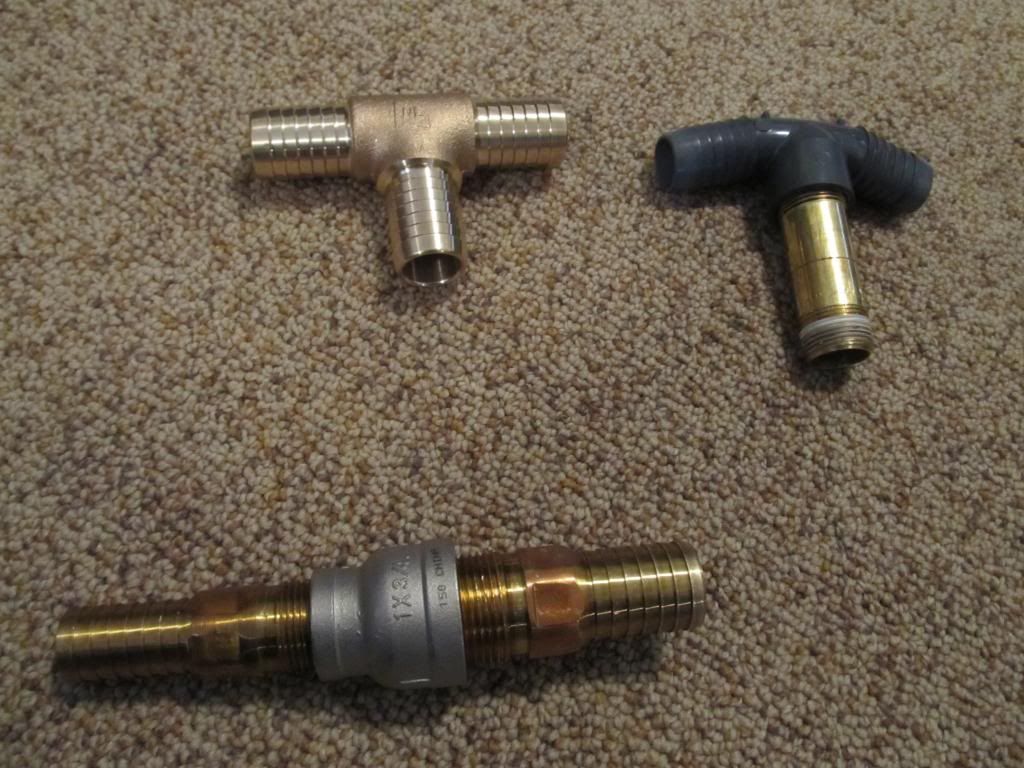
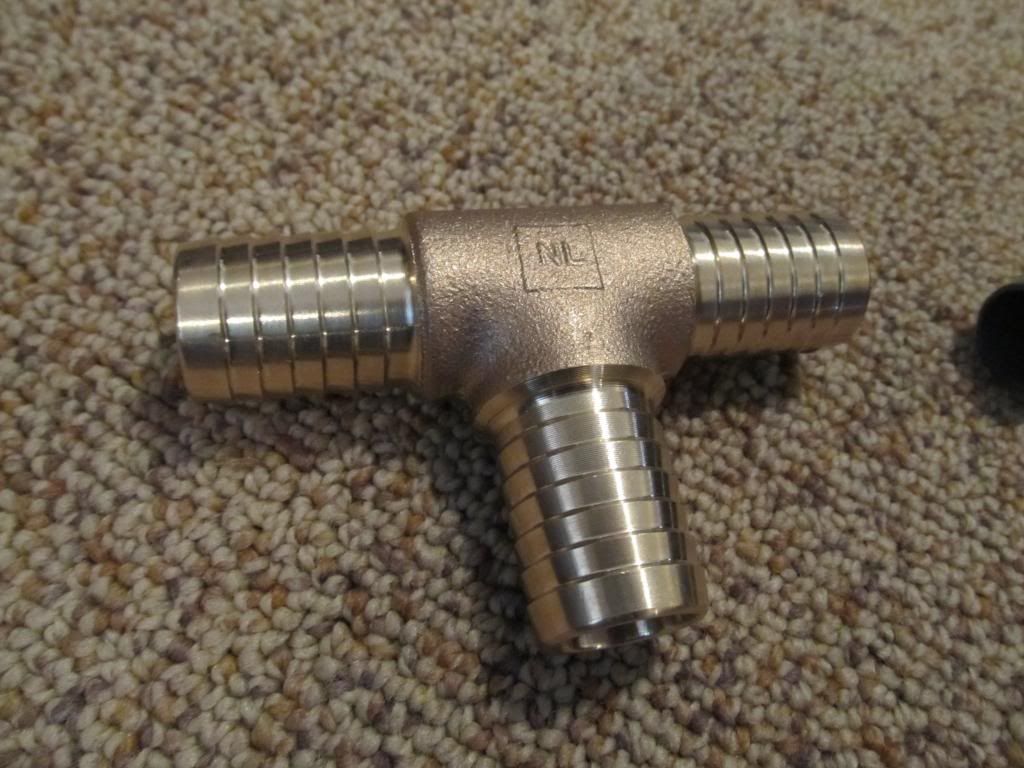
1" barbed brass tee
1" to 3/4" reducer
Posted: May 01, 2013 10:49 AM
by davintosh
Awesome build! Thanks for all the photo detail.


Can't watch your videos here, but definitely will tonight!
For your wet floorboards, check the sunroof drains; I bet you have a break somewhere inside the A-pillar or fender.
I'm about to put the head from an M20B25 on an M20B27, and have been thinking about the cooling system; the e34 donor car has the overflow tank attached to the radiator; any reason that same idea can't be used in the e28? I know there's little chance that the e34 radiator will fit the e28 out of the box, but when I get to that point I'm definitely checking fitment. Might work with some modifications.
Posted: May 01, 2013 11:34 AM
by 95maxrider
davintosh wrote:Awesome build! Thanks for all the photo detail.
Can't watch your videos here, but definitely will tonight!
For your wet floorboards, check the sunroof drains; I bet you have a break somewhere inside the A-pillar or fender.
I'm about to put the head from an M20B25 on an M20B27, and have been thinking about the cooling system; the e34 donor car has the overflow tank attached to the radiator; any reason that same idea can't be used in the e28? I know there's little chance that the e34 radiator will fit the e28 out of the box, but when I get to that point I'm definitely checking fitment. Might work with some modifications.
Thanks!
Well our sunroof (or the edges of it) were filled in with silicone and the sunroof is no longer operational, so I don't think there would be any way for water to get inside from the sunroof.
I know very little about how the E34s do their cooling system, so I can't be of much help there. All I know is that we wouldn't have had that problem with the tee fitting if we had just bought the proper water pump to begin with. I was under the impression that all e/i water pumps were the same and it wasn't until the engine was mostly back together that we found they were different and didn't have time to to disassemble everything and put in an "e" pump.
Posted: May 01, 2013 11:53 AM
by davintosh
Hmmm... I was under the same impression. I guess they are the same where they attach to the block anyway; hadn't noticed that extra hose barb. The Graf catalog bears that out though:
M20B27 pump (PA369) - - - - - - - - - - - - - - - - - - - - - - - M20B25 pump (PA243)


I have a fresh eta pump on hand and was planning to use it, but may have to change that plan. Your solution to add the T would work, but at this point I'll probably just get the right pump & be done with it.
Posted: May 01, 2013 11:02 PM
by shagrath
I love this thread!!!
Posted: May 02, 2013 8:50 AM
by 95maxrider
davintosh wrote:Hmmm... I was under the same impression. I guess they are the same where they attach to the block anyway; hadn't noticed that extra hose barb. The Graf catalog bears that out though:
I have a fresh eta pump on hand and was planning to use it, but may have to change that plan. Your solution to add the T would work, but at this point I'll probably just get the right pump & be done with it.
If you already have a fresh ETA pump, why would you change your plans? My solution is a pain in the ass and cost more than it should have. Keep it simple!
shagrath- Thanks! There's more coming
Posted: May 06, 2013 10:07 AM
by 95maxrider
Ok, I just did the stomp test and I'm not sure of how to read the results. As far as I can tell, the CEL blinked once short then once long, over and over again. I'm not sure how to read that/convert it into a code.
http://www.unofficialbmw.com/repair_faqs/motronic.html
This page has code info, but I don't know what to do with my info....ugh. Any help?