Page 1 of 2
The Project
Posted: Jan 18, 2011 8:23 PM
by edlocke
M5 project
Posted: Jan 18, 2011 8:34 PM
by edlocke
the tear fun
Posted: Jan 18, 2011 9:11 PM
by edlocke
The Tear down...

m5 rust
Posted: Jan 18, 2011 9:26 PM
by edlocke
A lot of man hours have gone into this project...more than I expected it would take to tear it down and get things ready for repair.

Posted: Jan 18, 2011 9:37 PM
by gray635
Ed:
Good for you on saving this car. Looks like quite a job!

What do you plan to do with the "To Punish and Enslave" sticker on the LR window? I'd be interested in the story on that one!

the project
Posted: Jan 18, 2011 9:44 PM
by edlocke
"To Punish and Enslave" sticker on the LR window?
Yeah, I never got around to asking the PO what that was all about....I think his ex-wife put that on the car
It is a project for-sure...but I'm going at it one piece at a time....it helps not to look at the whole car [or mess]. Its not going to be an all out queen but rather a nice driver.
Also I've started to put it back together but the pics I have are from the new iPhone 4 and they are way to big is size....I'm working off iPhoto on my Mac and it doesn't give you a way to lessen the size. I'll take my trusty little digital up with me from now on and capture the build.

Posted: Jan 18, 2011 9:52 PM
by rcbmw
I'm so glad to see that you are restoring this car and not parting it. Stories like these are why I stay involved with this E28 M5 enthusiast group.
Best,
RCBMW
m5 project
Posted: Jan 18, 2011 10:06 PM
by edlocke
Posted: Jan 18, 2011 10:28 PM
by Dexter
Boy that looks like a job. So great to see you take it on and keep it out of the yard. I love those front seats- at first I didn't know if it was a special "can't make up my mind between black or natural interior", then I saw they were manual seats from another car.
M5 project
Posted: Jan 18, 2011 10:31 PM
by edlocke
I'm using the POR-15 product. Its a bit of a hassle when you apply all 3 steps that they recommend......but I figure if I'm gonna do it ....I'll do it right. Over the POR-15 I'm applying Rust-O-Leum Spray on Bed Liner...its tuff stuff.


Posted: Jan 19, 2011 5:33 PM
by 48230M5
Looks like the wheel arrived safely. I'm really glad you are documenting this project!
-Steve
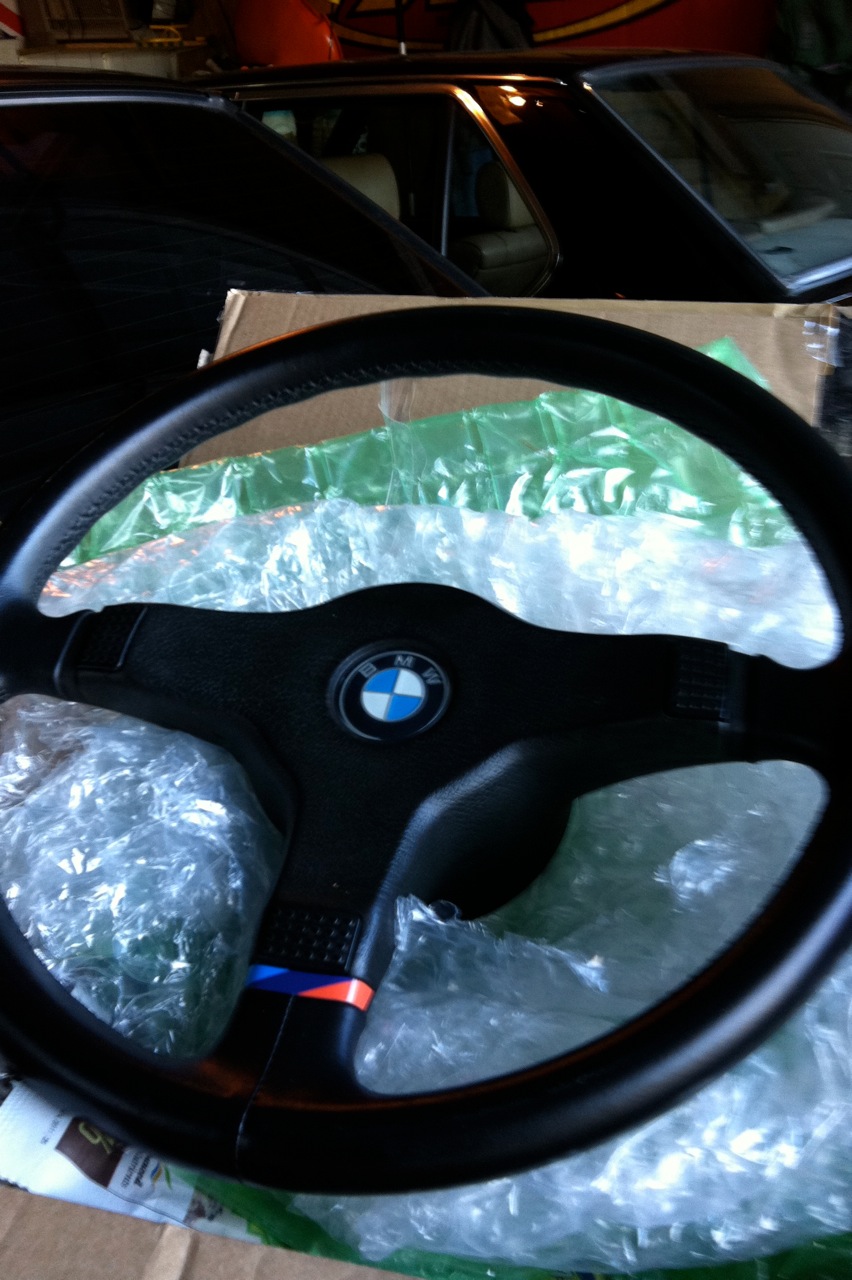
Mtech wheel
Posted: Jan 19, 2011 5:38 PM
by edlocke
"Looks like the wheel arrived safely"
Awesome condition...thanks!!!!
Posted: Jan 19, 2011 7:57 PM
by stuartinmn
Looks pretty familar...I had to deal with rust in all the same places on my car when it was restored last summer.

rust
Posted: Jan 19, 2011 8:47 PM
by edlocke
stuartinmn wrote:Looks pretty familar...I had to deal with rust in all the same places on my car when it was restored last summer.
Did you keep a picture log of the build? Would love to see your project...

Its not for everyone thats for-sure....but I'm finding it very rewarding to save the car.
Posted: Jan 19, 2011 11:17 PM
by Black Steel
Really enjoyed looking at your pictures

You have your hands full there but it looks like your doing a great job. Well done

more Rusty pics
Posted: Jan 25, 2011 7:51 PM
by edlocke
I welded the bottom of the rocker, then applied 3 coats of POR-15 and used 2 part auto epoxy adhesive to attach patch pieces to the 2 small holes in the back of the rocker and then I will rock guard after I get a good drying of the epoxy. The POR-15 you can take a hammer to this stuff after it dries and you can't hardly nick the stuff.


m5 project
Posted: Jan 25, 2011 8:07 PM
by edlocke
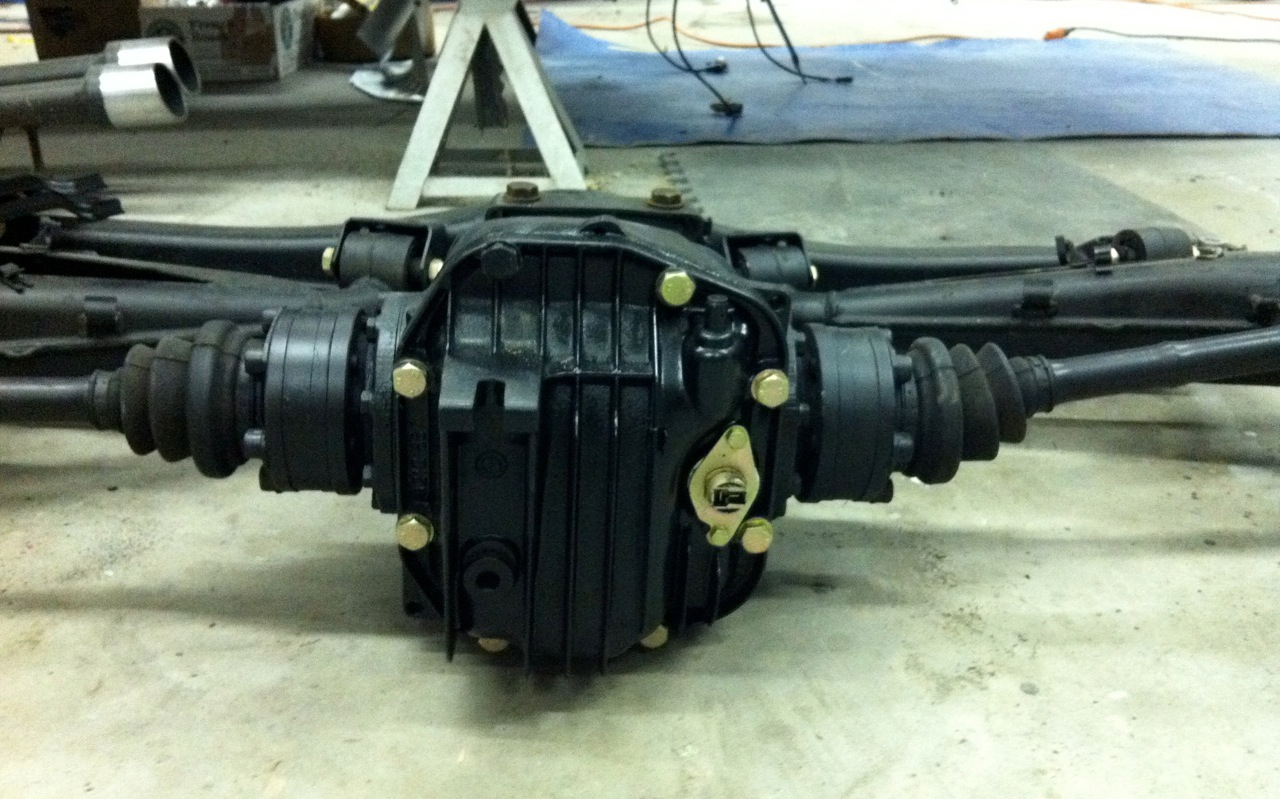
I have everything together in rear of the car except for the brake calipers. All new bushings, Bilstein Sports, M-tech rear springs, new gas lines, Stainless brake lines, all the underside issues have been addressed regarding any rust spots and the underside has truck bed liner applied. Bolts and gas tank guards stripped dipped in Zinc. Waiting for sway bar bushings.

The build up looks so much better than the picture here.....the body-shop dust from sanding coats everything. impossible to get nice shots.

timely post
Posted: Jan 25, 2011 8:13 PM
by SW
timly and inspirational post. I was out on my M5 tonight getting it ready for spring and found discouraging rust. Floor boards. Rockers. TRuck valance. Ug! I don't have the skills for body work.
m5 project
Posted: Jan 25, 2011 8:24 PM
by edlocke
Re: timely post
Posted: Jan 25, 2011 8:37 PM
by edlocke
SW wrote:timly and inspirational post. I was out on my M5 tonight getting it ready for spring and found discouraging rust. Floor boards. Rockers. TRuck valance. Ug! I don't have the skills for body work.
Sorry to hear that....you need to find someone in your area that will work on your car and FIX IT RIGHT....
I will share this with you: I'm not an Auto body-man myself but I've been on YouTube for the last month studying the art of "Rust Removal". Its not brain surgery....just takes time gettting things prepped in order for a proper repair. I watched a very funny guy out of Dallas Texas who runs "SOUTHWEST ROD AND CUSTOMS" see if you can search on YouTube for his shop or search "1966 rust chevelle". You'll learn a lot from this guy. You'll know when you've found him.....he looks like a biker, lots of tattoos and says FUCK every other word... I love watching this guy. He plays clown music in the back ground....
I went back and found a link that will get you to his training videos....go to the Karmin Ghia if you want to see some rust repair...
http://www.youtube.com/watch?v=di_OpQja ... re=related
Re: timely post
Posted: Jan 25, 2011 10:01 PM
by rcbmw
SW wrote:timly and inspirational post...
Ed's work here is certainly inspiring. An E34 M5 owner also took on an
extensive restoration and the
photos show something that is equally painstaking and impressive. I cannot wait to see the final result of both cars.
Best,
RCBMW
Re: timely post
Posted: Jan 25, 2011 10:37 PM
by edlocke
rcbmw wrote:SW wrote:timly and inspirational post...
Ed's work here is certainly inspiring. An E34 M5 owner also took on an
extensive restoration and the
photos show something that is equally painstaking and impressive. I cannot wait to see the final result of both cars.
Best,
RCBMW
Thanks for the words of encouragement.......but my driver rebuild is far from being anything close to the e34 M5 you reference....wow...thats a full on restoration....LOTS OF BUCKS AND TIME....
Posted: Jan 25, 2011 10:46 PM
by mooseheadm5
You must have quite a bit of time on your hands to do so much work so quickly. Either that or you don't sleep much. Can't wait to see it at Vintage.
m5 project
Posted: Jan 26, 2011 4:19 AM
by edlocke
mooseheadm5 wrote:You must have quite a bit of time on your hands to do so much work so quickly. Either that or you don't sleep much. Can't wait to see it at Vintage.
Thats funny you should say that... at first my wife thought I was having an affair...I am...with a Black bitch.....
As you can see the floor pans are in great shape front and back except with the right front passenger side having the typical Northern car rust thru in the floor corner.
The pain about working in an active body shop versus say a mechanical shop is your shit gets trashed with sanding dust......My build actually looks much cleaner than the posted pics but with the dust hanging on everything it makes things look like poop. Anyway the guy who owns the bodyshop has been great to let me have a corner to work on my car...plus I have all the tools and knowledge on hand in case I need guidance..... its well worth the 50$ a week I pay him
I'm having a pair of e28 Euro manual seats recovered....
My plans are to have it drivable and looking half way presentable for the V@V.....

Can't wait to meet all you guys!
Posted: Jan 26, 2011 7:37 AM
by johnnye23
Nice work Ed . I agree rust repair is not rocket science but it is very very tedious to do correctly. What welder are you using ? I just picked up a Eastwood 110v mig for doing sheetmetal repairs and I am loving it thus far. Thanks for sharing !
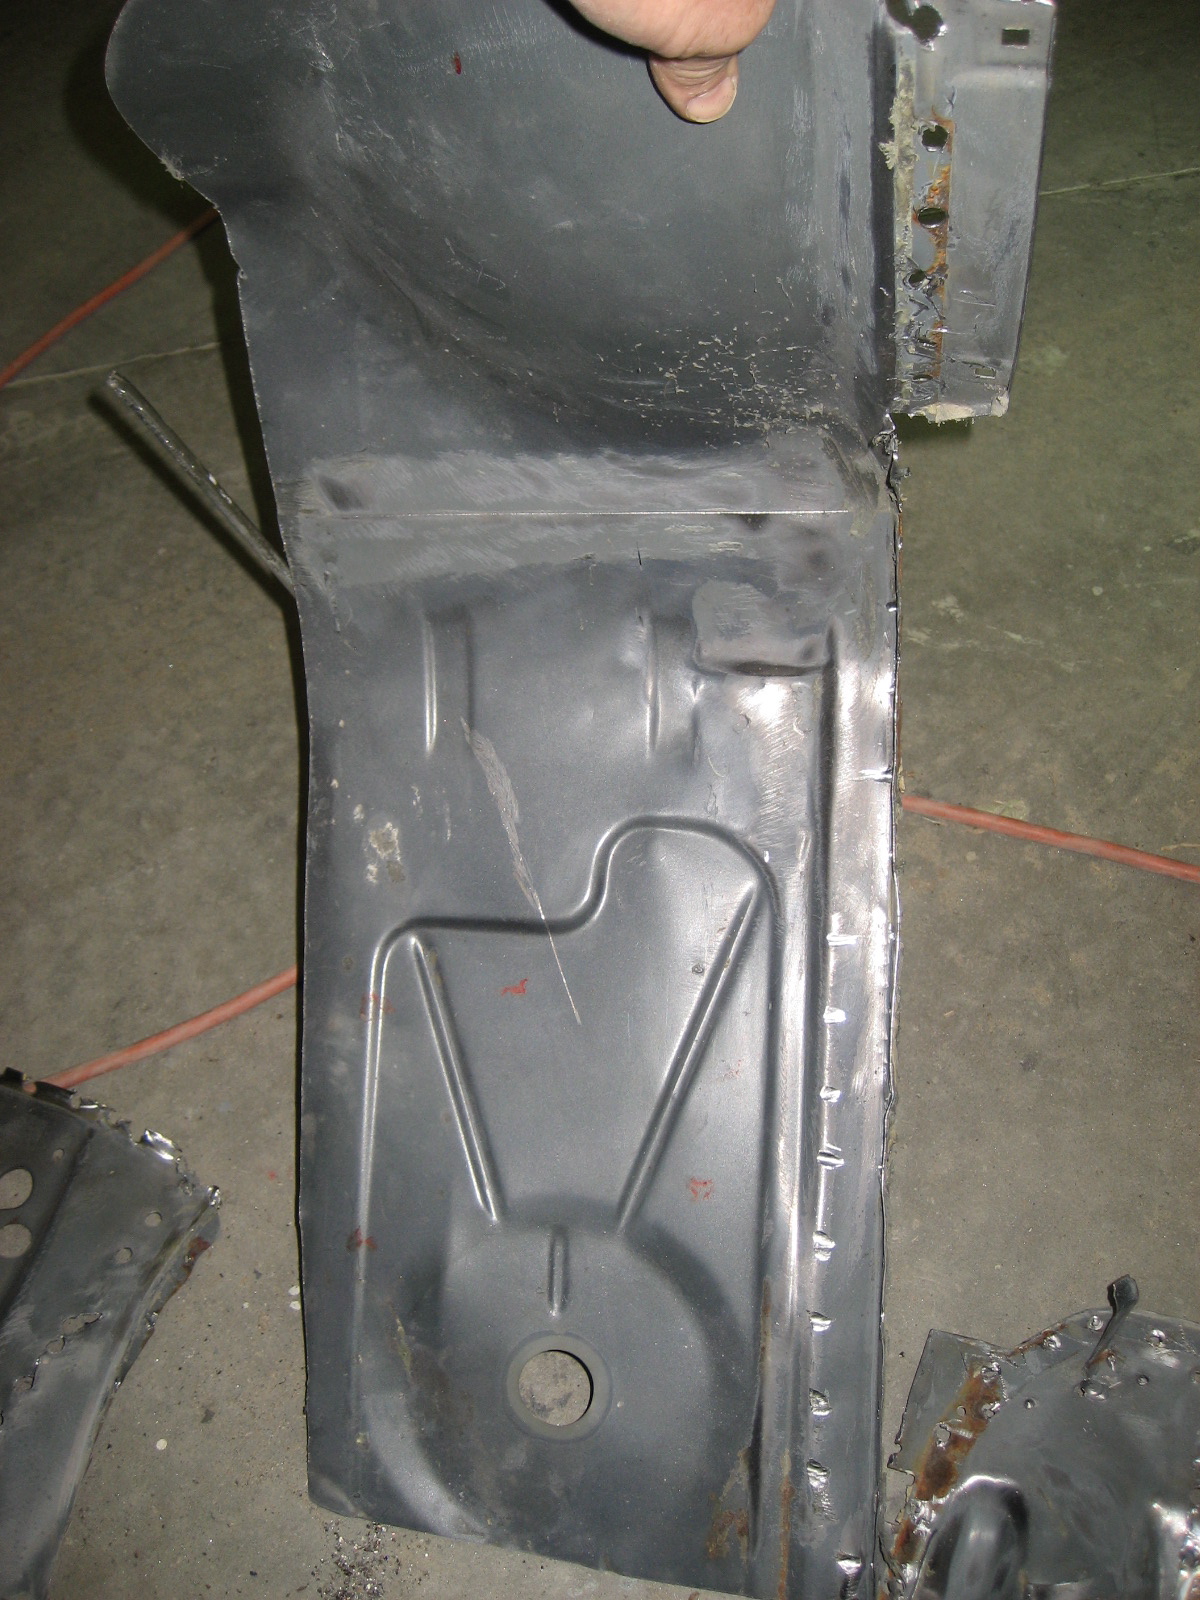
Right front floor
Posted: Jan 29, 2011 8:08 AM
by edlocke
Again, take your time, make your cuts precise and logical. It's really nothing more than a simple puzzle....don't make a big deal out of it....JUST DO IT AND GET'R DONE........
Looking back on this repair it was intense....the body guy in the shop said he wouldn't know where to start... but it's a matter of taking one step at a time......again....so time consuming I could never afford to have it done by a true professional.
The right front floor had the worst of the rust damage, someone had tried to do a quick fix on the floor board by welding in some angle iron and a patch on the floor.....this is what most shops will try to get a way with.....make sure you ask for a trail of pictures thru-out your repair.


A very ugly repair....

Donor floor board.
Getting things cut and placed...ready for welding soon!

Fresh metal going in!

Posted: Jan 29, 2011 12:06 PM
by Justin_FL
Looks like fun. My M5 is a bit crusty around the rear end of the rocker panels, plus the spare tire well is rotted in the typical spot from the bumper supports. And two of the doors are a bit rusty on the bottoms, so they need to go. You've certainly got a bit more on your's than mine. One of these days I plan to get down to restoring the car, but it is a bit daunting considering the car needs full paint, interior, and likely engine work. Truly a "how much do you love it" type of project, since it's cheaper to buy a nice M5. Just barely wrapped up construction on a large workshop in the backyard, so now it's just a matter of the priorities falling in line and the M5 is at the bottom.
Posted: Jan 30, 2011 8:08 PM
by edlocke
Justin_FL wrote:Looks like fun. My M5 is a bit crusty around the rear end of the rocker panels, plus the spare tire well is rotted in the typical spot from the bumper supports. And two of the doors are a bit rusty on the bottoms, so they need to go. You've certainly got a bit more on your's than mine. One of these days I plan to get down to restoring the car, but it is a bit daunting considering the car needs full paint, interior, and likely engine work. Truly a "how much do you love it" type of project, since it's cheaper to buy a nice M5. Just barely wrapped up construction on a large workshop in the backyard, so now it's just a matter of the priorities falling in line and the M5 is at the bottom.
I hate to tell ya but if you have the rust you think you have you have A LOT more....you'll just need to get into it and find it.
m5 rust repair
Posted: Jan 31, 2011 8:13 PM
by edlocke
welder
Posted: Feb 01, 2011 2:59 AM
by edlocke
johnnye23 wrote:Nice work Ed . I agree rust repair is not rocket science but it is very very tedious to do correctly. What welder are you using ? I just picked up a Eastwood 110v mig for doing sheetmetal repairs and I am loving it thus far. Thanks for sharing !
Thanks for your comments......The shop has a HOBART gas Mig. I worked in a steel shop back in the day, welding has always been with me....I've modified a lot of motorcycles and enjoy the welding process.


