So, I finally got to this project and I've spent some time in the past week following the process outlined in the bimmerforums post I linked to earlier. I also watched a handful of other videos put out by Polyvance (the company that makes the padded dash filler) and any other resources I can find. This is a
time intensive process, which I guess I knew going in, but I put it in bold anyway because, well, it's a lot of effort.
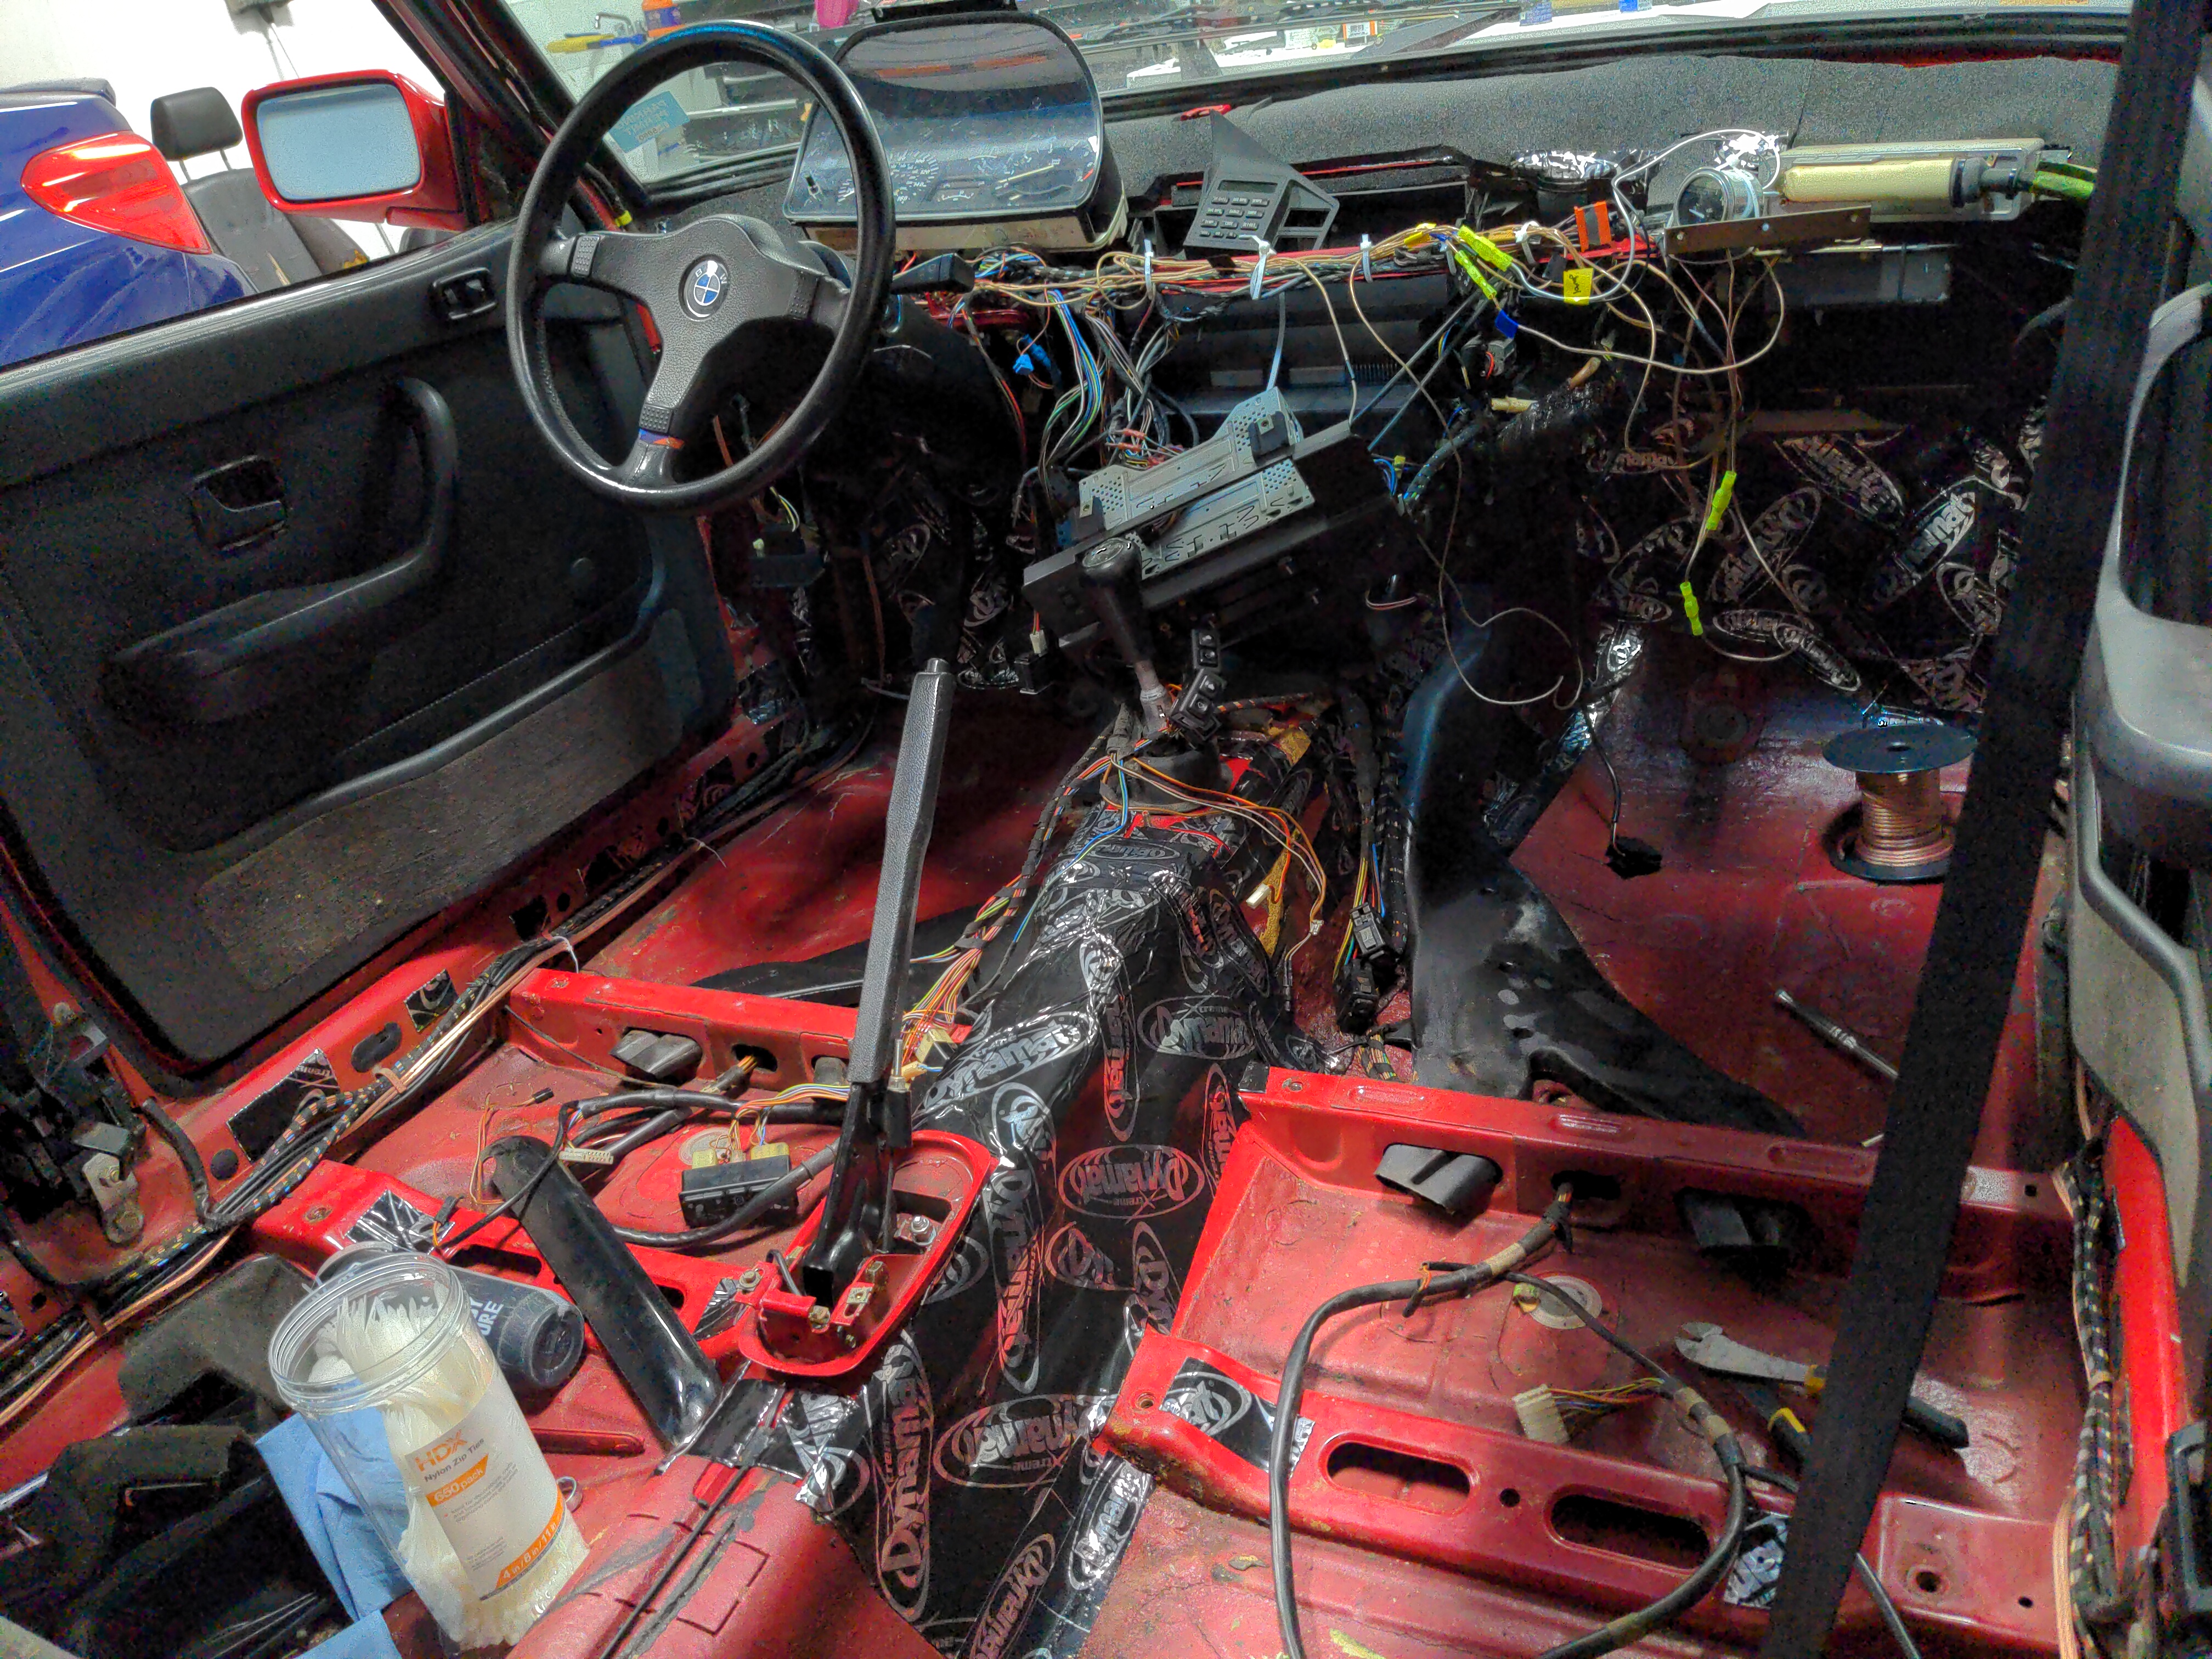
The first thing I did was pick up a spare dash from the junkyard. I figured I would learn first on this one, and then do it all again on the "real thing".
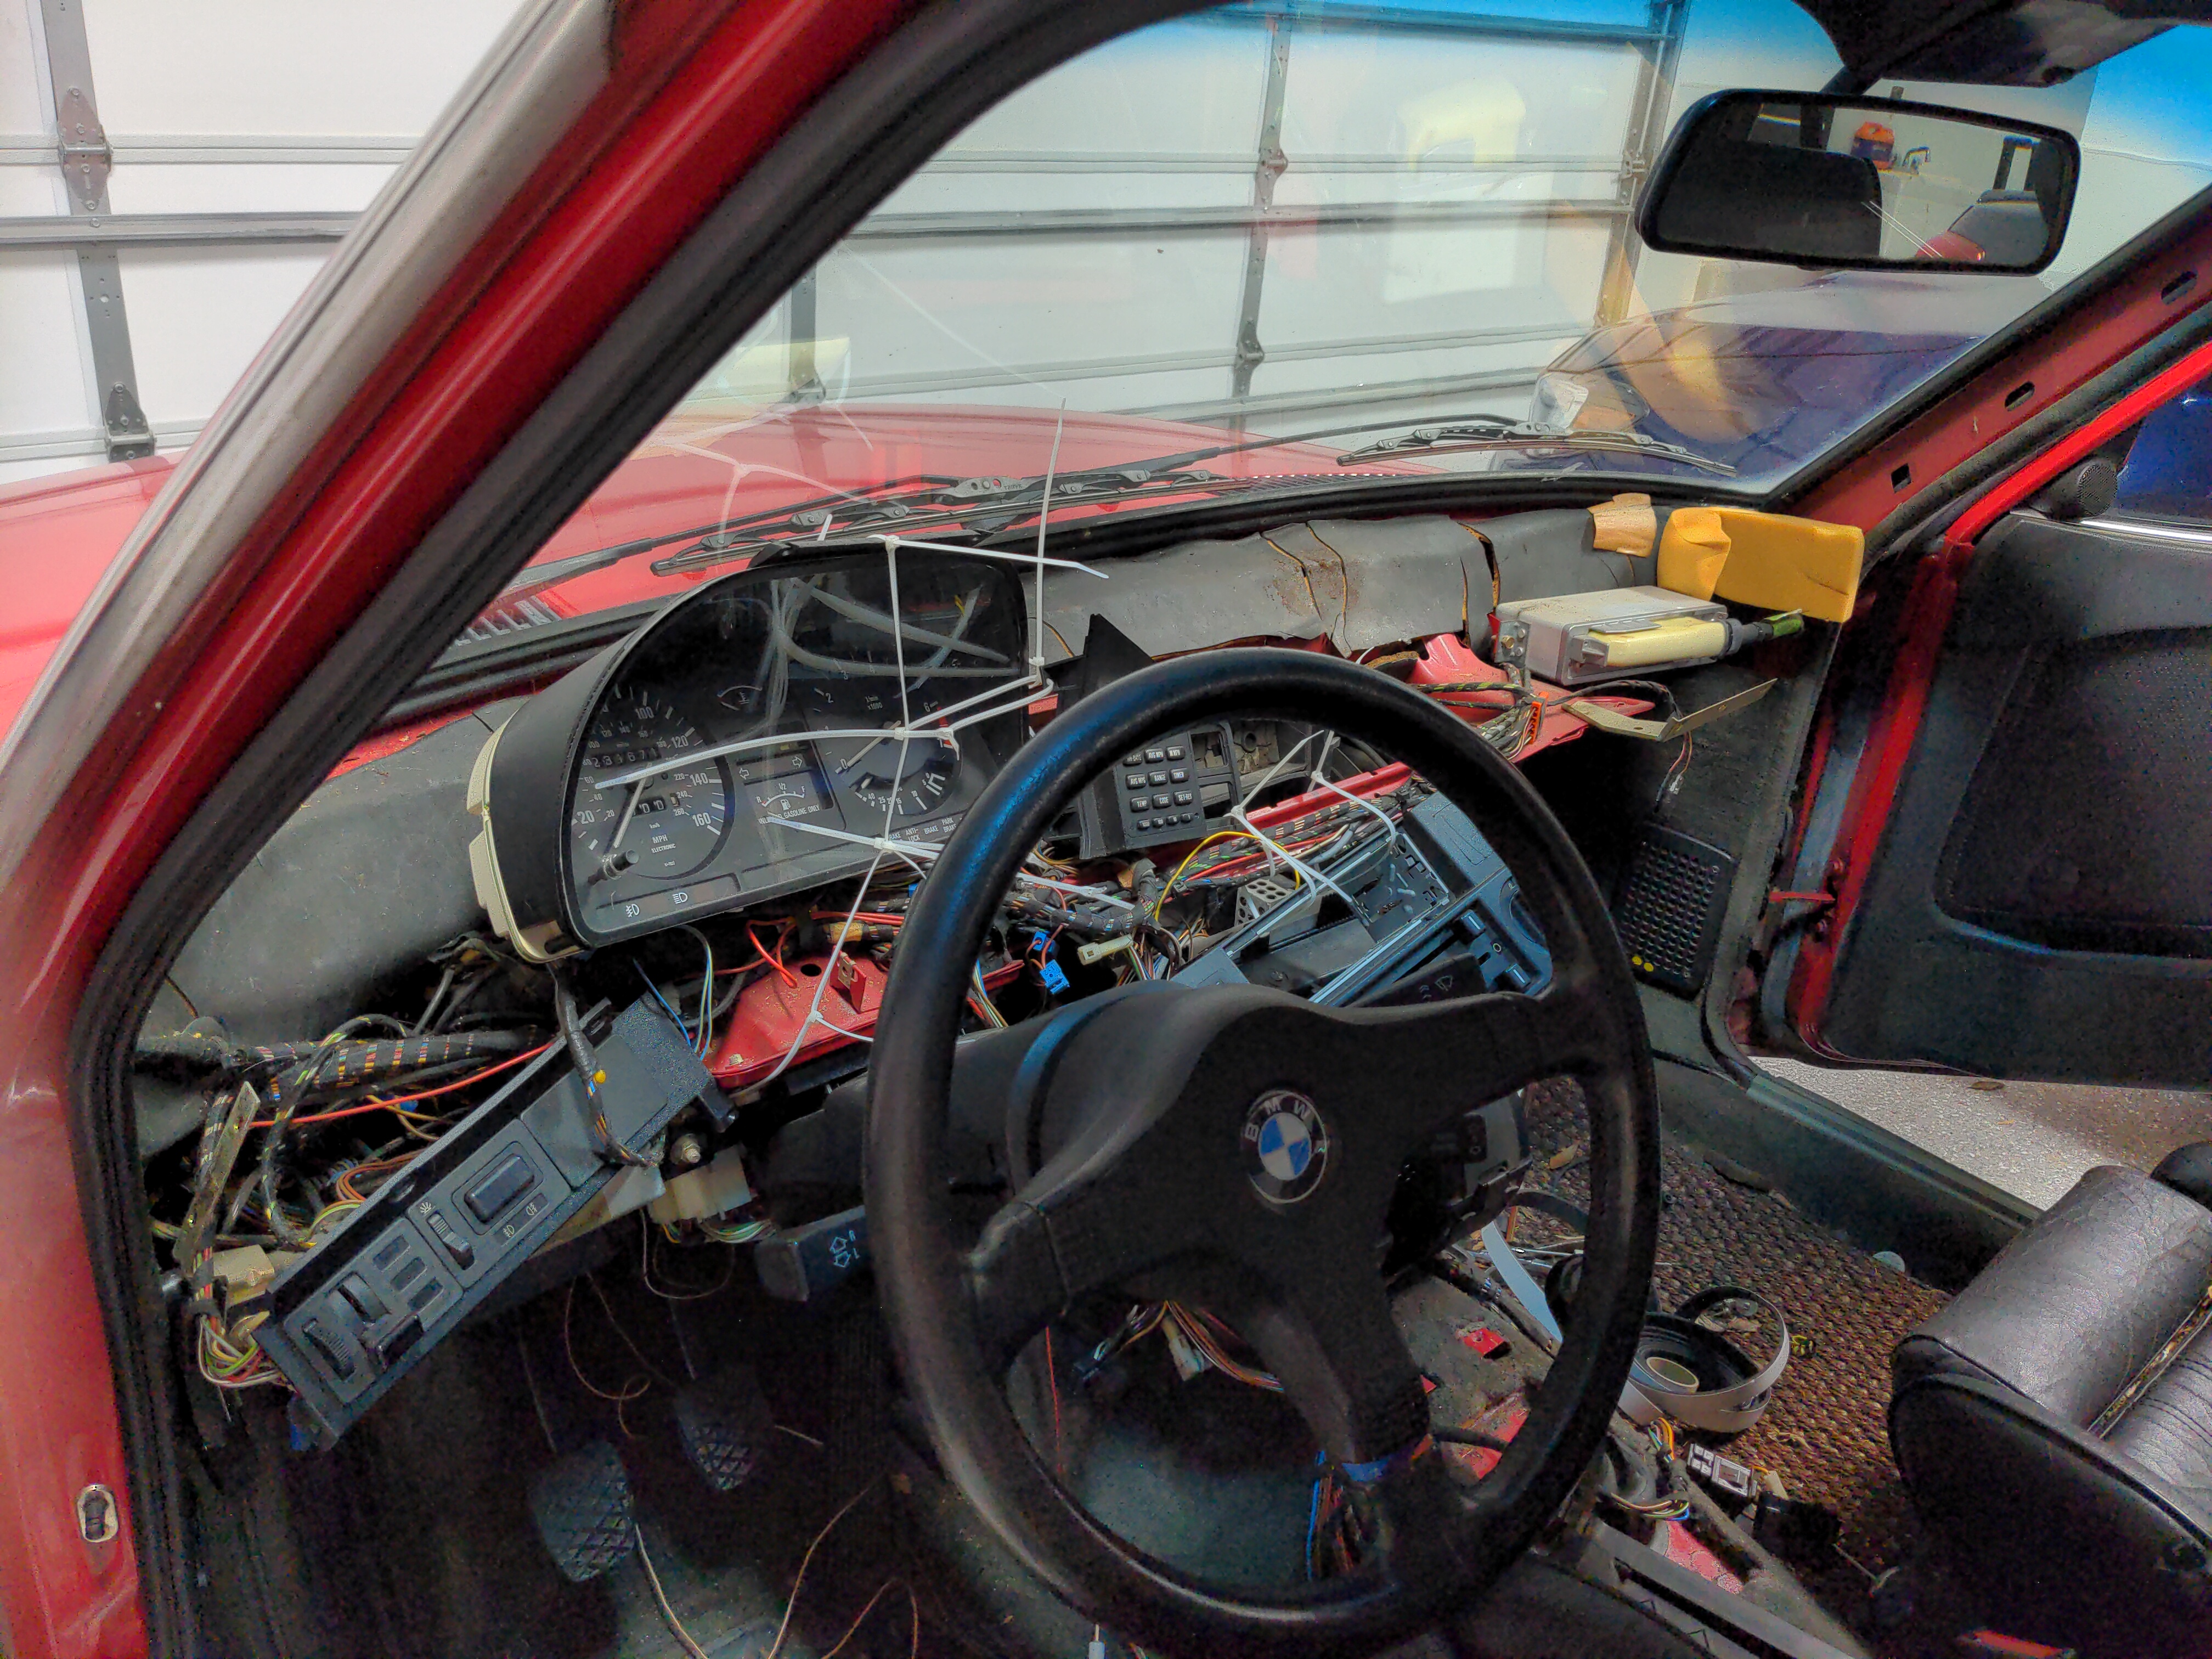
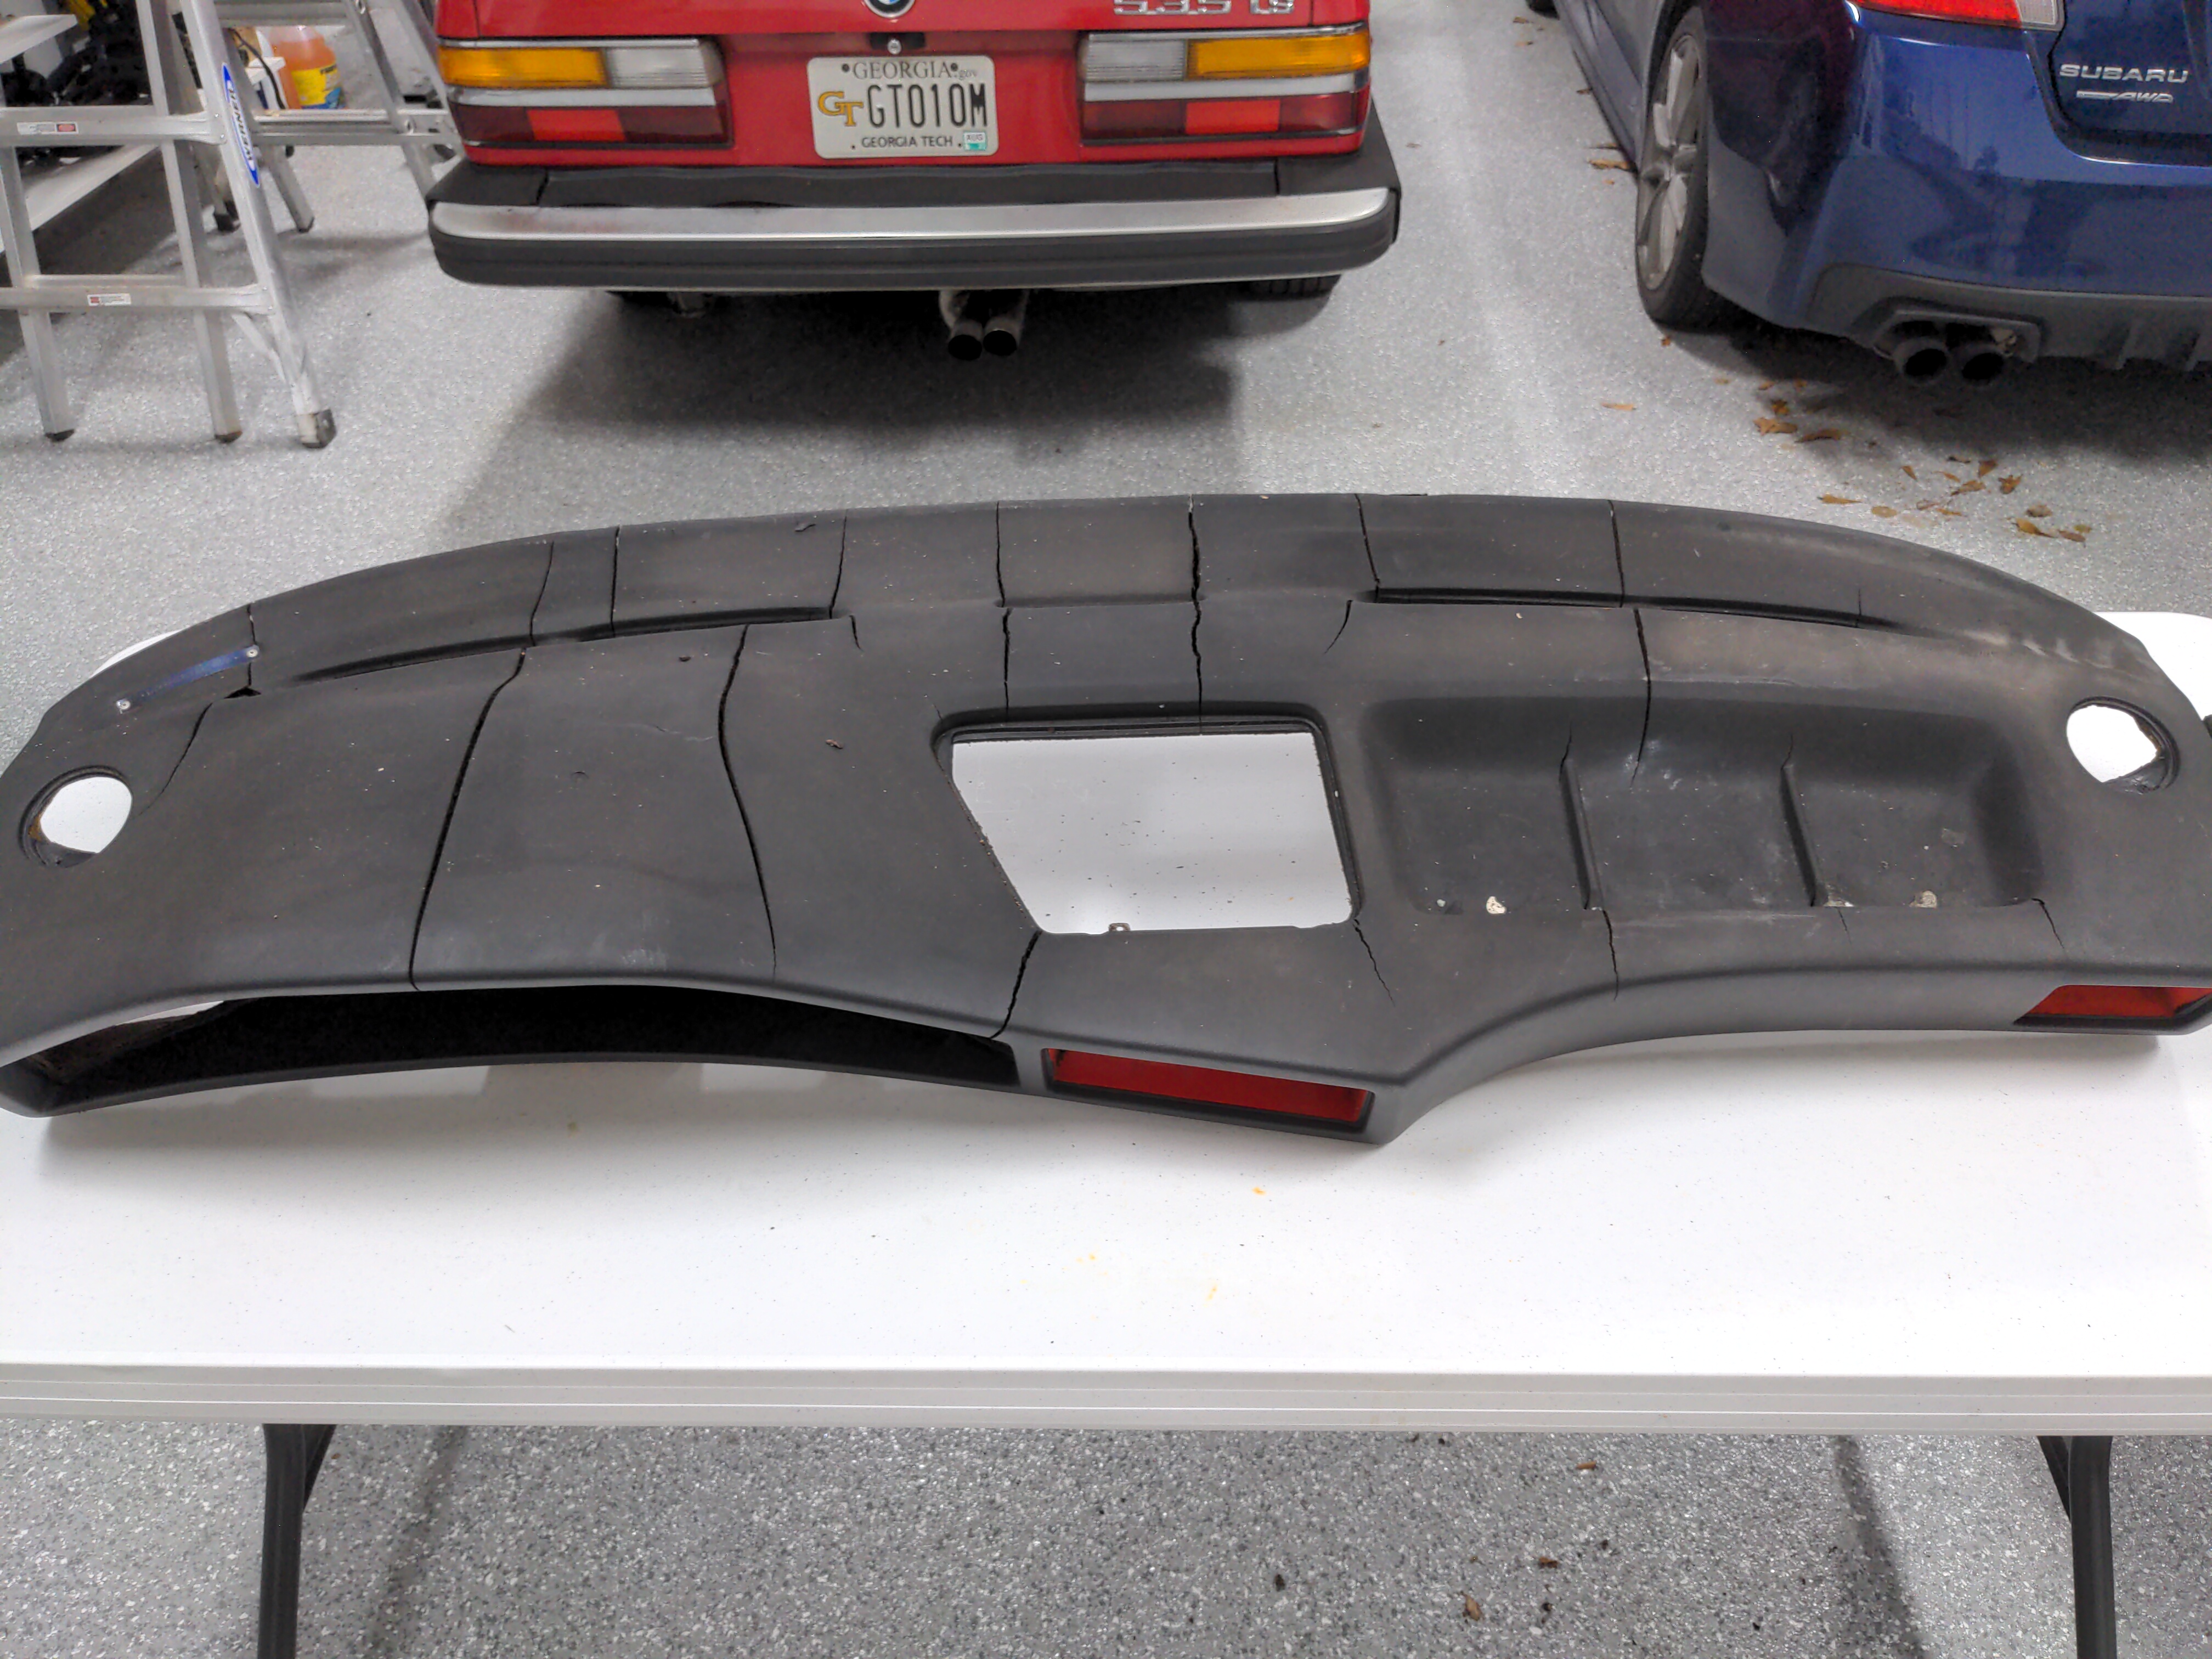
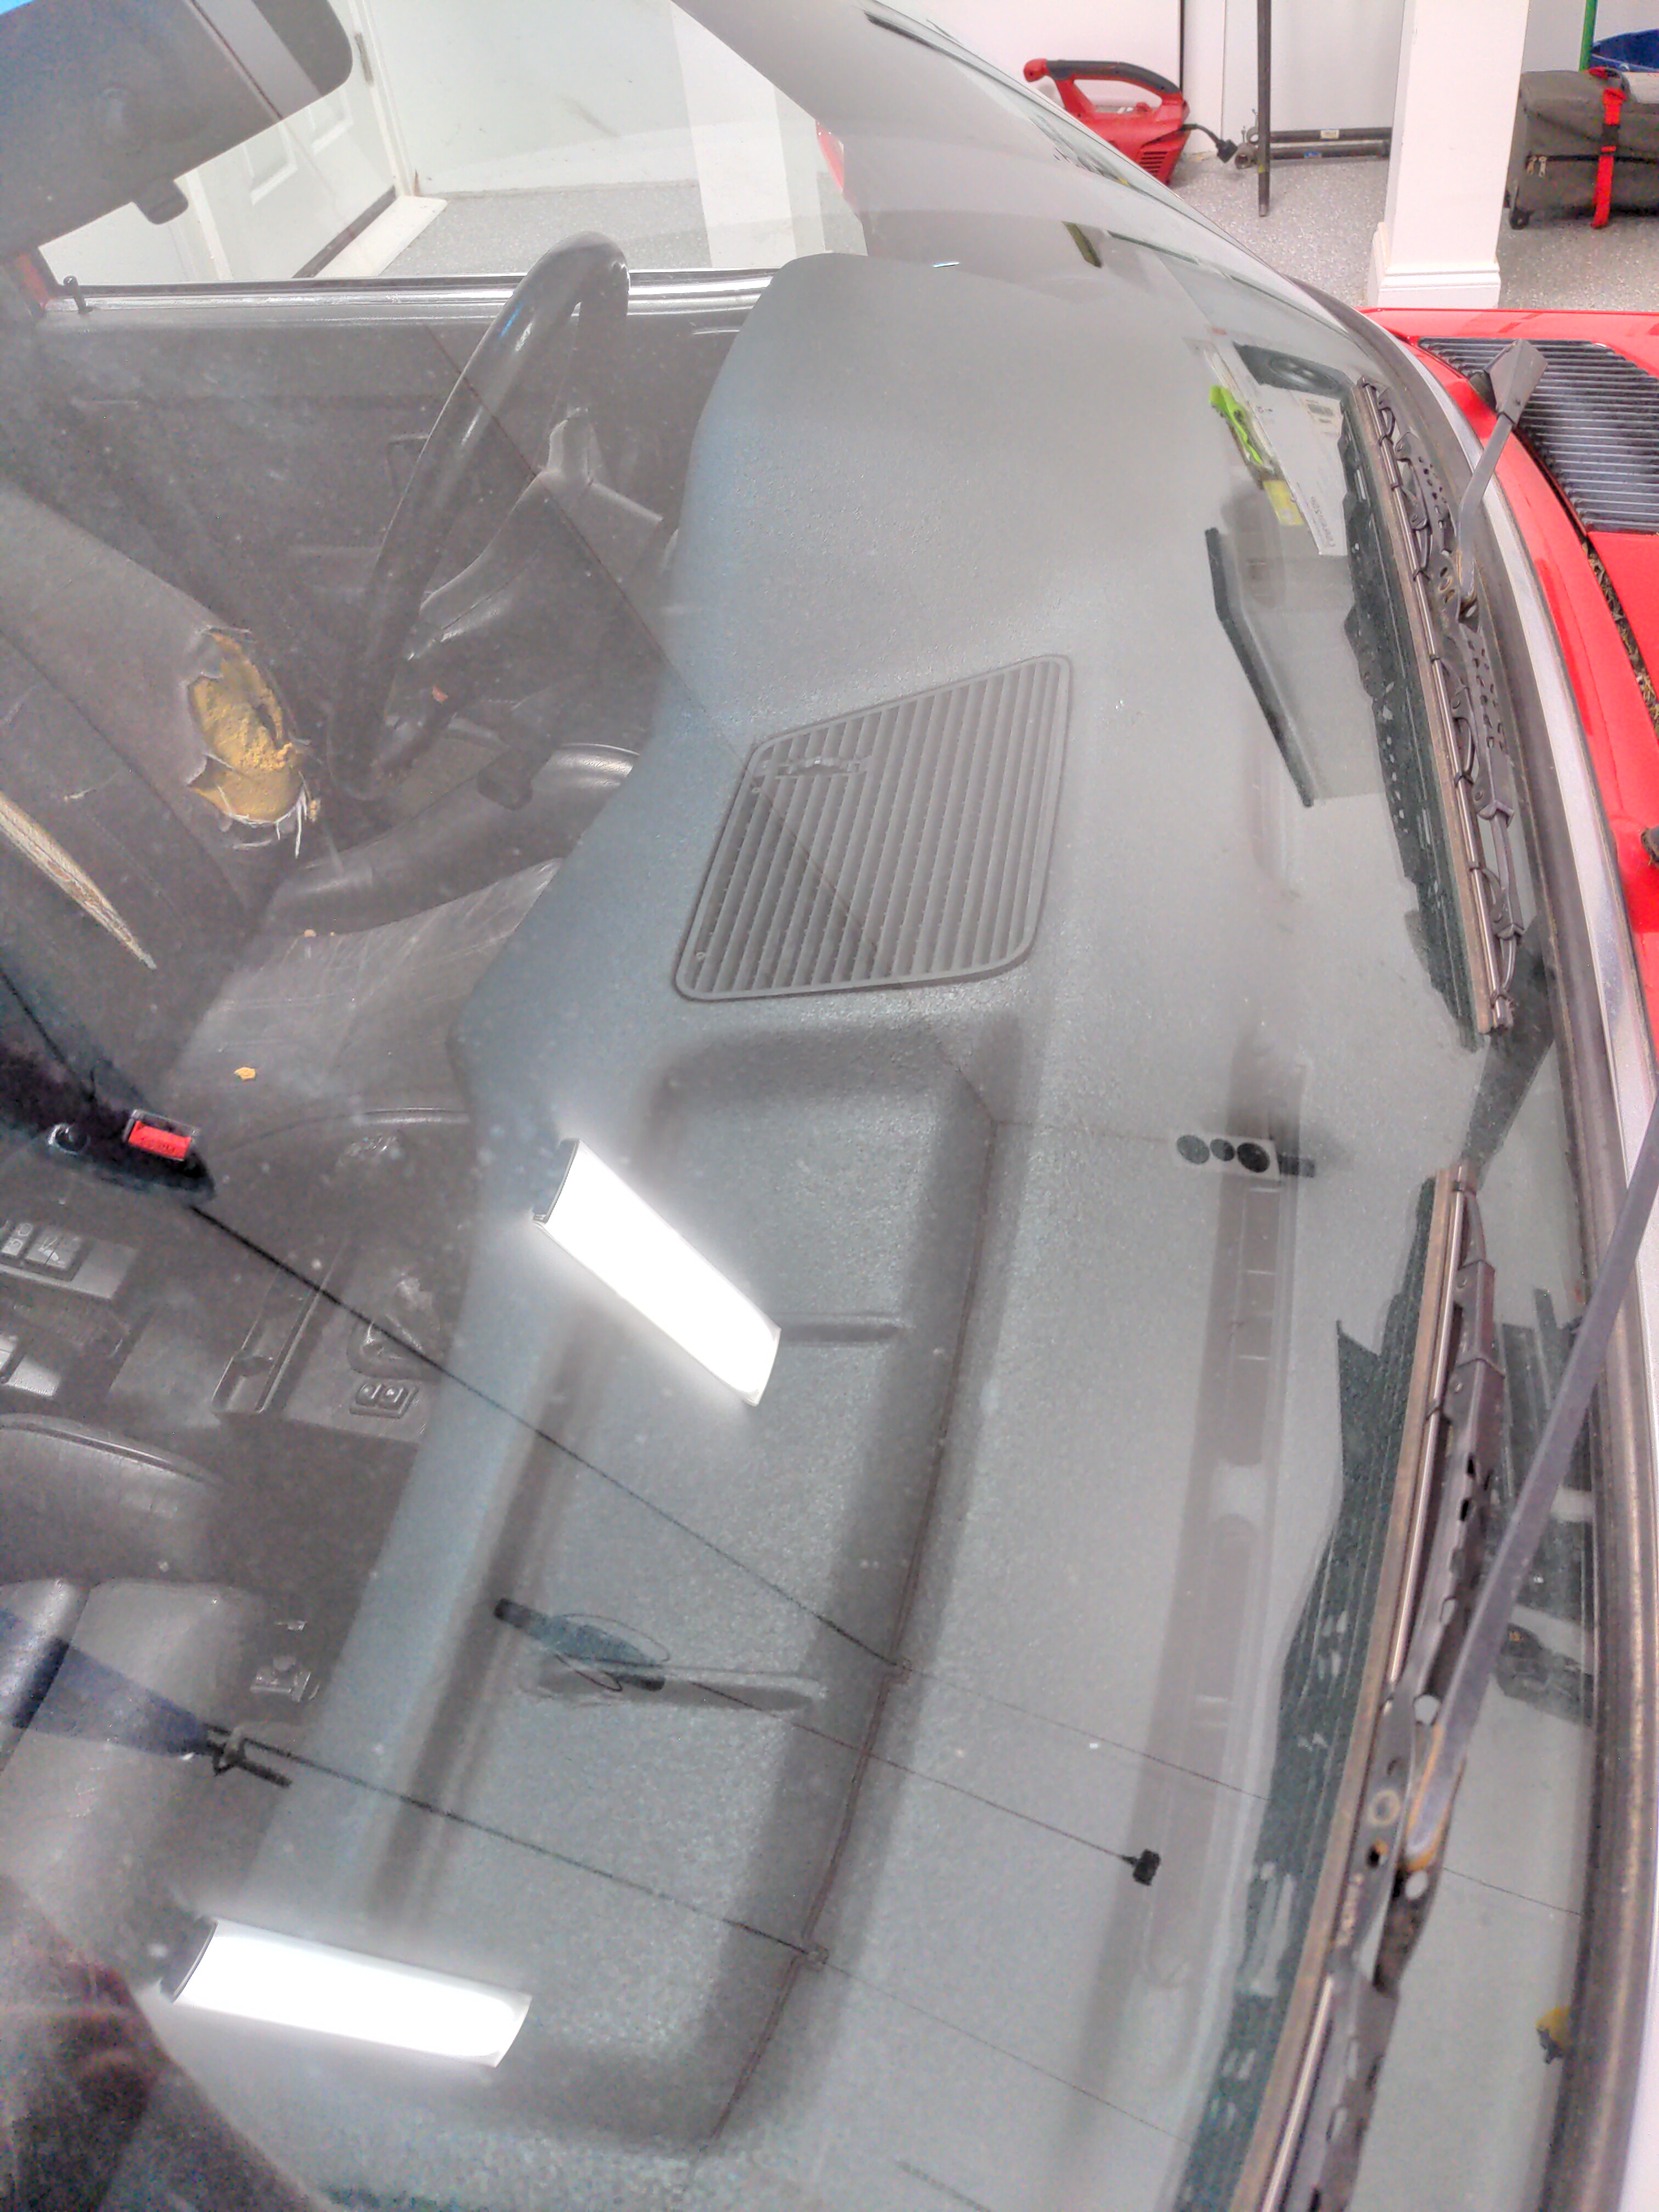
Here's my dash:
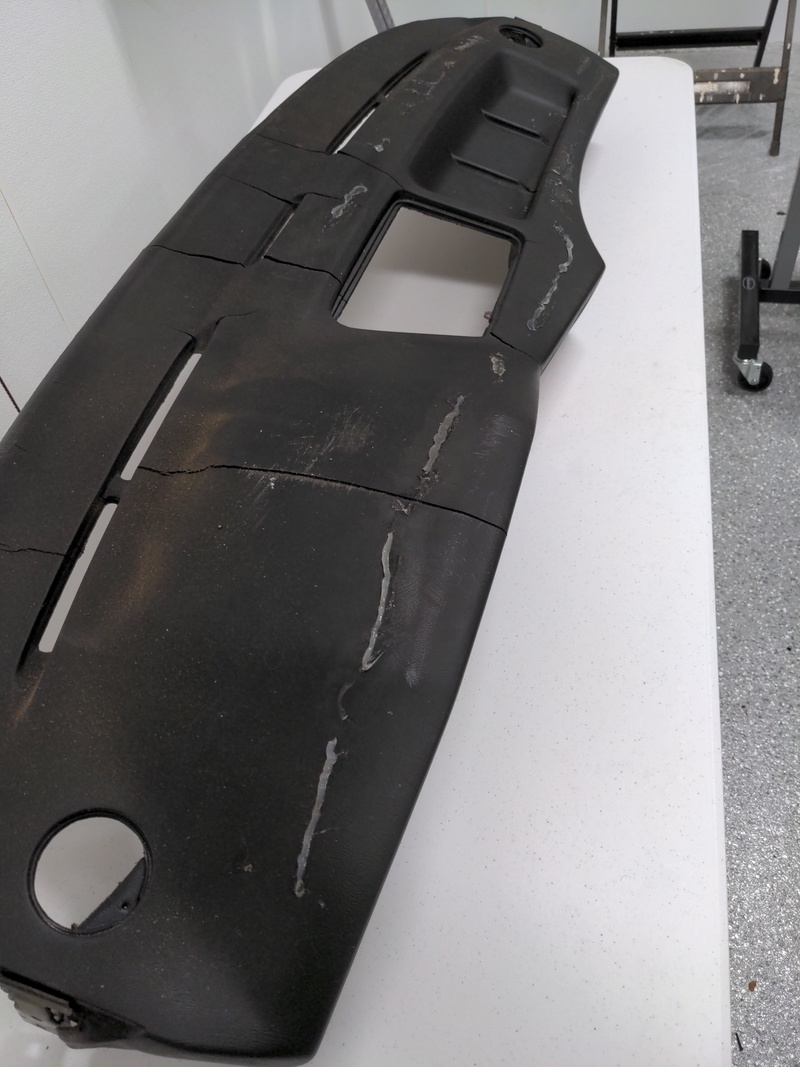
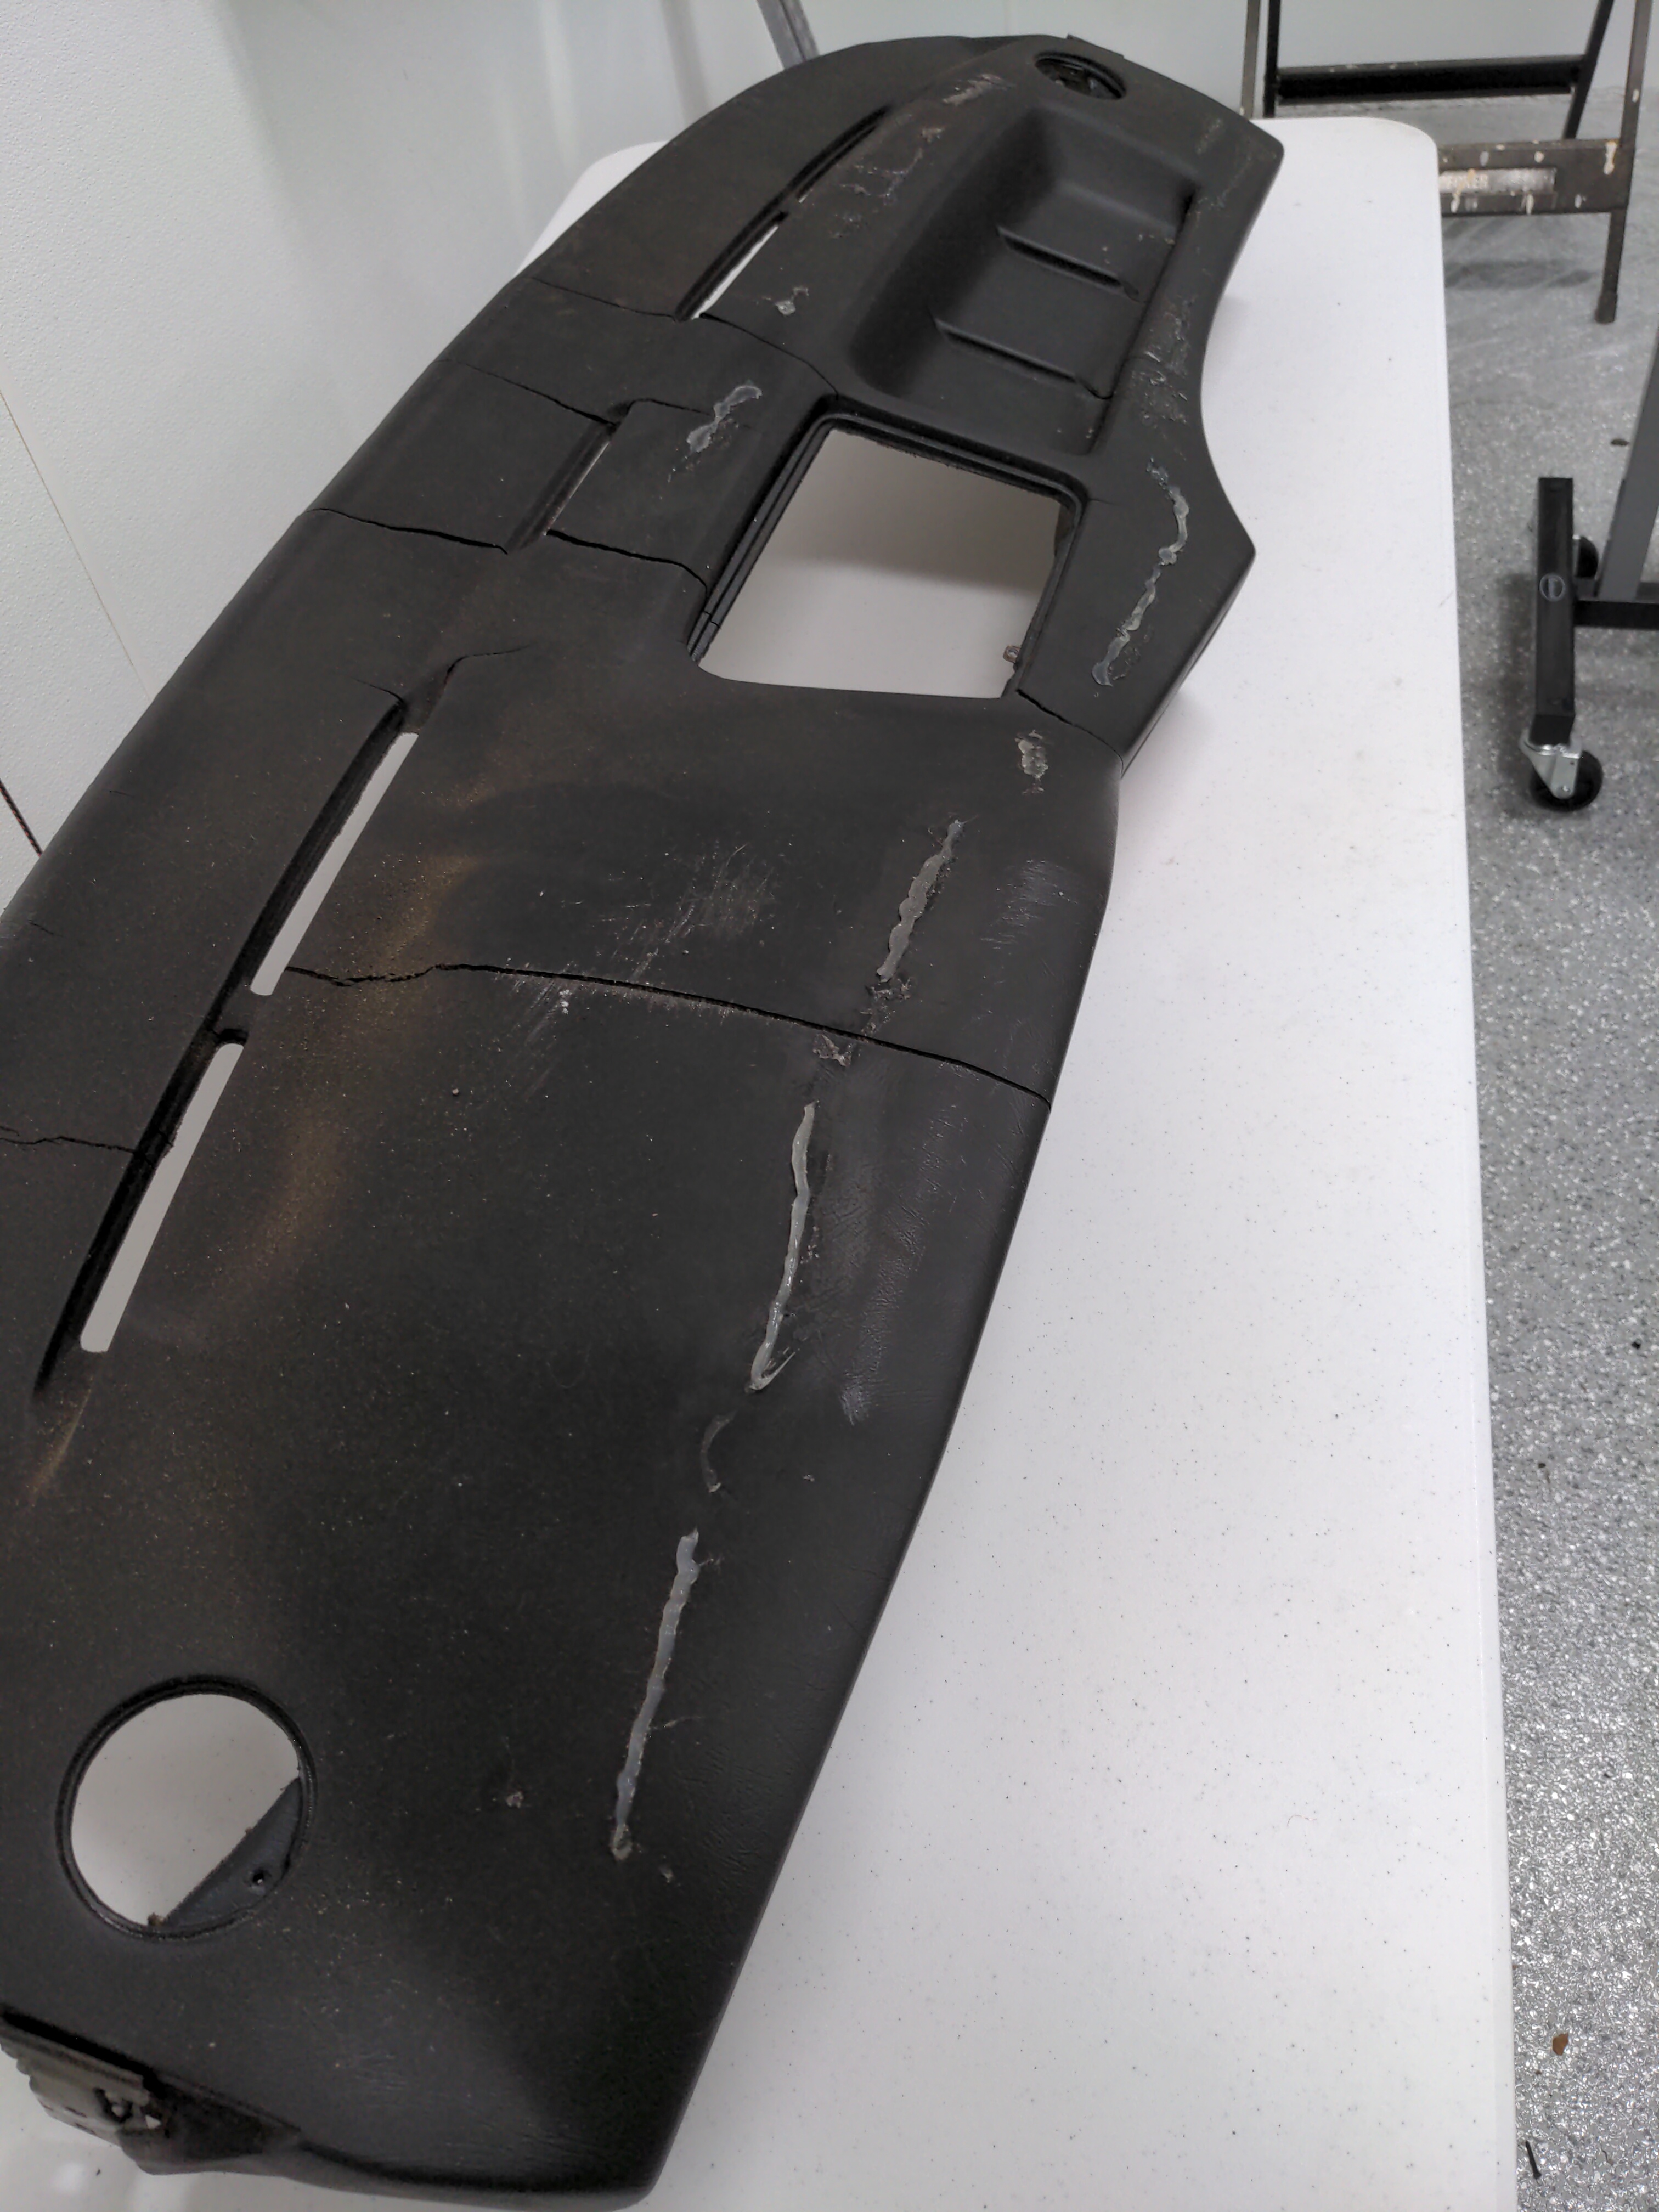
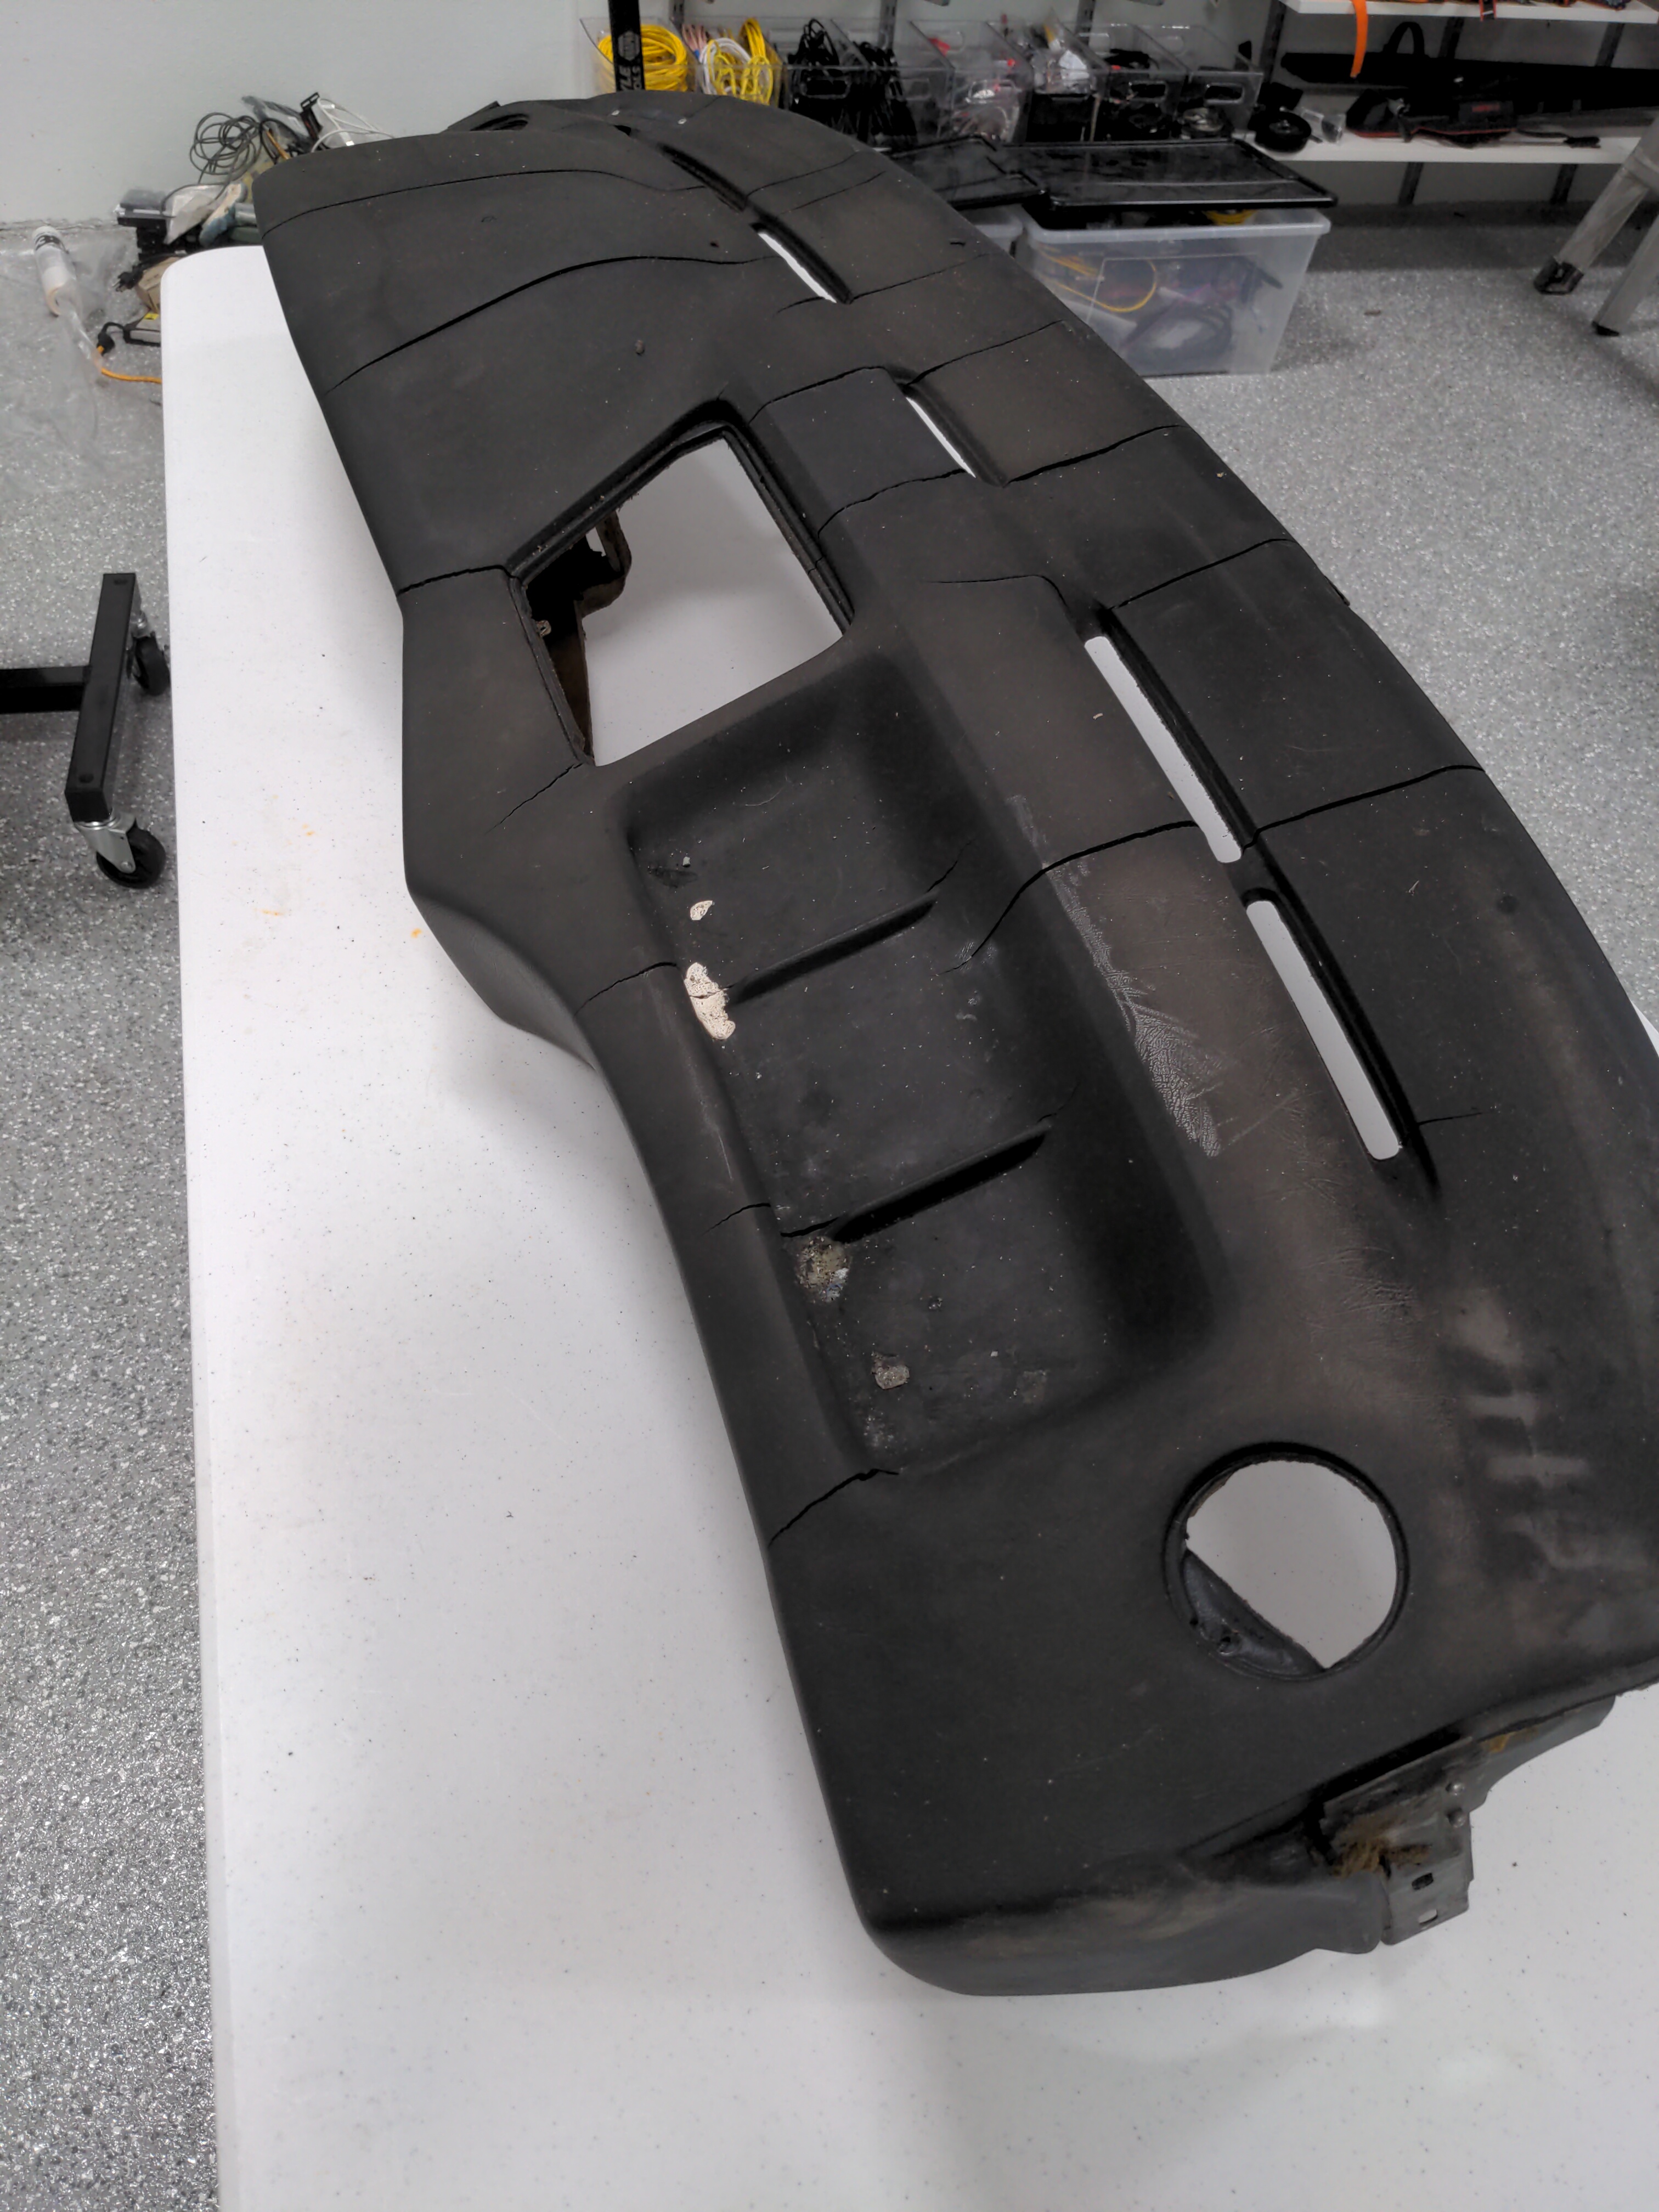
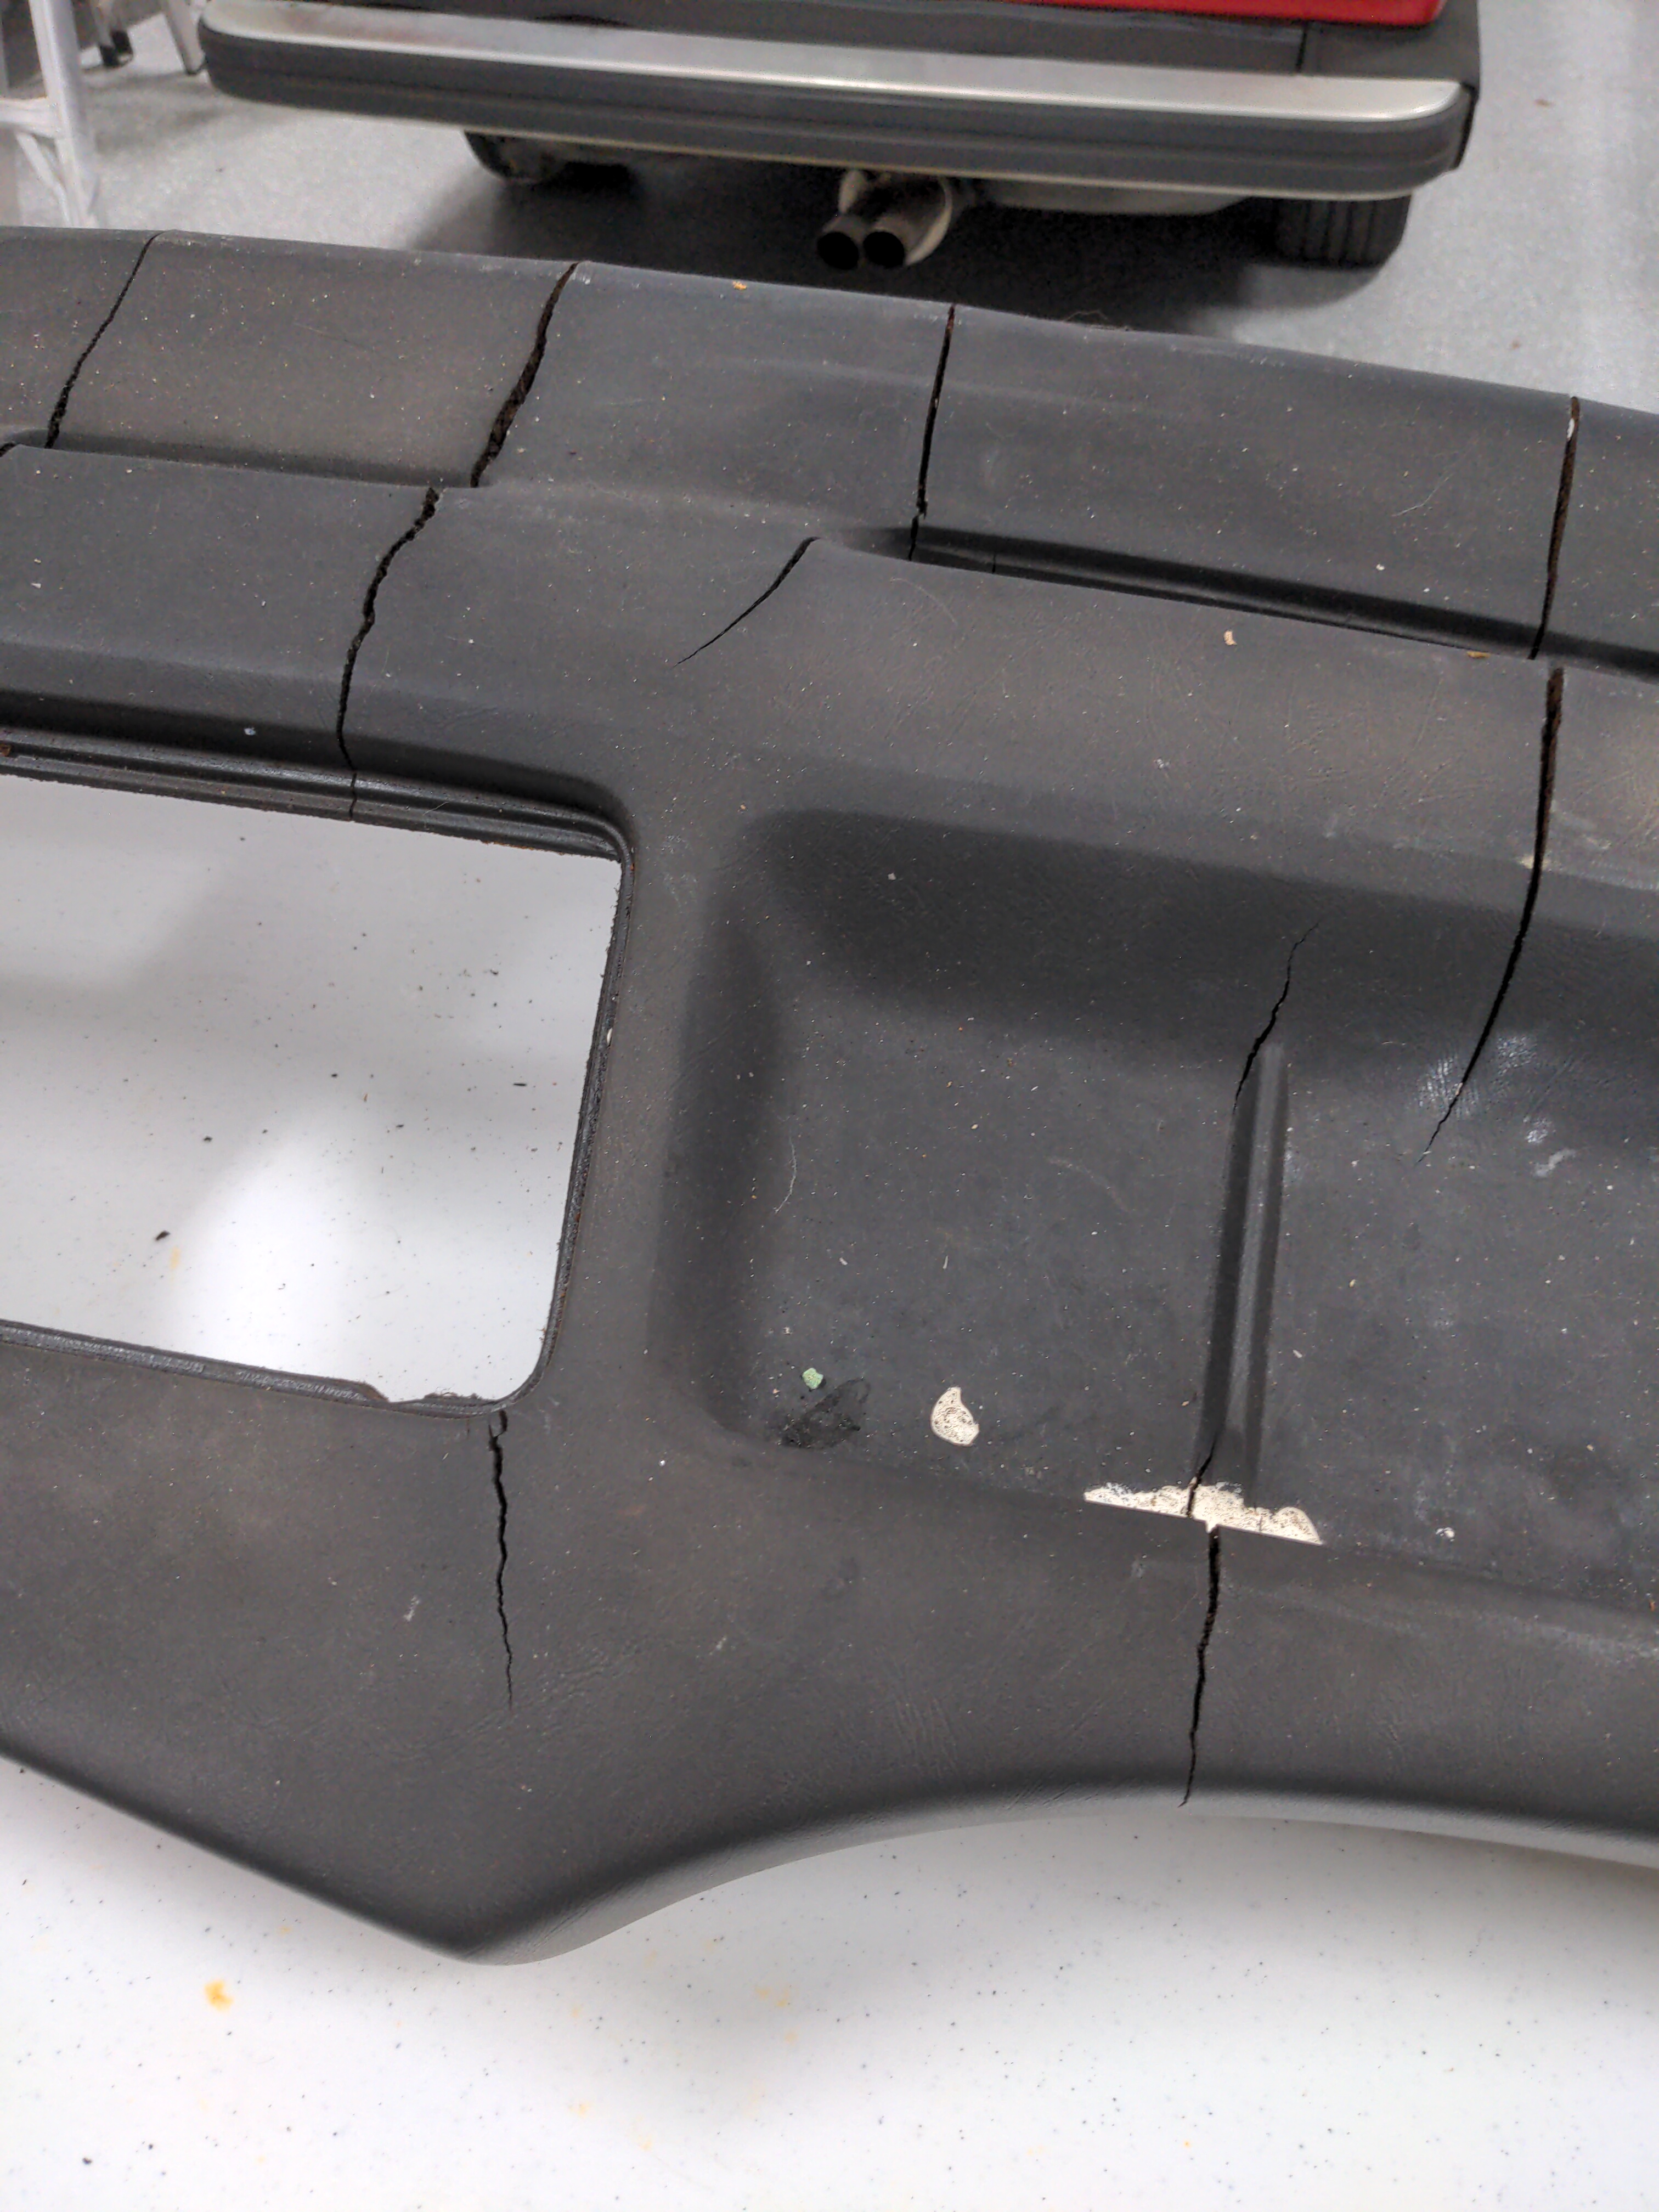
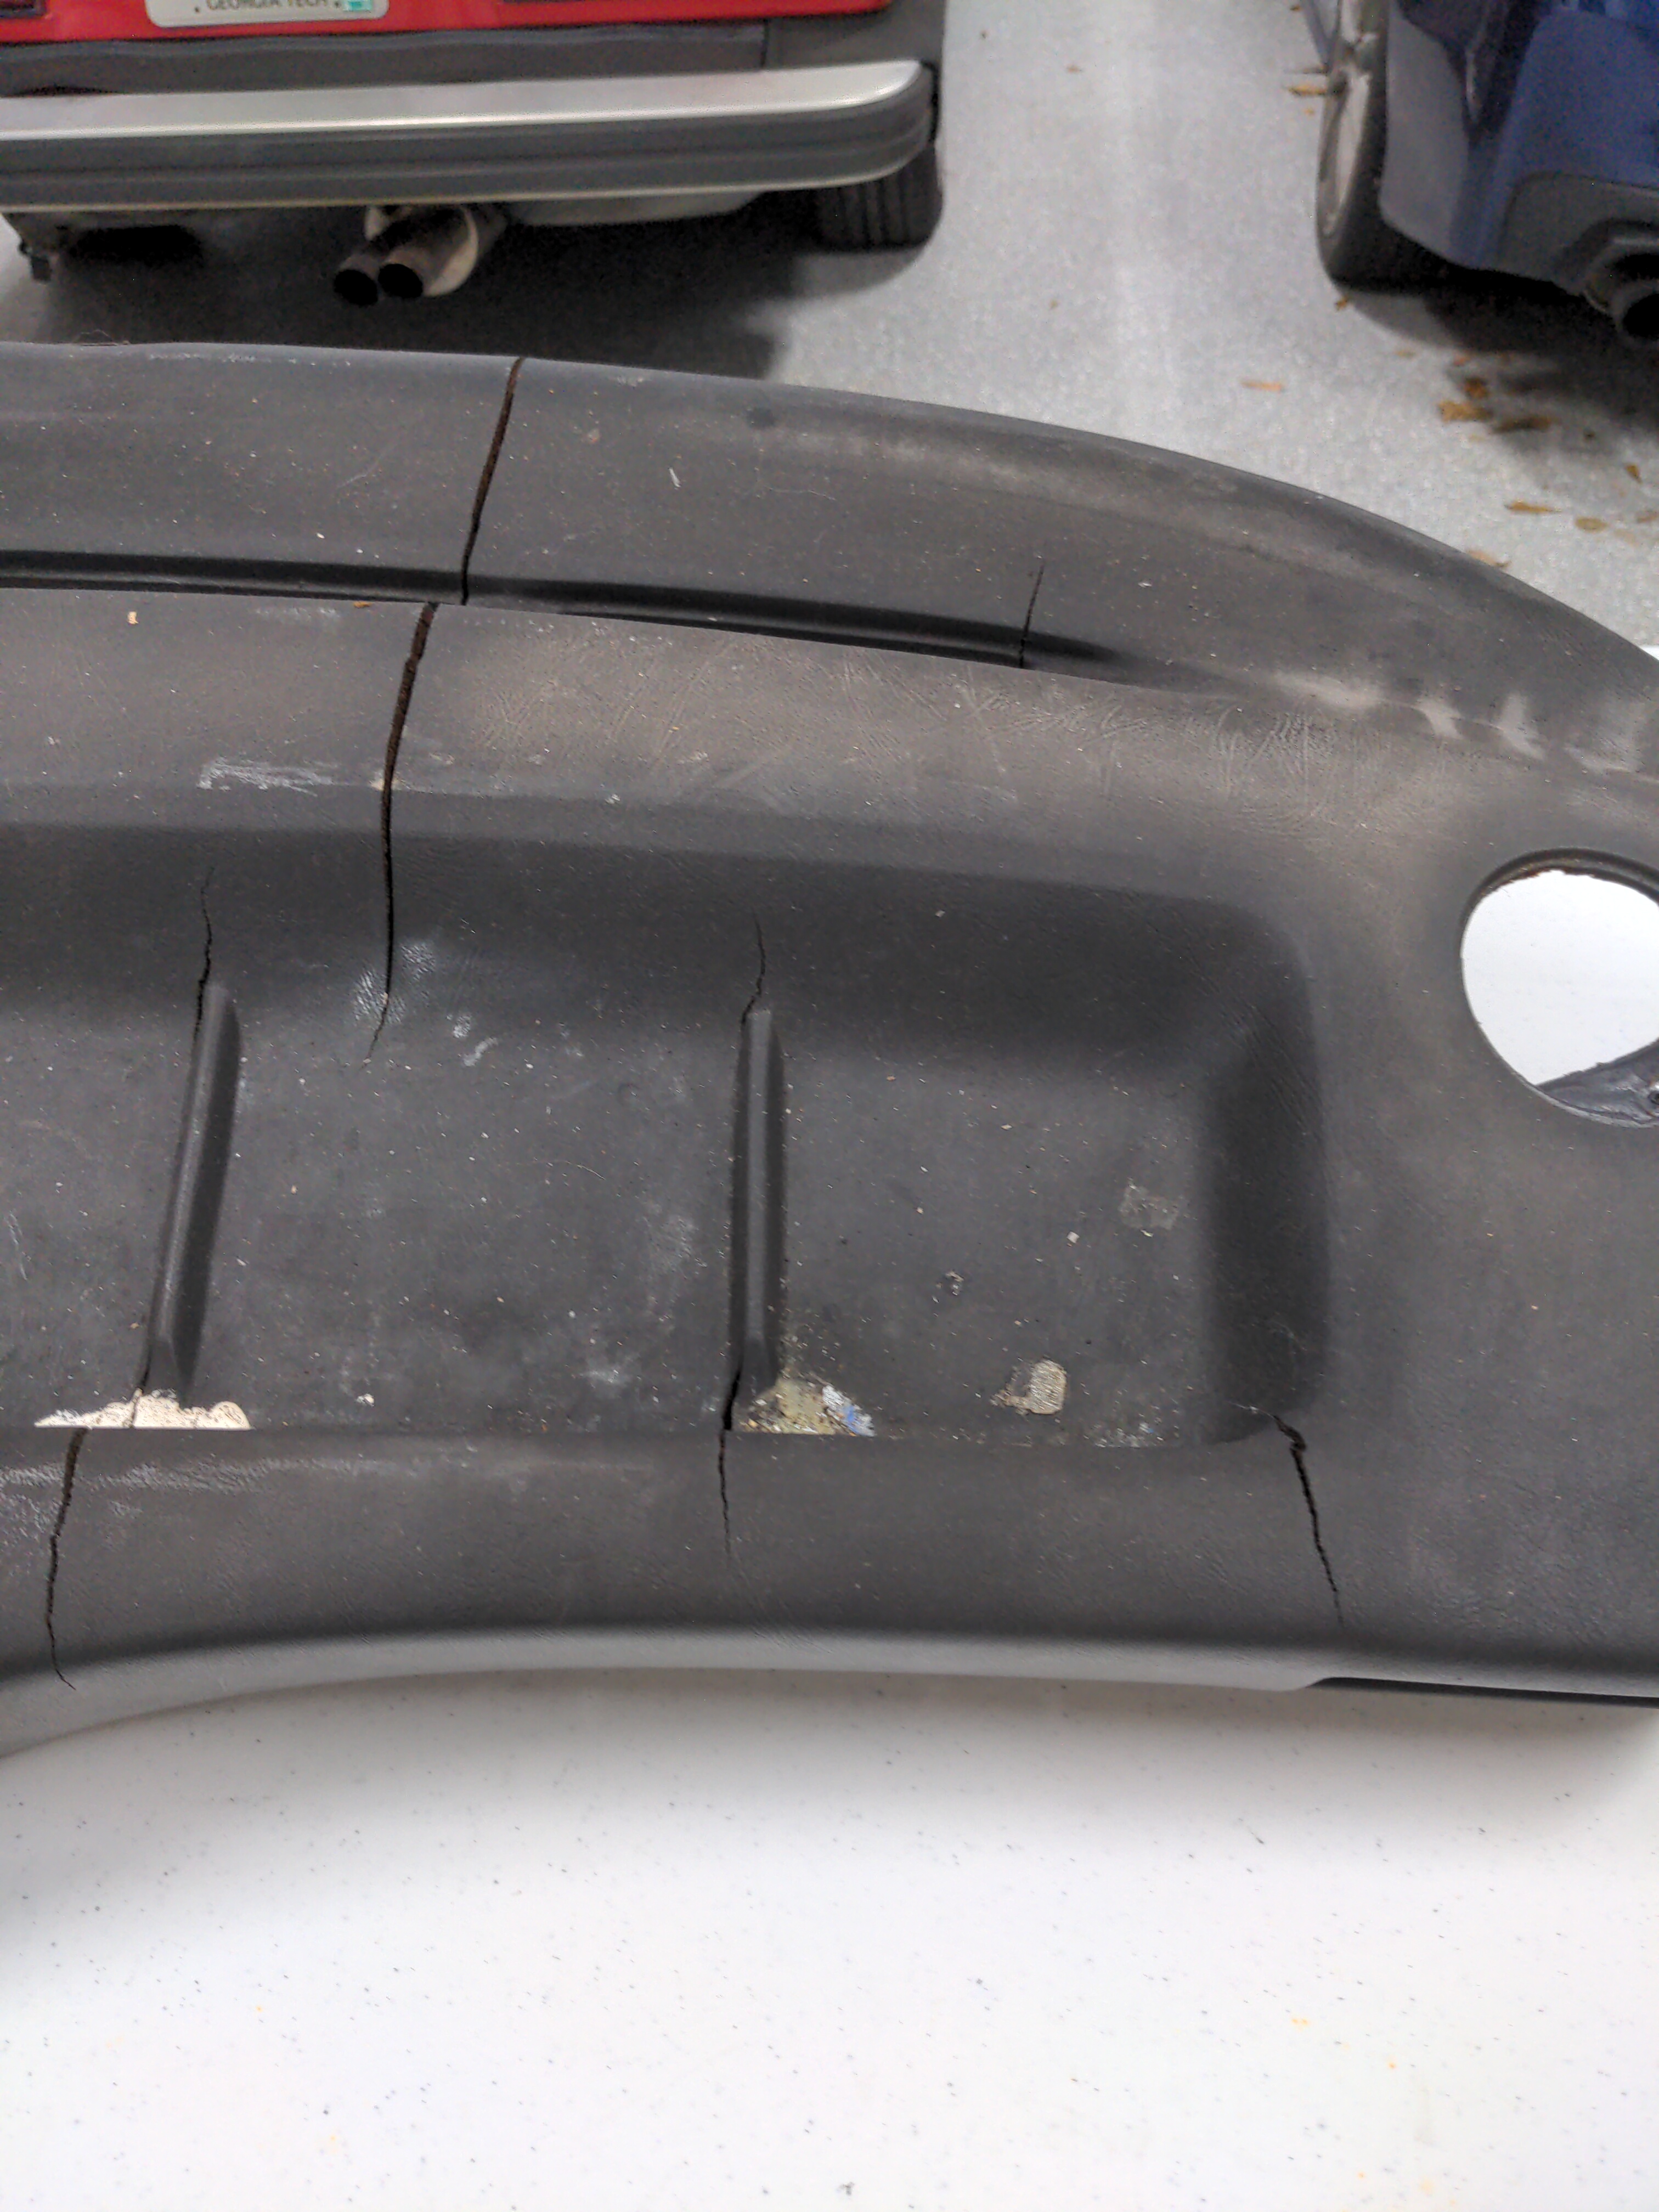
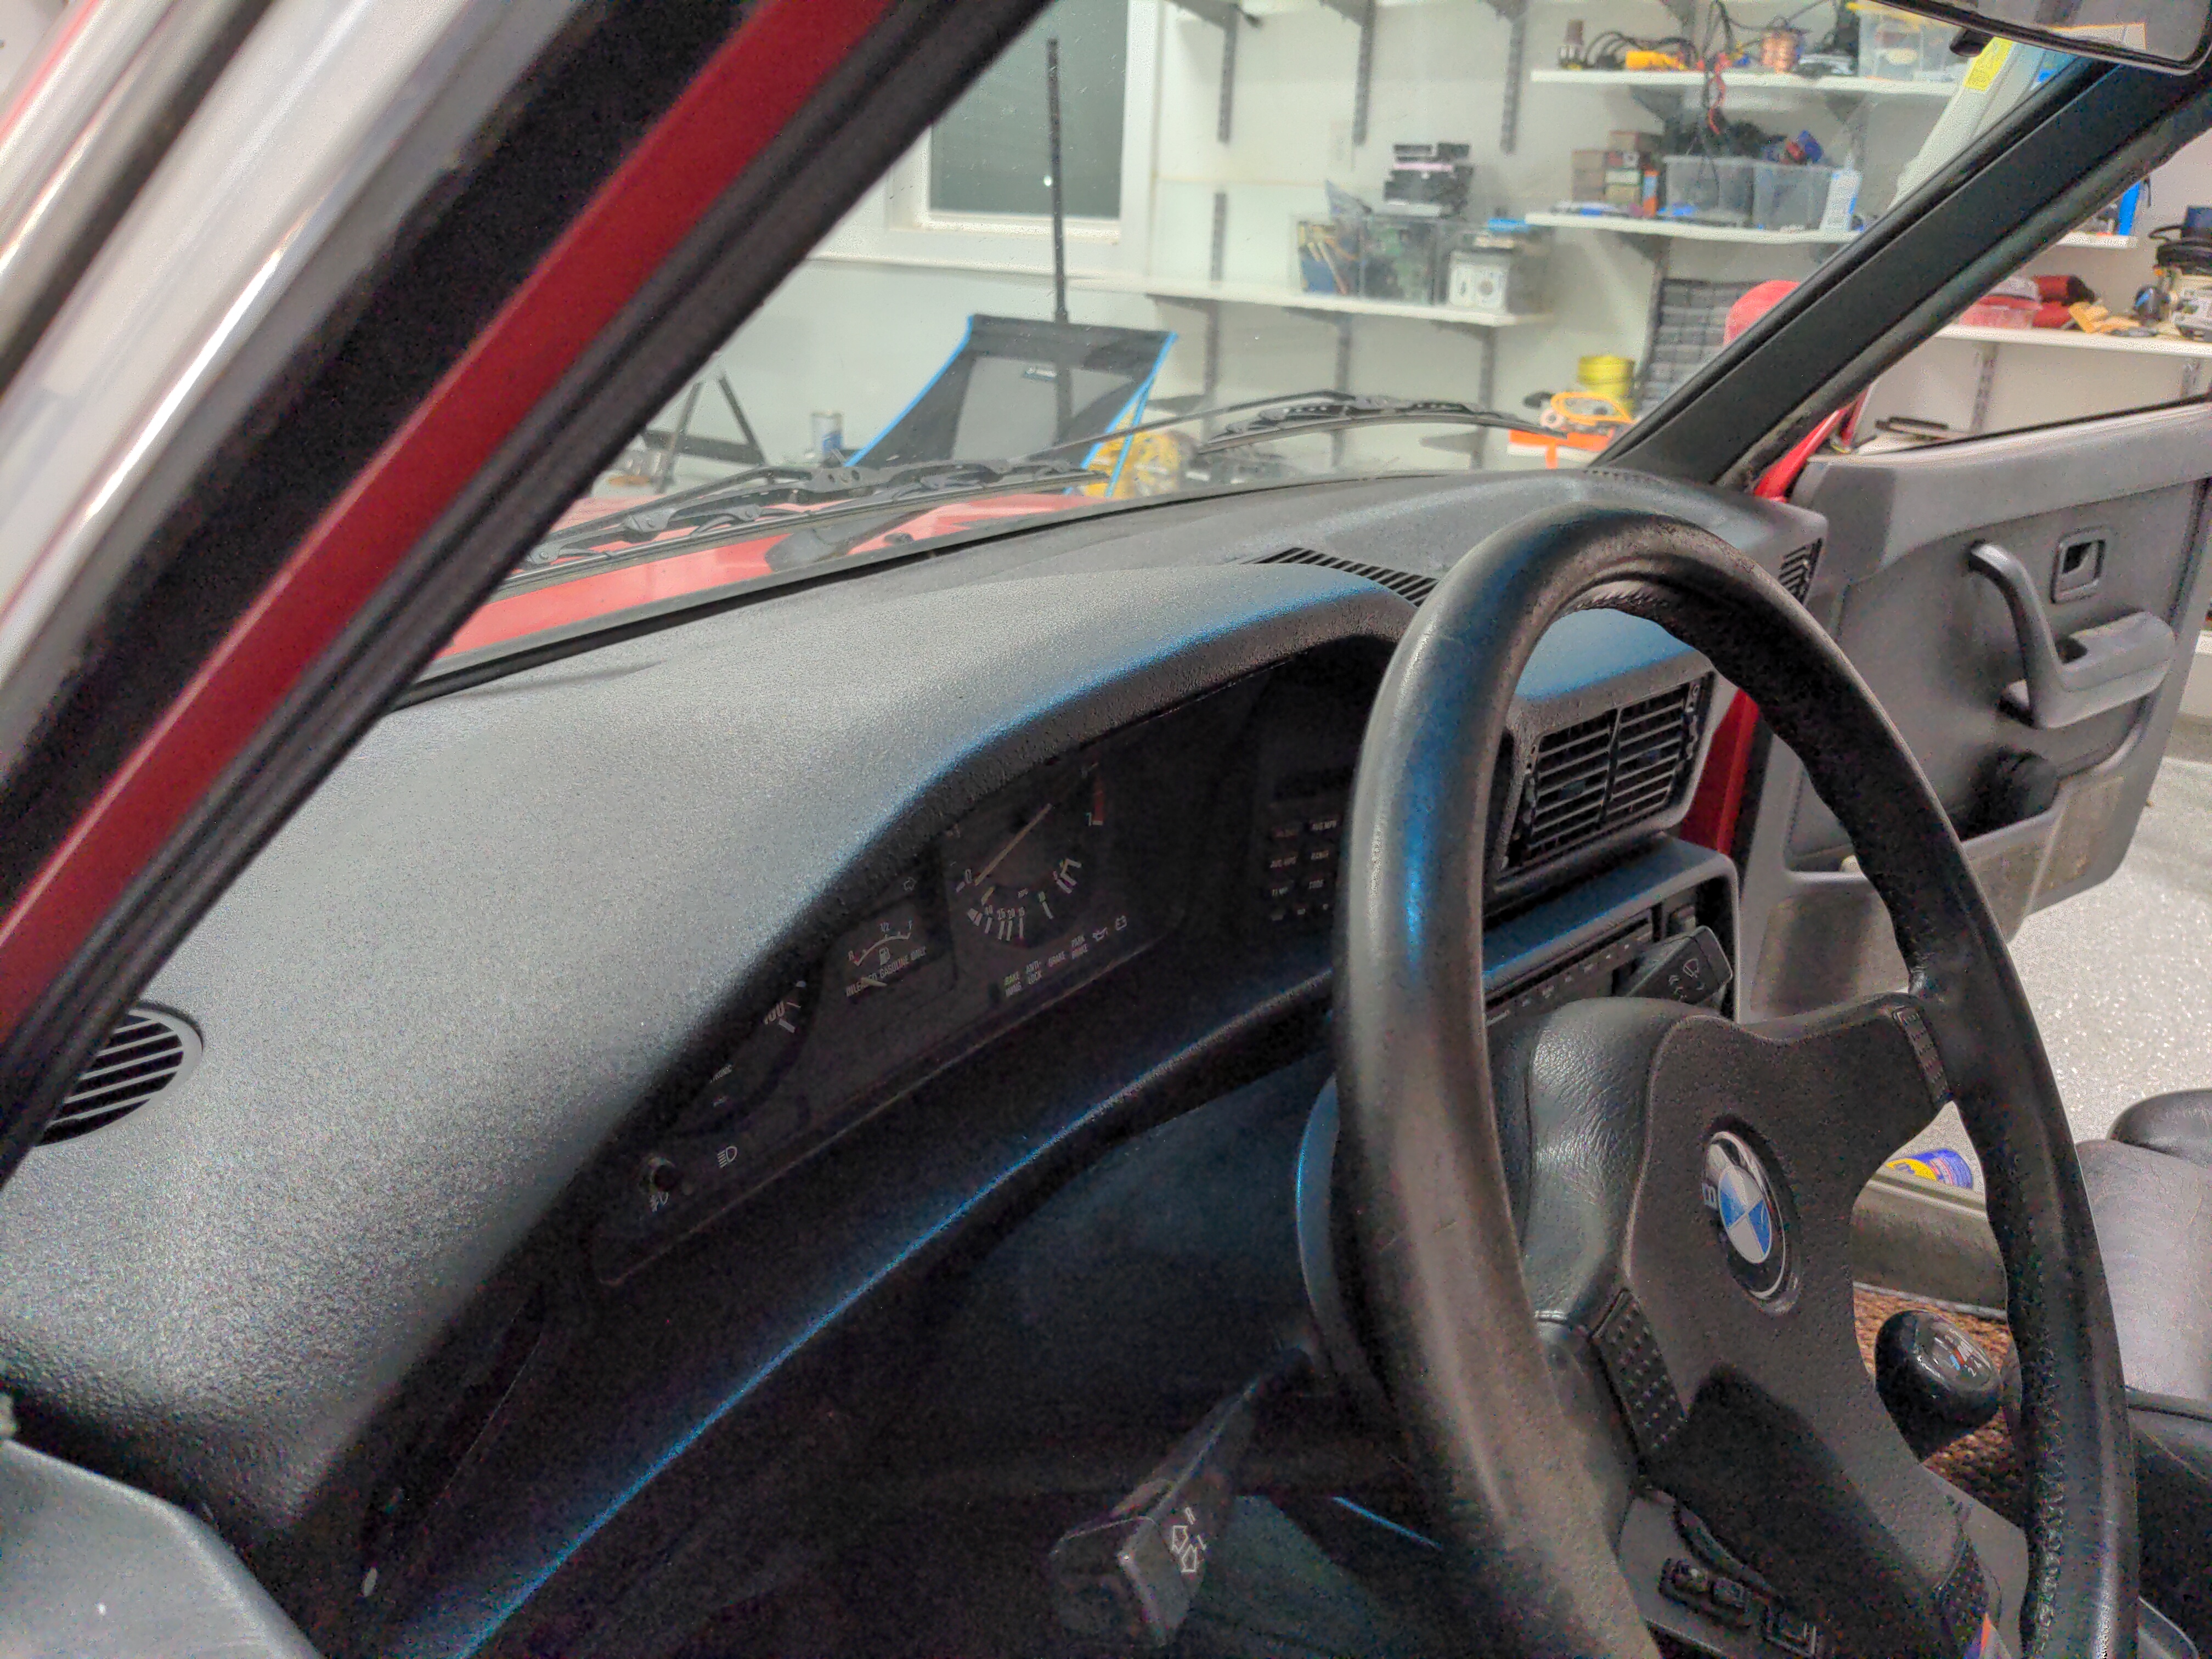
and here's the one I got from the junkyard:

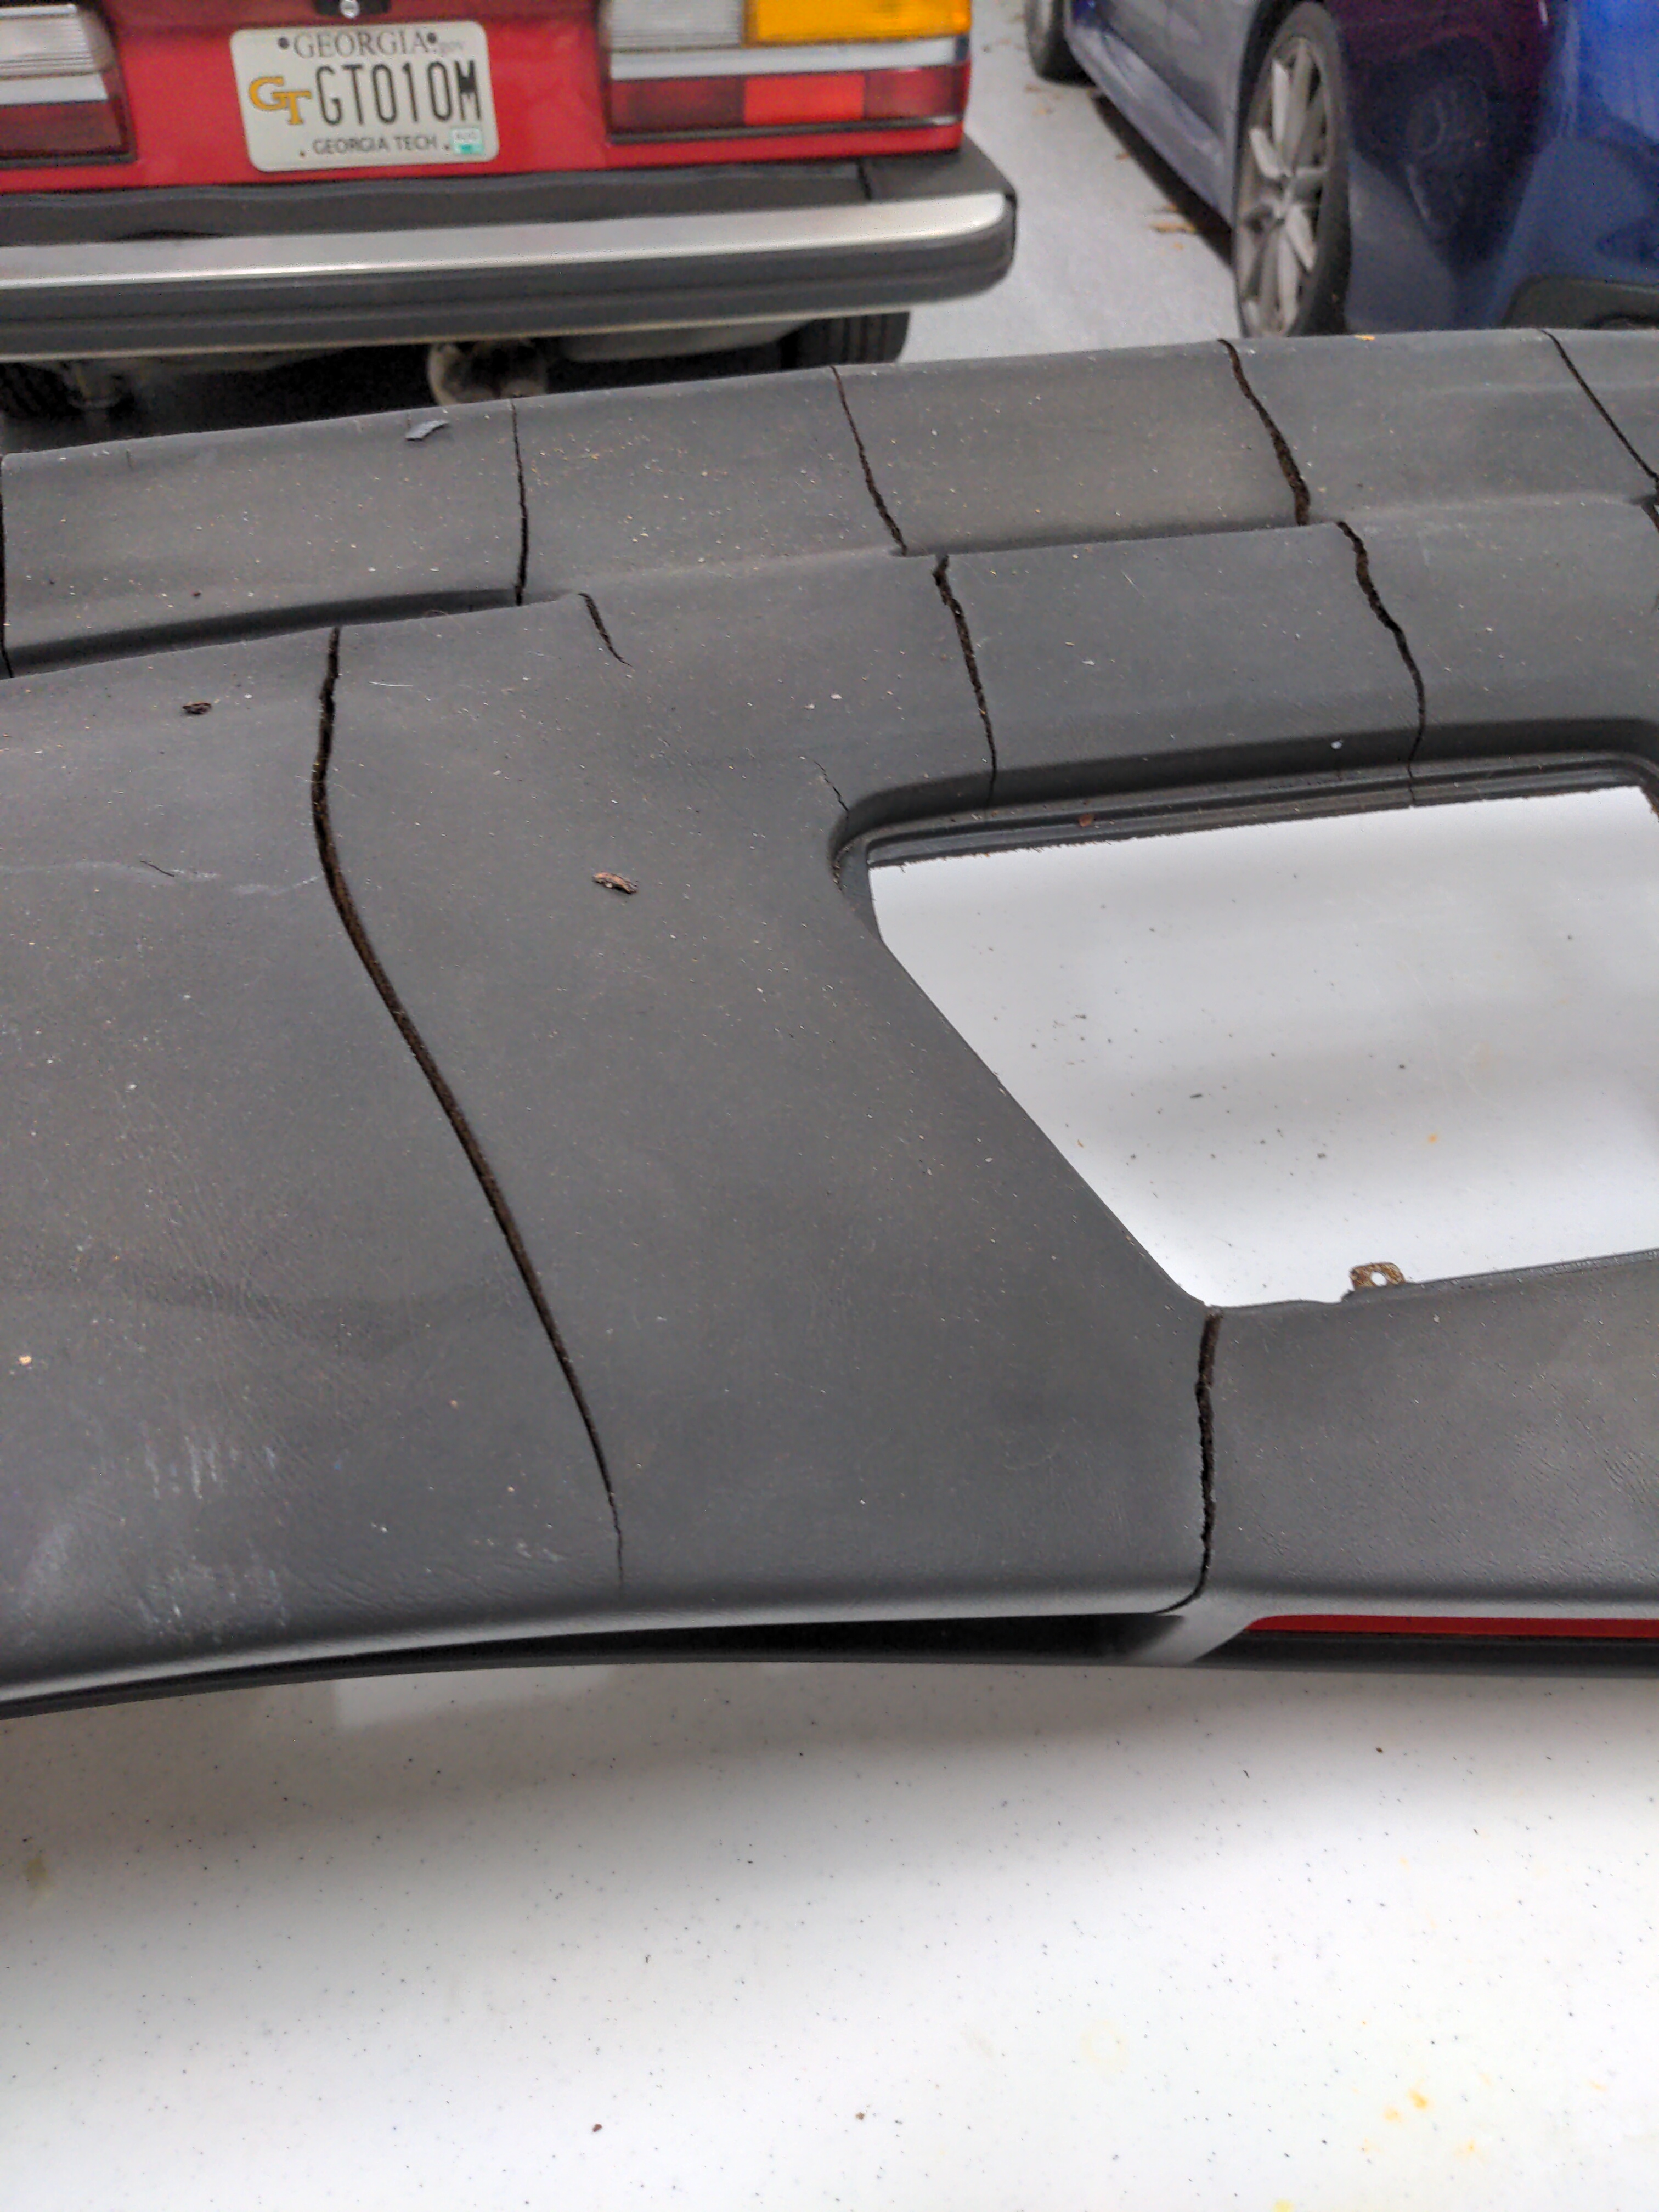
I have no idea what that white stuff was. Bird poop? Who knows. I tried not to think about it too hard.
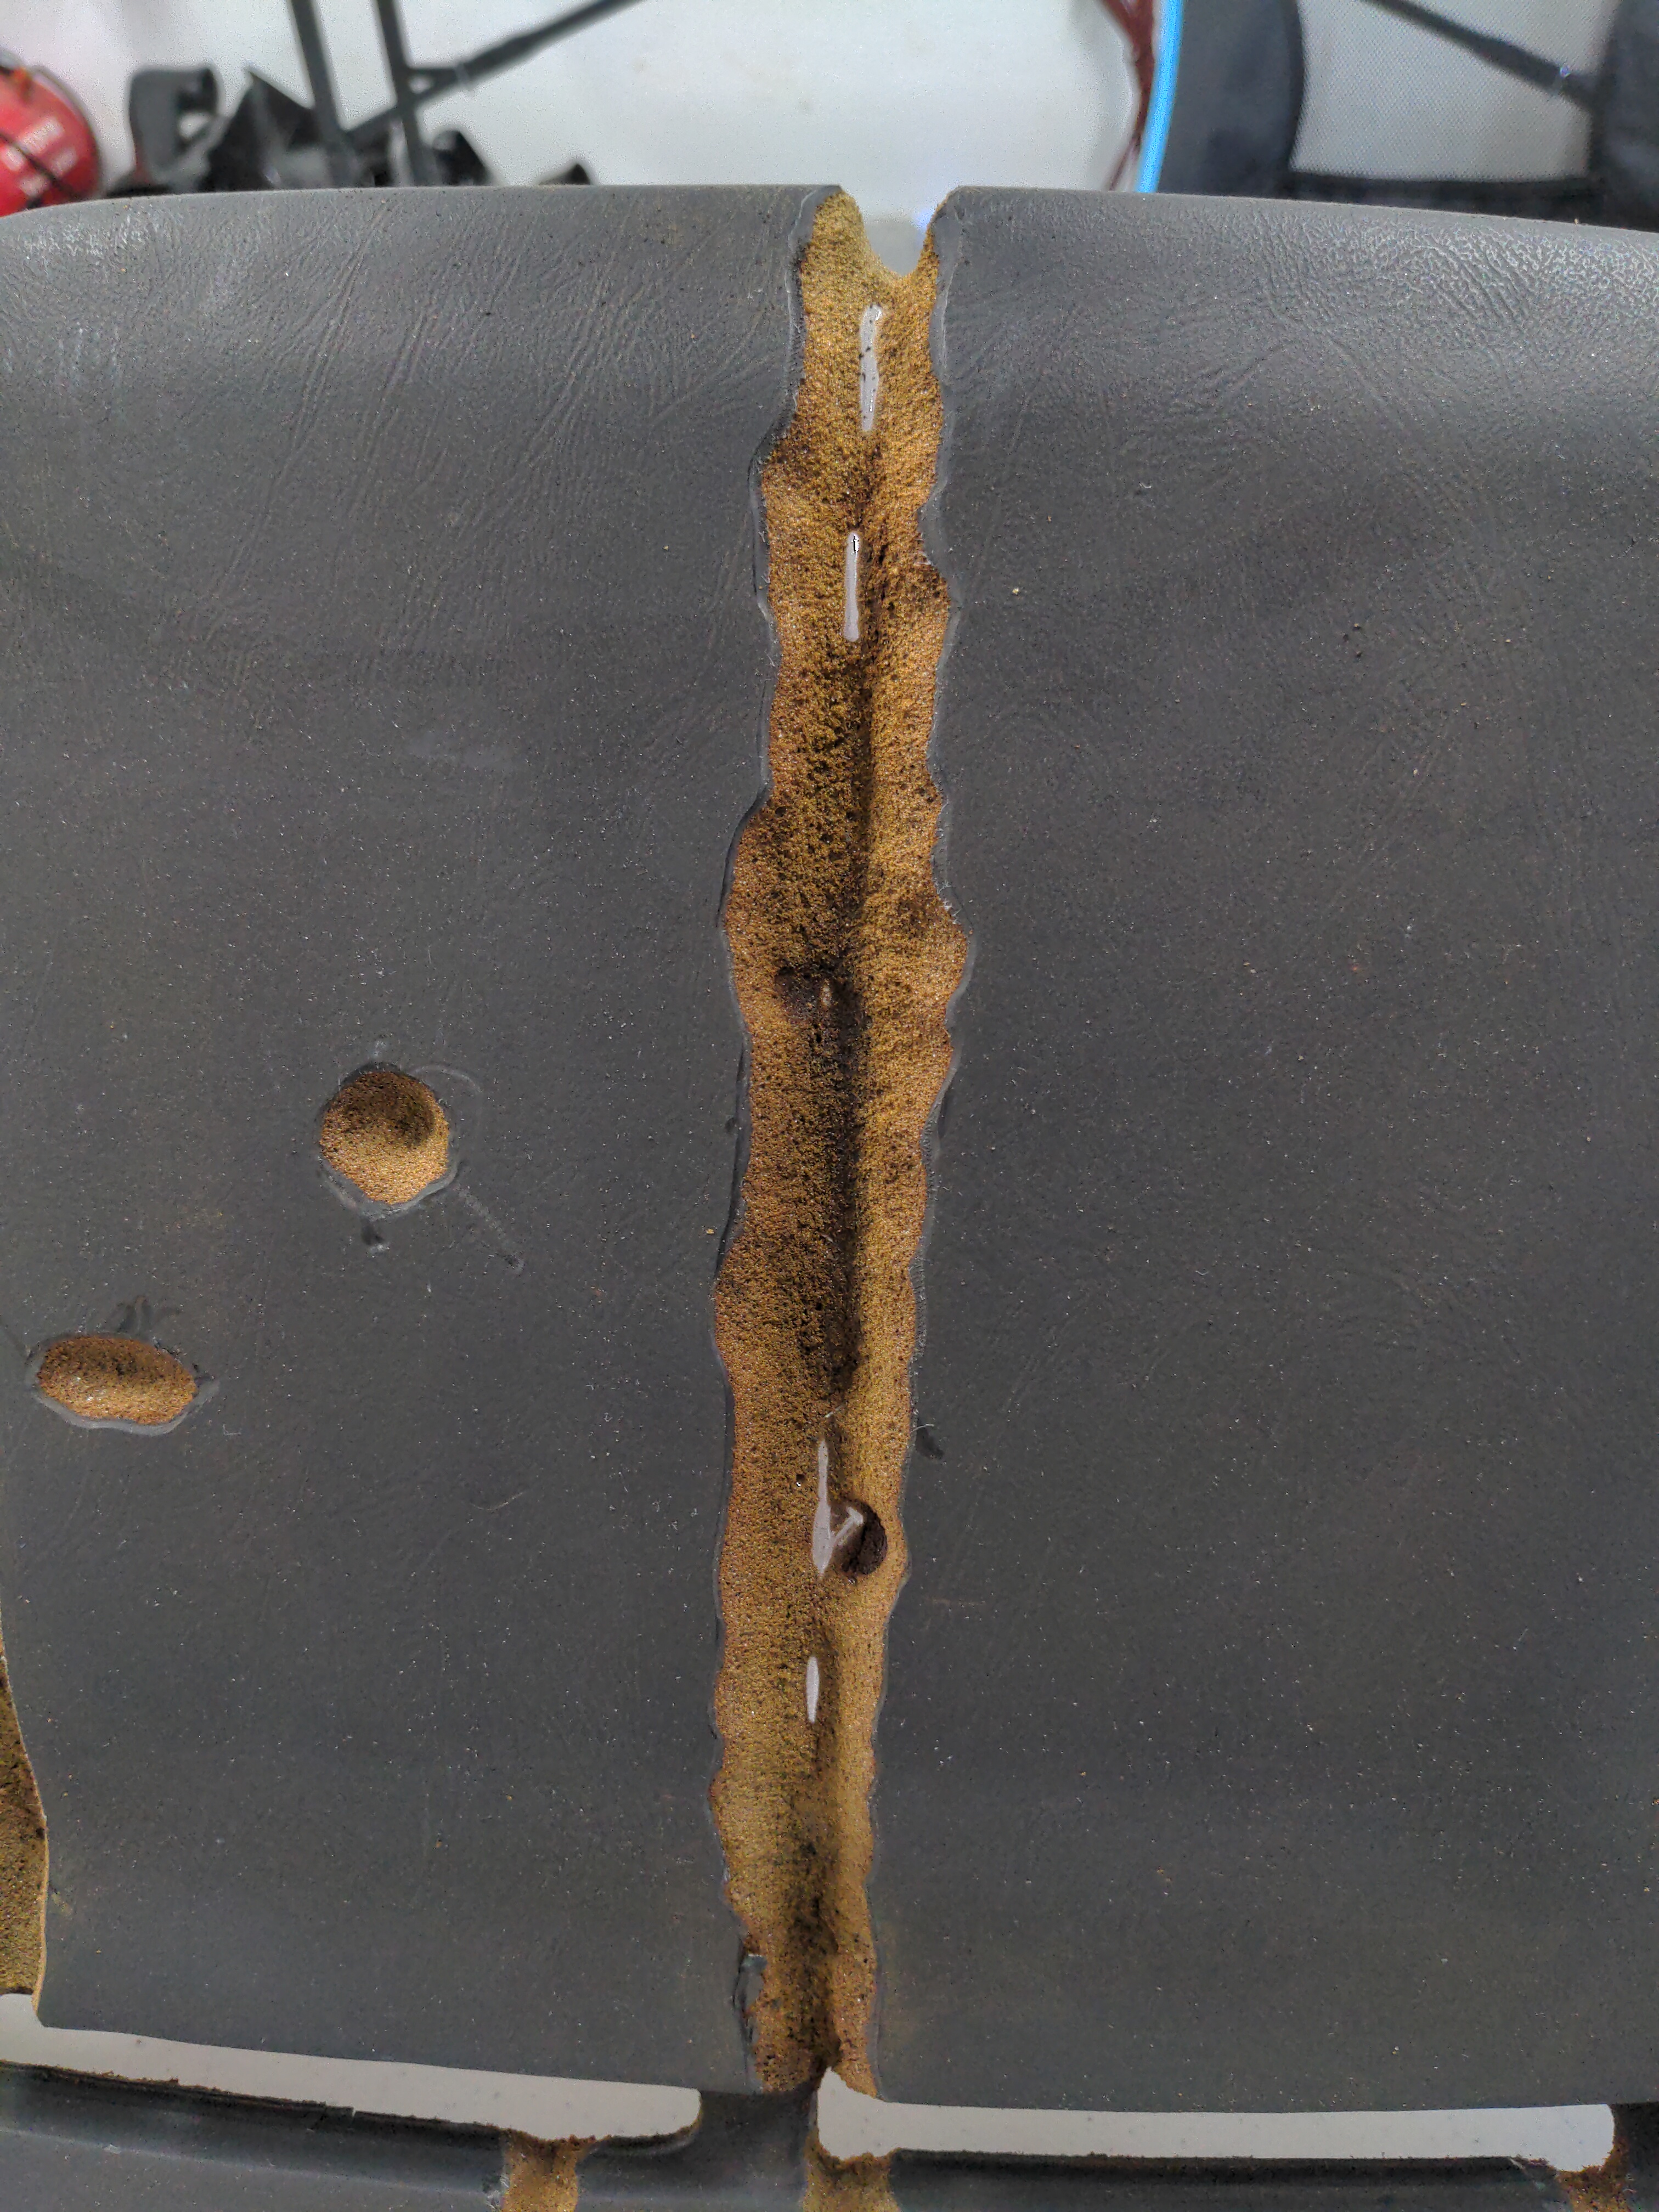
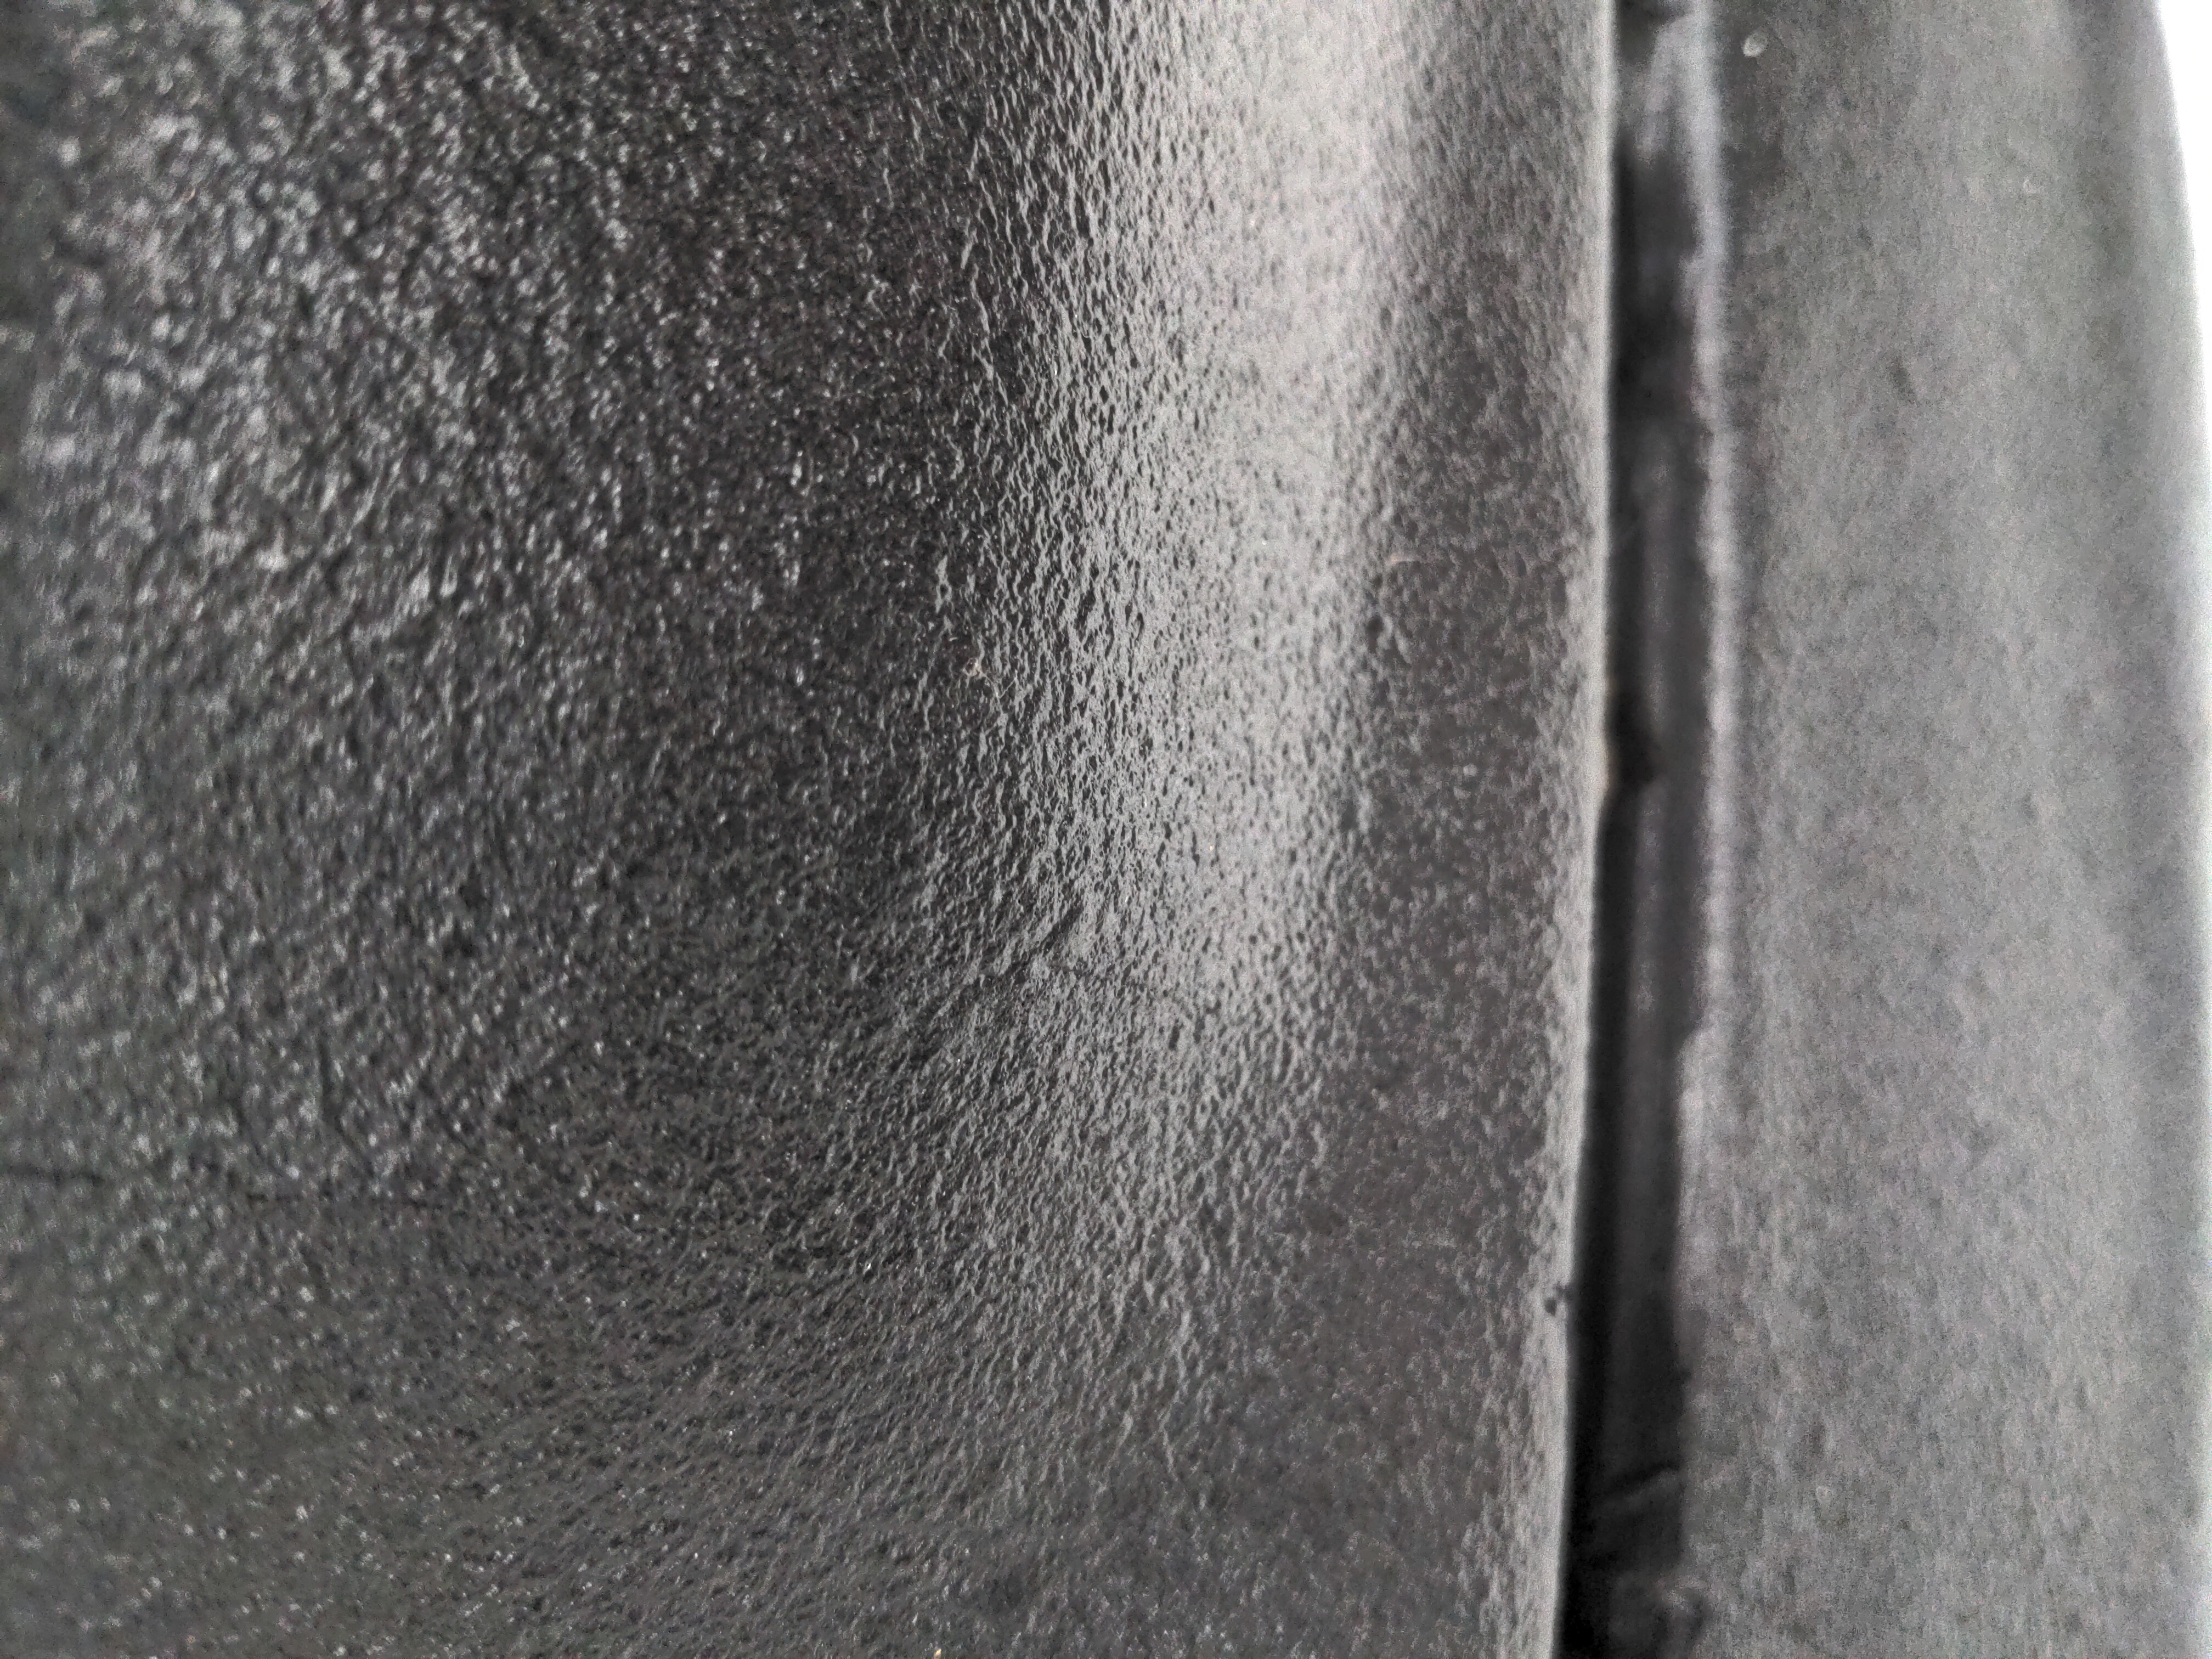
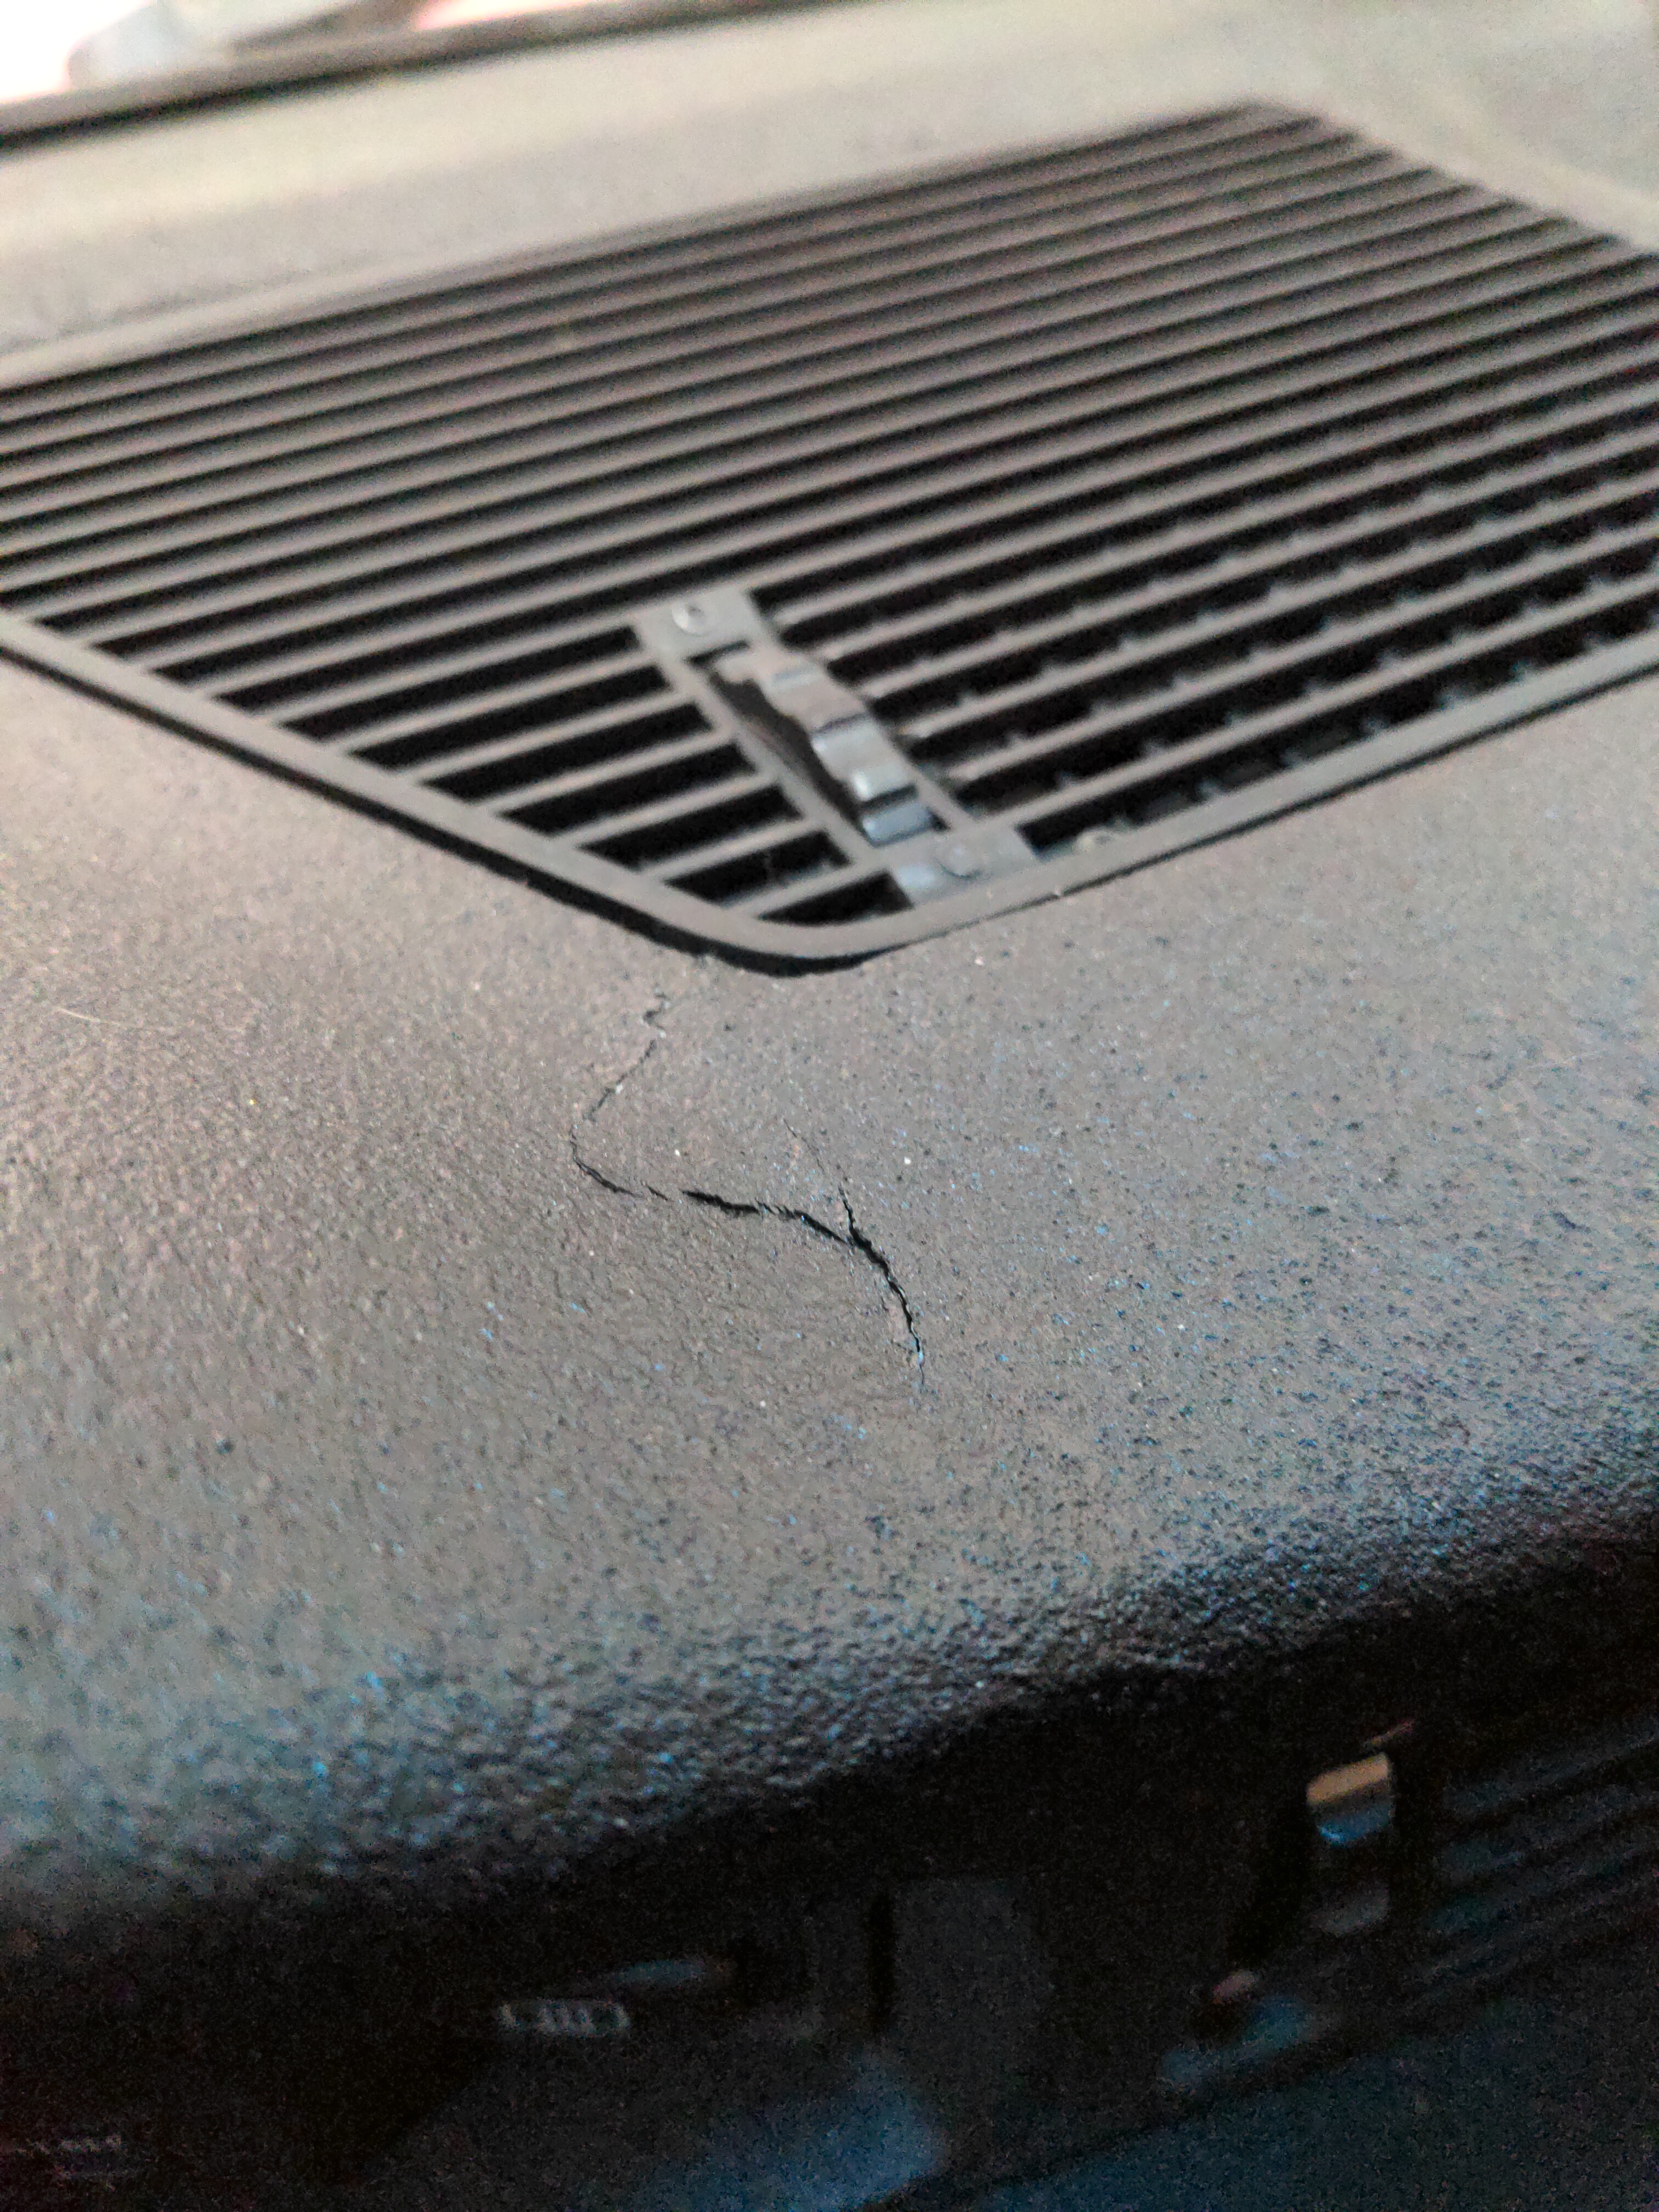
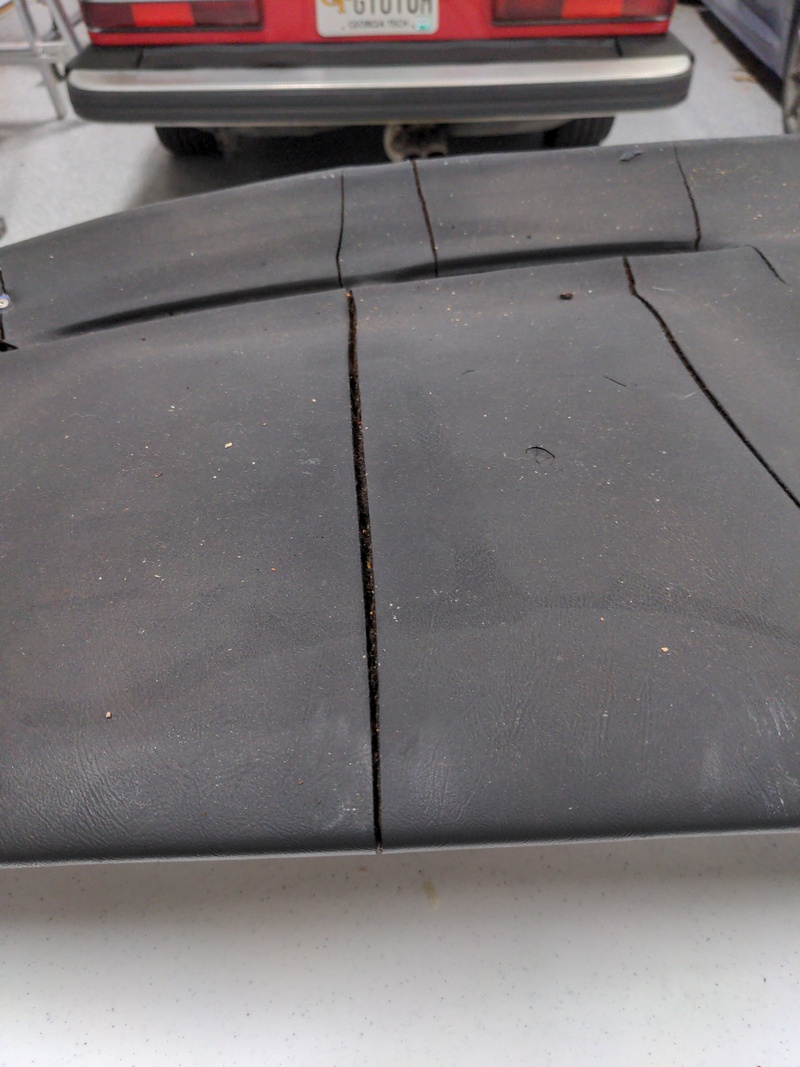
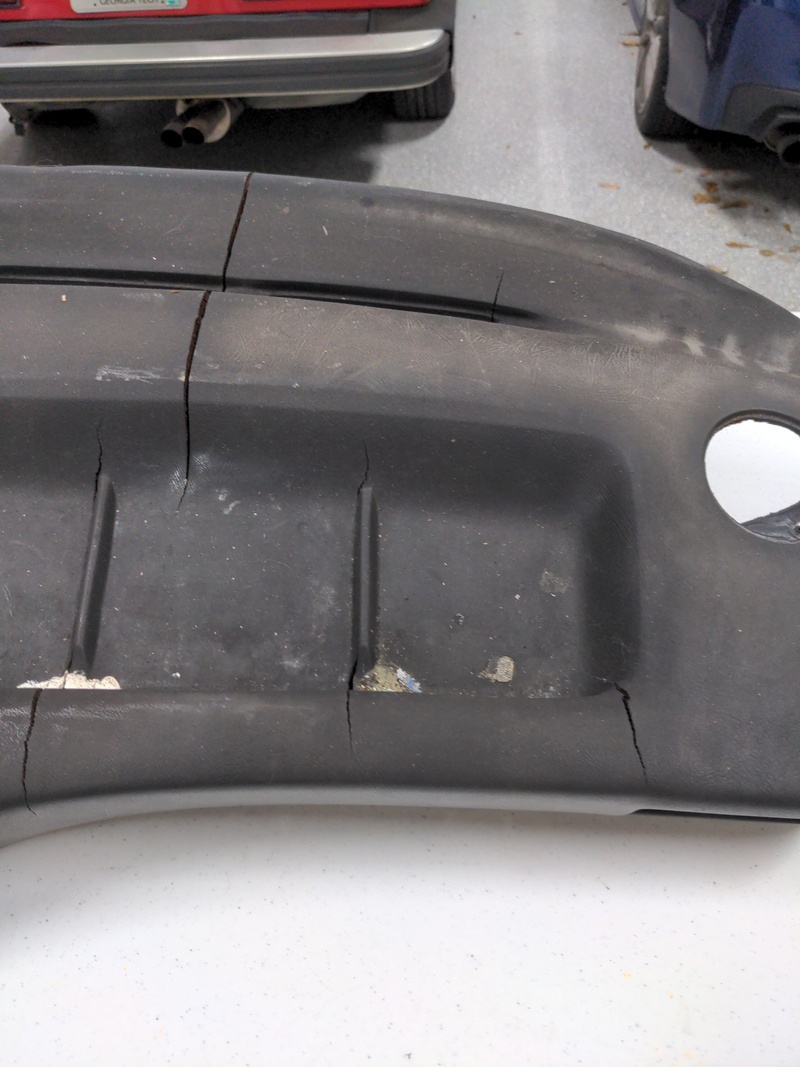
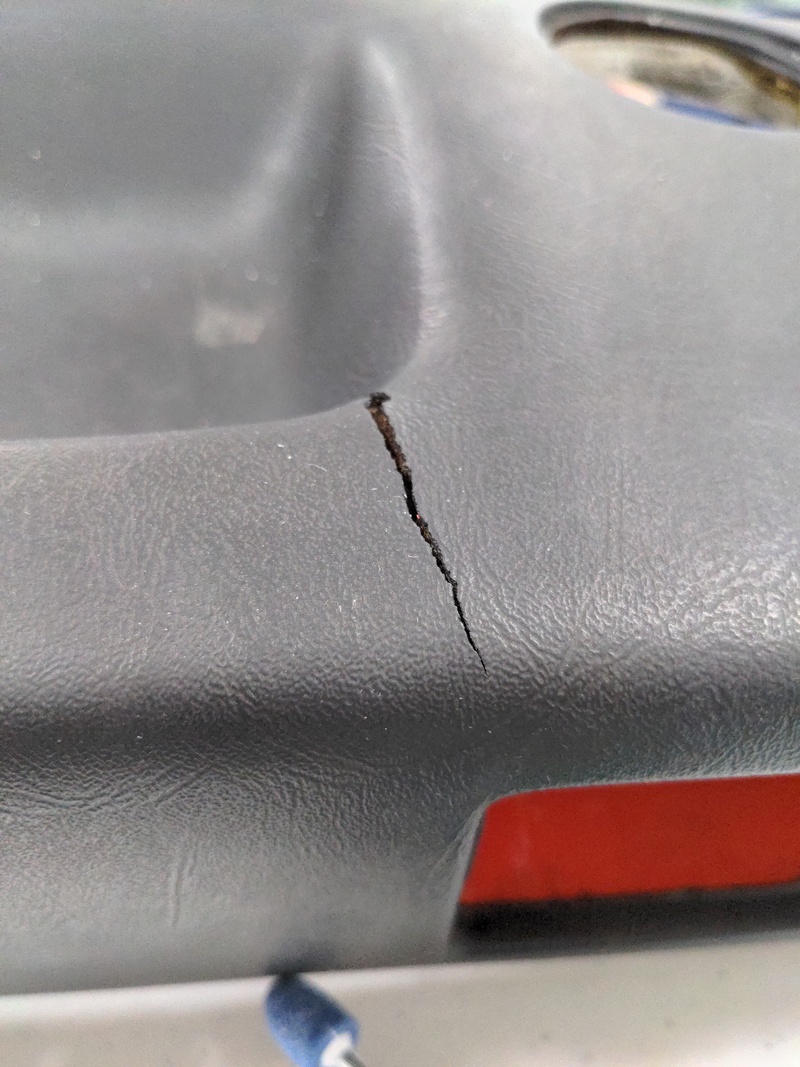
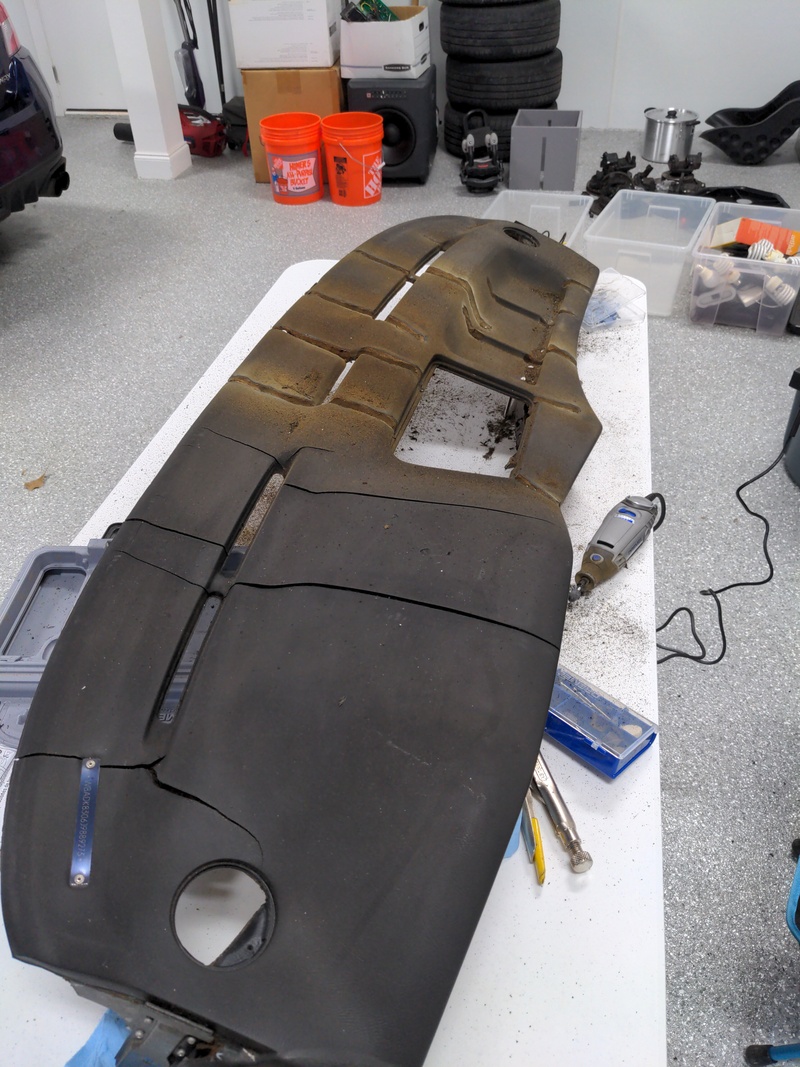
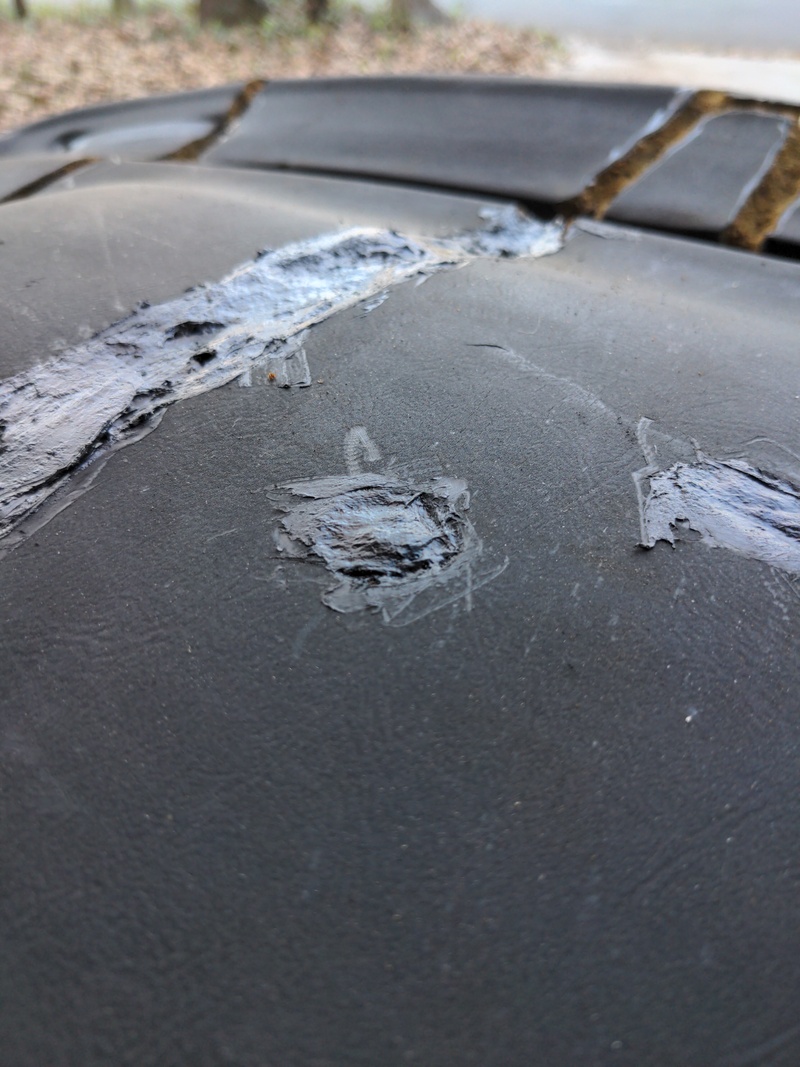
Some really bad cracks in both dashes (I pictured the junkyard one here):


Also, when your dash is out, perfect time to replace the 30 year old cracked-to-hell insulation.
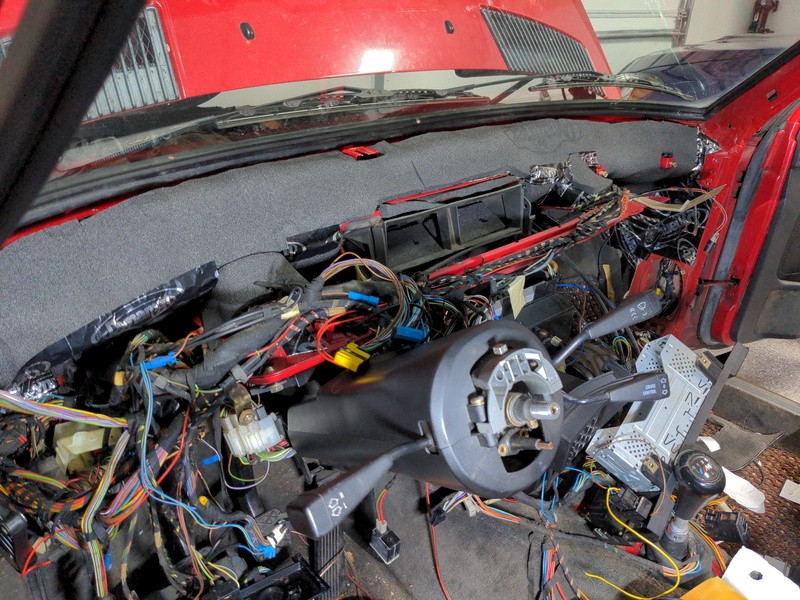
(The car is drivable in this state, by the way! You may want to just keep one hand on the instrument cluster so it doesn't fly away when you go around a turn.)
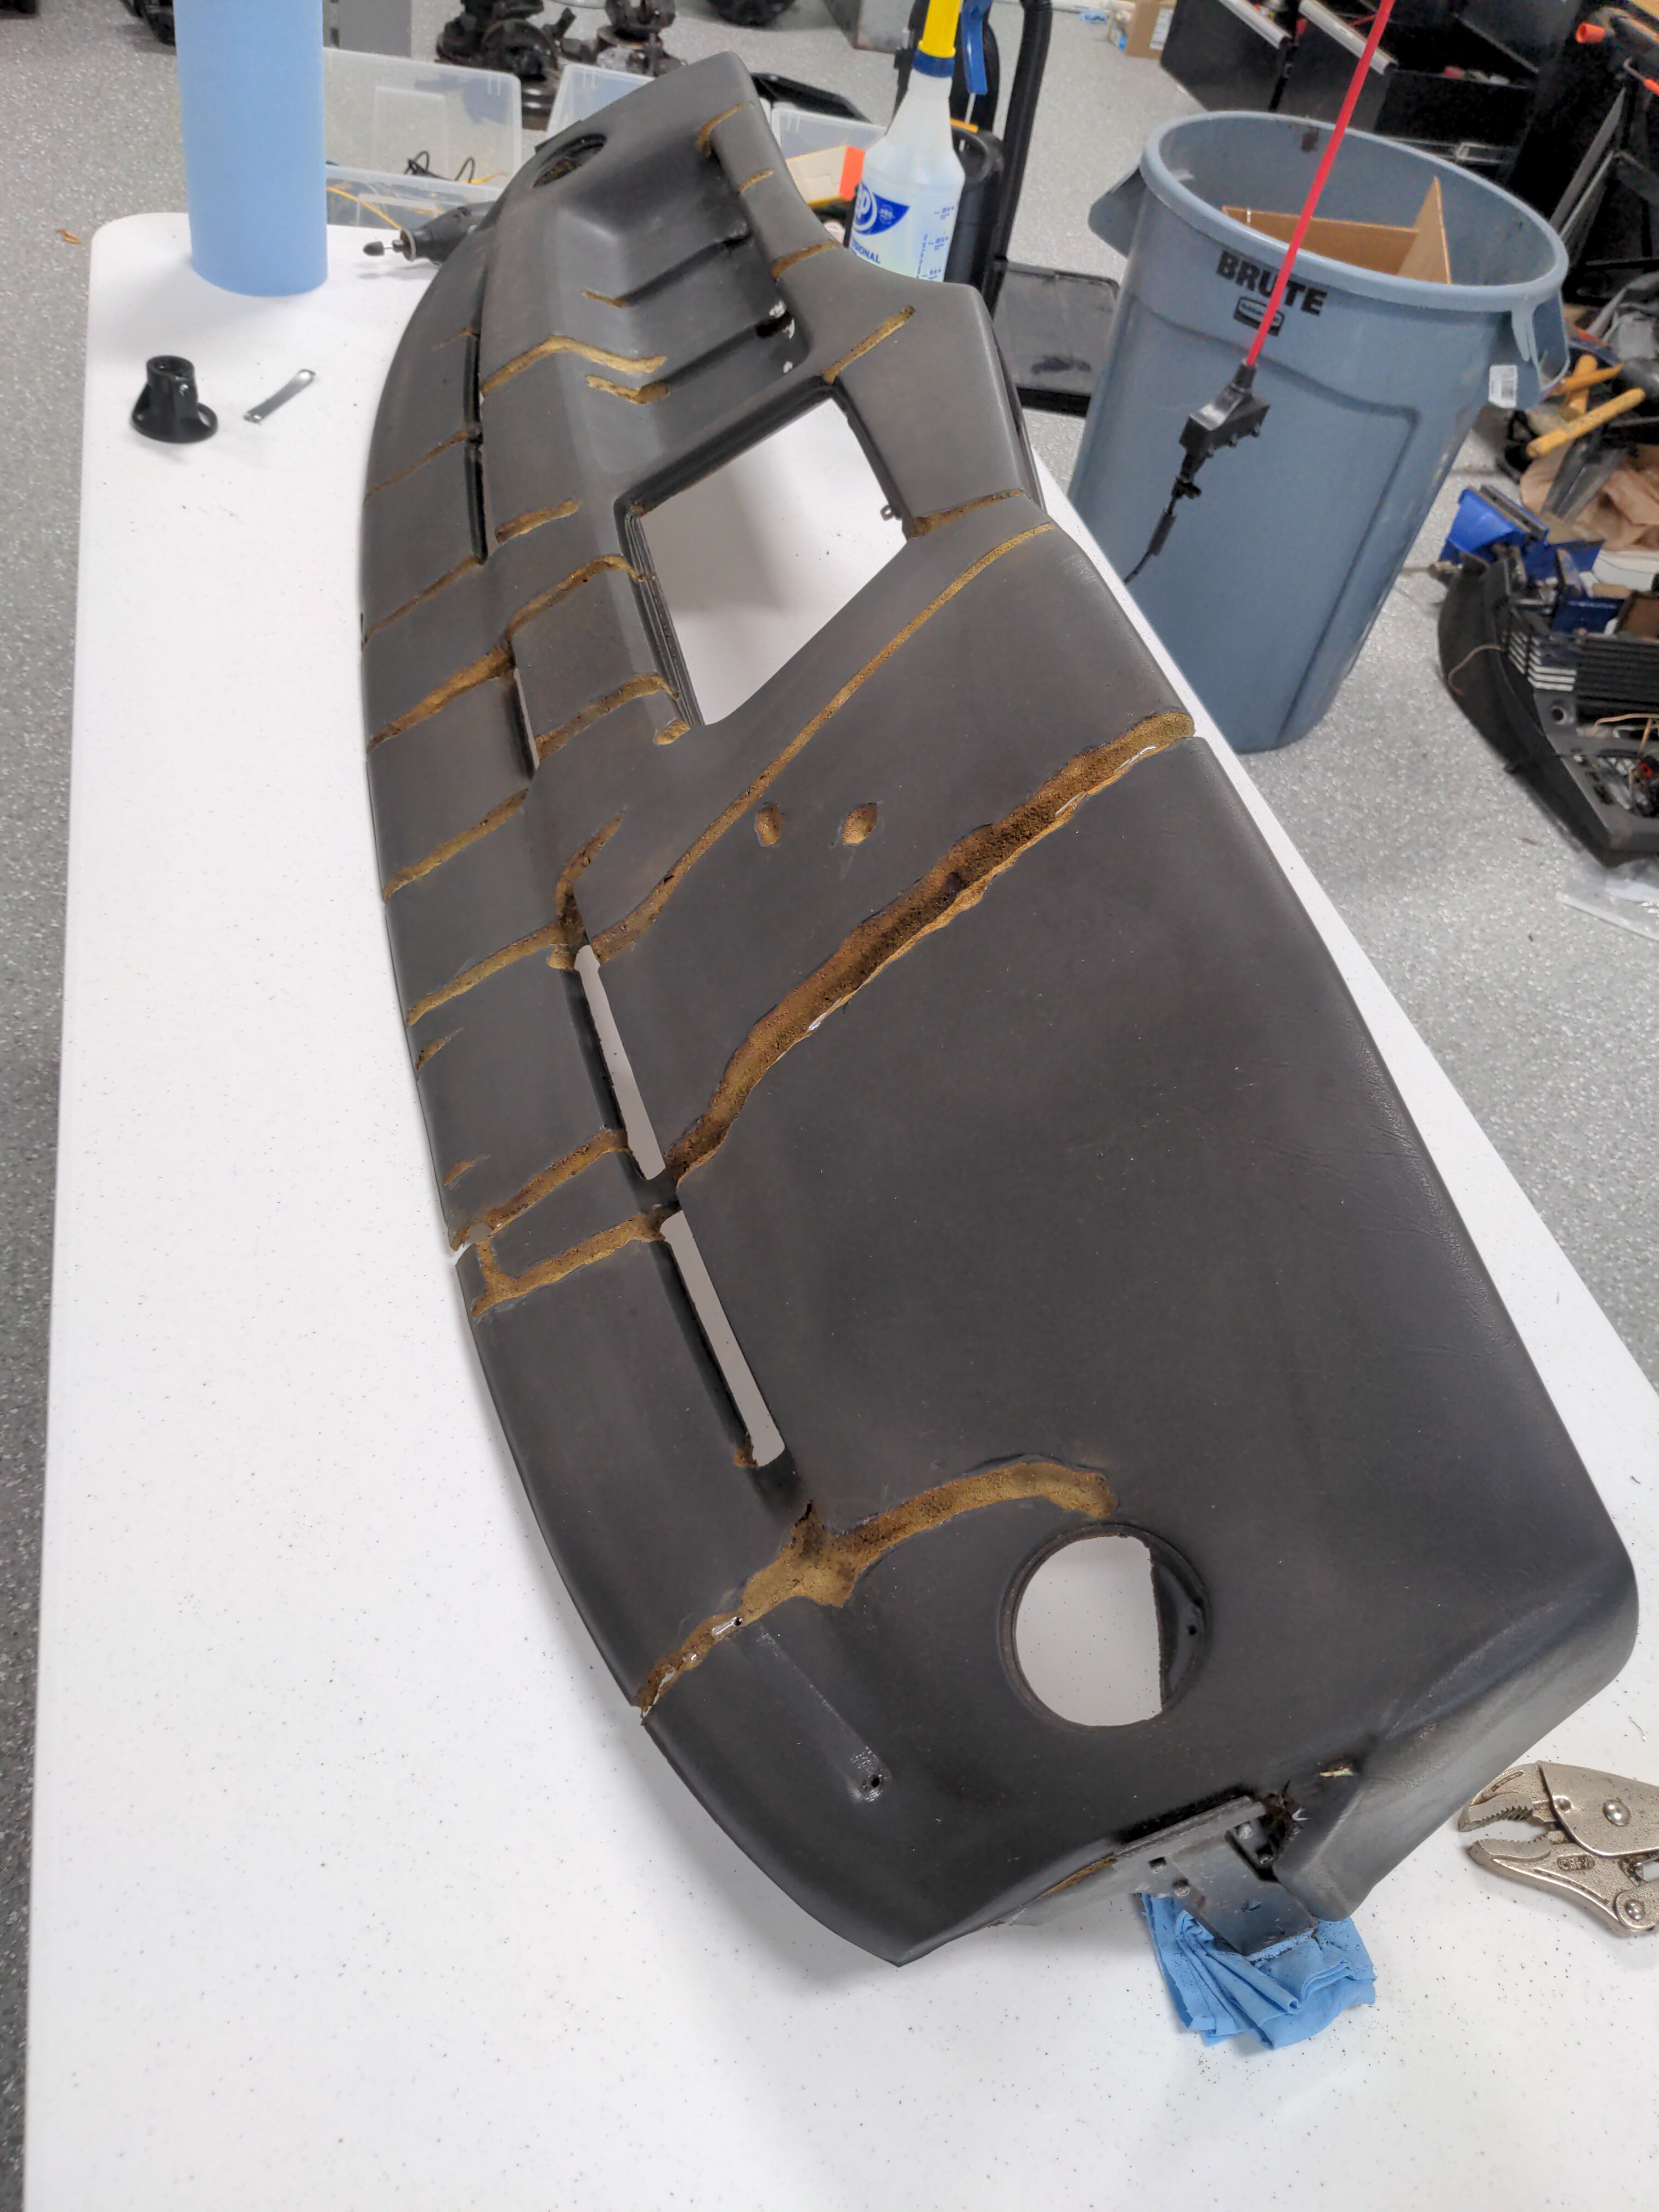
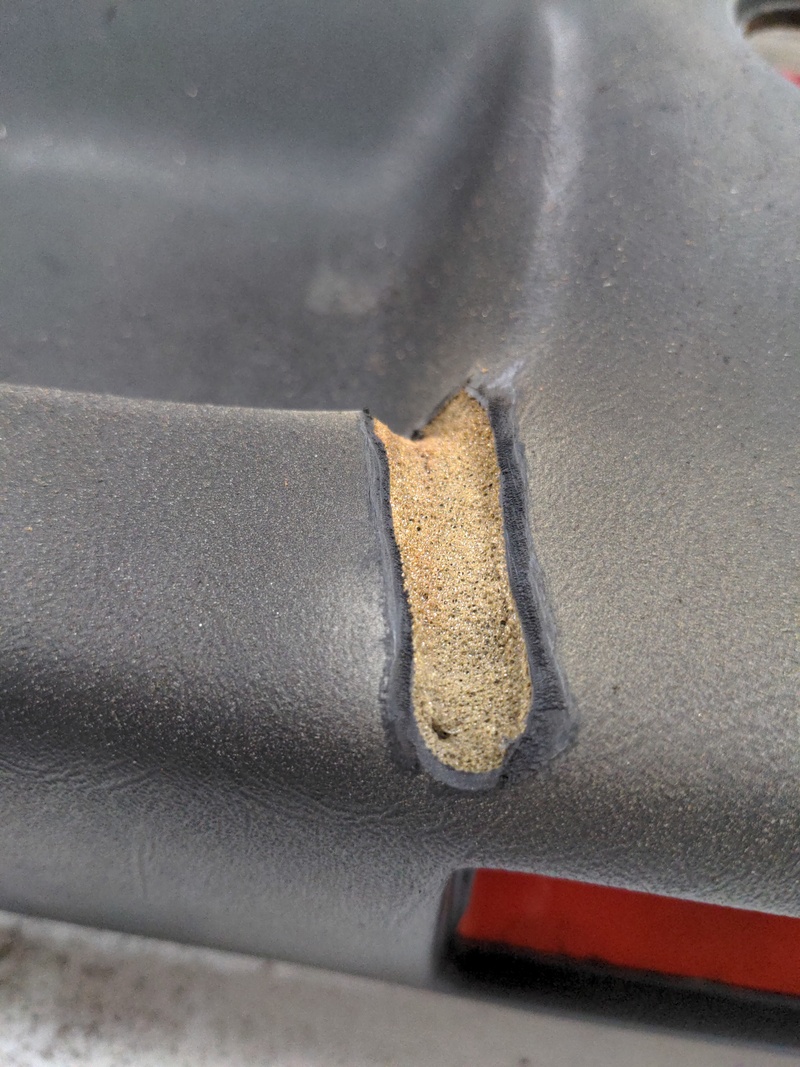
The first step is to dremel out the cracks to the bottom of the cracked foam. You can see the crack in the foam, so it's pretty easy to know when you've gotten to the "bottom": it'll have a uniform texture.
The process takes a long time, but it's at least not too much manual labor.

Sometimes the crack may go so deep that I had to cut down all the way to the metal under the foam. I guess that's ok.

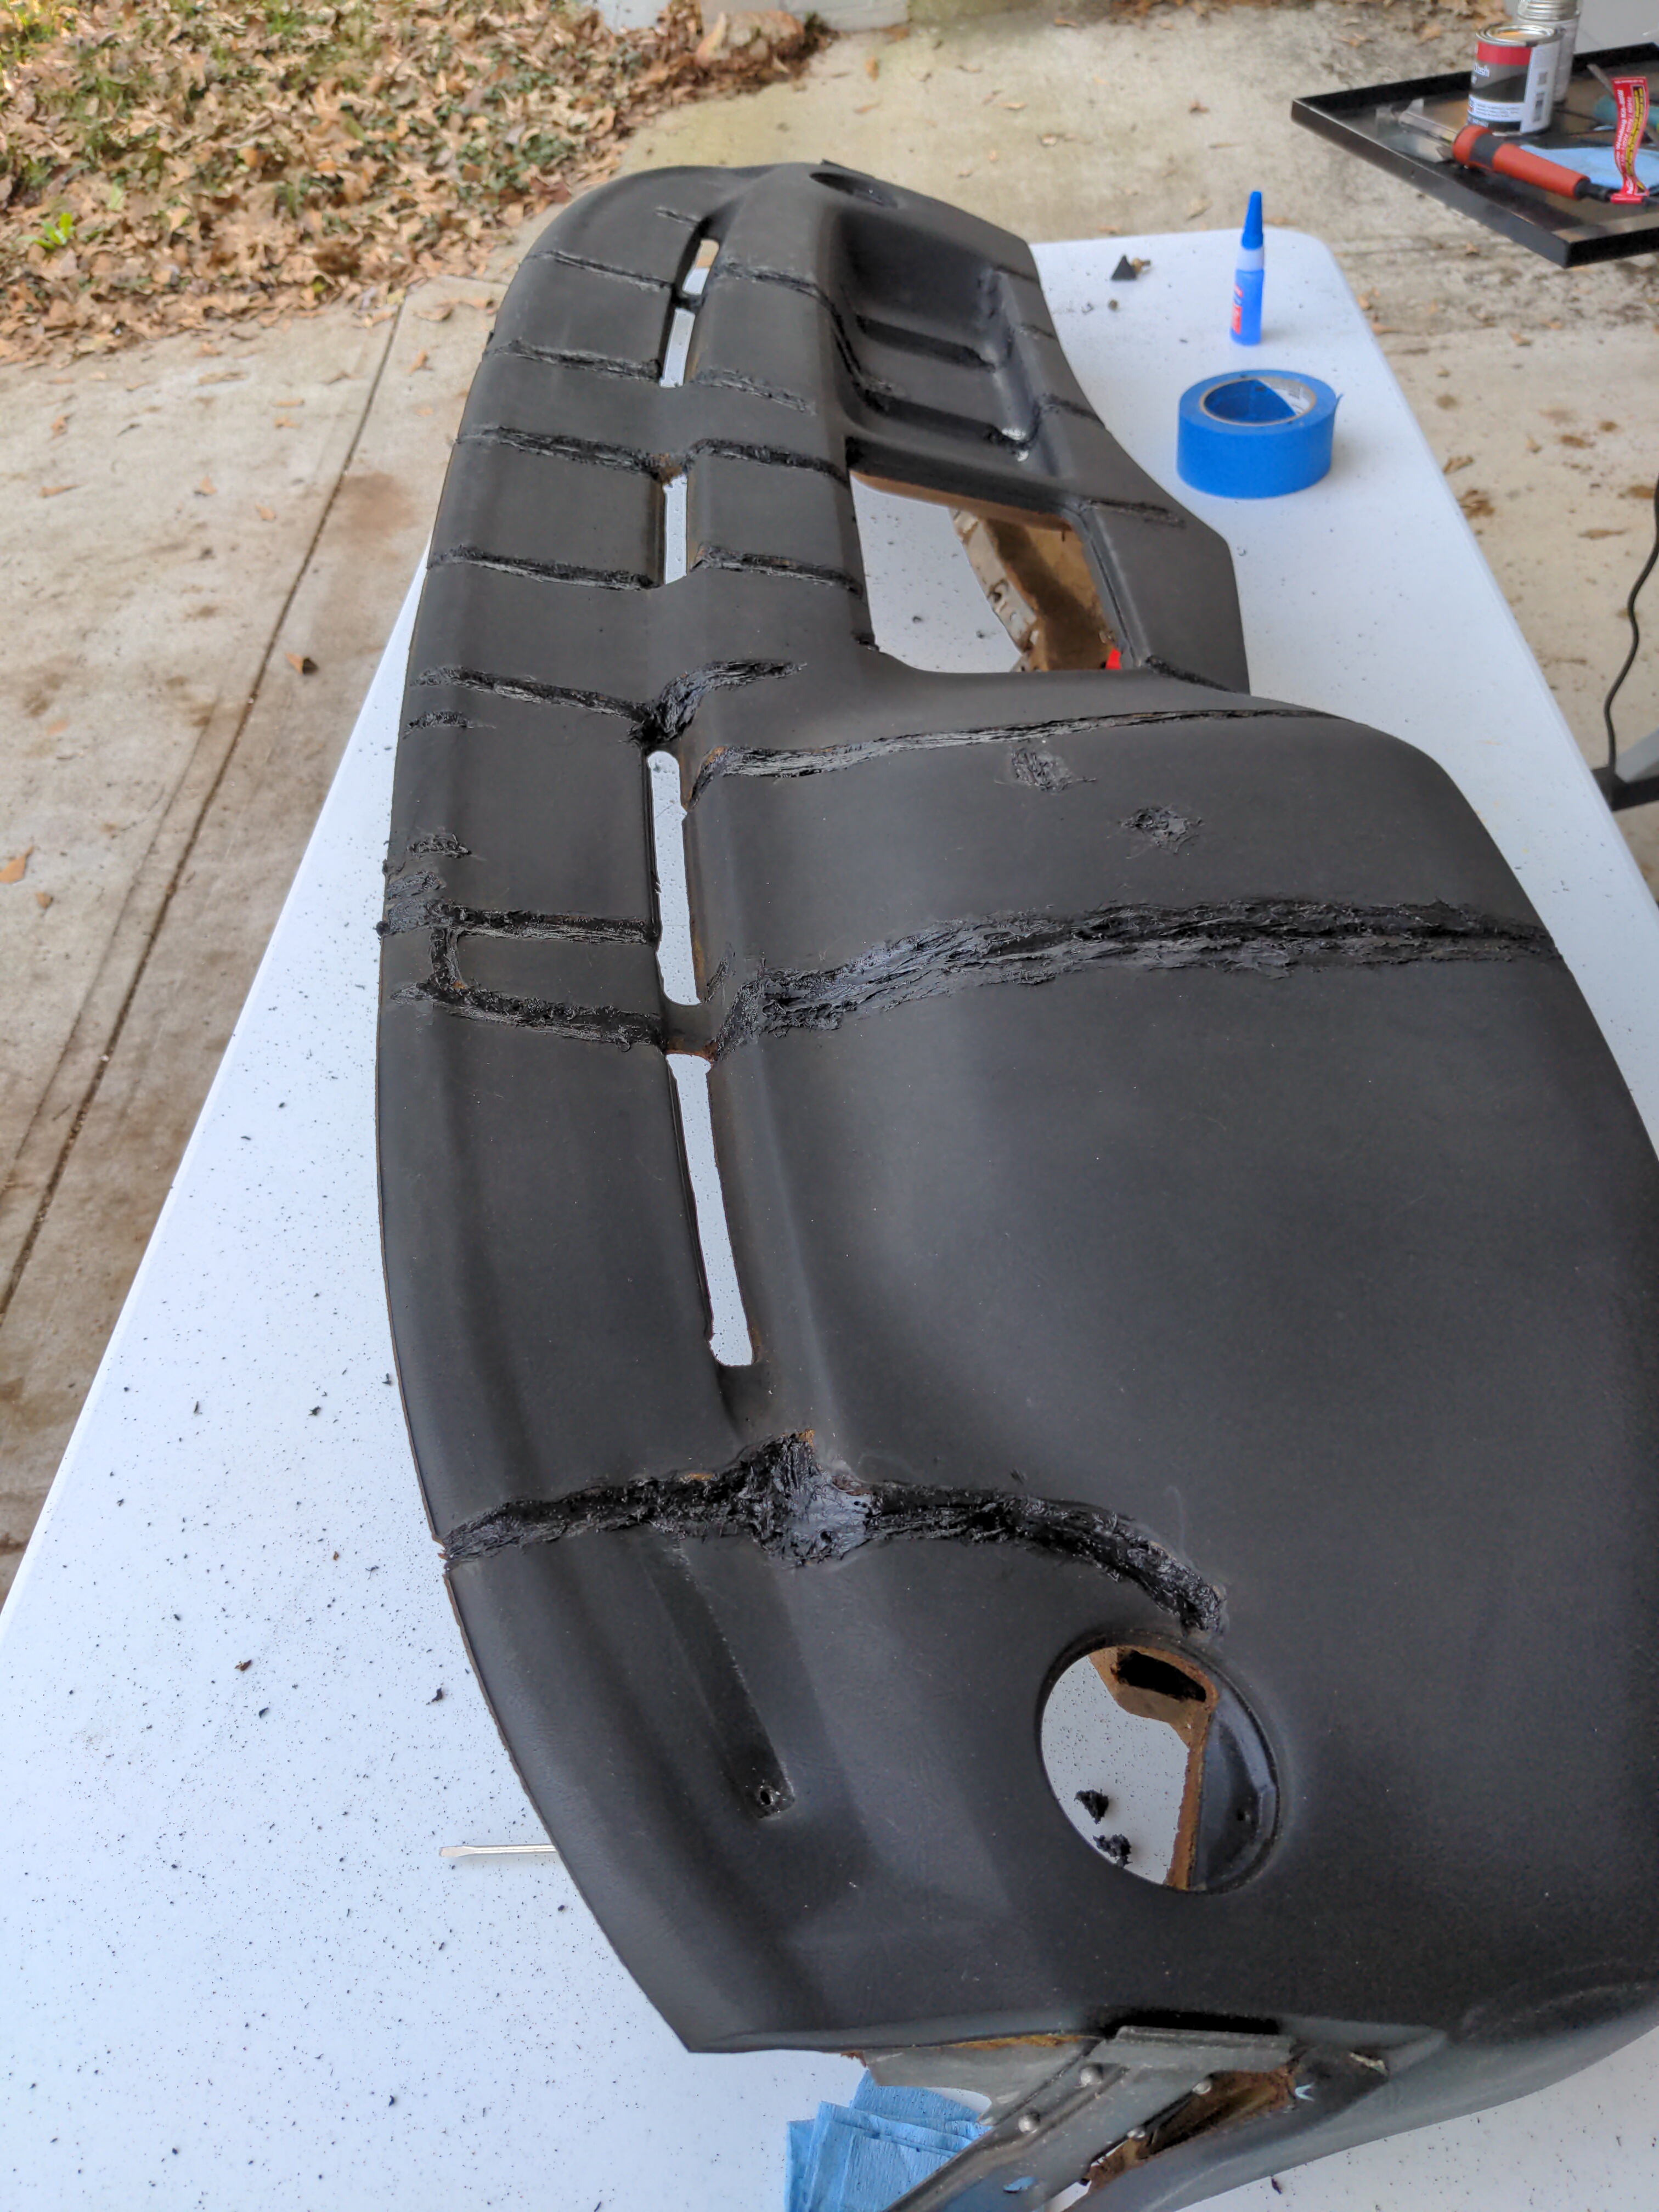
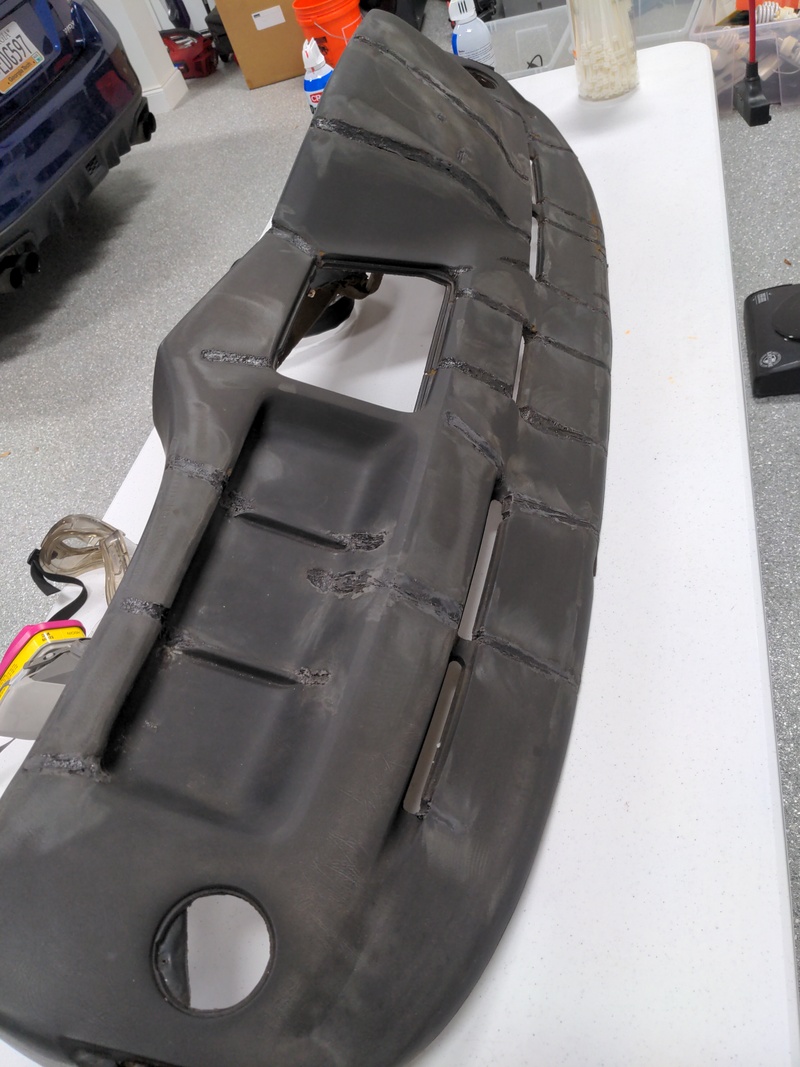
The next step is to use the plastic welder to fill all the grooves with the FiberFlex sticks.
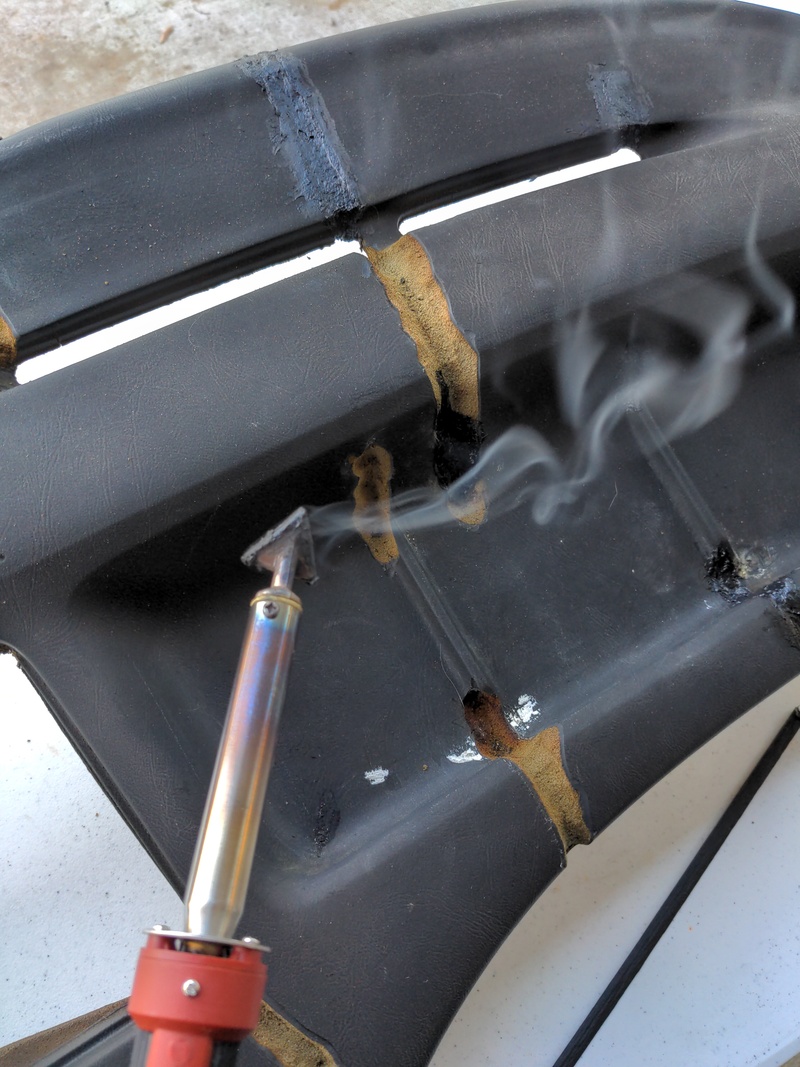
I may have overfilled those a little bit---ideally I think we want the dash filler to "top off" the grooves, not the plastic weld.

I used pretty much every stick of FiberFlex in one package for this dash because it was in such bad shape. It's
really hard to shape around the tougher corners, like by the vents, but luckily nobody can even see back there anyway.
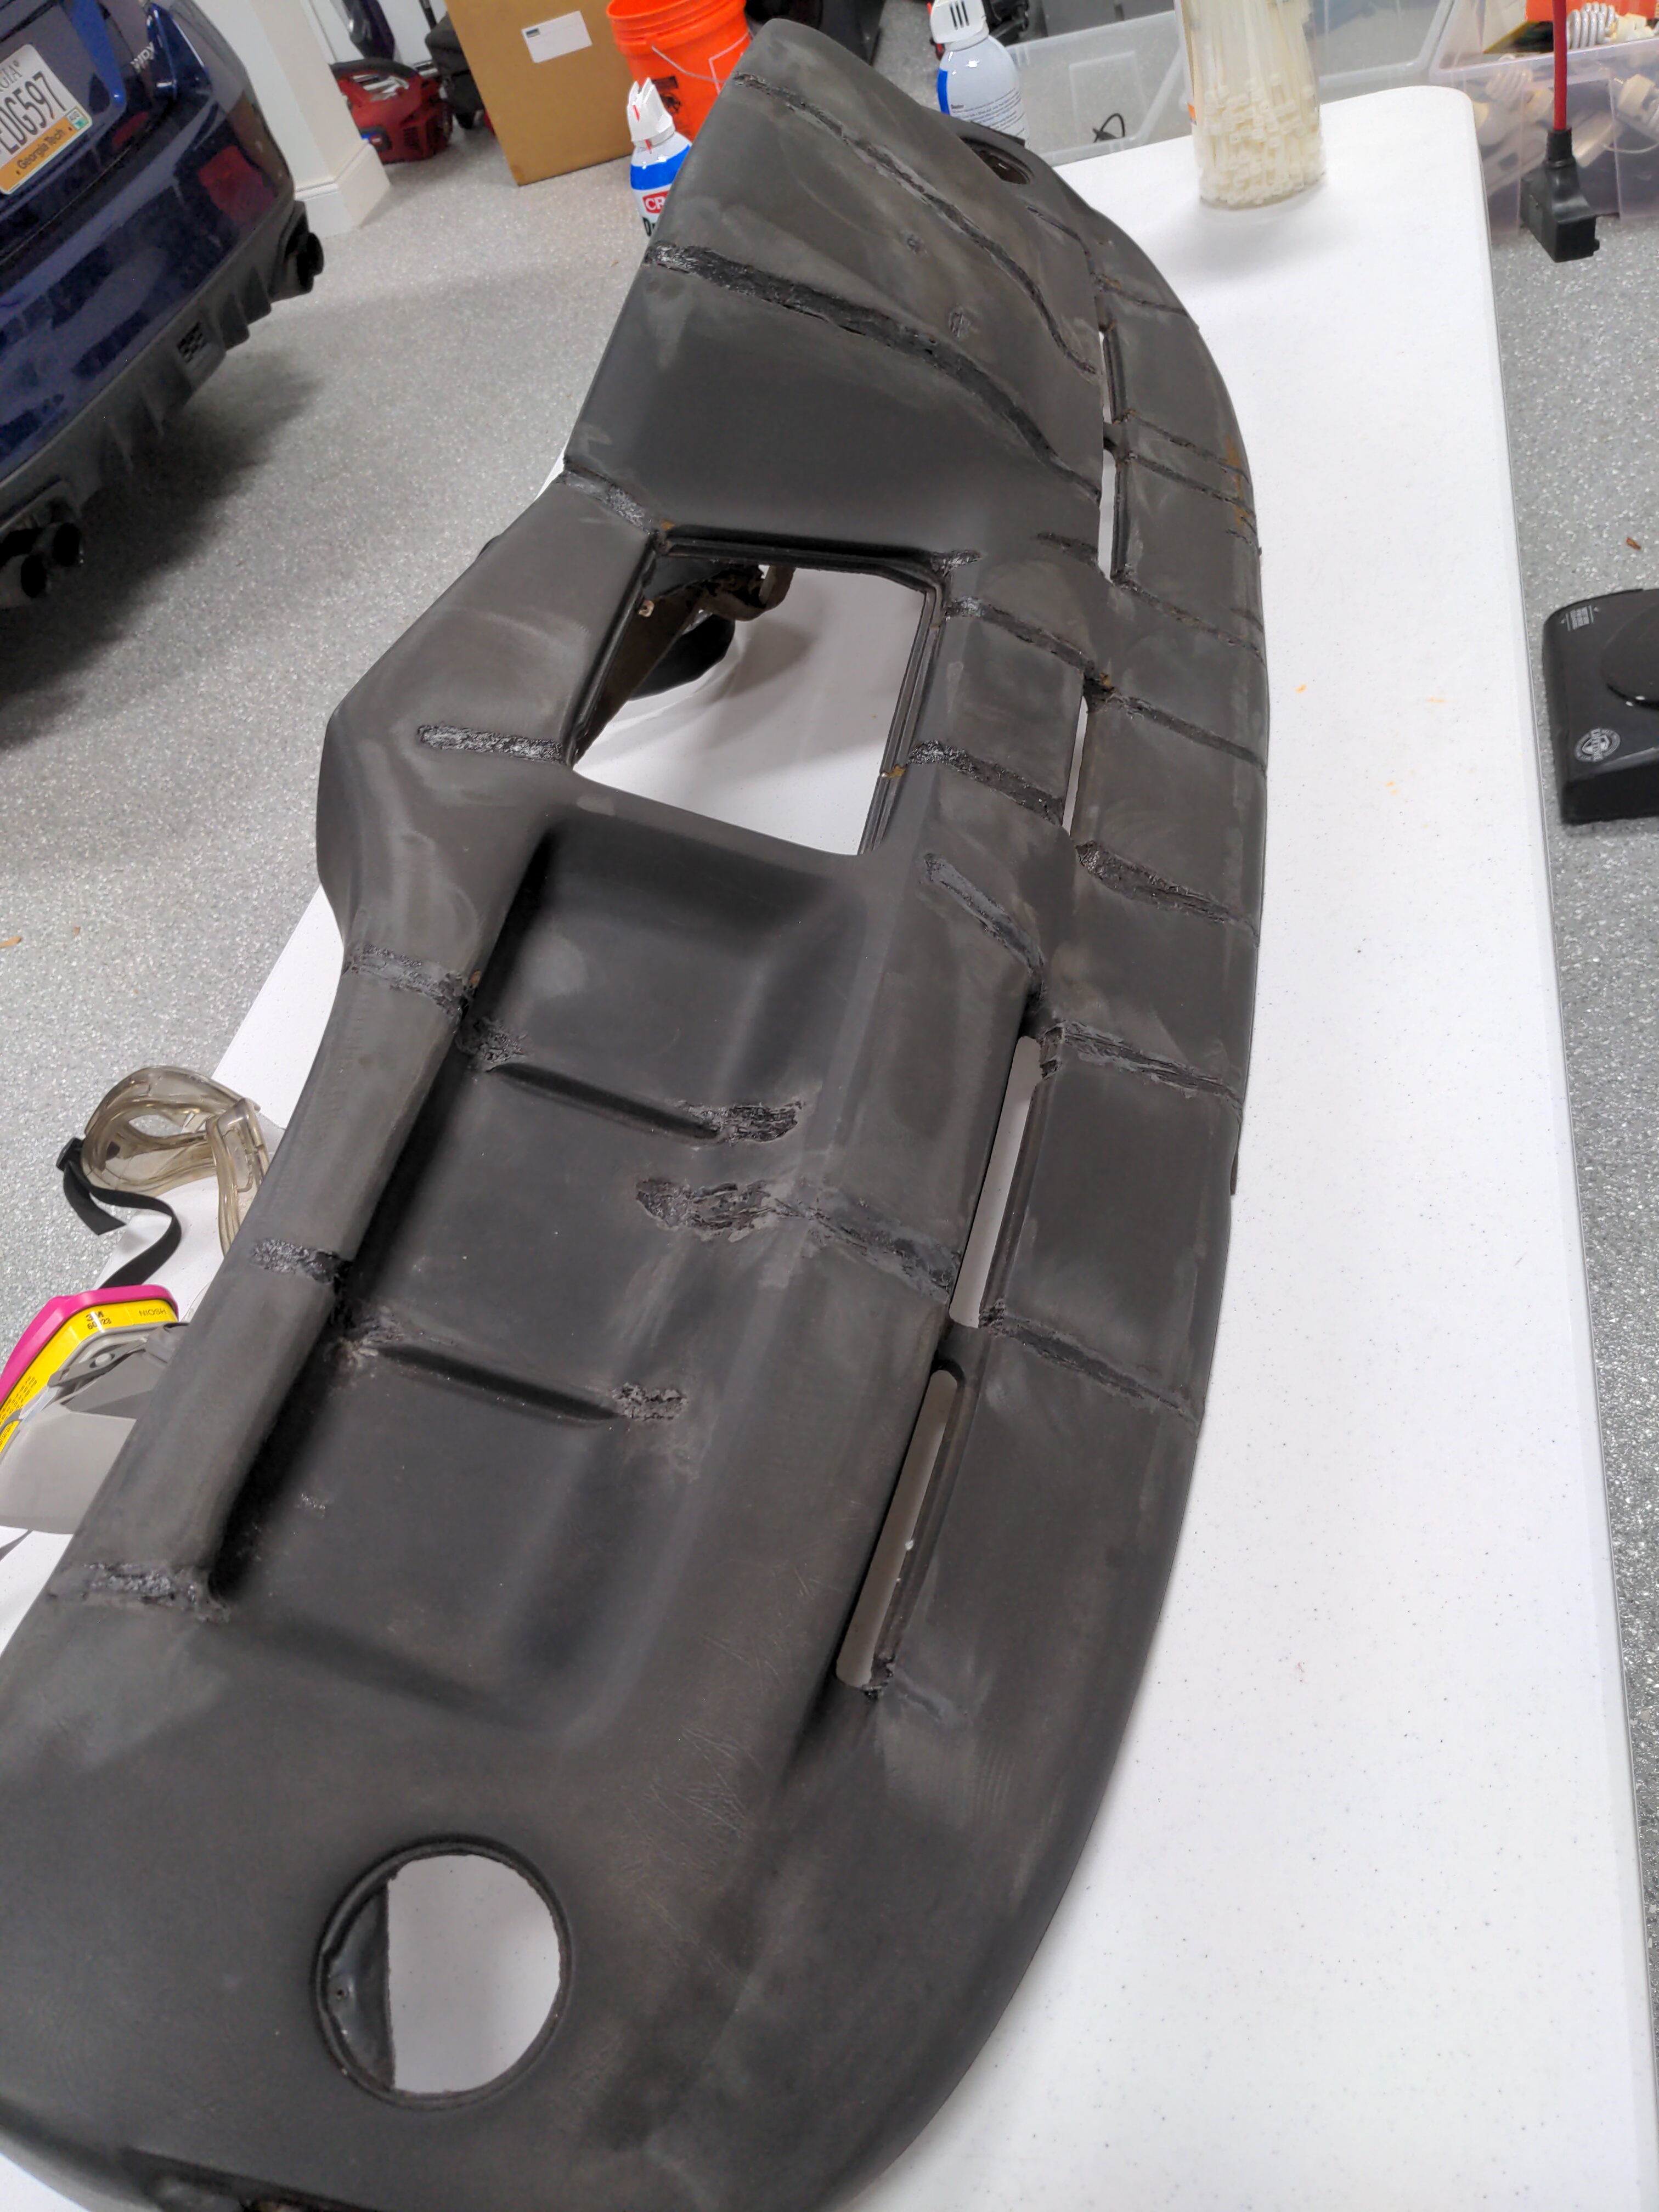
Then some sandpaper over the plastic weld... this part took a while.
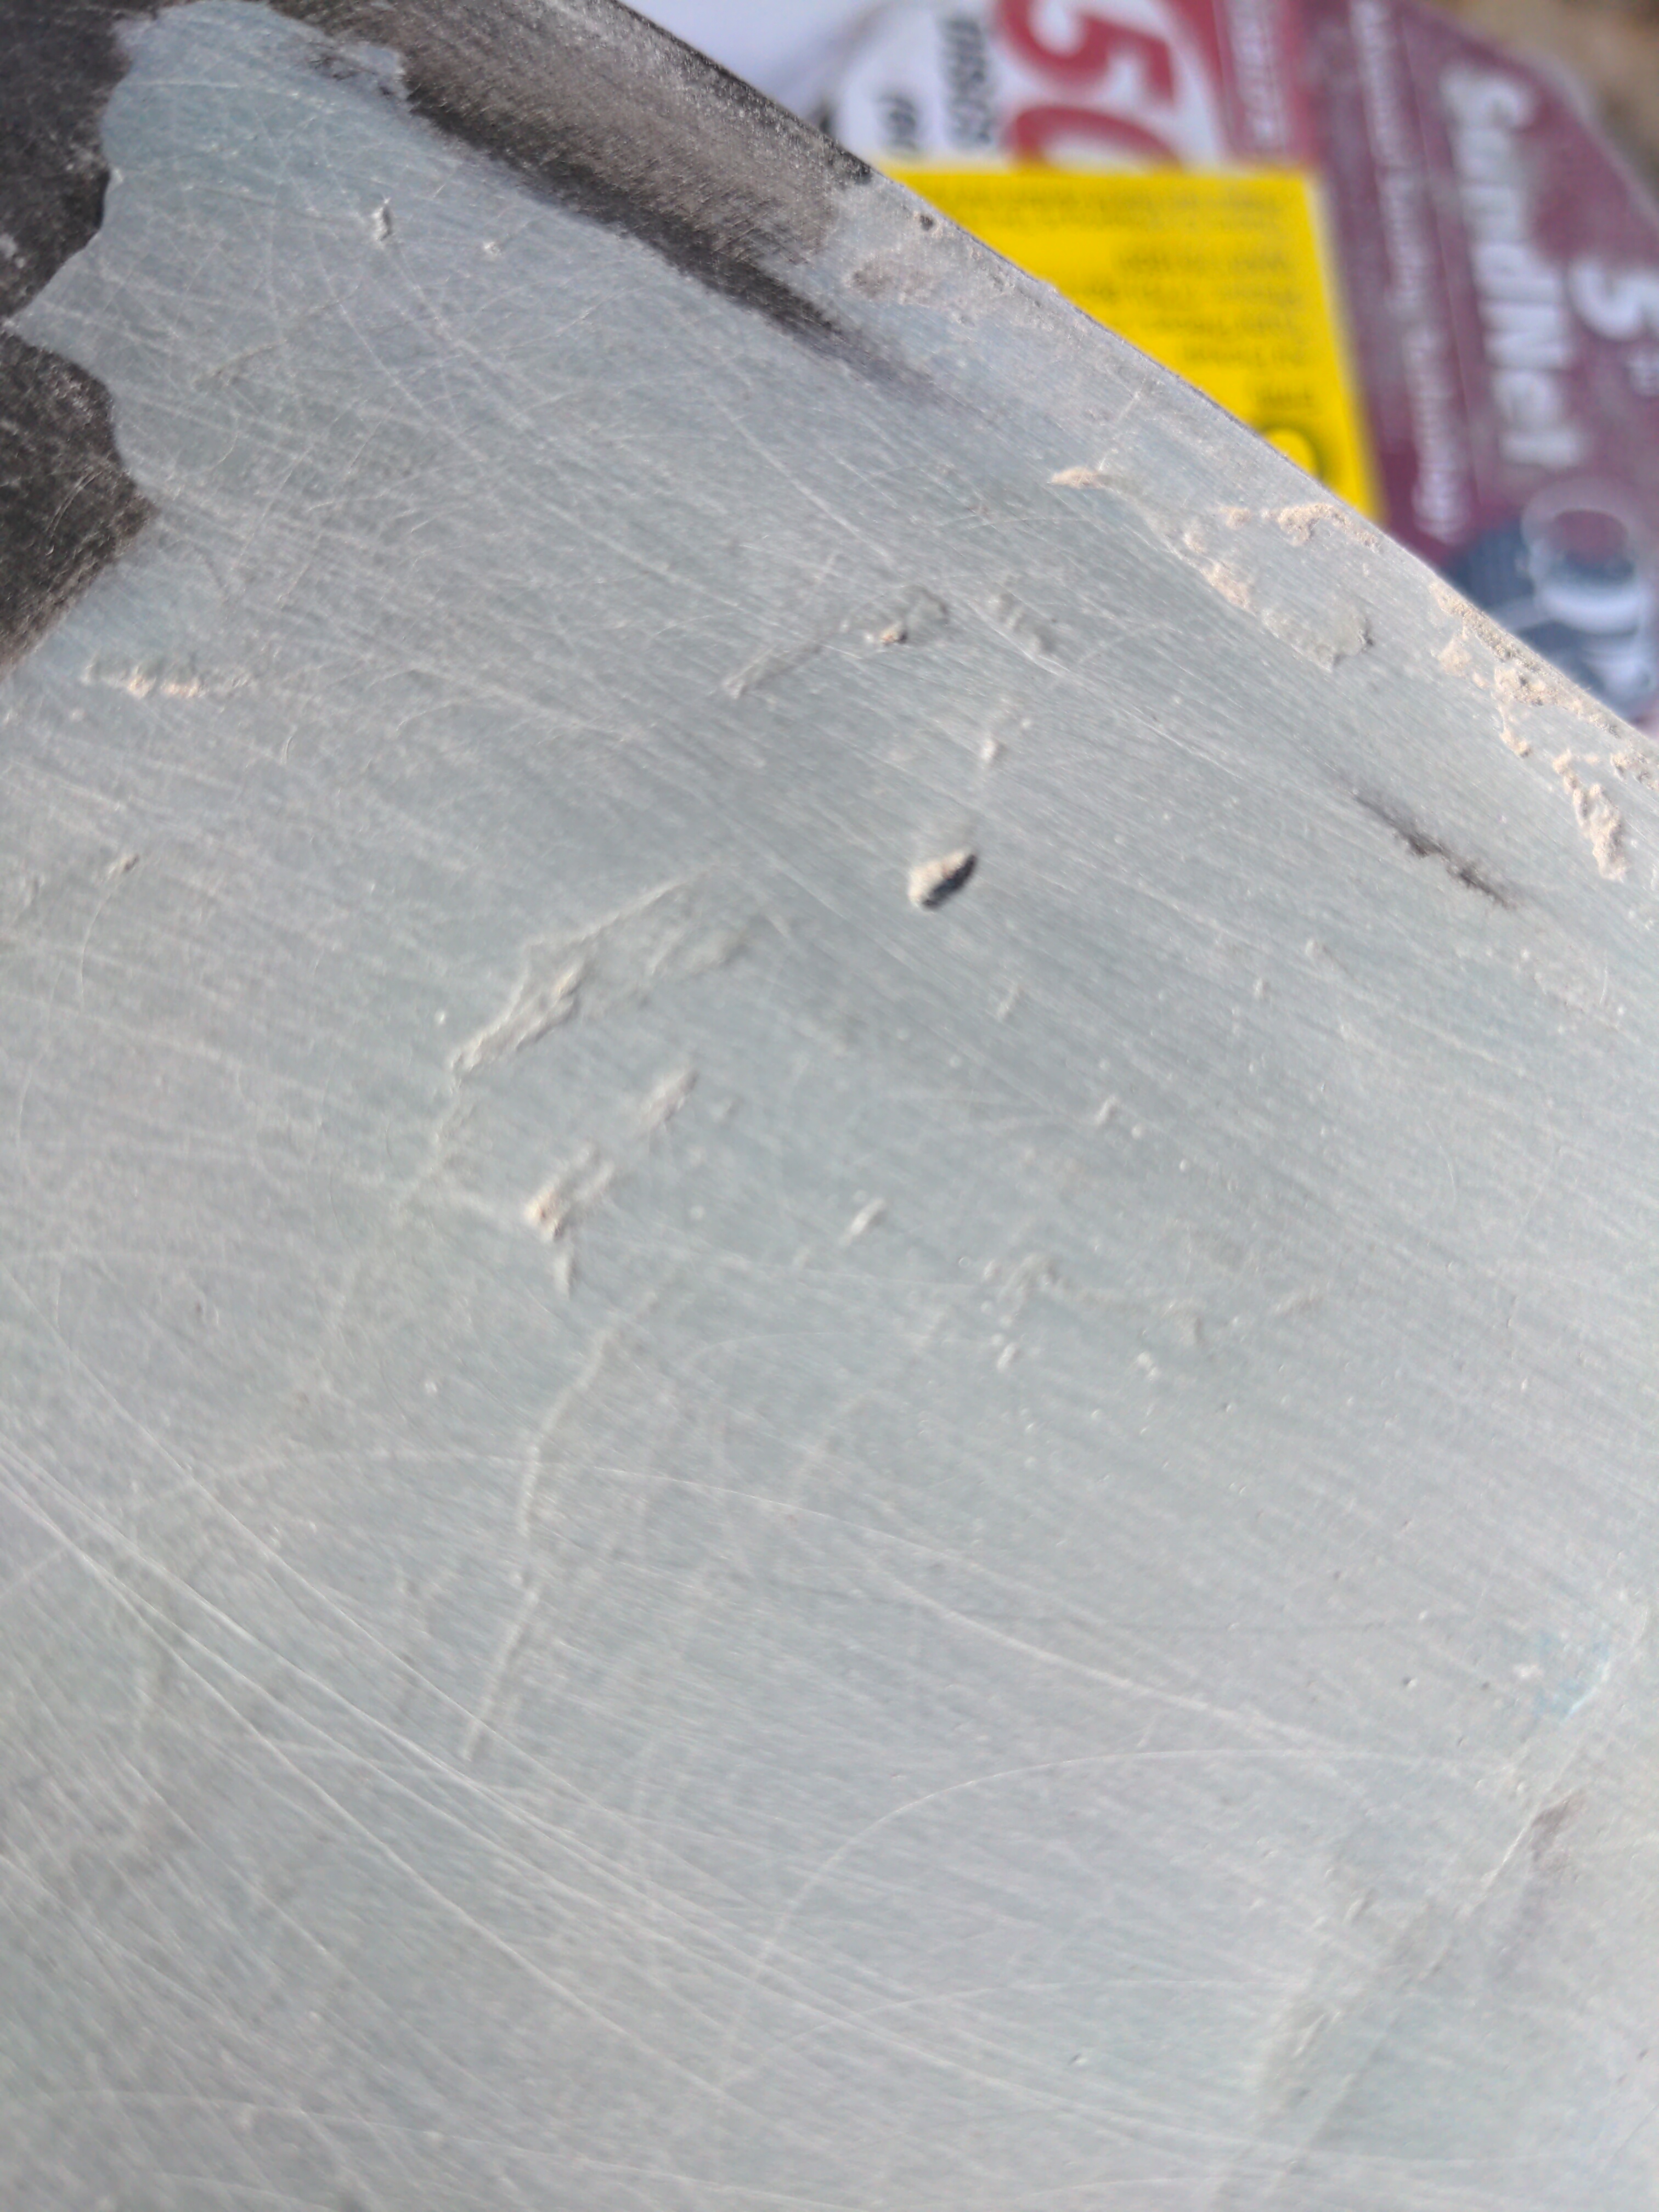
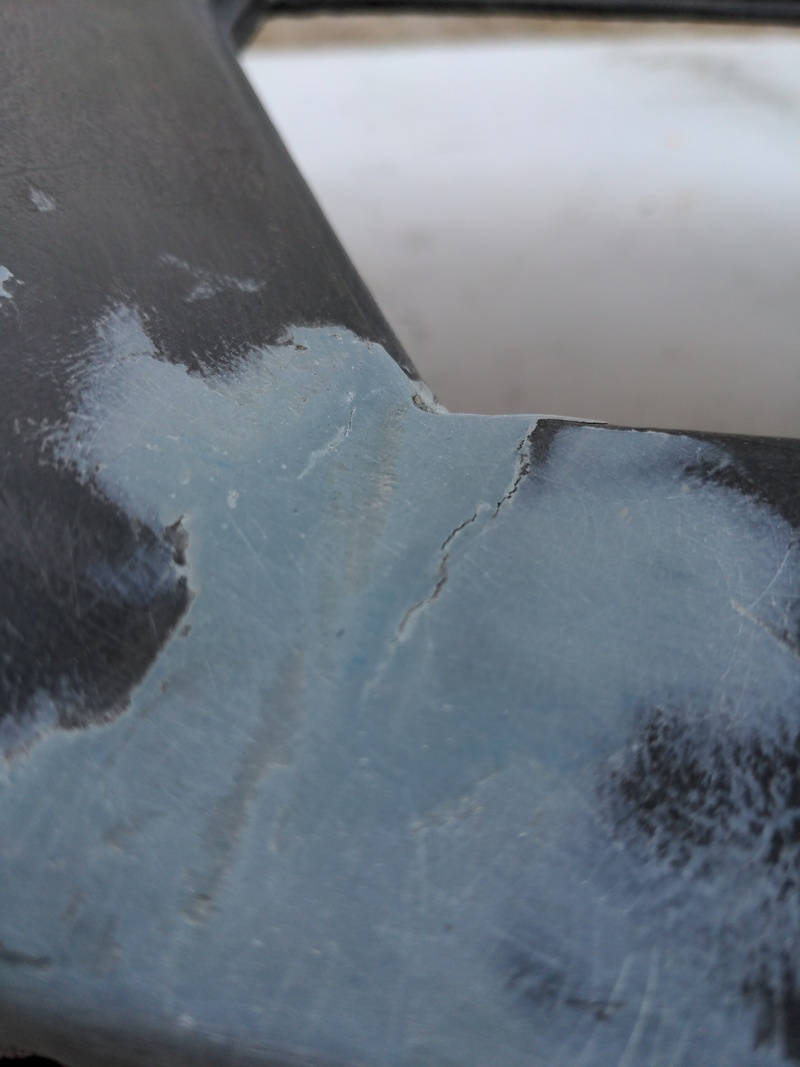
After that, it's ready for dash filler. At the beginning of this process, I wasn't very good with a putty knife:
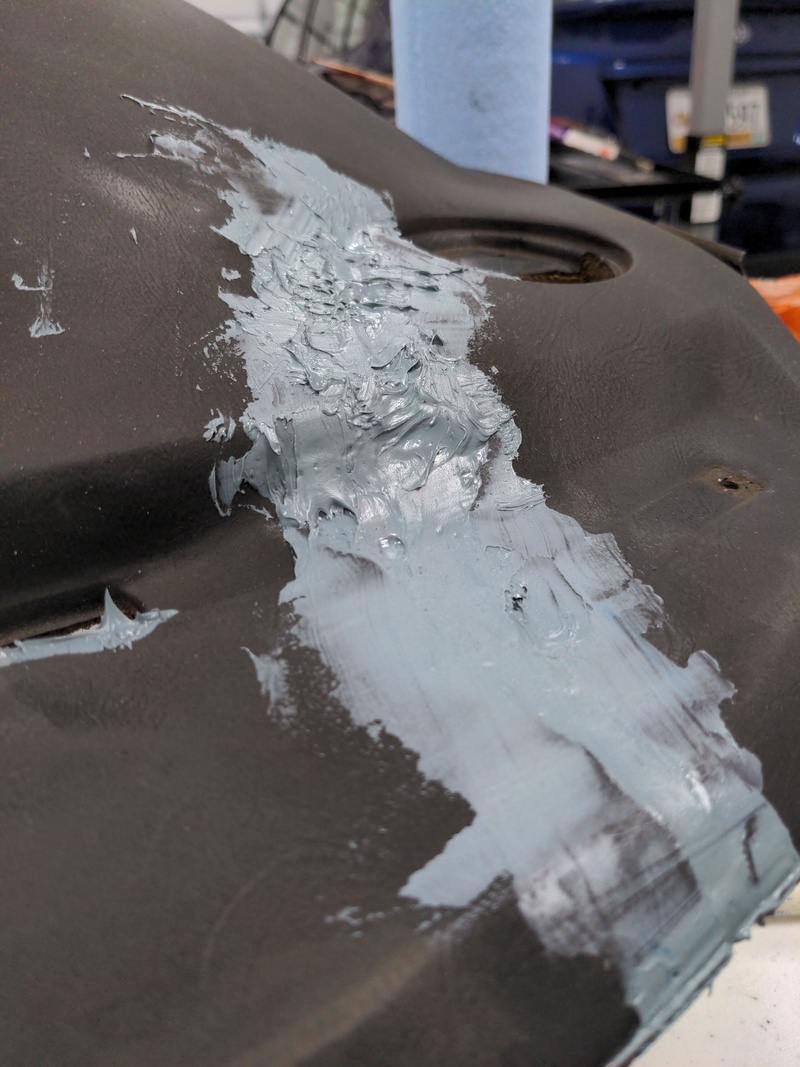
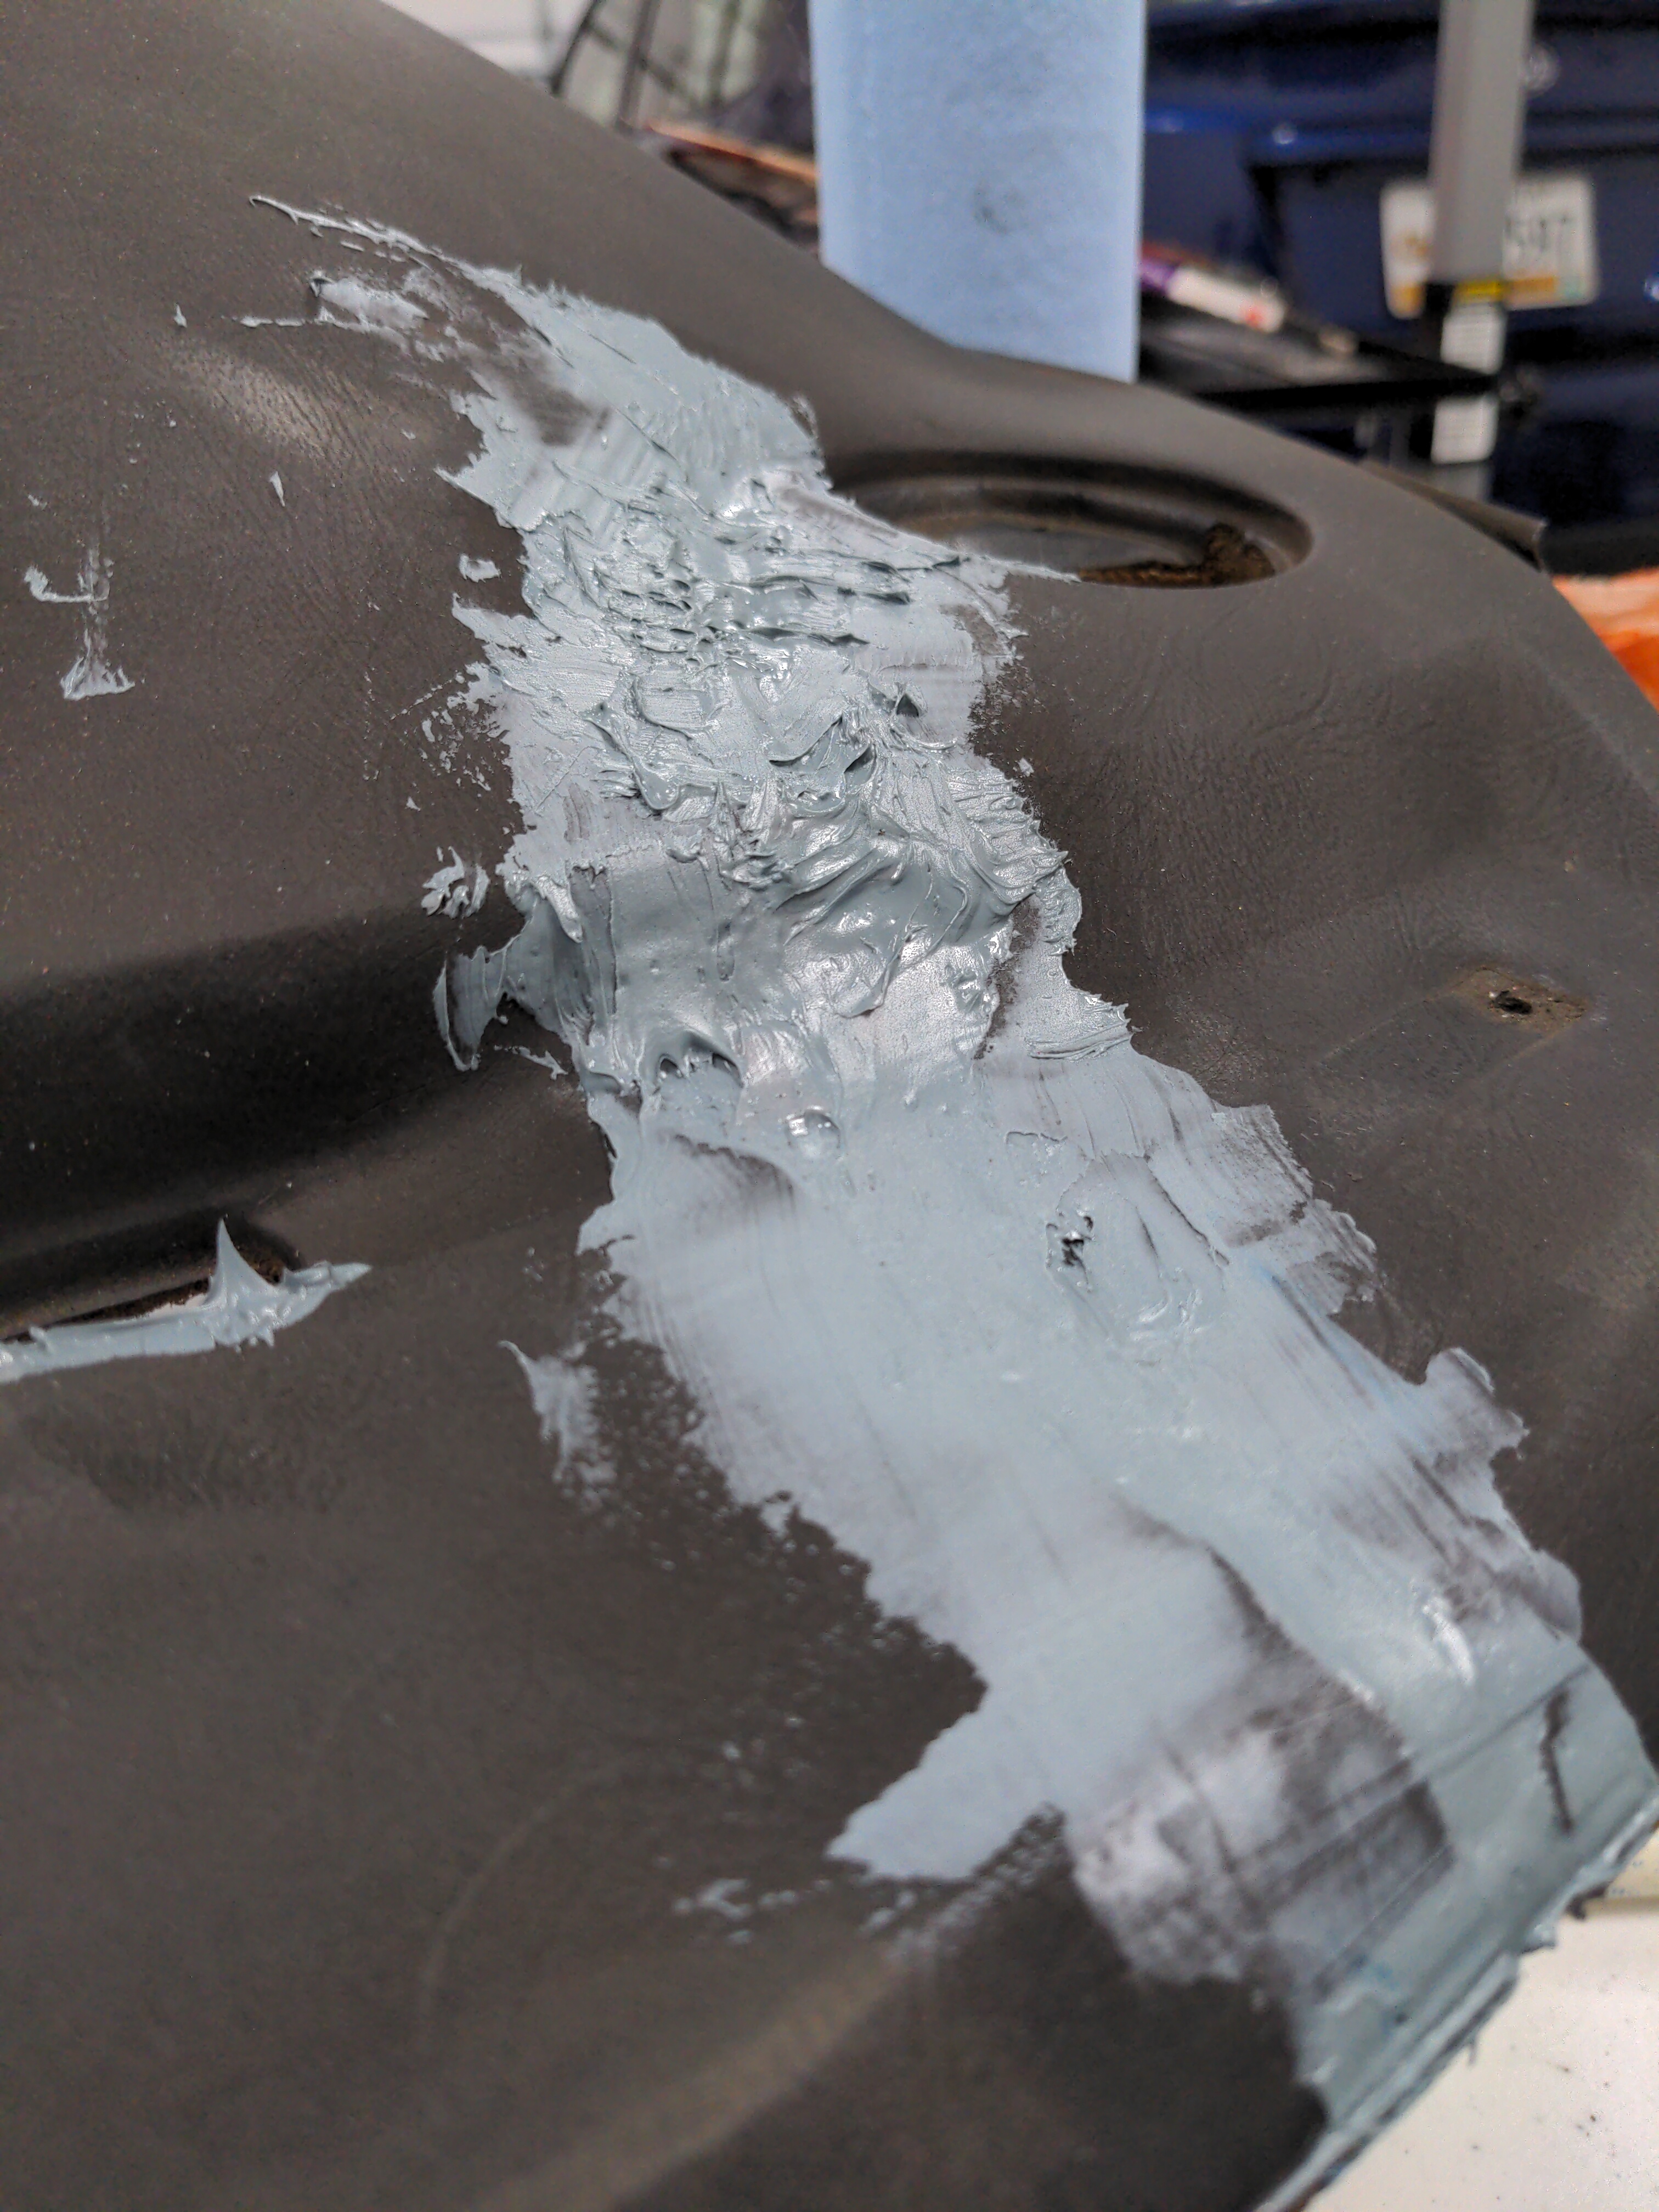
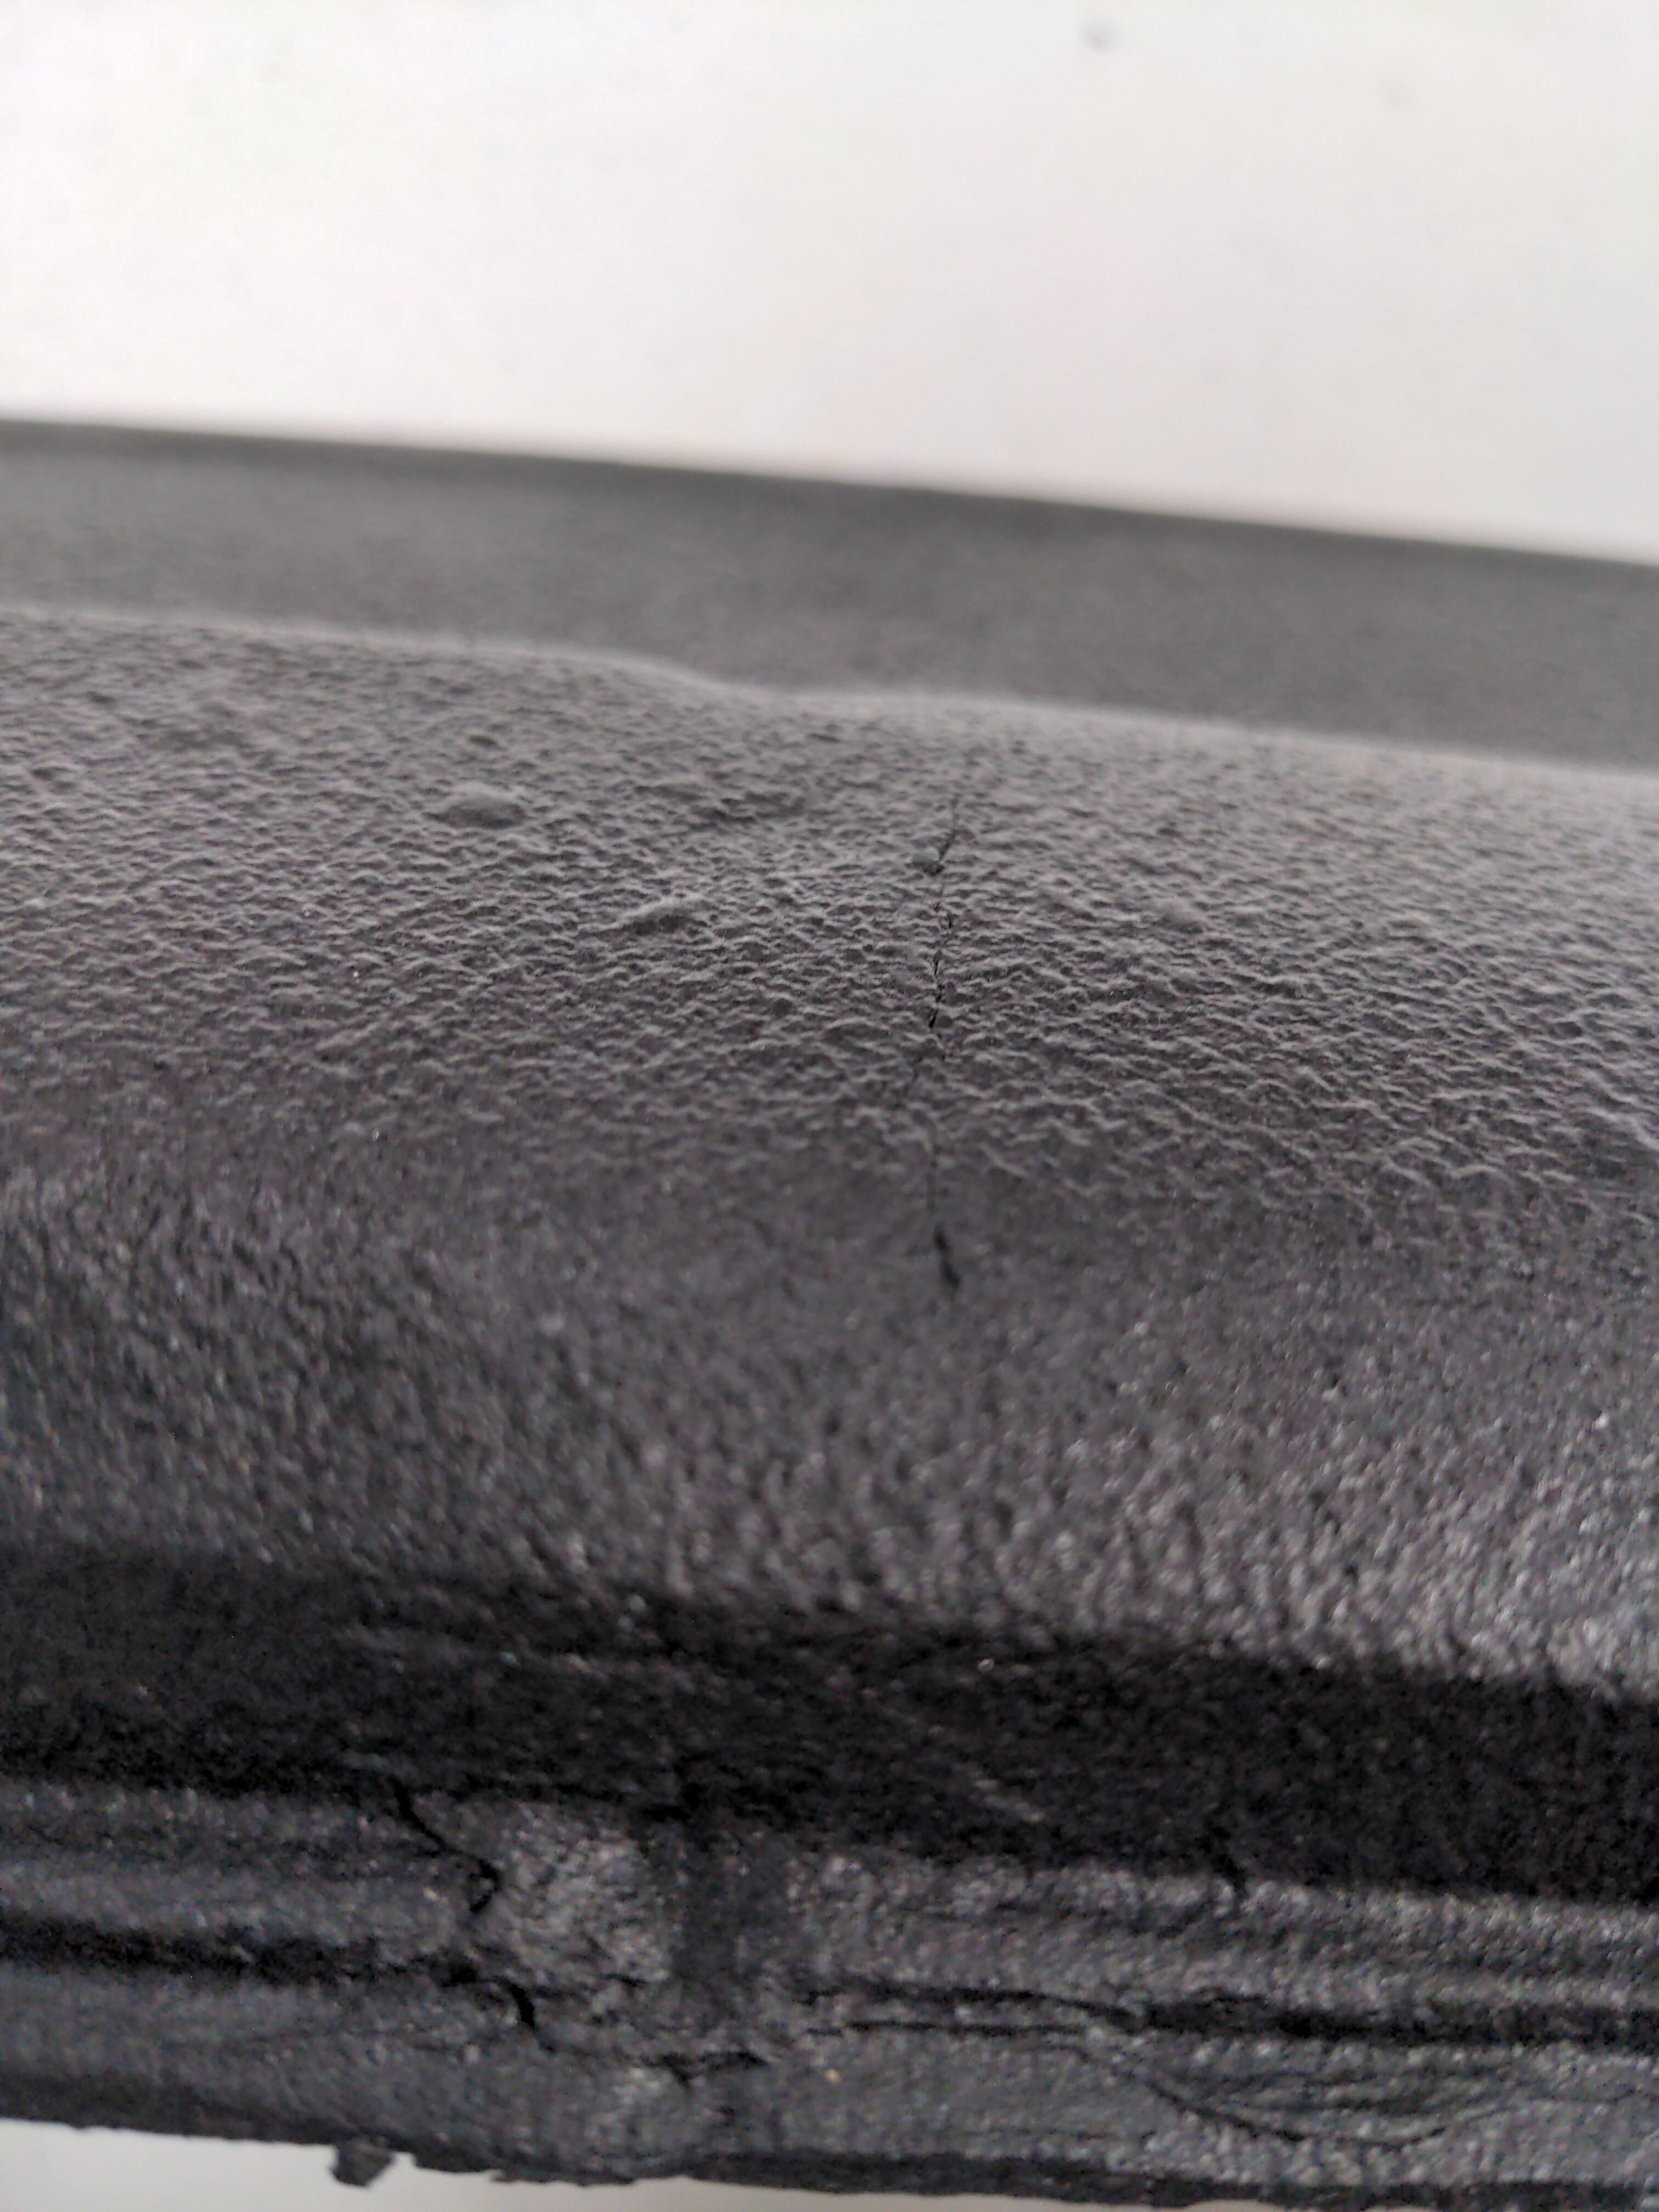
The dash filler does harden quite fast, so I was filling maybe two or three cracks at a time per mixture! It's pretty easy to tell when it's hardening---it starts to get stuck to the putty knife and doesn't stay in the grooves. I had many problems with small air gaps (this is after sanding, which I did a
lot of and my hands hurt):

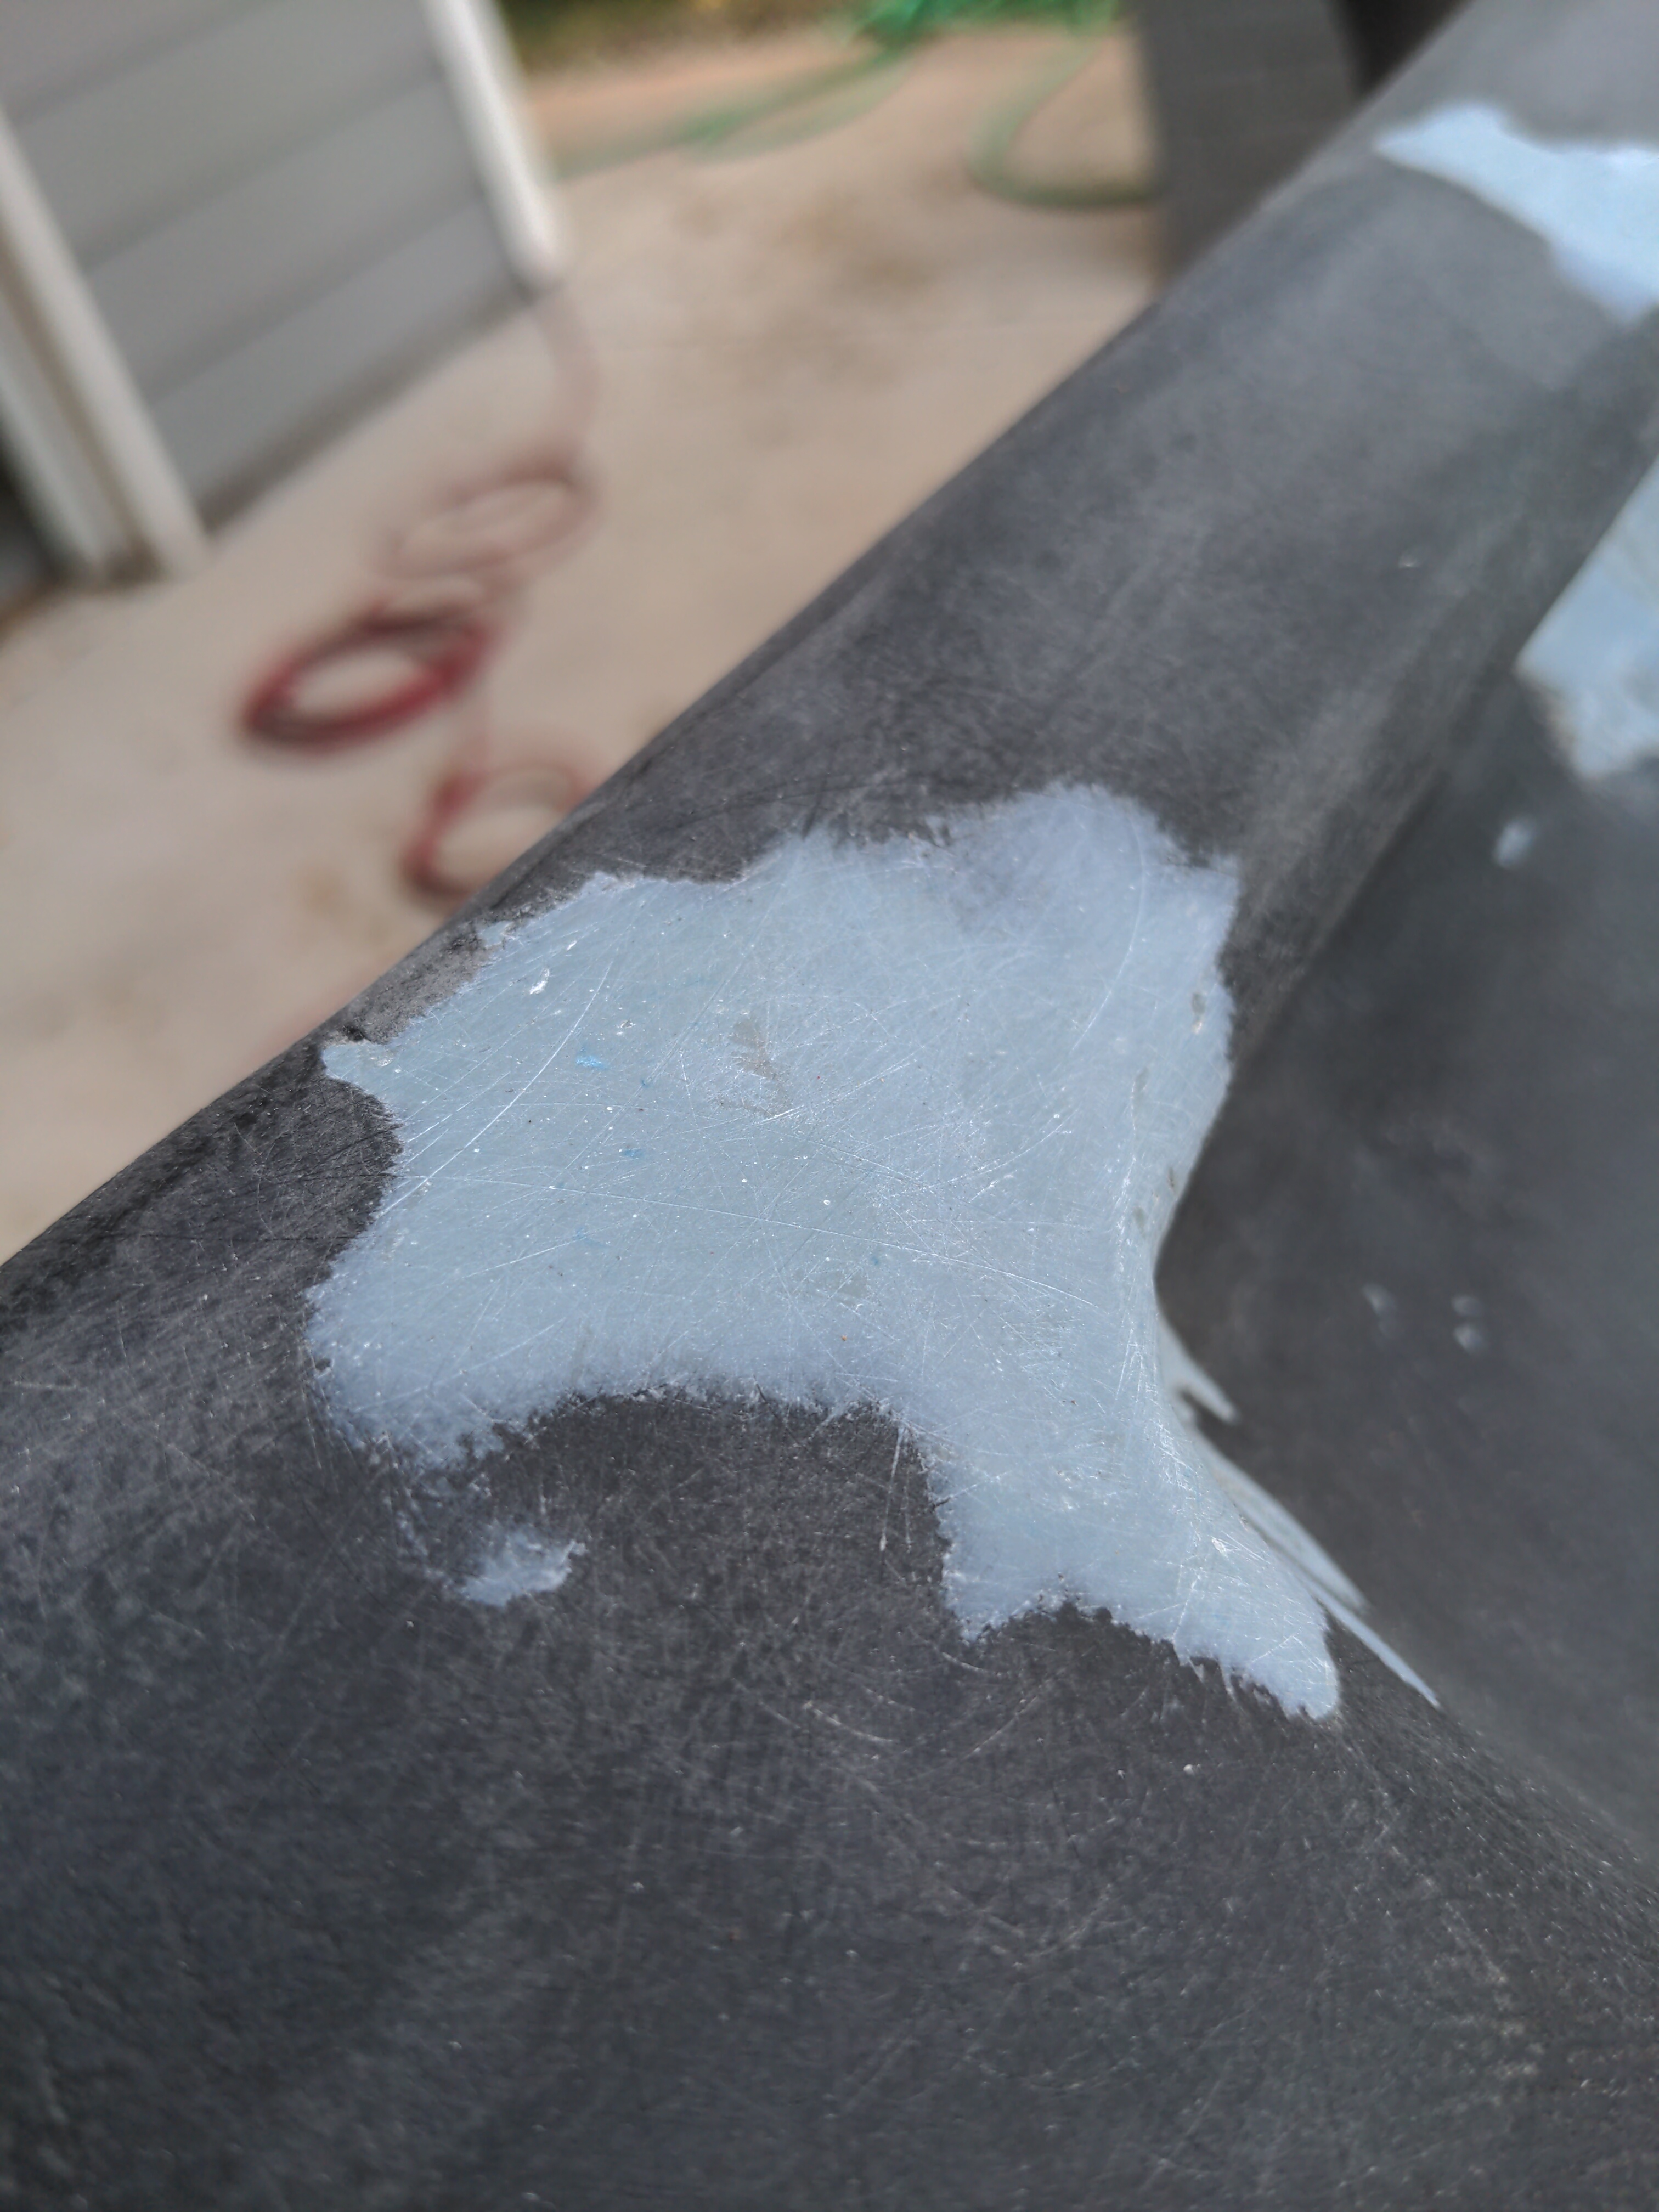
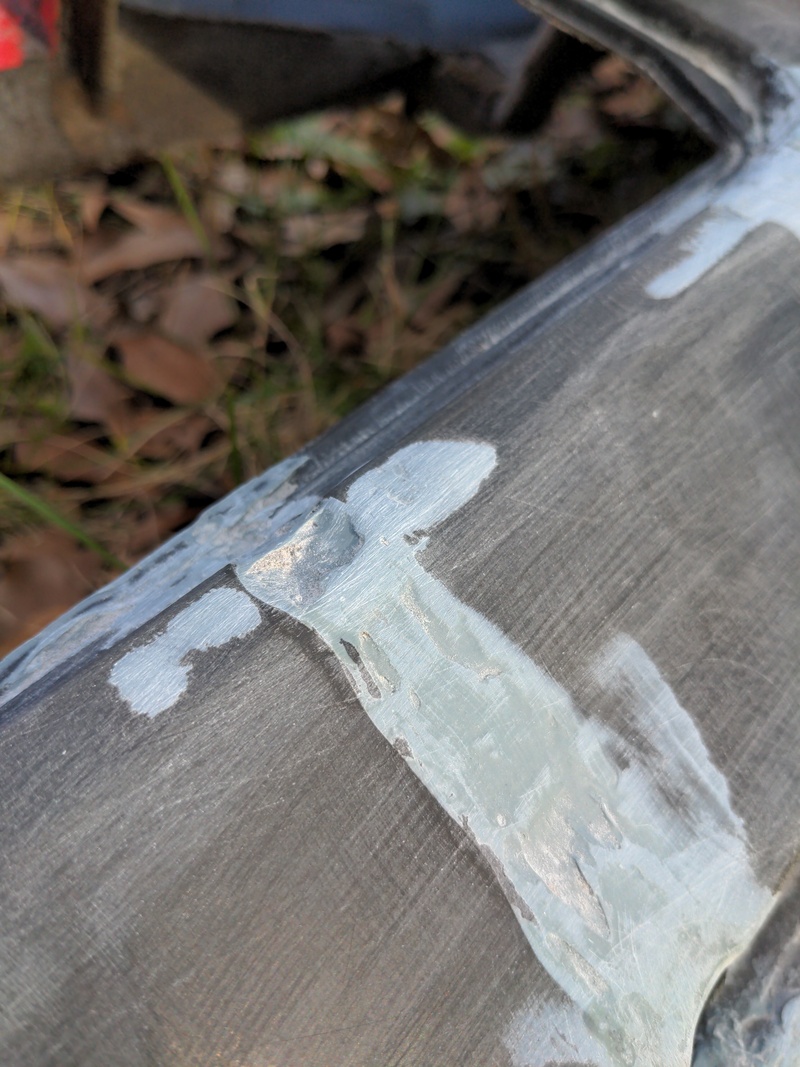
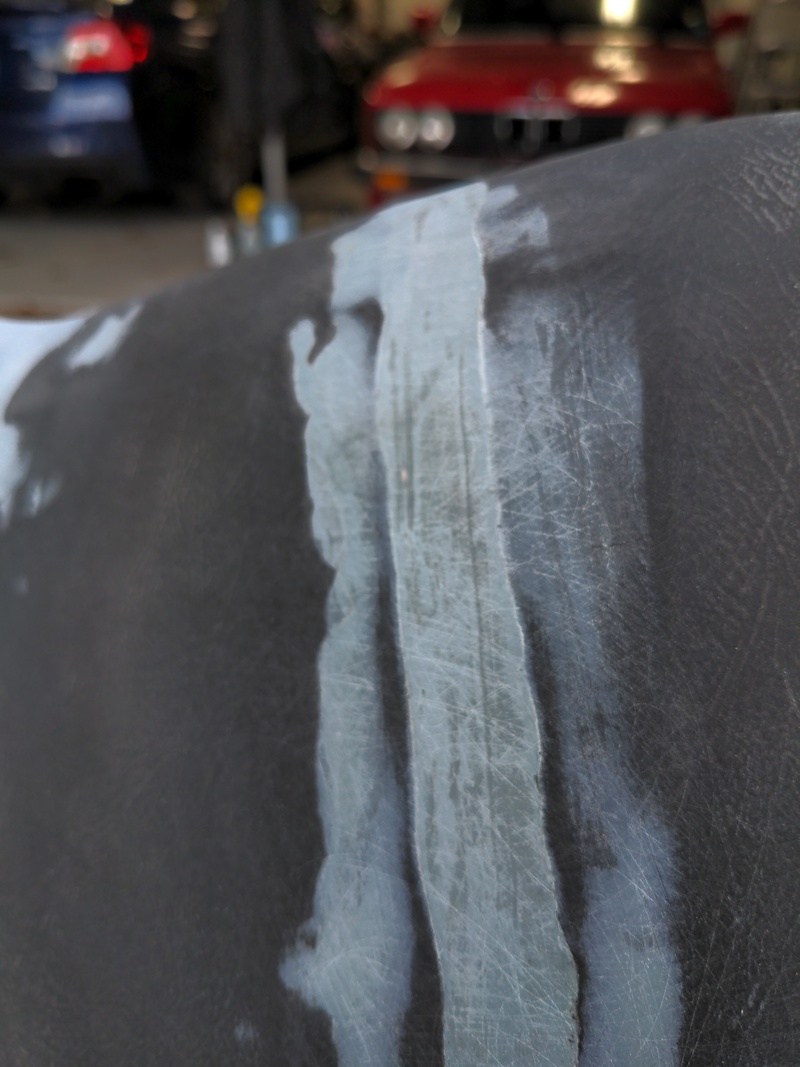
One of the big issues with the dash filler is that it's hard to fill up a lot at once, so I found that especially the corner areas needed multiple coats:
Overall it took probably four "rounds" of 'apply dash filler everywhere' followed by 'sand by hand everywhere' followed by 'inspect'. Also that stuff is noxious! Wear a respirator and don't do it inside.
In one place, I unexpectedly found cracking, so I guess the filler did not adhere. I cut this out with a Dremel and re-filled it.
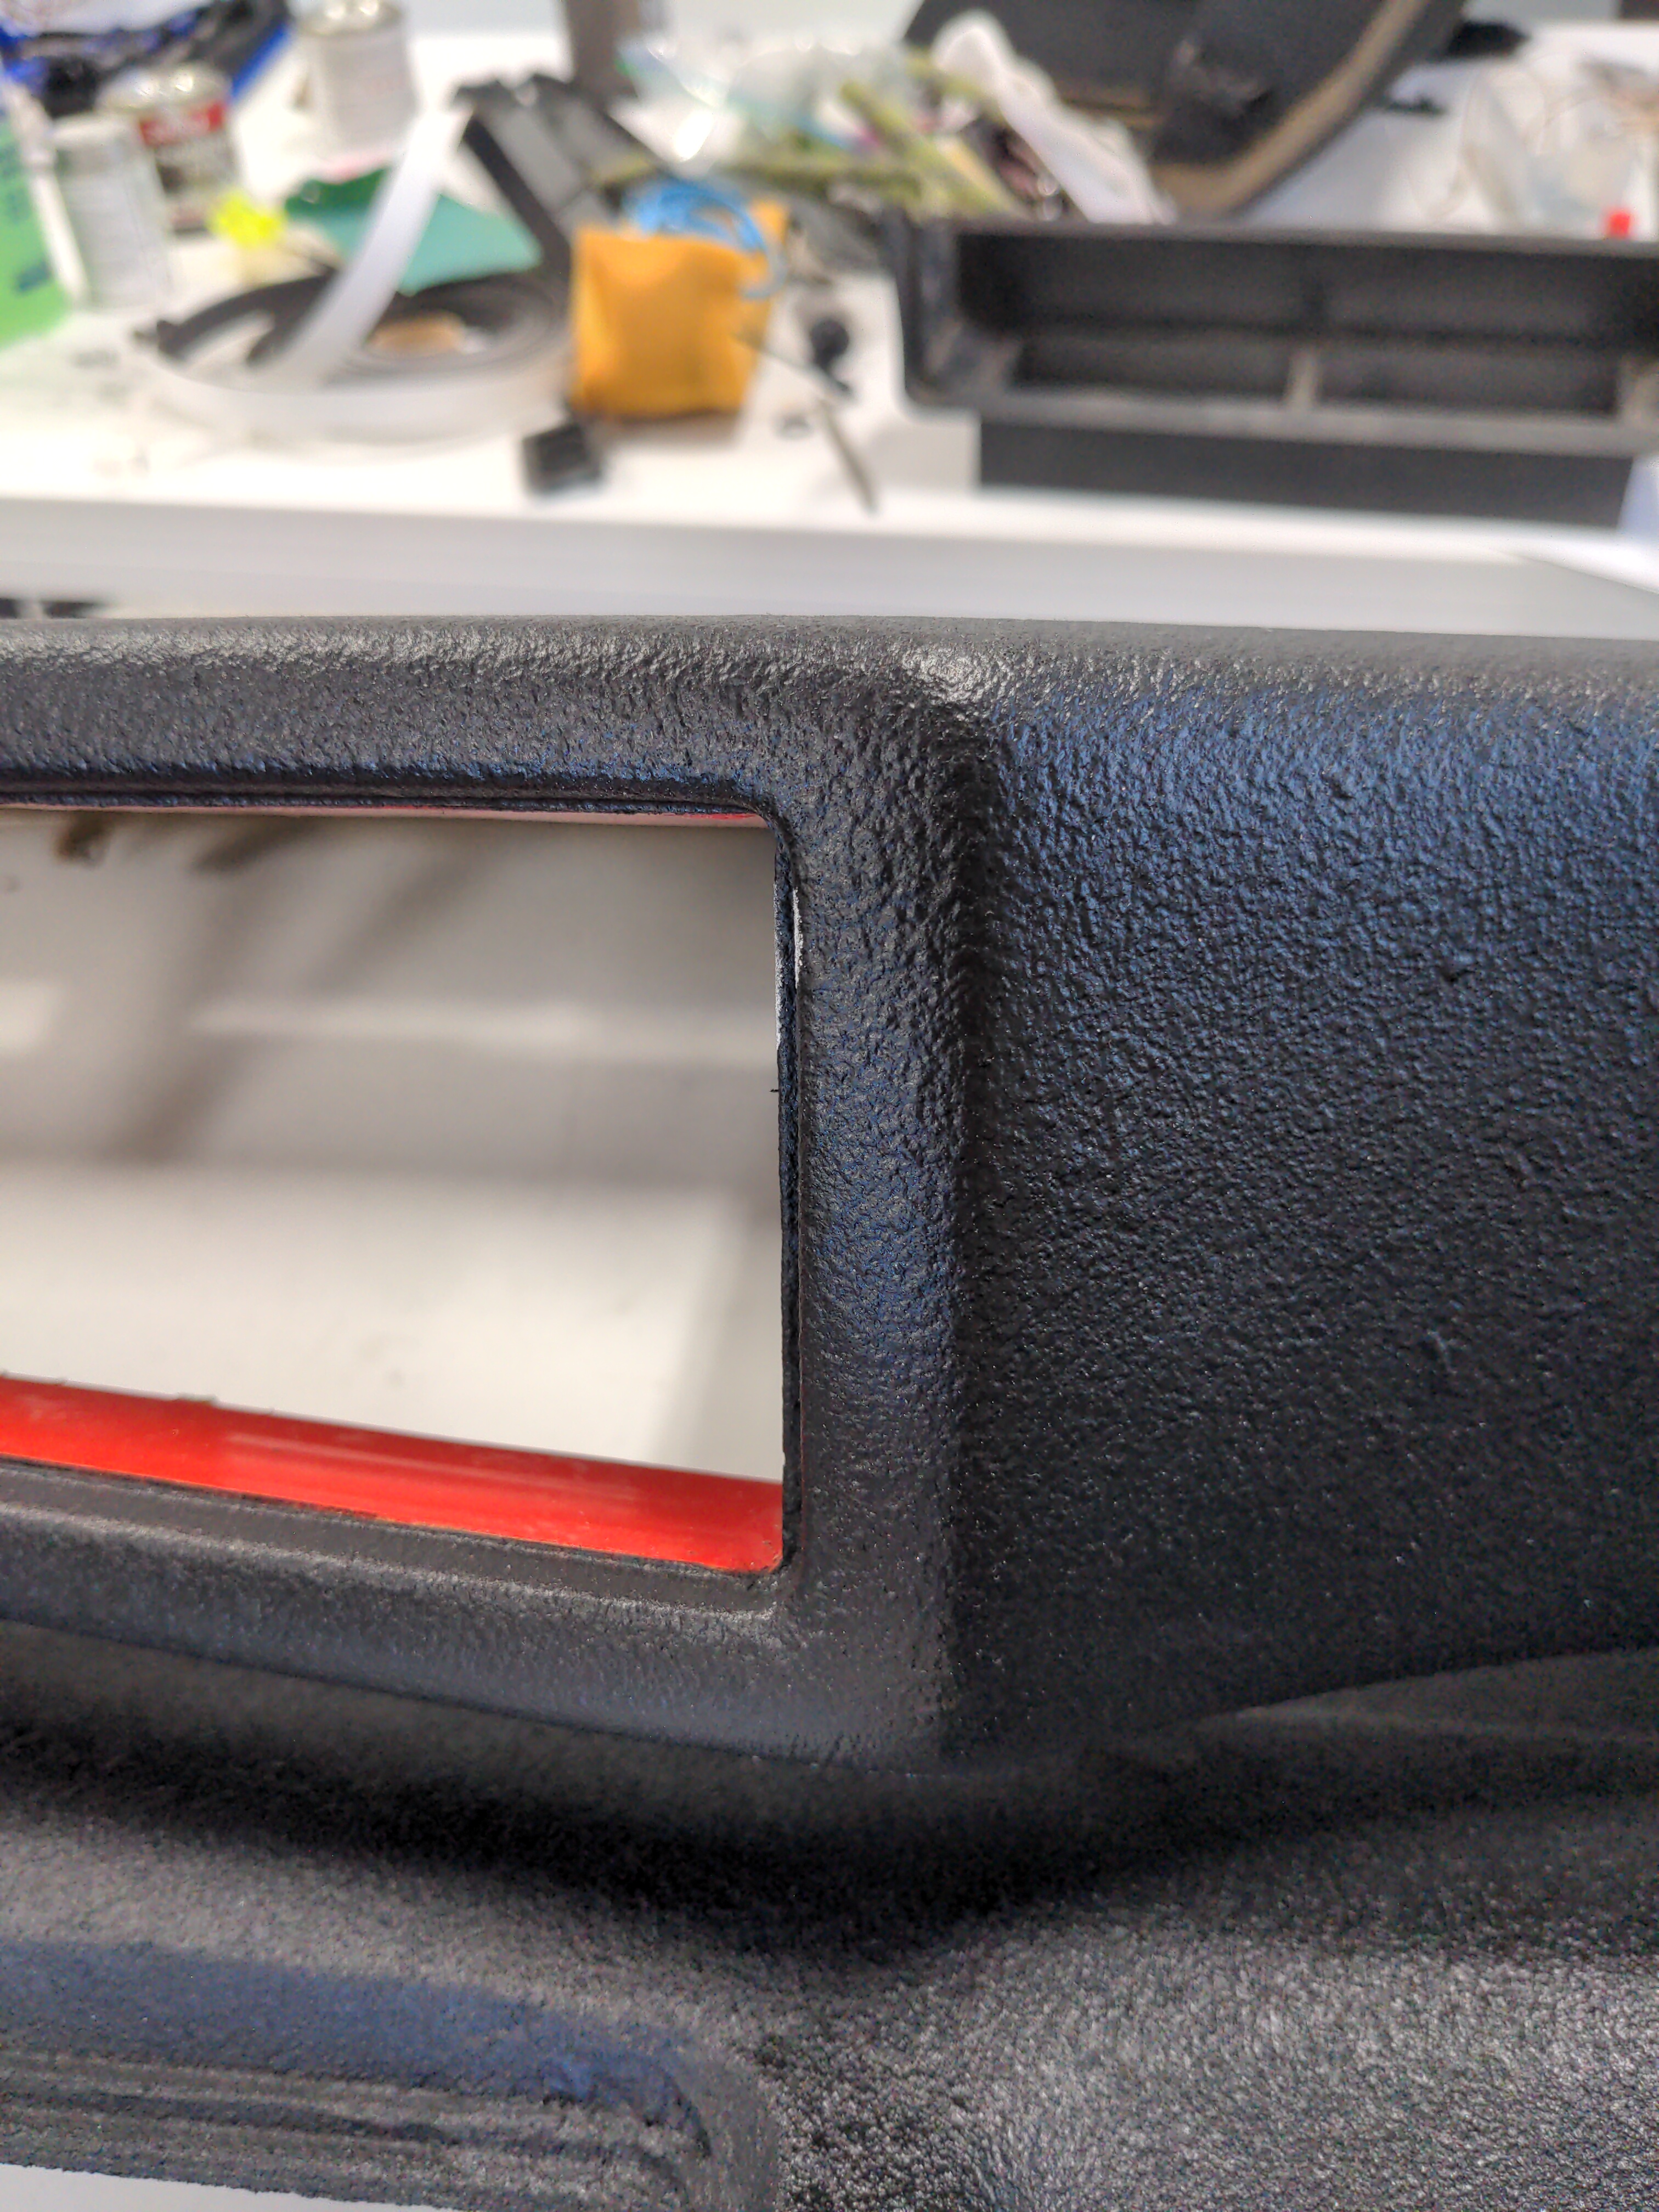
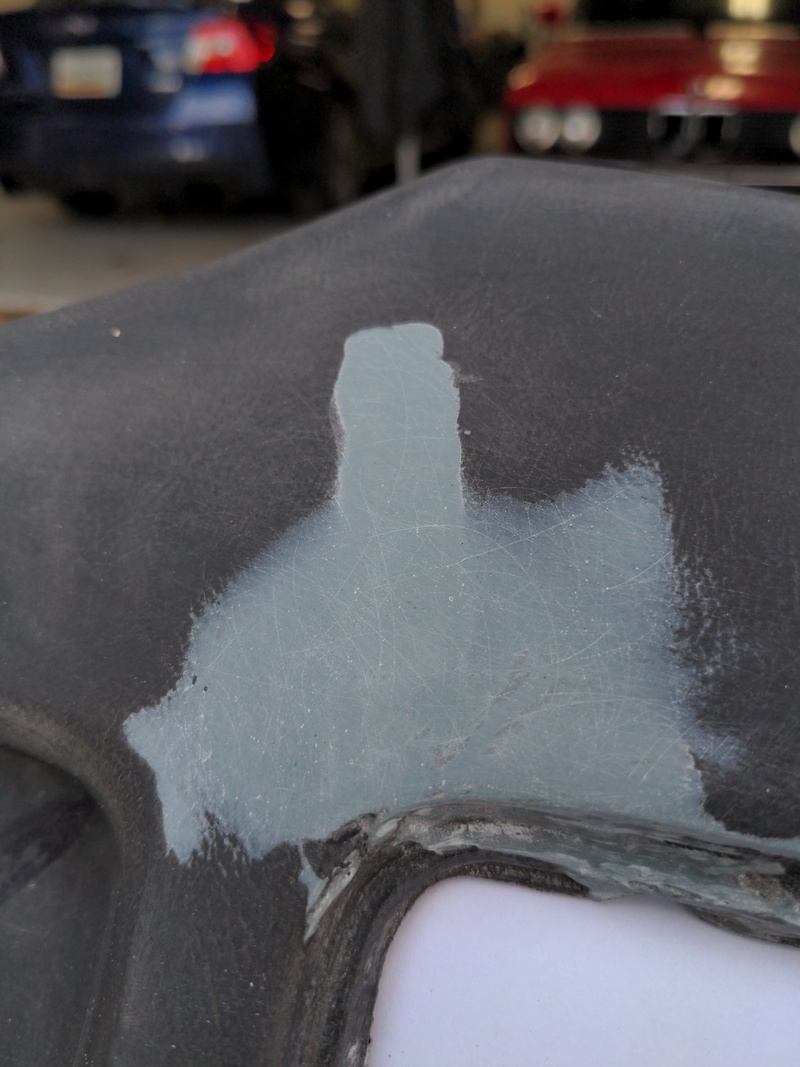
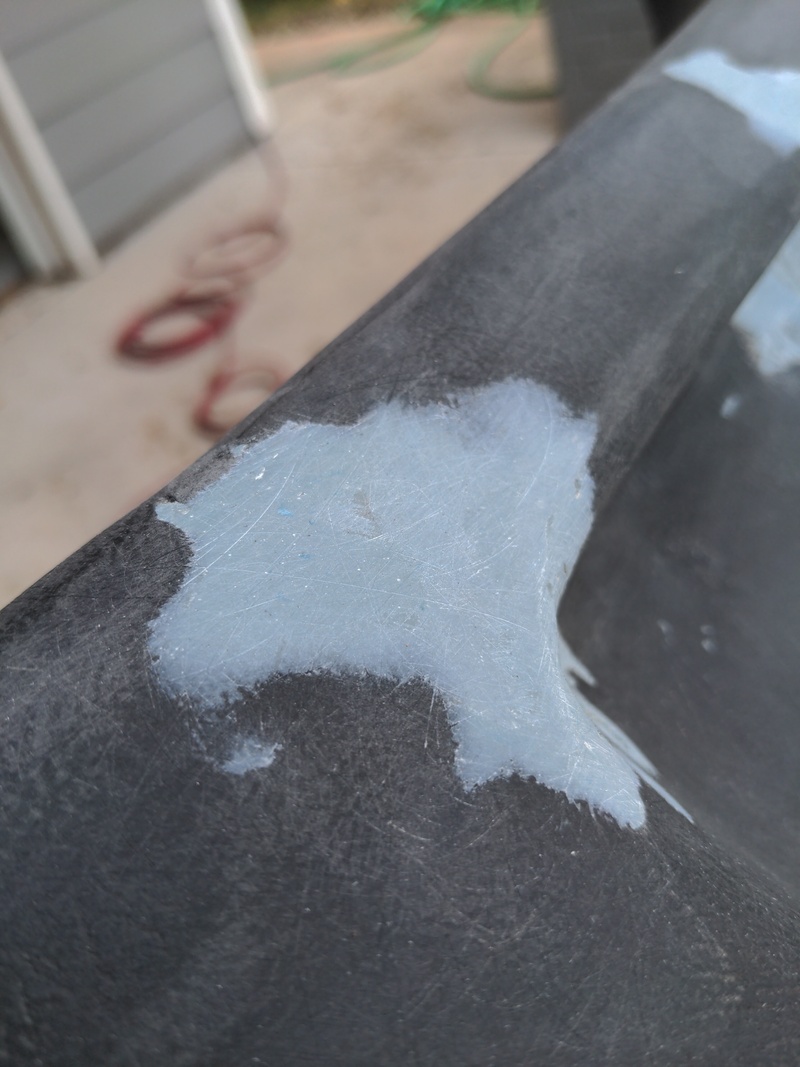
Eventually it was ready for paint. Take a look closely at the three pictures below: I think it's an area for improvement. Only in ~1.5 of those patches did I get the dash filler to taper. The rest had hard edges with the original dash, and while it was smooth with sanding, it
did end up being visible after painting (though quite subtle).
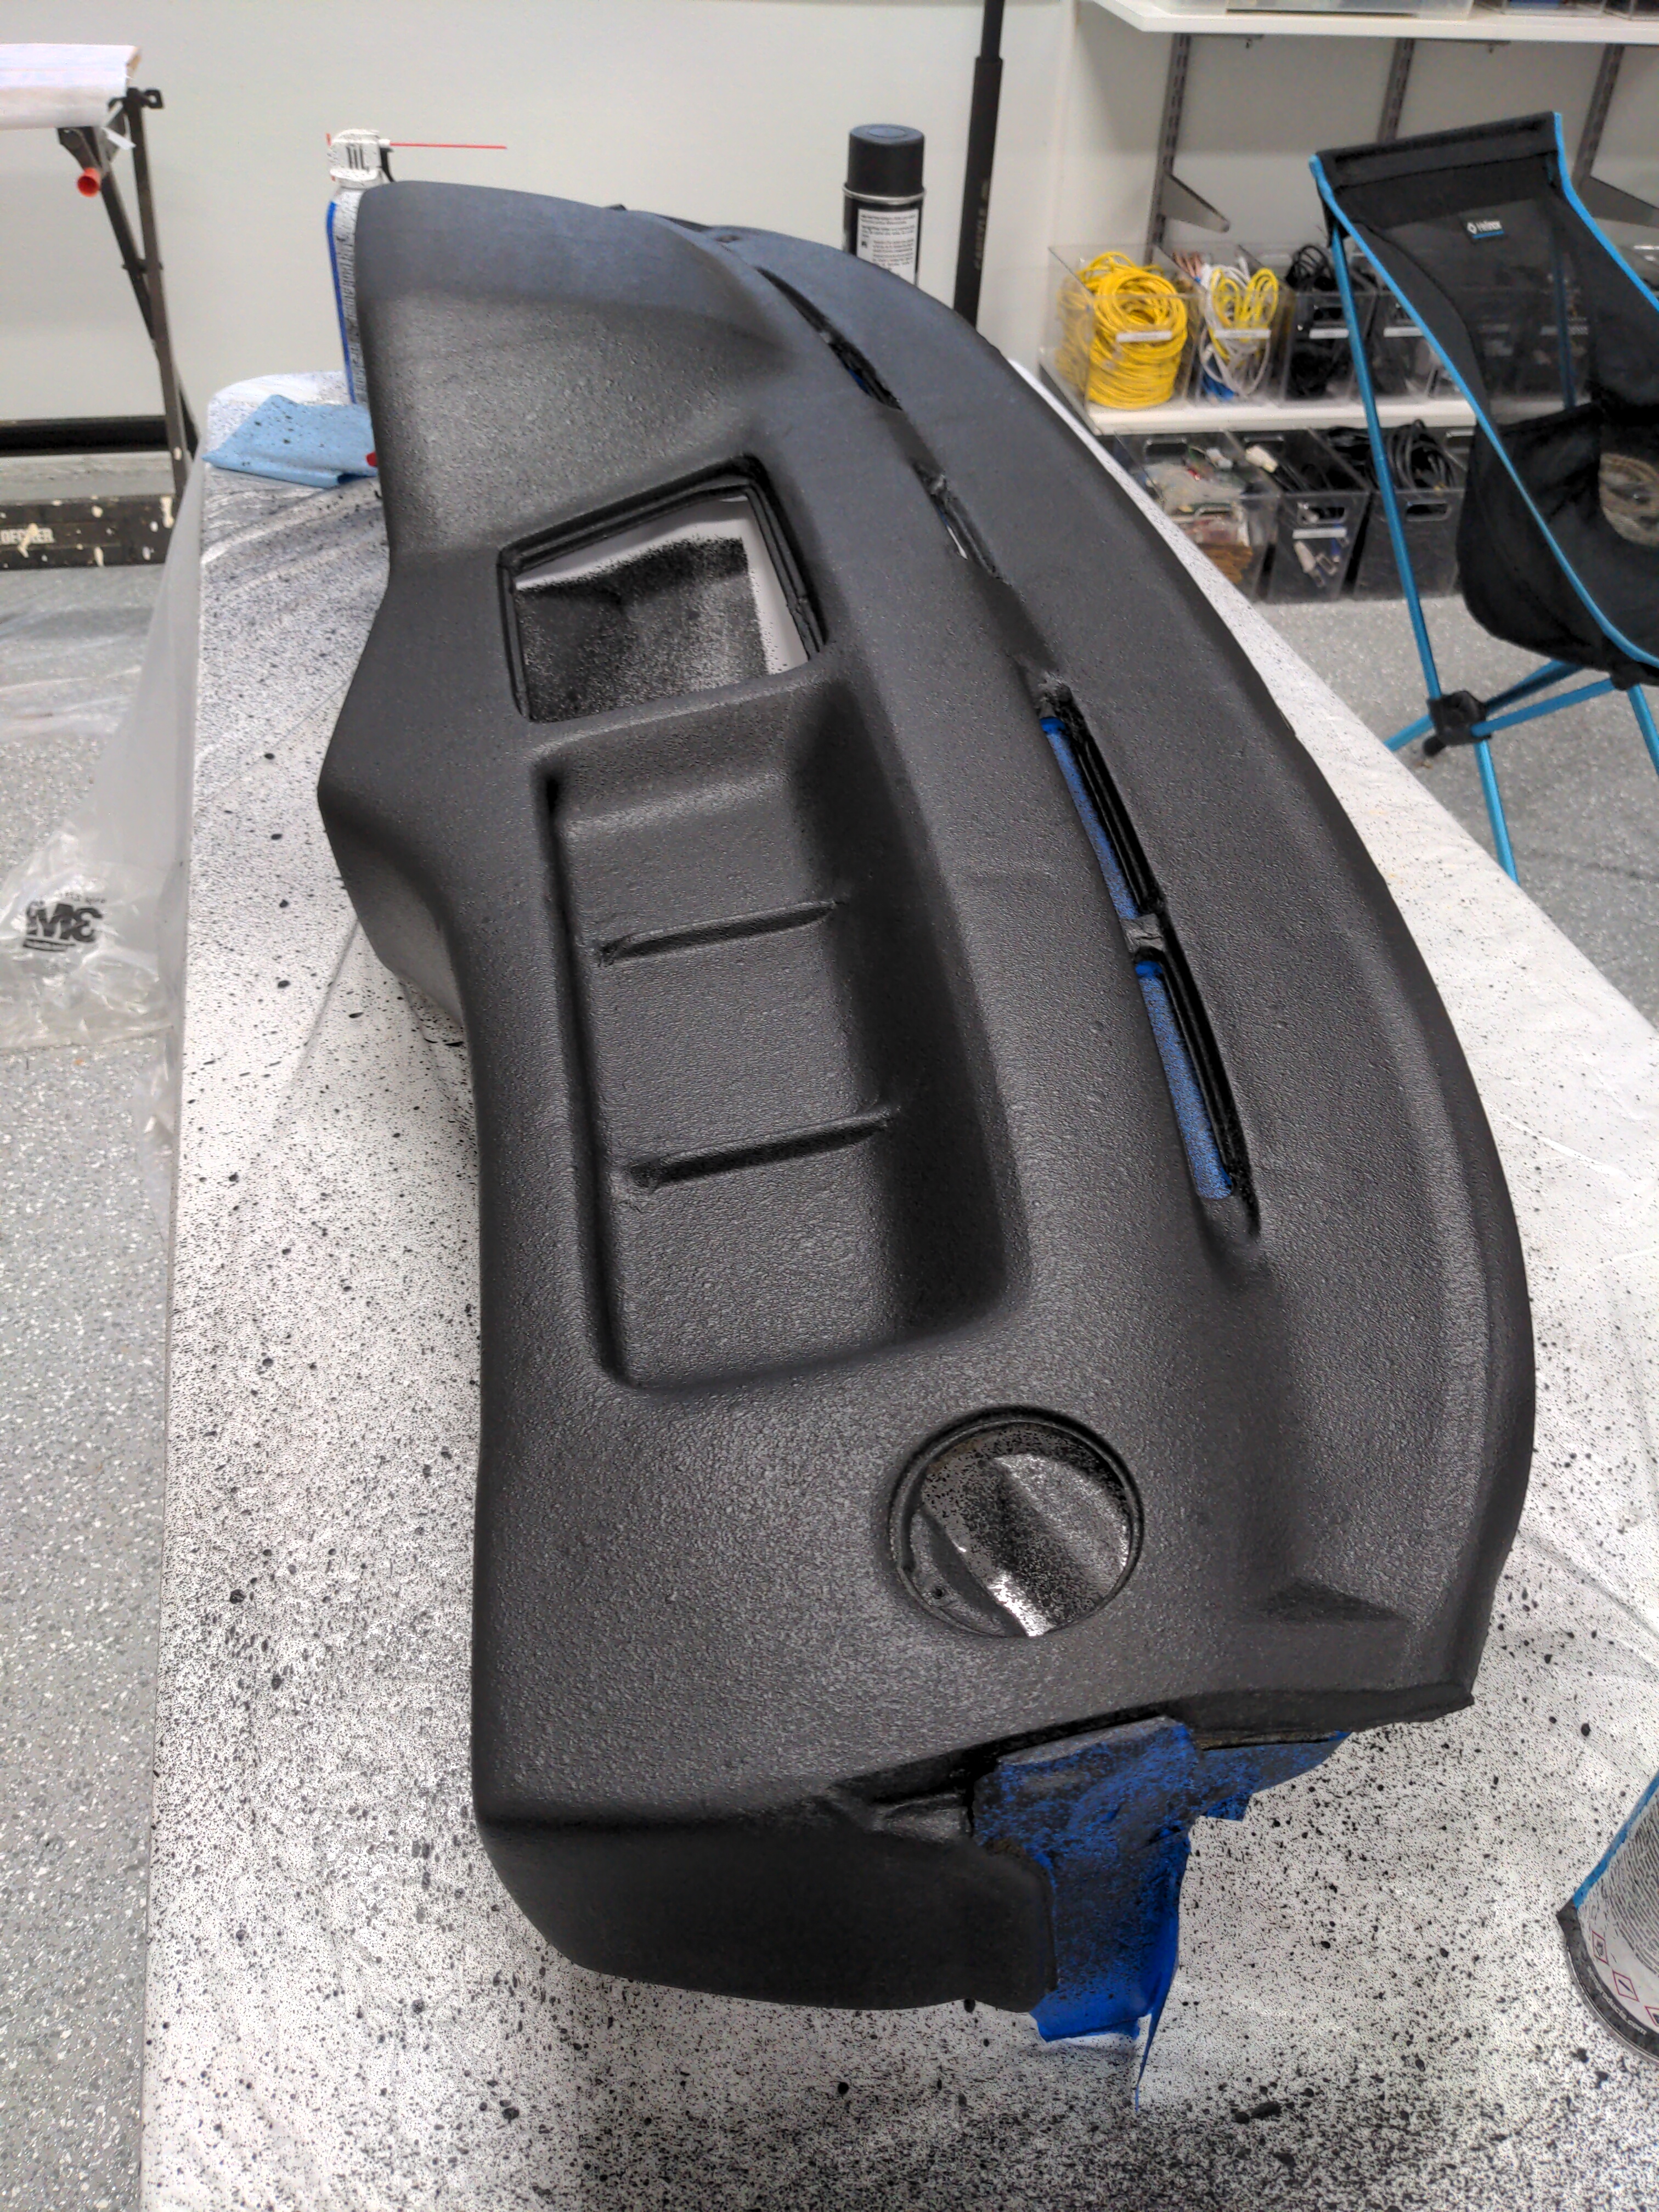
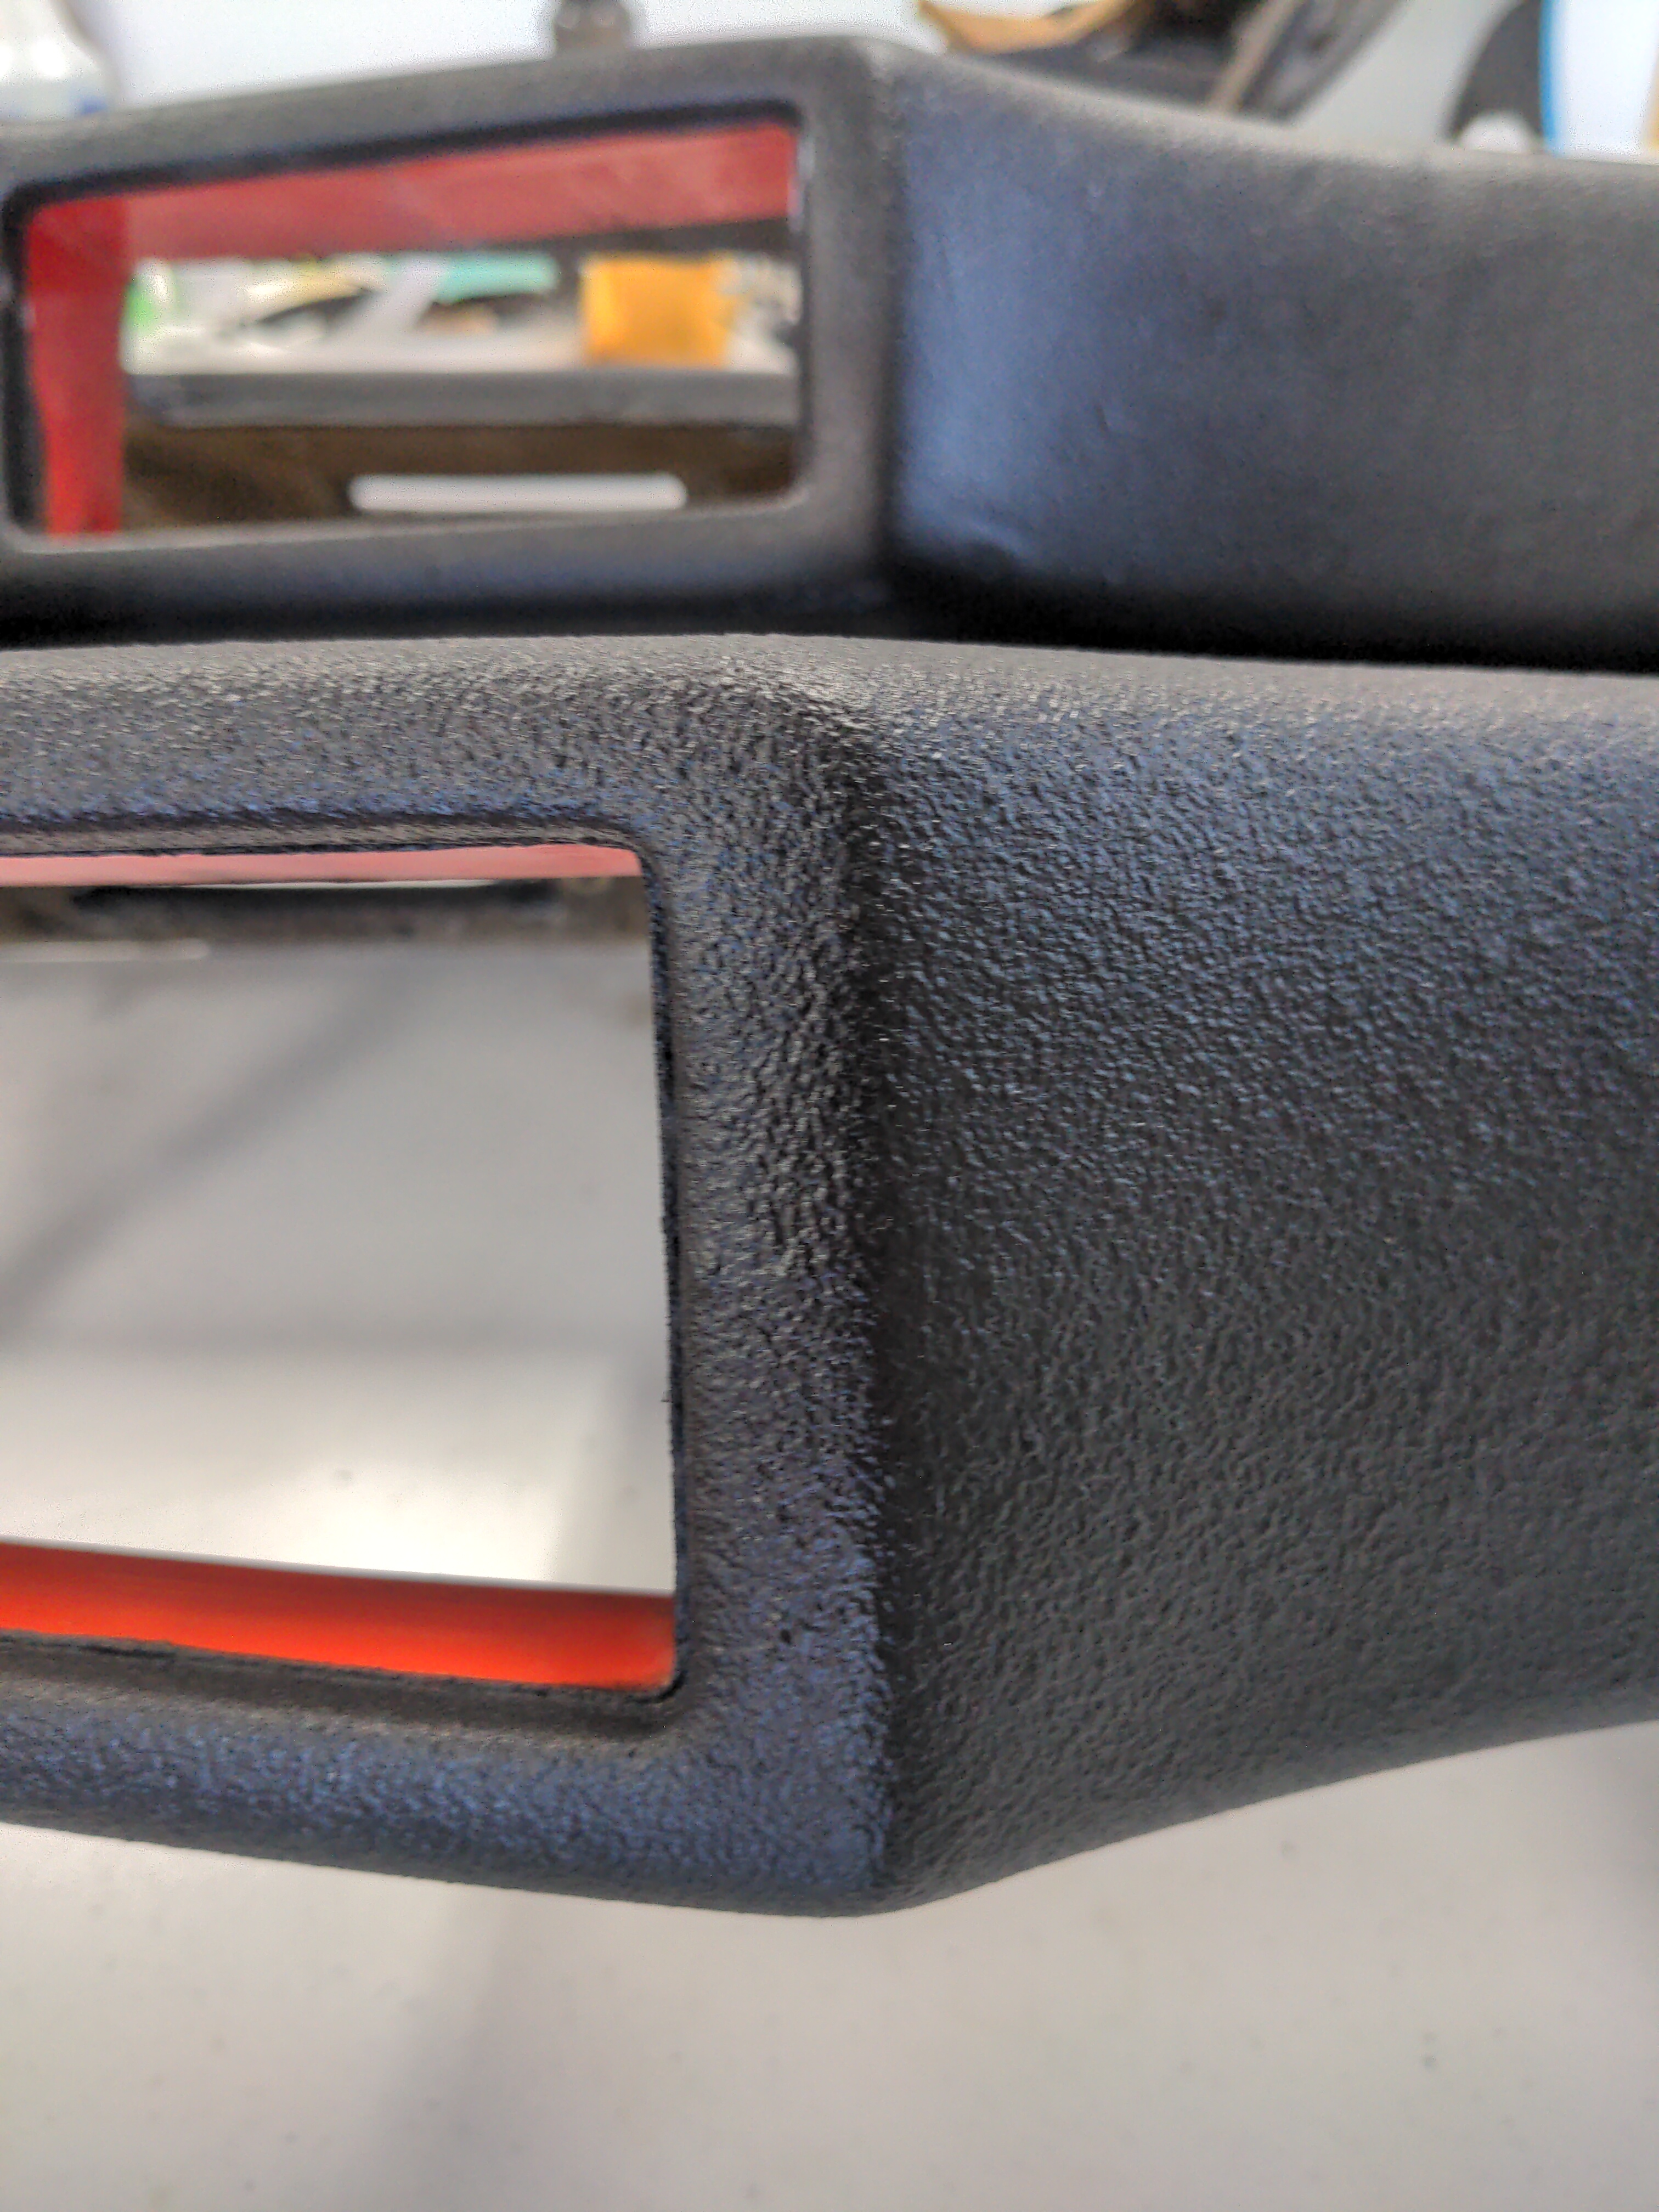
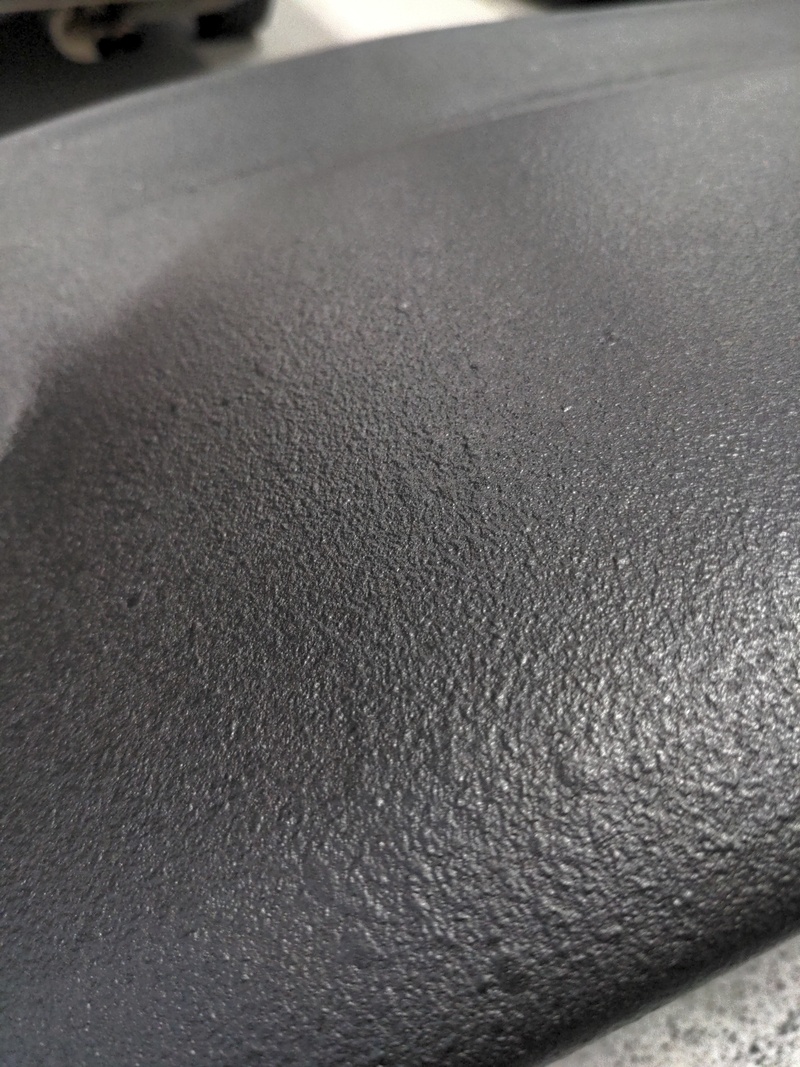
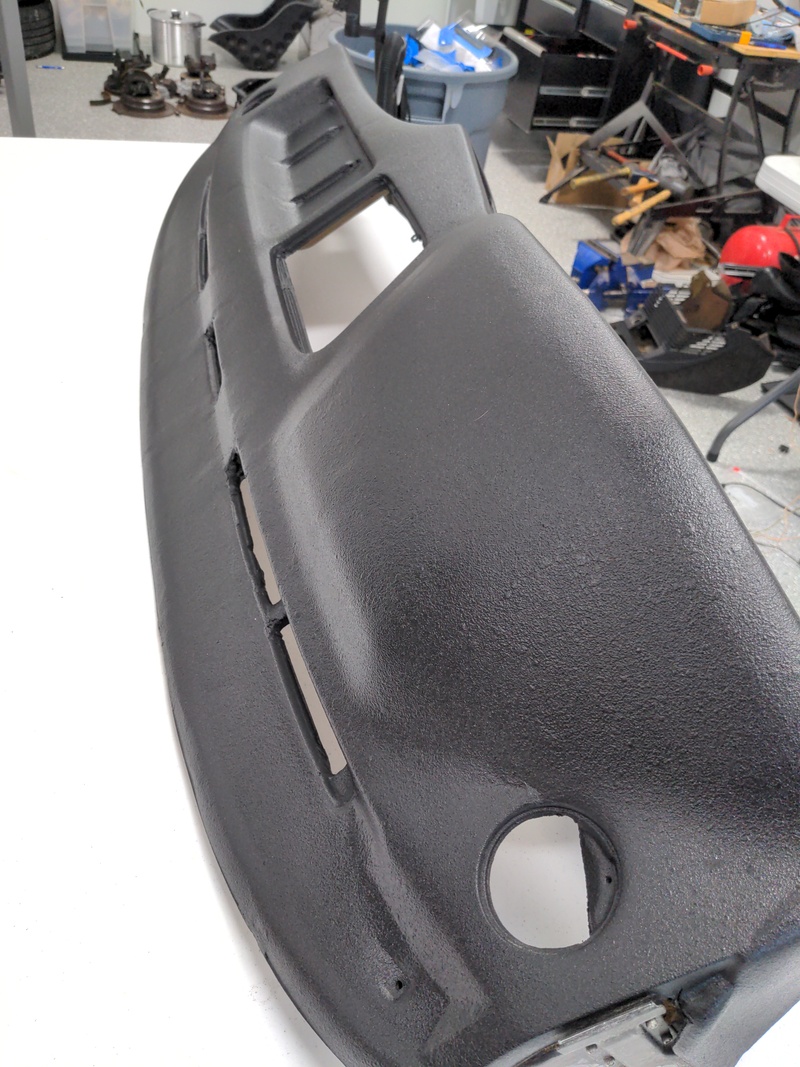
Here it is after the rubber undercoating, primer, and final paint was applied. I was pretty happy with the texture although it's definitely not the original. But, it's inoffensive and acceptable, in my eyes. It was quite cold outside when I sprayed the undercoating, and I think this may have had an adverse effect on the particle size---when I do the next one, I'll probably wait until it's a bit warmer.
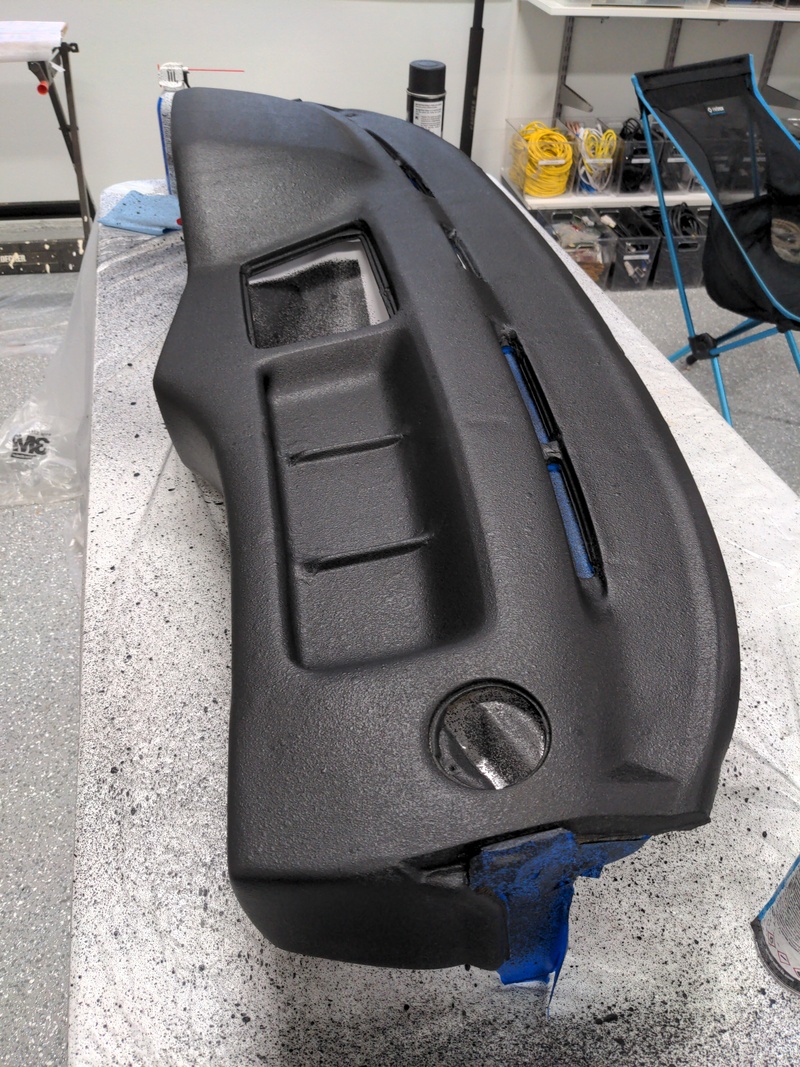
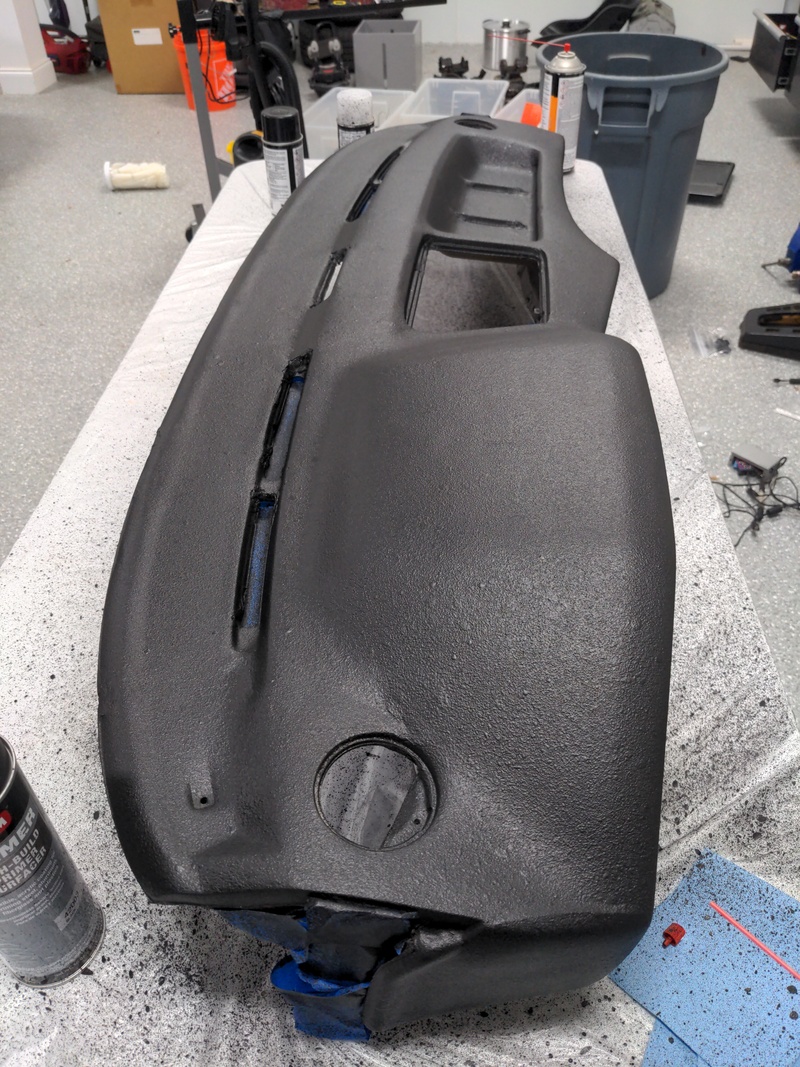
The color overall is just a bit darker than the old dash, but I think it looks just fine. Of course... I'm not reinstalling this one (and my interior is a wreck anyway

) so I don't have any installed pictures.
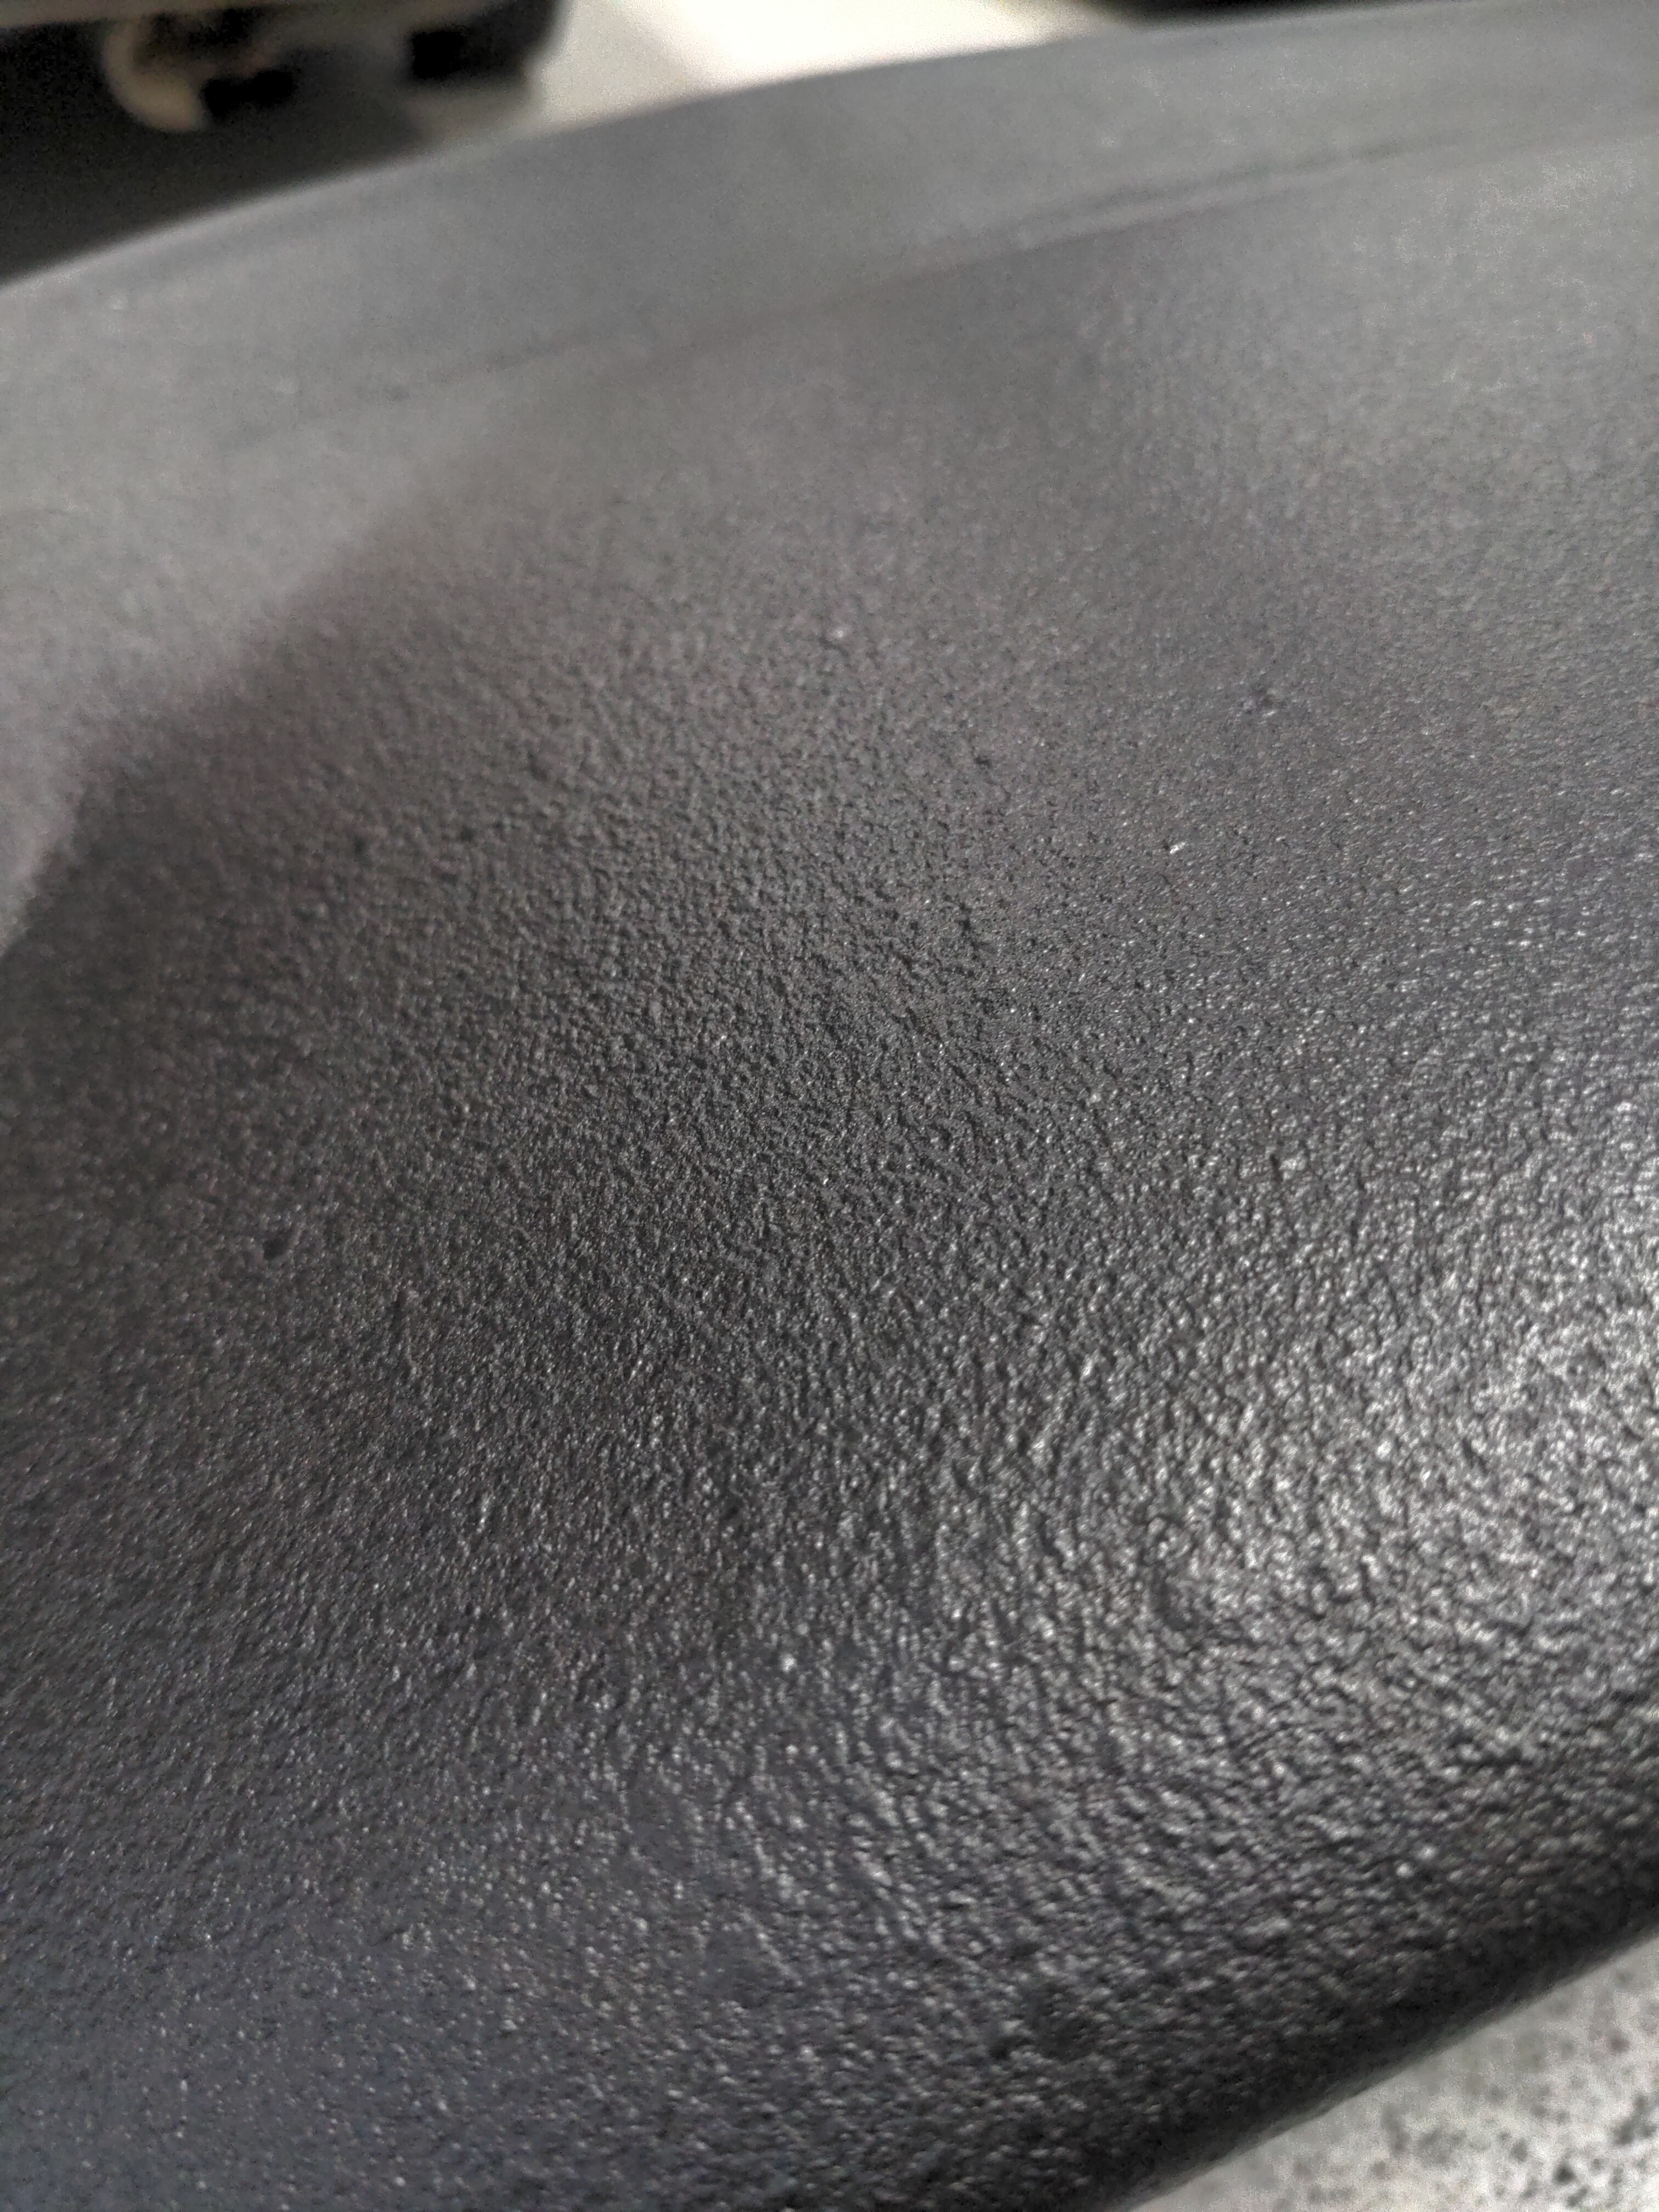
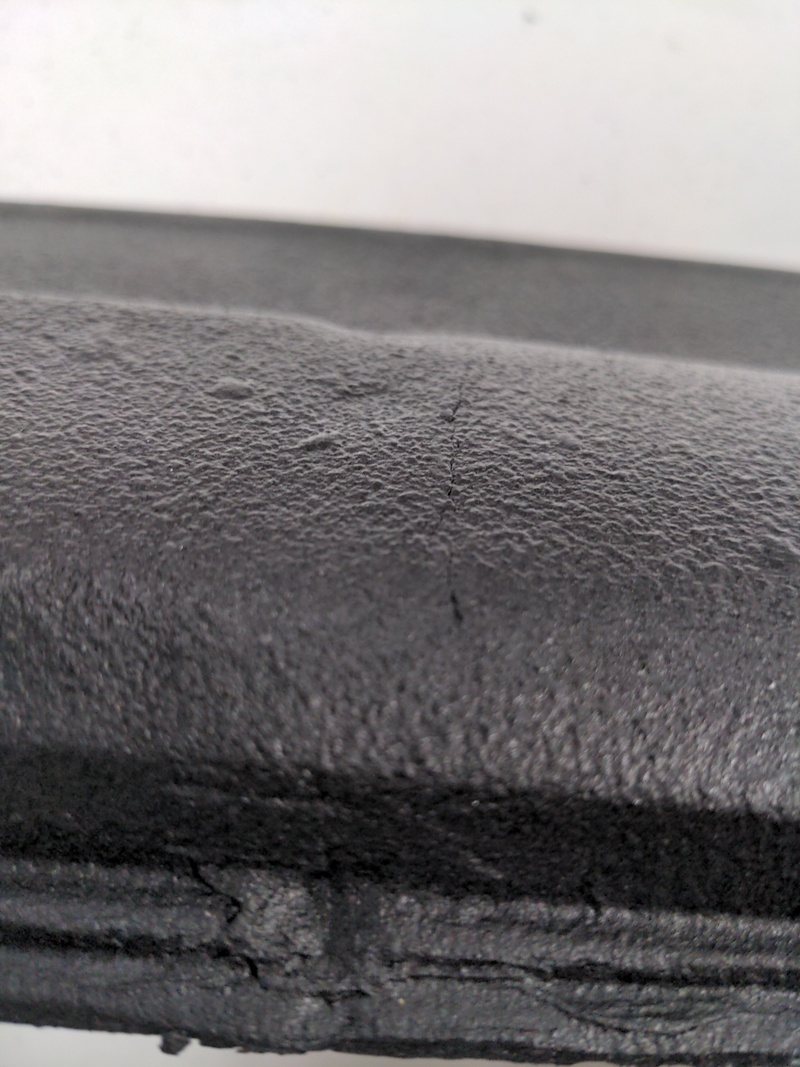
Now I did noticed that in a few places, there are some hairline cracks! These were here pretty much immediately from spraying. They're subtle enough that if I didn't point them out, they're not really noticeable, but I'm thinking that application temperature, and properly tapered dash filler are the culprits here. I suspect these might get a little worse as time goes on, but nothing like the original dash cracks (due to the plastic weld).

Overall, though, I'm quite satisfied with this.
I'm really happy that I got one to practice on. I feel a lot more confident about each of the steps---and I also feel like I've learned a handful of pitfalls that take away from the end result. What I'm not excited about is doing all that sanding again. An orbital is kind of out of the question because nowhere on the dash is flat. So, lots of finger pain seems to be the only way...