Valve Cover Restoration - Back to Black
Posted: Aug 30, 2014 12:01 AM
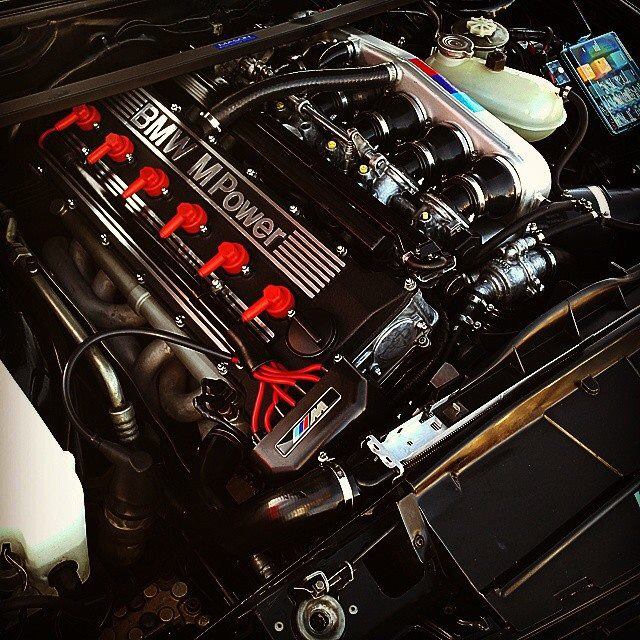
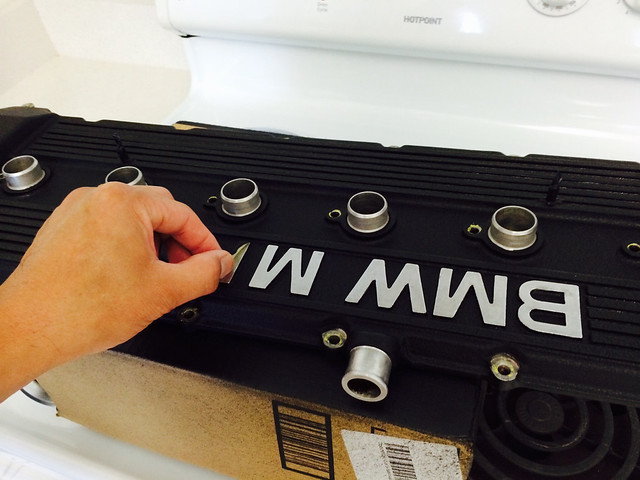
My old Ferrari Rosso wrinkle finish was looking tired. Went back to OEM wrinkle black today. I wanted to share this because I see so many people complain about VHT Wrinkle Paint online. Too thick, doesn't wrinkle enough, peels off etc. My last finish lasted 7 years before small chips appeared and started to look weathered.
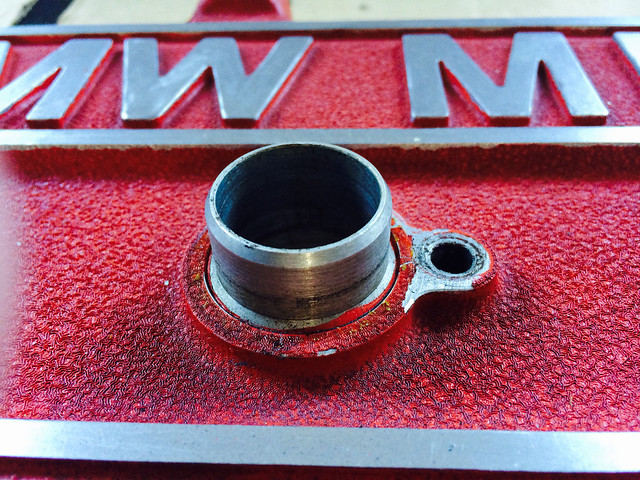
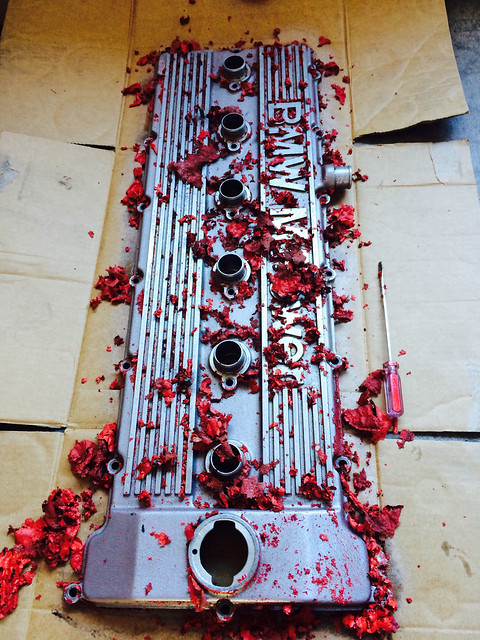
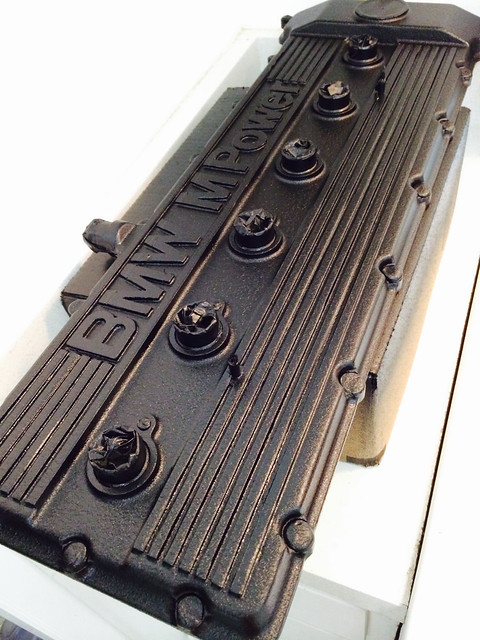
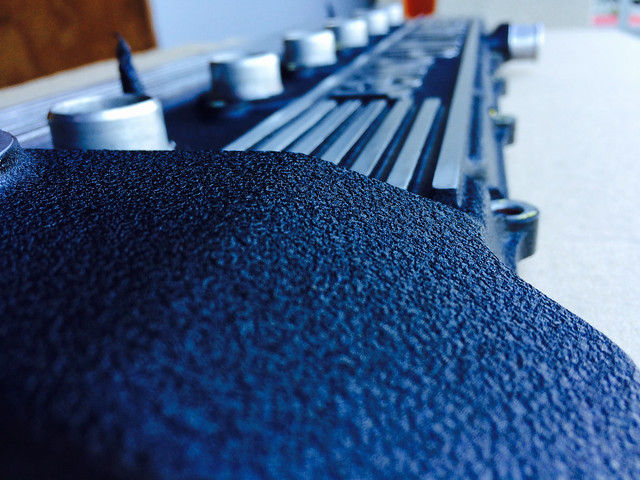
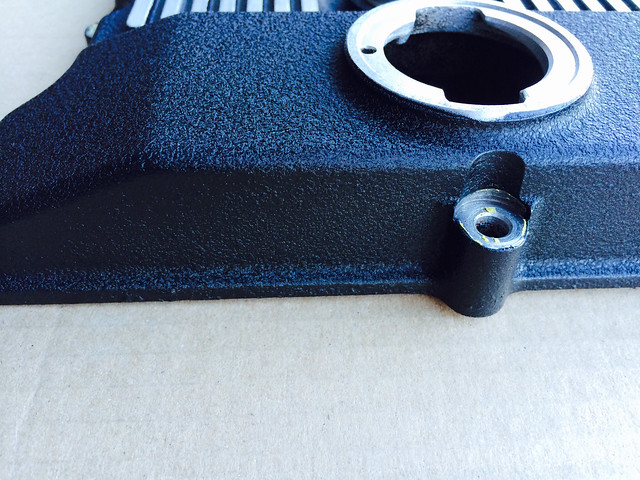
The key to all paint projects especially rattle can jobs is PREPARATION! The whole painting took about 30 minutes. Prep took hours! Cleaning, sanding cleaning with solvent and cleaning again is key. I don't use primer for these jobs because I have found it inhibits tight wrinkling. Following the directions on the can is a must! Three thick coats applied 5 minutes apart in a cross hatch pattern. Curing in an oven at 200 F for an hour is also a great way to ensure tight wrinkles and proper curing. I'm going to miss the "wow" factor of a red valve cover but I think I like it. Going to get the plenum professionally polished soon.
 [/url
[/url
[url=https://flic.kr/p/oFZ5qN]
The key to all paint projects especially rattle can jobs is PREPARATION! The whole painting took about 30 minutes. Prep took hours! Cleaning, sanding cleaning with solvent and cleaning again is key. I don't use primer for these jobs because I have found it inhibits tight wrinkling. Following the directions on the can is a must! Three thick coats applied 5 minutes apart in a cross hatch pattern. Curing in an oven at 200 F for an hour is also a great way to ensure tight wrinkles and proper curing. I'm going to miss the "wow" factor of a red valve cover but I think I like it. Going to get the plenum professionally polished soon.
[/url[url=https://flic.kr/p/oFZ5qN]