Page 4 of 9
Posted: Jan 23, 2012 7:57 AM
by shagrath
Great work here. I probably would have carbed it for ease as well. The nasty factor too.
Posted: Jan 24, 2012 6:08 PM
by Franchise
subscribed! always wanted an LSx E28

Posted: Jan 28, 2012 8:17 PM
by jakeb
Little bit of an update today. Got the firewall insulation on, brake booster repainted and on, replaced the clutch master, installed the lokar throttle cable, finished up the intake 255lph fuel pump, installed the fuel tank, installed the front subframe and steering box, made a couple strut bars....
I think that is about it....
On to some pictures
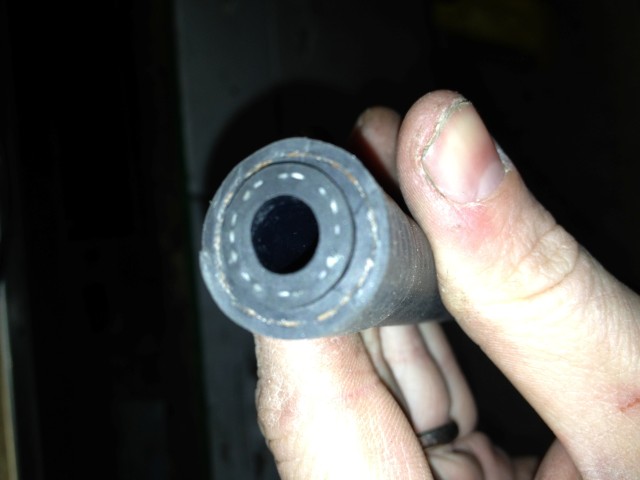
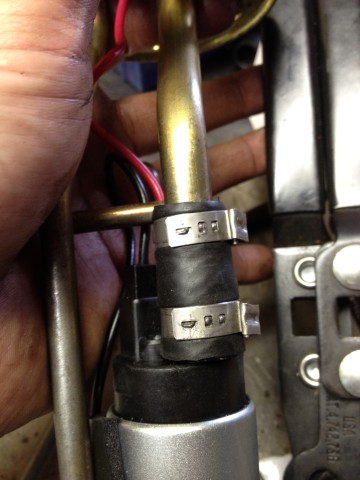
The e28 pickup tube is 12mm and the TRE pump is 8mm. The TRE fuel line fit tightly inside some BMW 12mm line. I don't feel there will be any issues as it is more of just a spacer and then all tightened down with a clamp. Only about a 1/2" piece of the TRE line inside the BMW stuff.

Ground line is crimped and soldered
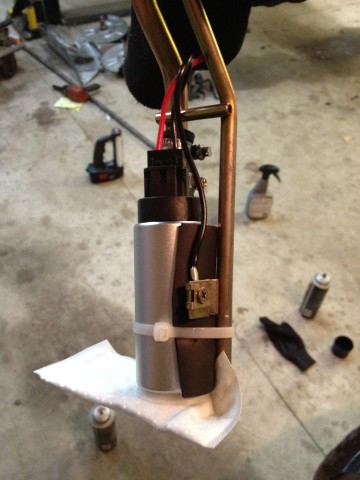
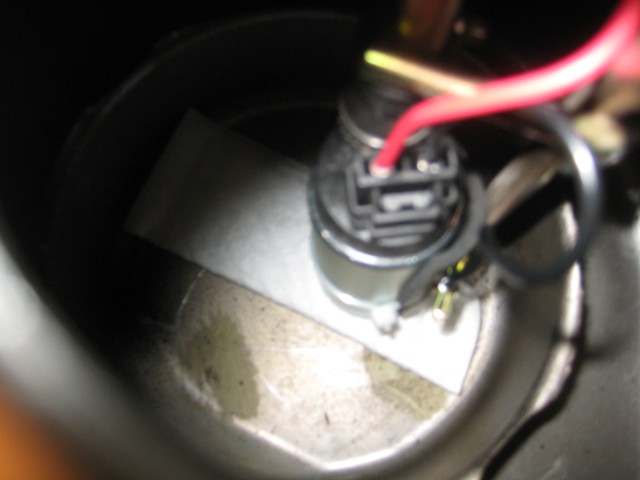
I did cut off about 3/8" off the stock pickup tube so the pump would sit at the right depth in the tank. Then crimped the hose down
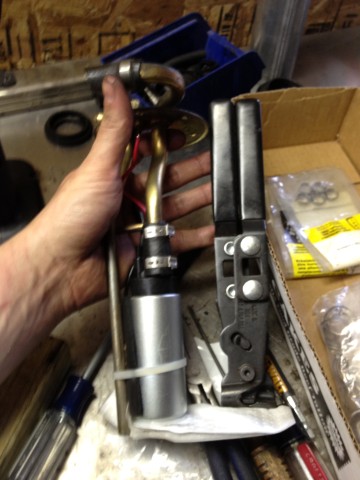
Pump in the tank, sitting just off the bottom
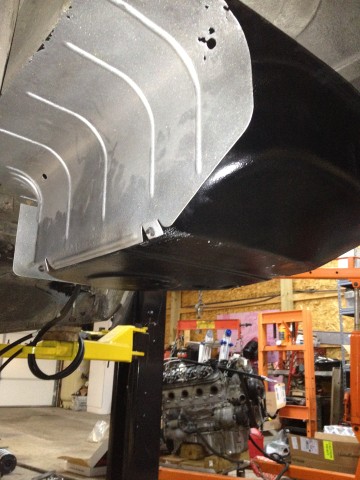
Gas tank cleaned and painted...and installed
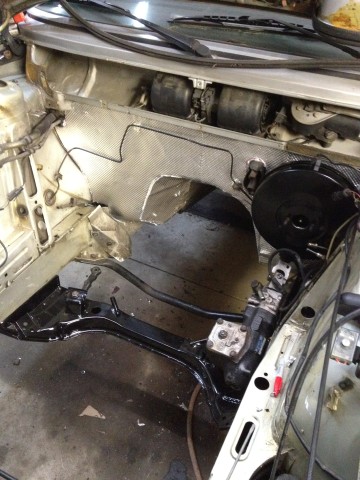
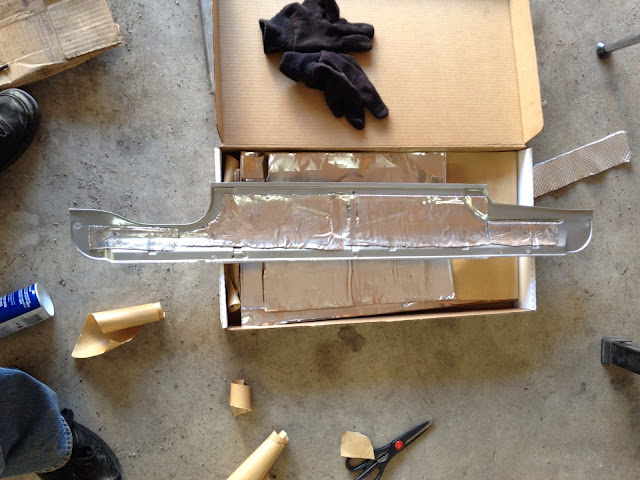
Started with a layer of bytul type sound deadener
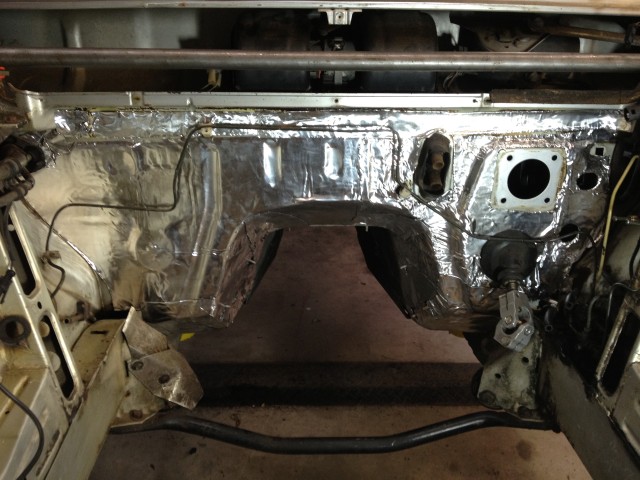
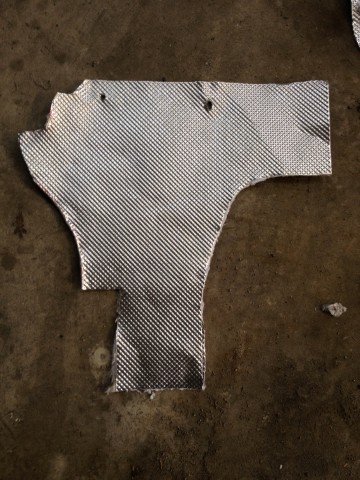
Covered it with this alum backed fiber heat shield type stuff. The alum backing was pretty thick

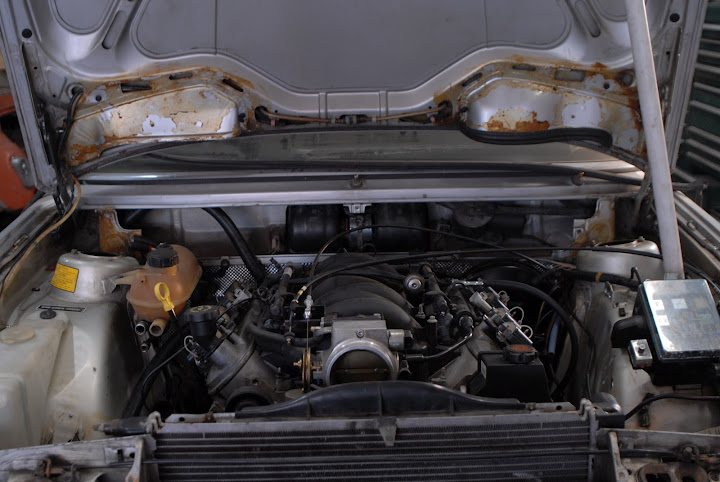
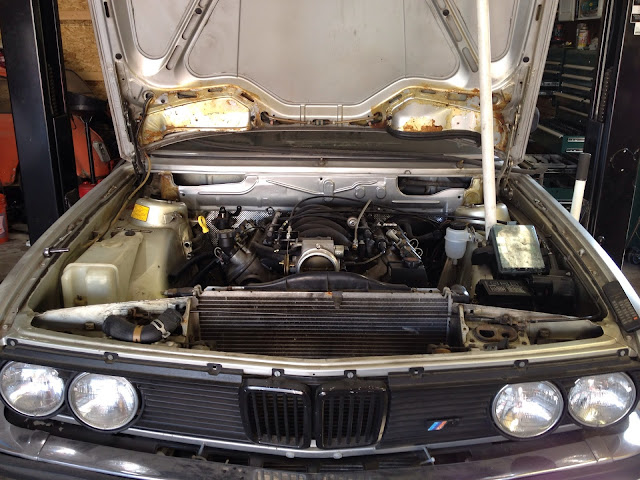
A picture from a bit back showing the entire bay
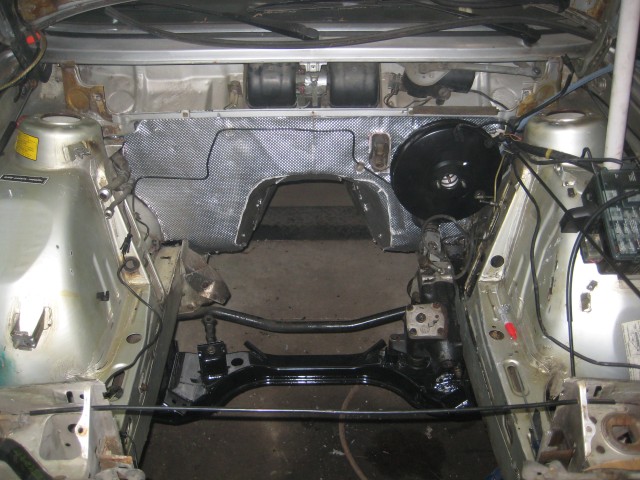
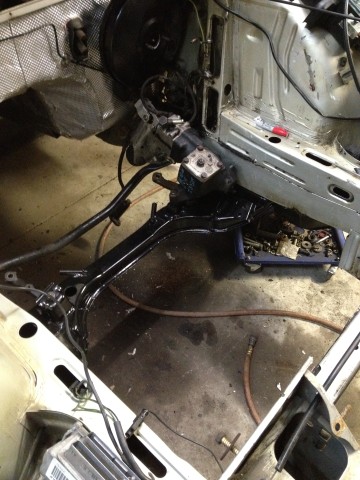
Subframe/steering in
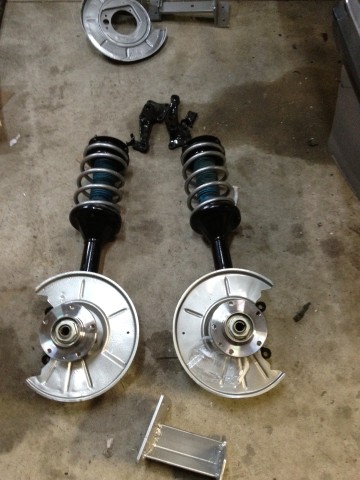
Front struts are together, new wheel bearings, billy sports, right now some cut stock springs. Going to see how it sits before changing anything.
I did the following a week or so ago, just never updated the thread
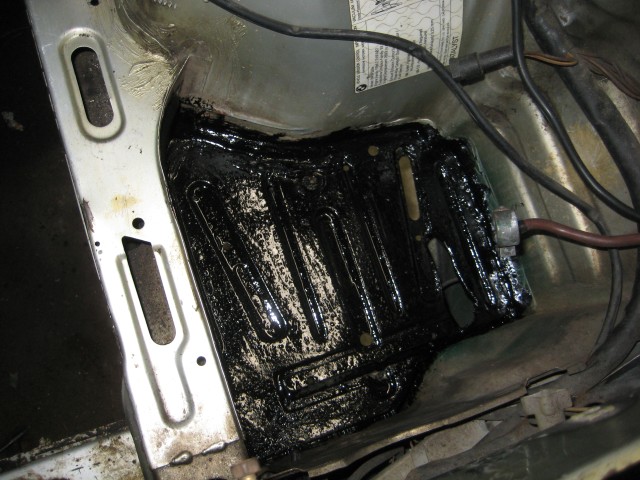
There was a little rust under the battery, cleaned it up and POR'd it. I will probably spray some silver over top.
Little rust starting under the brake lines...cleaned up

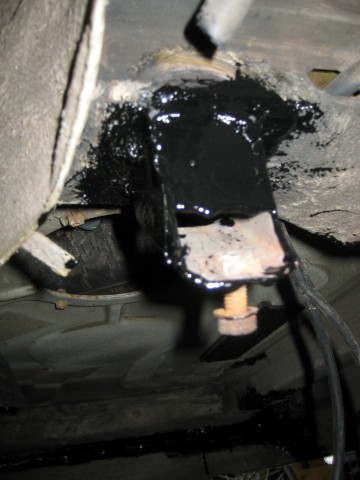
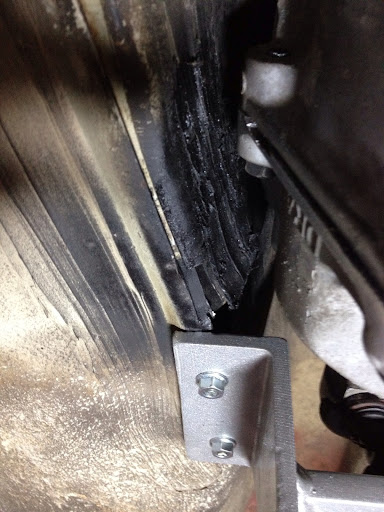
Reinforced the rear sway bar mounts. There is a piece of angle iron up inside them and welded both to the body and the mount, then all PORd


Posted: Feb 16, 2012 2:03 PM
by unt0uchable
This thread is awesome! I love seeing excellent work (and wish I had the time/money to do similar things to mine). Where abouts north of Detroit are you? I am in Rochester Hills. It's good to see a fellow e28'er that's semi local. Anyway, keep up the great work! I can't wait to see the final product. We will have to plan a halfway local meet....
-David
Posted: Feb 21, 2012 10:03 PM
by jakeb
I am up in Bay City...thanks for the kind words
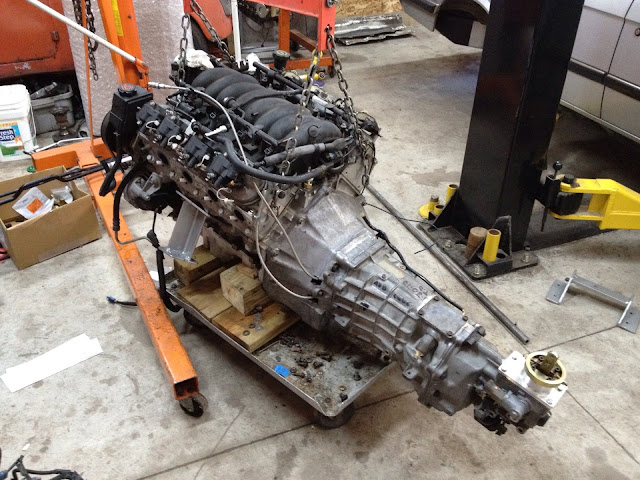
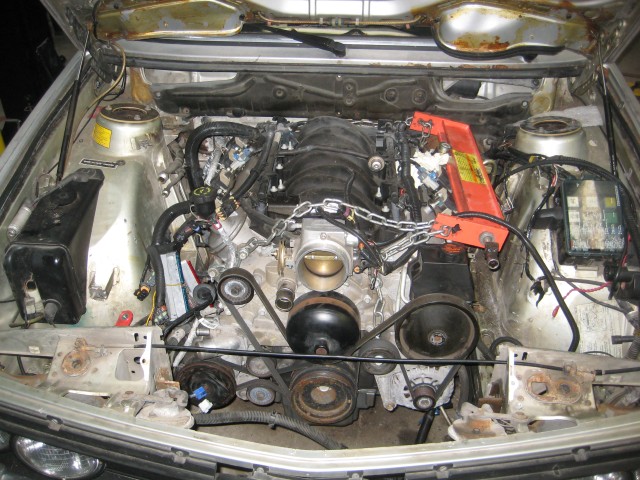
Engine went back in yesterday...a few things to show pics of.
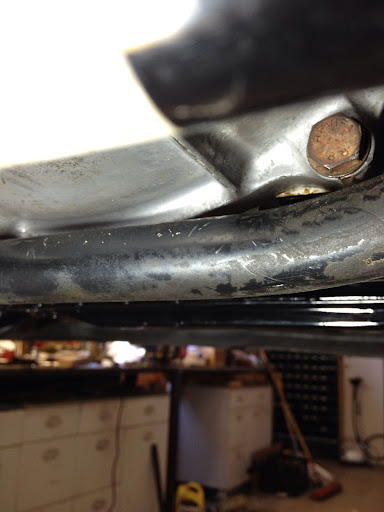
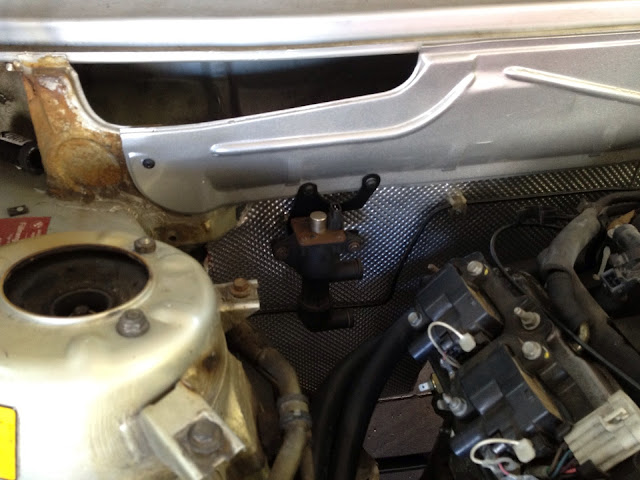
I had to open up the trans tunnel just a little bit, this is on the passenger side just in front of the mount.
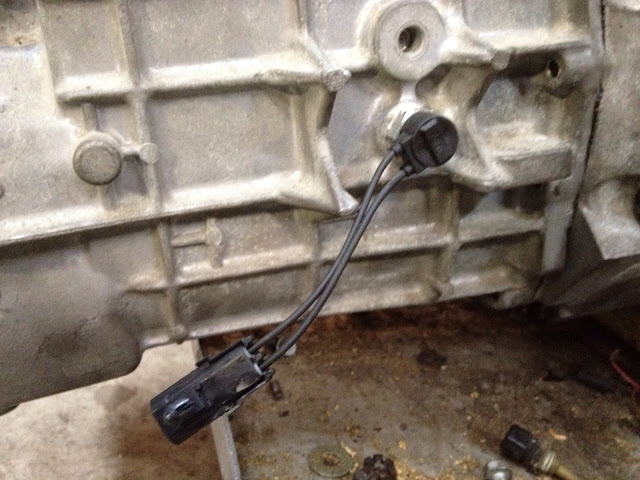
Swapped to Ford backup light switch so I had a bit more room to plug the connector in.
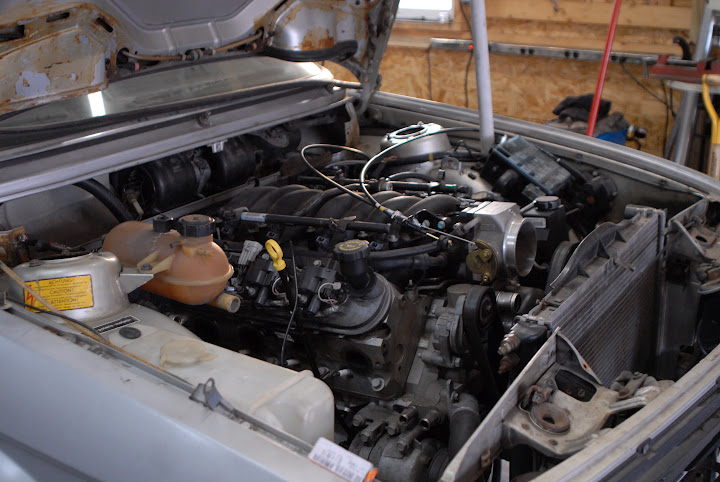
Ready to go in
It's close but it clears everything.
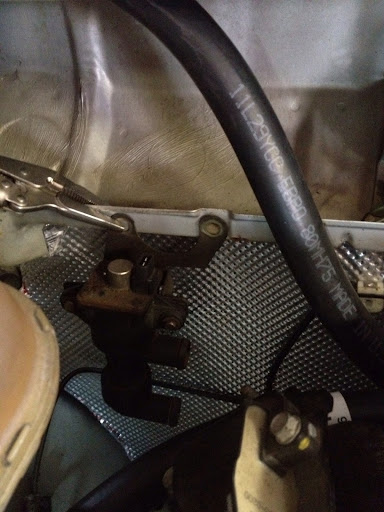
e28 535 hose cut a bit more fits...still needs to be pushed on further.
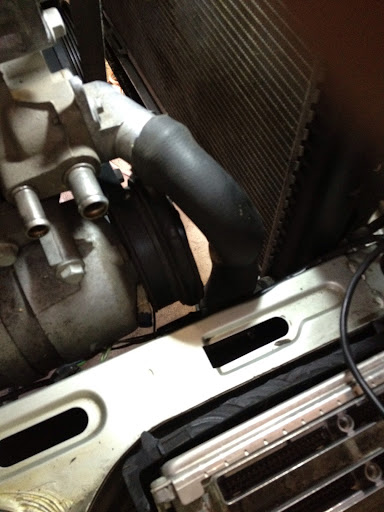
I plan to move the heater valve over the the passenger side firewall to allow a better hose setup.
PCM mounted...I will have to adjust the harness a bit but that was a plan anyway.
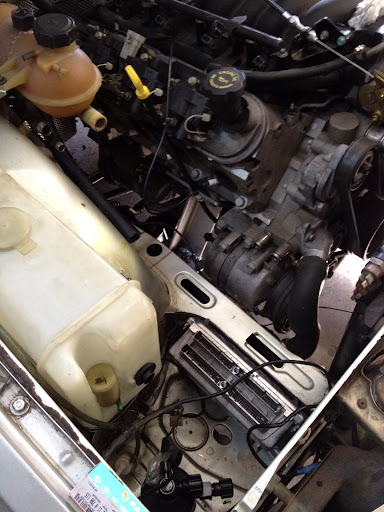
It just looks like it belongs in there.....
Posted: Feb 21, 2012 11:05 PM
by foolish
Right on brother. Yes indeed it looks like it was made for it.
Posted: Feb 22, 2012 8:36 AM
by Eddie in TO
It's amazing how well these bad boys fit in there!

Posted: Feb 22, 2012 4:12 PM
by Hibbard
I want this swap in the worst way. Ill be following this!
Posted: Mar 01, 2012 9:33 PM
by jakeb
Very very small update....its been a busy week
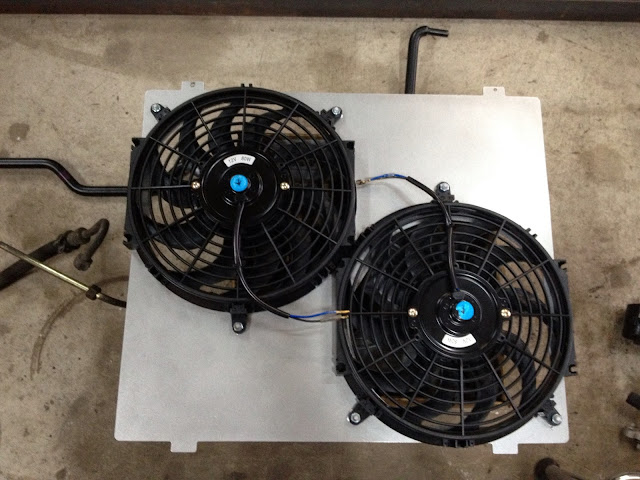
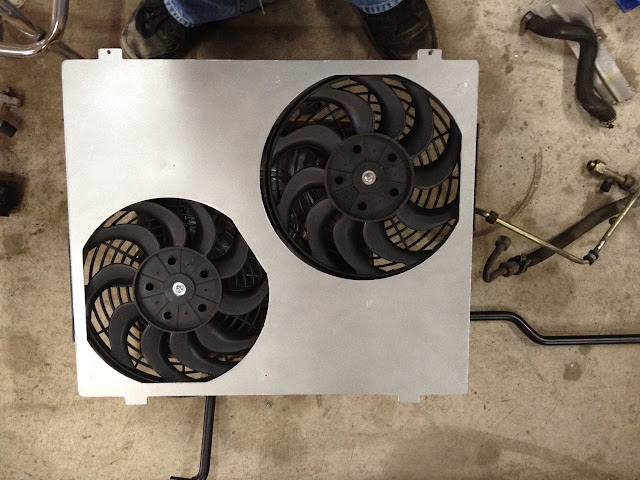
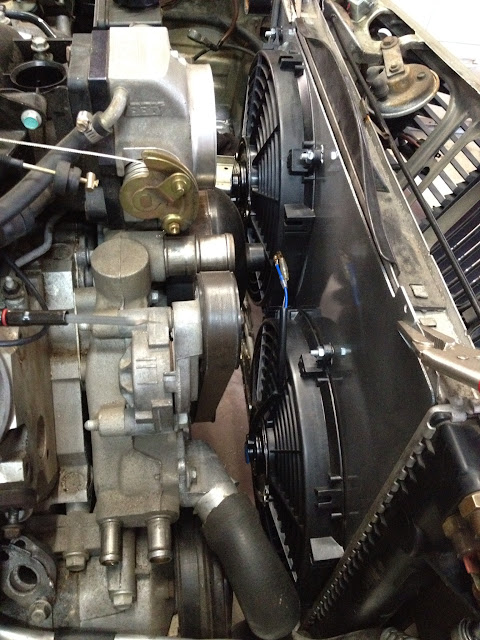
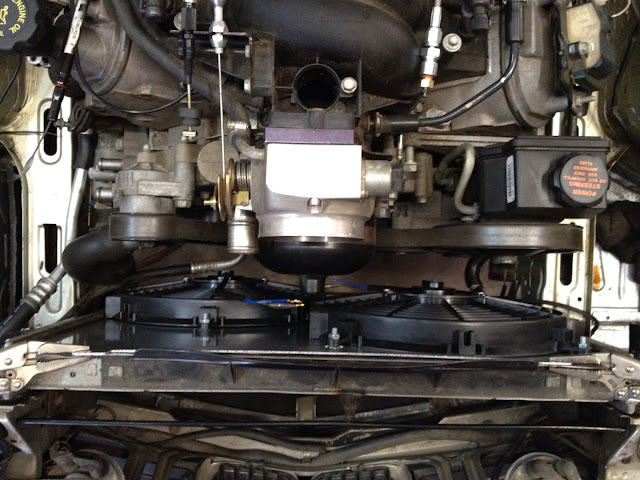
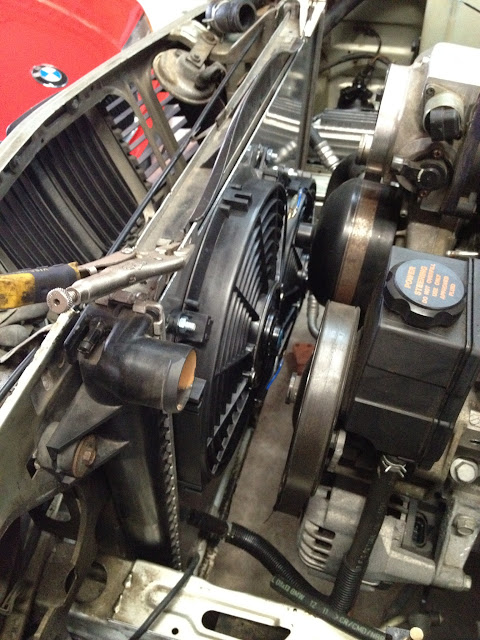
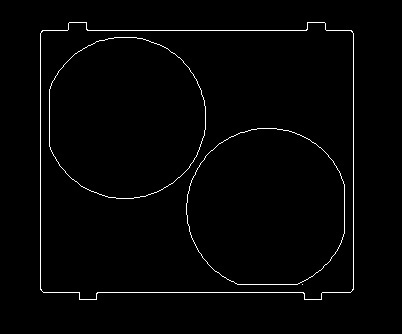
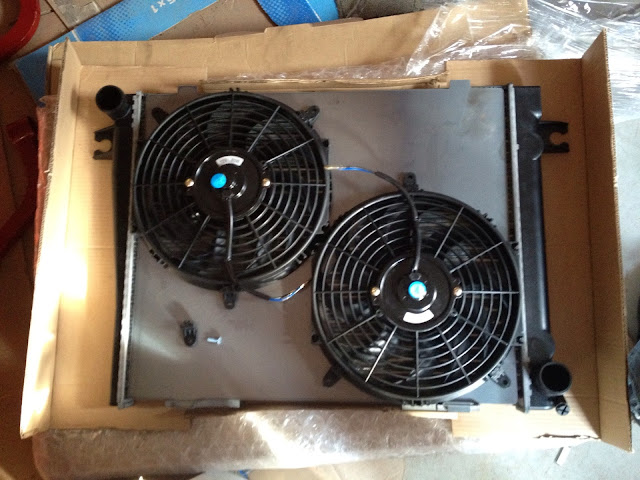
I am going to run 2 12" puller fans this way everything will clear.
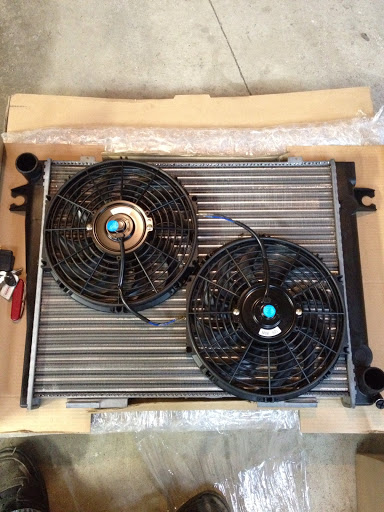
I will have a fan should waterjet and then powder coated. It will look something like this... I will weld some studs on it for the fans to mount.
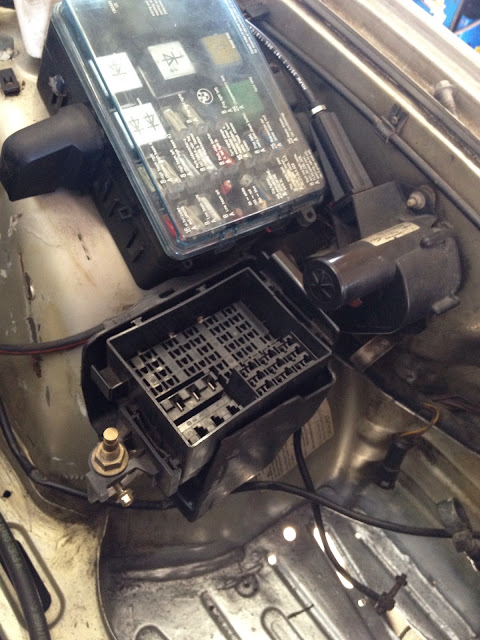
Mounted the GM fuse box next to the BMW fuse box. no picture of that. Hoping to have some time over the next couple weeks to put into it.
Picked up another car and engine for a swap down the road...92 volvo wagon and then a 4.8 truck engine and a 4l60e automatic. It will be my wifes DD eventually. It actually drives nice as it stands now but is pretty slow.
A pic of it..

Posted: Mar 02, 2012 5:56 AM
by Five two eight eye
Great progress so far! You should copy a bunch of mounts/ manifolds for others down the road. With a 'kit' available, I am sure many would love to go down this road...
Posted: Mar 02, 2012 8:24 AM
by unt0uchable
Nice volvo! This thread is making me want this swap (or even a similar GM V8) in my e28. This could be bad news for my future bank account. Can I ask what you paid for the wrecked camaro?
Keep up the good work!
Posted: Mar 02, 2012 8:47 AM
by jakeb
I paid $3k for the wrecked camaro...parting it out made my engine and trans free.
I am making copies of my mounts. PM me if you want a set. I should make a jig for the manifold too.
Posted: Mar 18, 2012 5:09 PM
by jakeb
With the birth of our son and then my wife being in a lot of pain after delivery progress slowed down a bit. Things are starting to get sorta back to normal and figuring out when I have time to work on things.
I got a few things done recently.
Had the fan shroud cut from 14 gauge sheet metal. Welded some bolts to it and had it powder coated. No picture yet from after coating as it just got done and I haven't picked it up yet. It should work out really nice. I'm not sure yet how I am going to run the fans...either just one on for "low" speed and then both for "high" or both on slower in low and then full speed when high...not sure yet. Any suggestions?
I really hated the look of the panel the covers the heater fan and wiper motor so I pealed off all the rubber coating and had it blasted and coated.
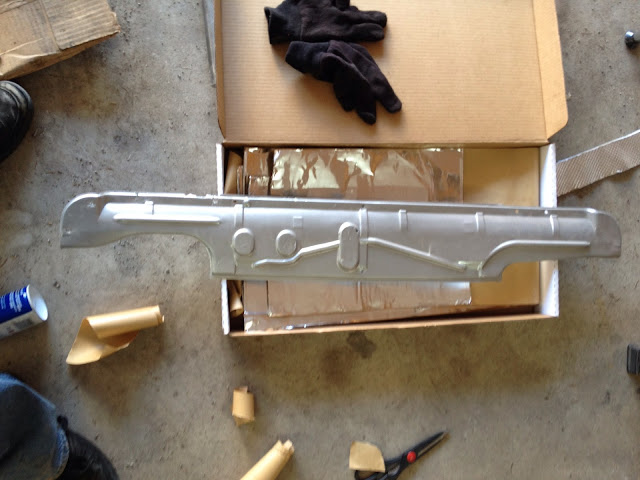
But because now it was just a thin piece of metal I was worried about noise so I added some sound dampening material to the back side. It was pretty amazing how much different it sounded before and after the material.
And then how it looks on the car...
compared to....
moved the heater valve...it would have fit in the stock location but it would have been hard to service if needed.
mounted one of the camaro fuse boxes to hold the extra fuses and relays. The camaro actually has 3 fuse boxes, one in the dash and two under the hood. This is one of the underhood ones and I am repinning it to my liking.
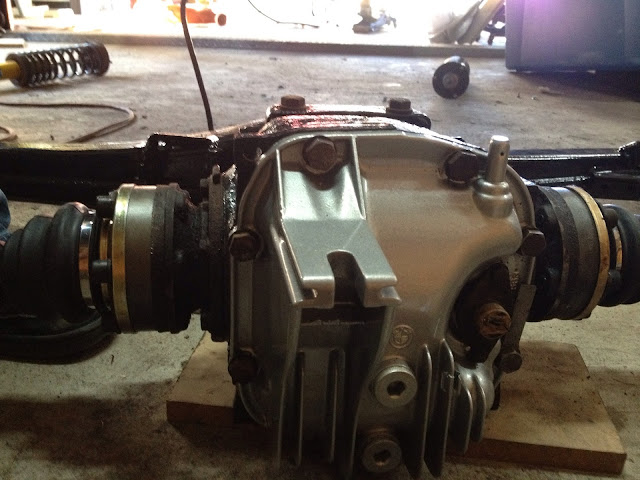
Working on finishing up the rear end rebuild. The rear diff is a 3.25LSD which might change to a 3.46...I had the 3.25 so it is worth trying first.


I have a week off after this week and I am hoping to get mostly everything else done. Ordering all the AC bits tonight and should be able to order the driveshaft by the end of the week. Then I will have to do a bunch of wiring.......all figured out just need to do it and make it look nice. Slowly but surly it is moving ahead.
Posted: Mar 20, 2012 2:25 PM
by jakeb
Posted: Mar 27, 2012 10:27 PM
by jakeb
A little more work done.....
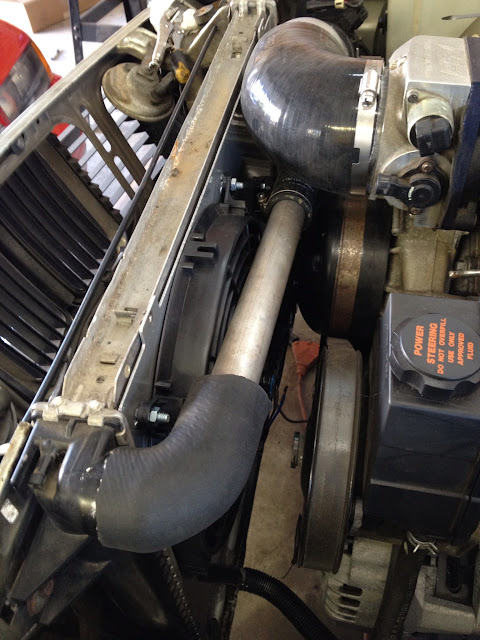
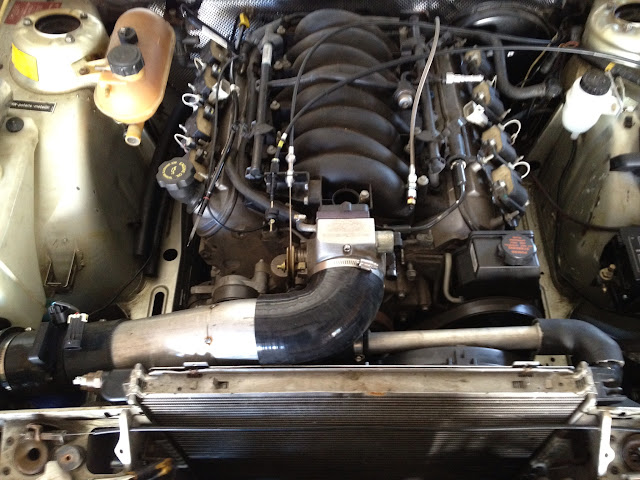
I was having trouble finding an upper radiator hose that would work. So I just used the camaro hose at the engine and then part of an e36 upper hose at the radiator with a piece of alum tube between the two. One side of the alum tube had to be expanded. The tube will get coated gloss black.
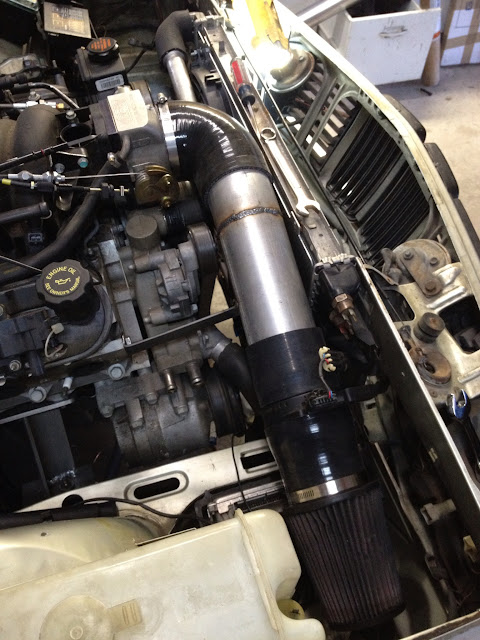
Made the air intake....4" to 3.5" elbow, slight 3.5" bend to 3.5" straight and a little bracket to support it to the engine. Weld has been sanded down and the entire thing will get coated gloss black.

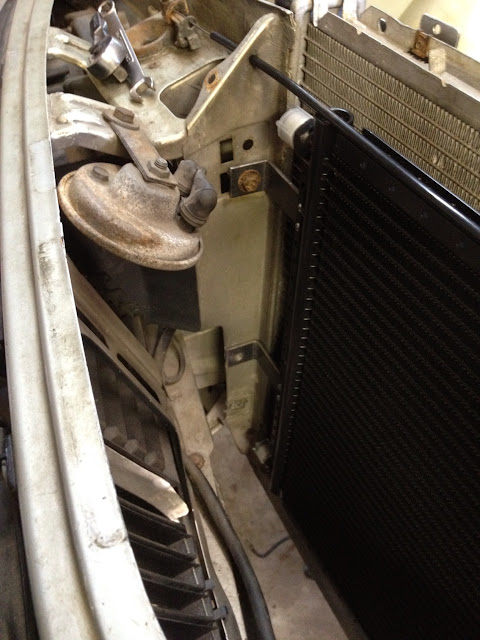
New Cross Flow AC condenser

A couple small brackets to mount to the factory locations

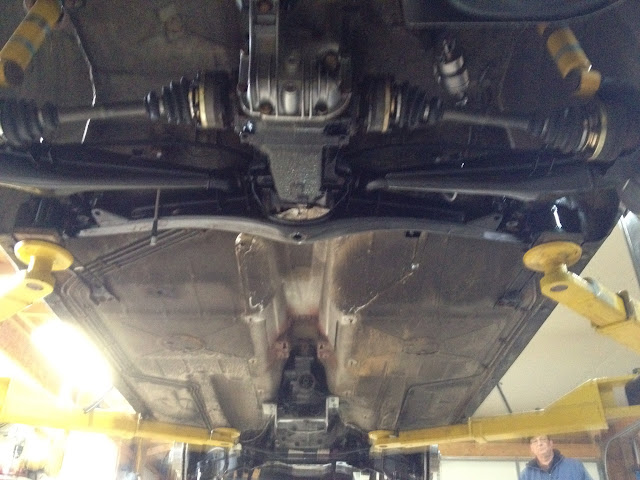
Rebuilt rear end ready to go in
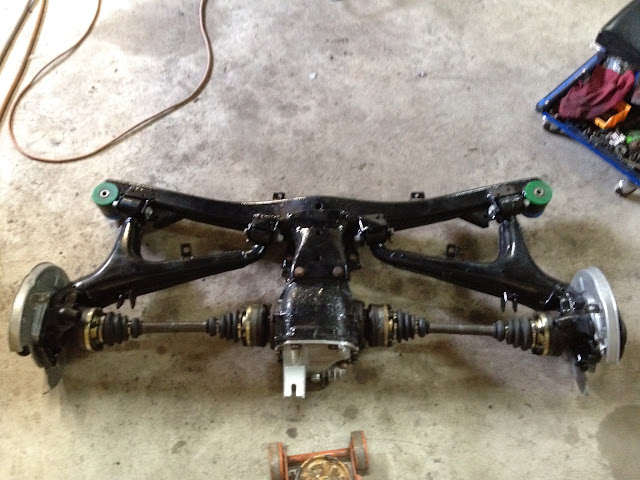
and in
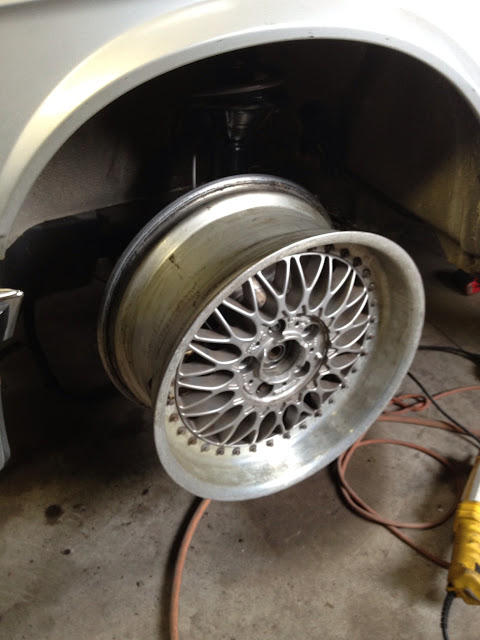
Style 5s to be refinished.....
Still not sure on colors.
What do you all think?
polished lips, satin black centers?
polished lips, grey/silver centers?
silver coated lips, black centers?
Posted: Mar 30, 2012 5:40 PM
by jakeb
Another update...
Driveshaft is made and will be here on wednesday.
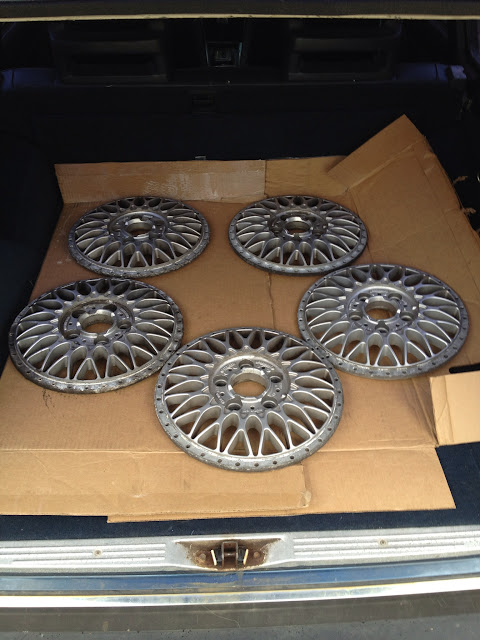
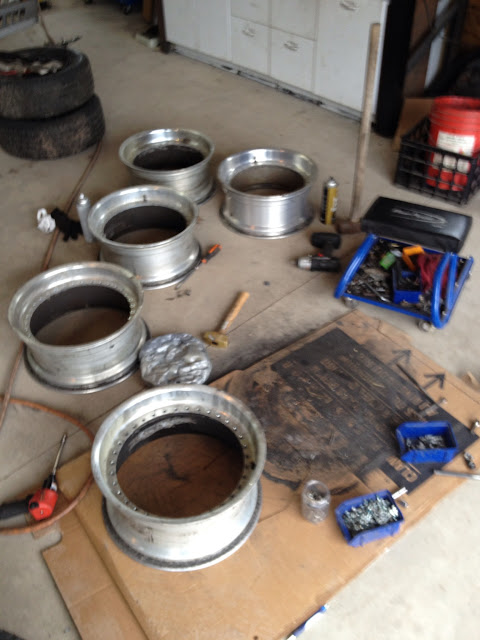
Split the style 5s apart and dropped the centers off at the powder coater. Started stripping off the clear coat on the lips. Two applications of stripper and they are looking good. I think whatever it left will come off with some thinner.
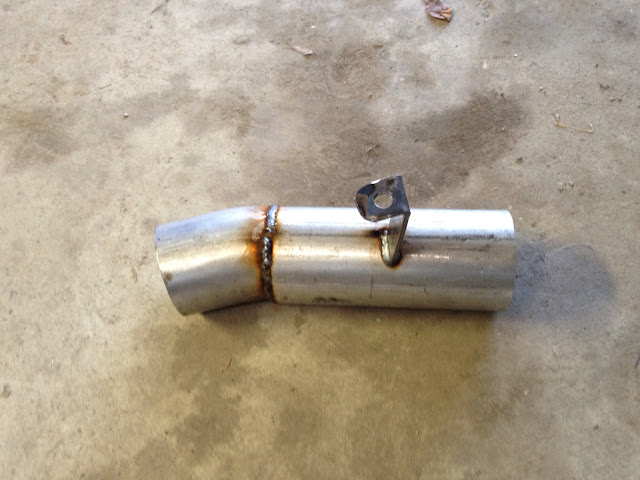
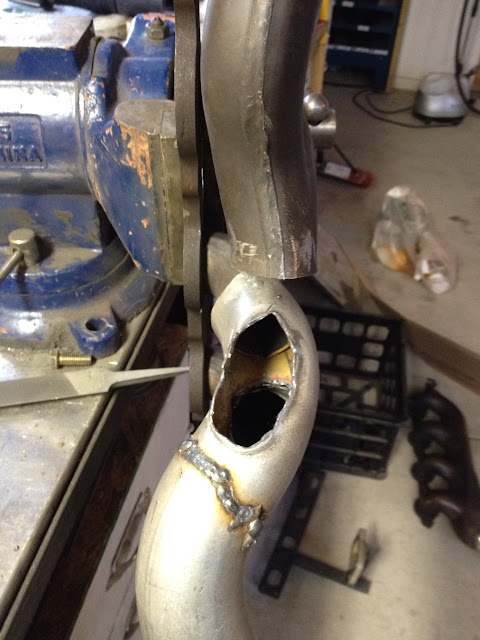
Added some piping to both manifolds and a V band clamp.
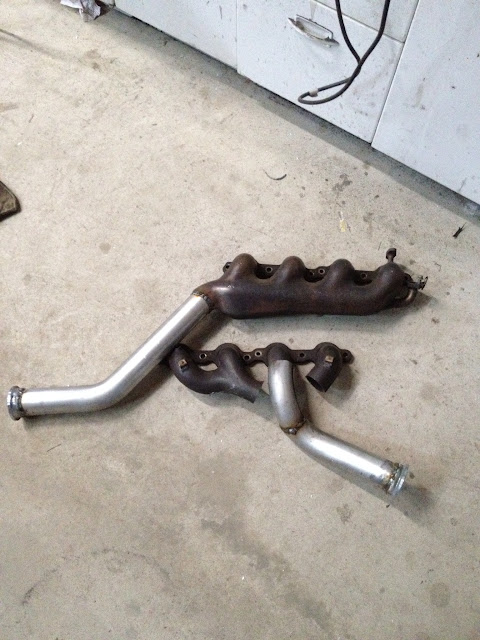
Finished up the drivers side manifold...no picture showing it fully welded. Once it comes back off the car I will get one. This was one of the compromises as things are VERY tight on the drivers side manifold area.
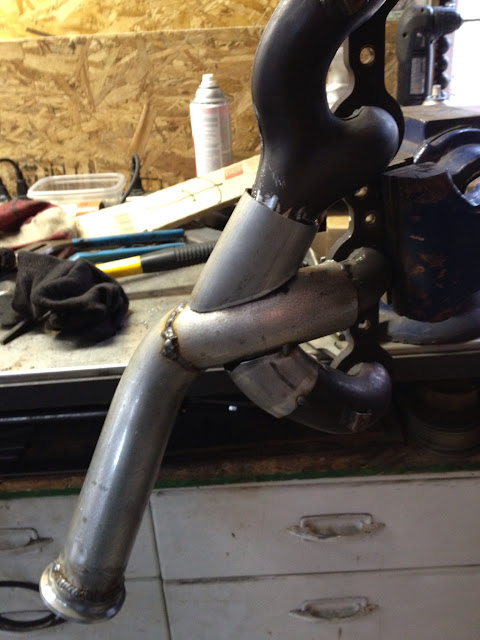
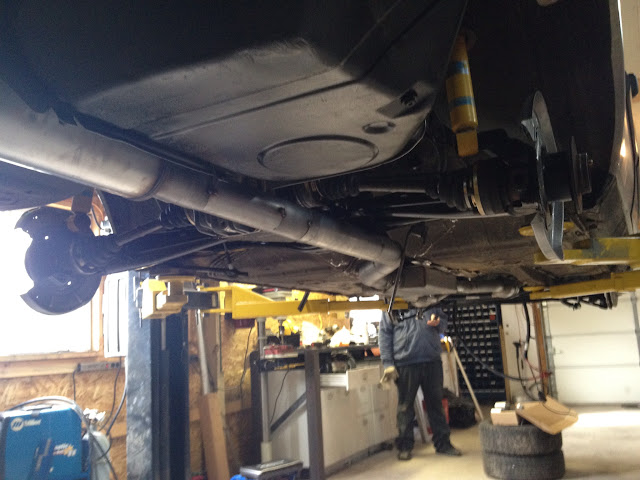
Started on the exhaust system. I would say I am 60% mocked up.....
Drivers side...I will make some heat shields for the bushings
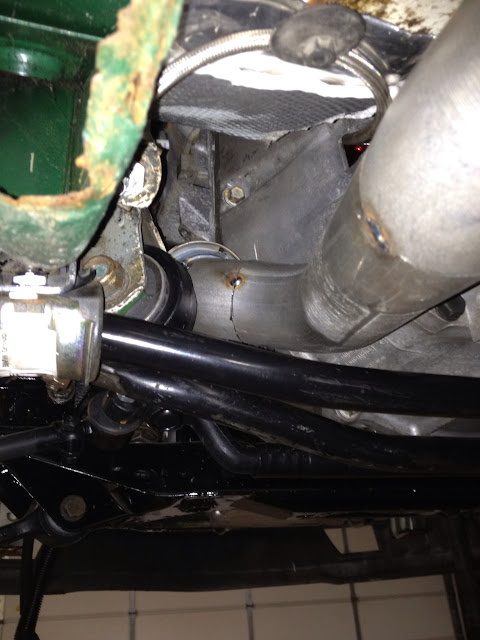
passenger side
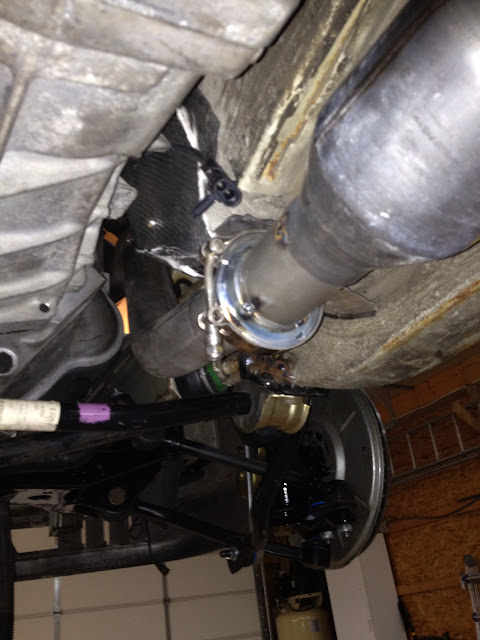


dual 2.25" into maganaflow cats, into a spintech muffler, single 3" out, into a magnaflow muffler.
I am hoping it is quiet unless I am on it.
Posted: Mar 30, 2012 7:42 PM
by 1st 5er
Posted: Mar 31, 2012 5:27 PM
by jakeb
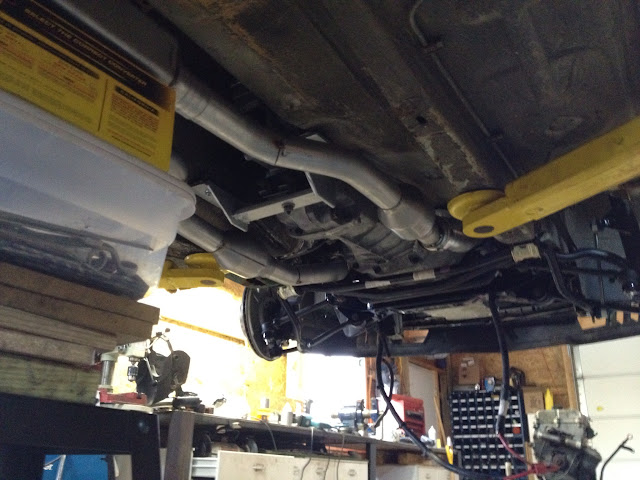
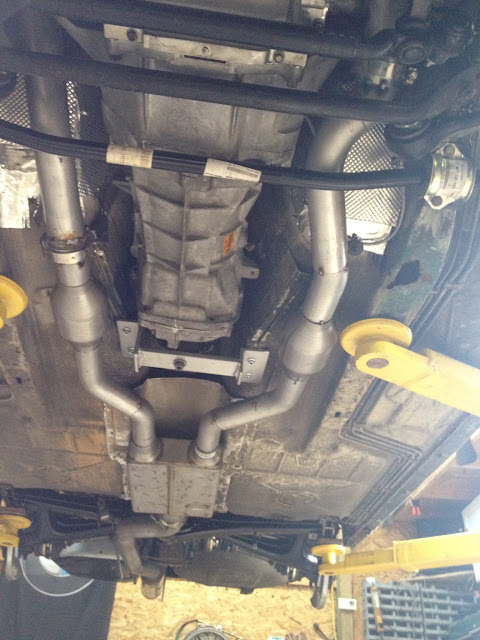
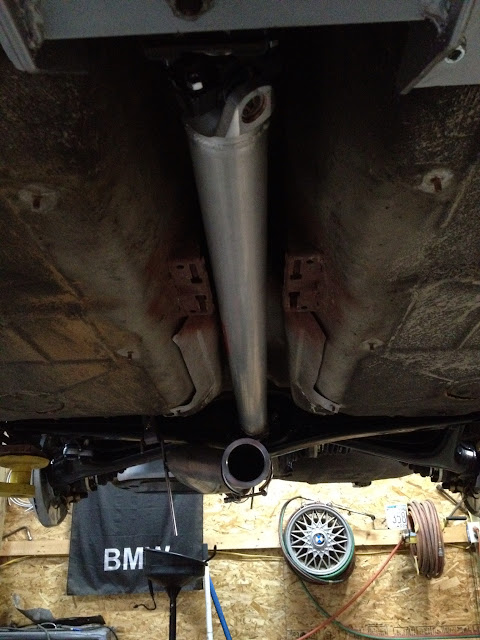
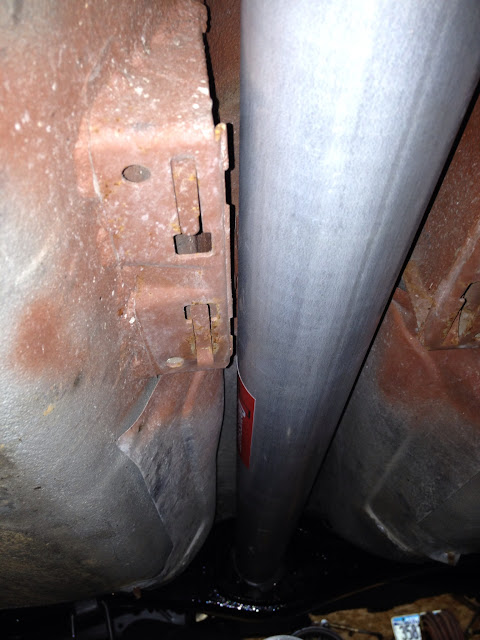
The entire exhaust is mocked up....not fully welded yet. I have it tucked up as close as I could get it. I am hoping I don't have any clearance issues....if so I will have to redo the center section.
I am REALLY happy with how it came out tho.
some pictures...

Posted: Mar 31, 2012 11:48 PM
by FastFiver
Wish I could roll up to the plant with this. I get the worst looks from the old GM guys about my fancy 30 year old car.
Posted: Apr 04, 2012 9:58 PM
by jakeb
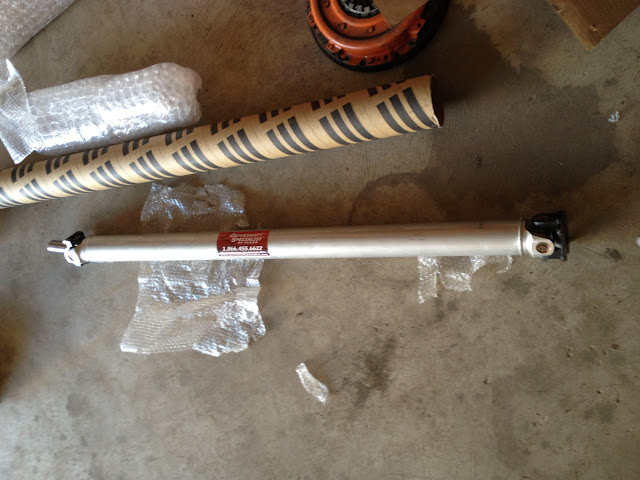
One of the last pieces of the puzzle showed up today.
Posted: Apr 04, 2012 10:14 PM
by L_N_Love
The custom driveshaft!

Posted: Apr 05, 2012 10:21 AM
by skip535i
This just gets more and more badass with every update! Keep it up!
Posted: Apr 05, 2012 5:13 PM
by Xenocide
It's almost comical how large that intake coupler is. Great work Todd, keep at it!
Posted: Apr 10, 2012 10:05 AM
by jakeb
Progress is moving along. I should be starting it next weekend if all goes well.
Driveshaft is in and fits really nice.
I might trim a little off the CSB mount as the shaft is about 1/4" away. It would probably be fine as is but a little extra clearance would give me a little piece of mind.
Rear brakes are all done...new parking brake cables, brakes, lines, etc

Power steering hoses are all figured out.
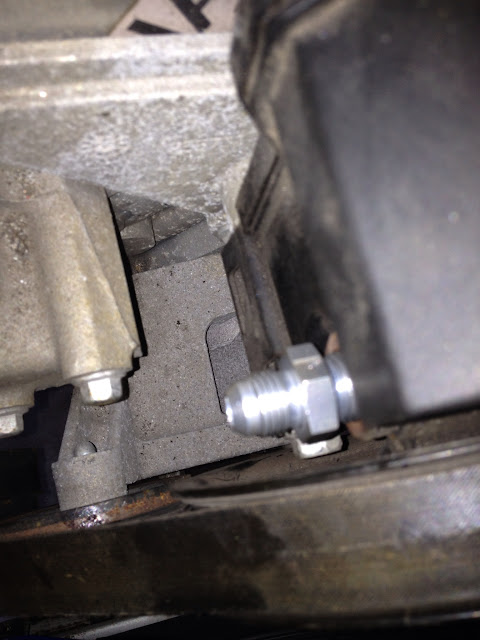
Russel adapter fitting in the GM pump to adapt to an -AN6
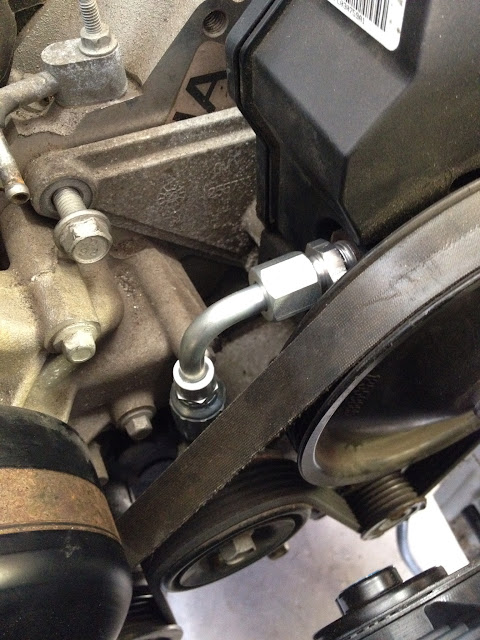
Banjo fitting to an -AN6 at the bottom of the steering box

I had a high pressure line made up at the local hydraulic shop
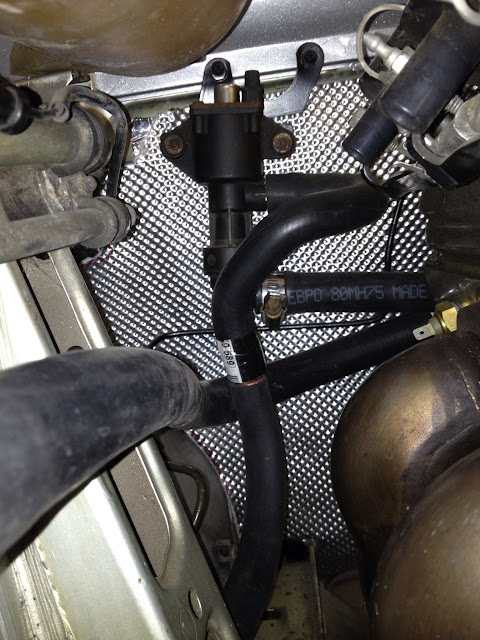
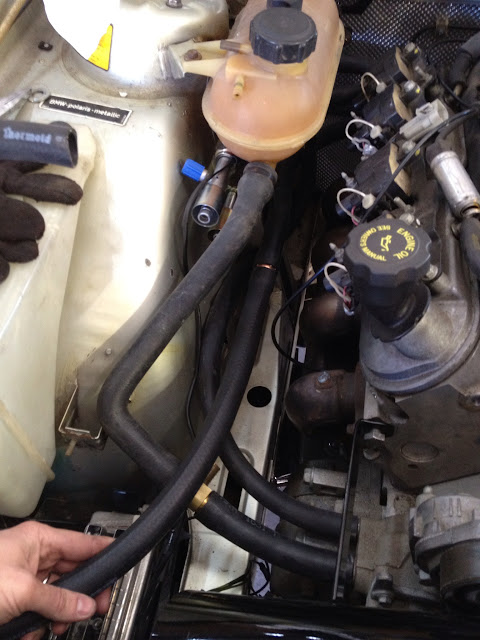
Heater valve and hoses are worked out.
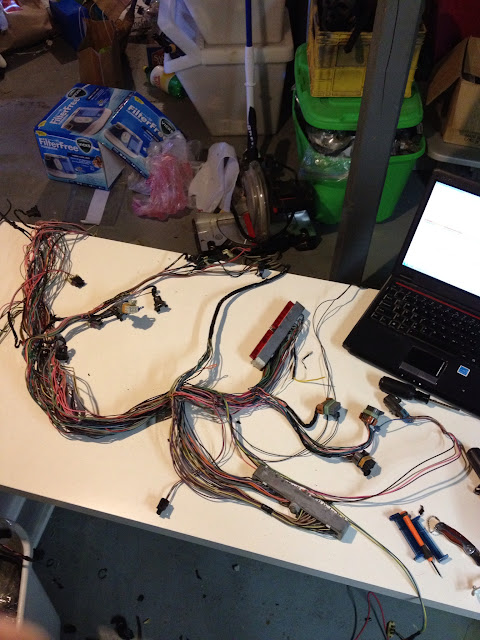
Started on the wiring....
I had to change the routing of the wires to reach the PCM. A handful of wires will have the be lengthened and some were removed.
First step was to remove all the tape from the harness. This step was not very fun....
Harness laid out and ready to pull unneeded circuits and depin the PCM connectors.
One connector depinned
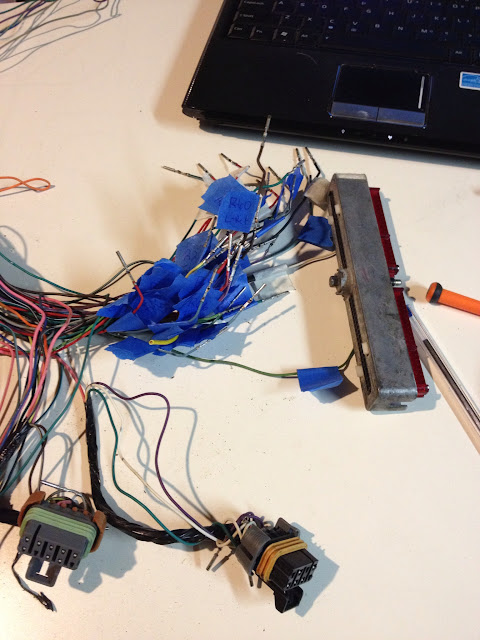
Both depinned....that's a lot of wires.
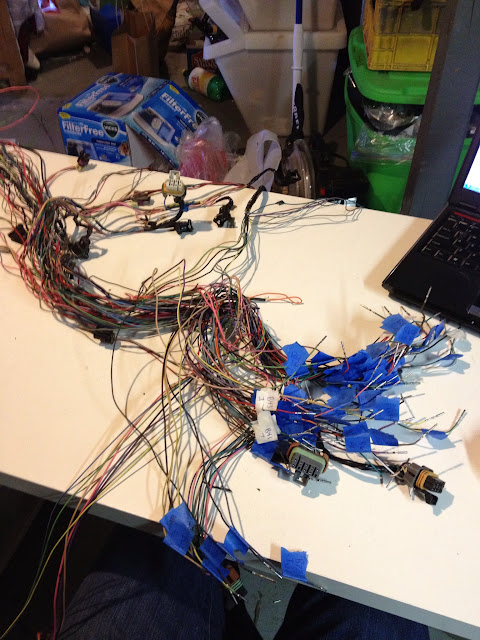
I then pulled each connector and circuit out of the bundle, cut any commons (pwr/gnd) and coiled each wire up and put it aside. Sorry no picture of this.
Then I started plugging the connectors back in on the engine and routing the wires. Injector and coils were first as they were pretty much still all in one big bundle.
You can see here that the harness will come out the front right of the engine. The PCM is down by the AC drier.
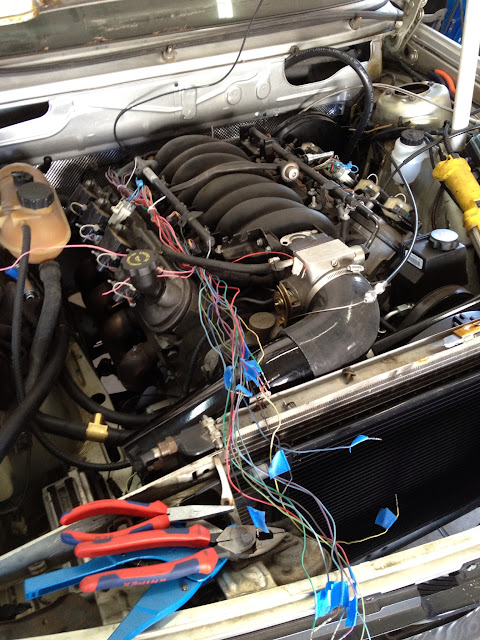
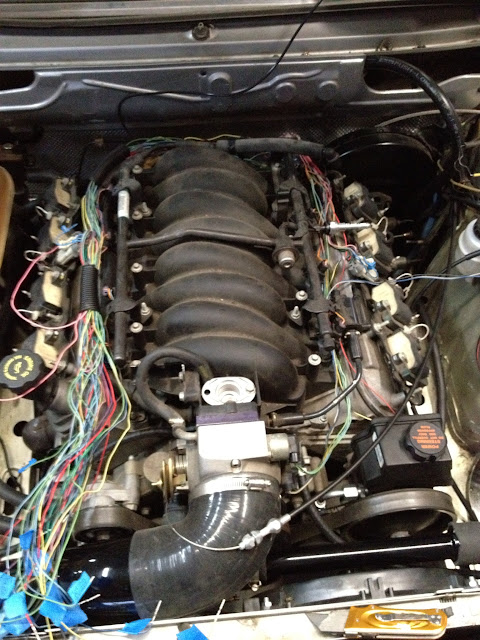

Once all the wires are where they need to go I'll bundle them all together with tape where ever wires enter and exit the harness. The entire thing will then either get covered in split loom or split mesh....still unsure which to go with at this point.
I had to have some lines brazed for the AC system so those should be here today and I can get that wrapped up. Lines crimped, etc.
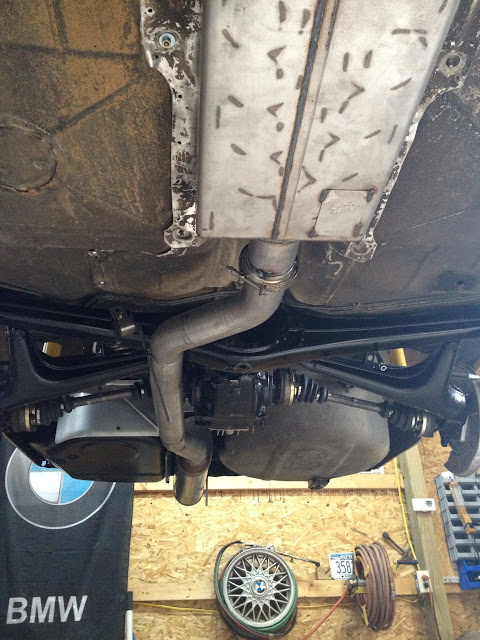
I have a smaller spintech muffler in route that will be here Thursday so I can tuck the exhaust up a bit more. I wasn't happy with 4" or less of ground clearance. I should be able to get about 6" with the new muffler. That should be fine.
Things are getting close....
Posted: Apr 10, 2012 10:10 AM
by Duke
Supercharger.................................just sayin.
Posted: Apr 10, 2012 10:11 AM
by skip535i
Holy Sh!t. I have nothing but respect for that kind of wiring skills!!
Posted: Apr 10, 2012 11:33 AM
by mattur
This is awesome. It looks like you're working very quickly on this. I wish any of my projects moved this quickly. Great Work!
Posted: Apr 10, 2012 11:45 AM
by pstl_pete
As a fellow swapped LS owner I have to say this is beyond awesome.
I plan on swapping my e28 one day and there are so many great tips in here about doing everything!
I have to thank you for taking the time to post all these photos, I know how tedious it can be to take pictures while working.
Keep up the amazing work!
Posted: Apr 10, 2012 4:33 PM
by jakeb
thanks for all the nice words guys. For some reason I really like the wiring stage. I like the planning a project as much as the project and the end result itself. So the wiring takes A LOT of that planning part especially if you want it to work and look factory.
Posted: Apr 10, 2012 5:27 PM
by 1st 5er
Skills yes, patience NO.

I see you have both...