1988 535is Ohio. 8/8/26 engine build progress, body work

Show off your E28. Read epic threads of other's builds and projects.
BDKawey
Posts: 1379
Joined: Sep 15, 2011
Location: Canton, Ohio

Re: 1988 535is Ohio. 5/4/23 zender skirts and hood insulation

Post by BDKawey »

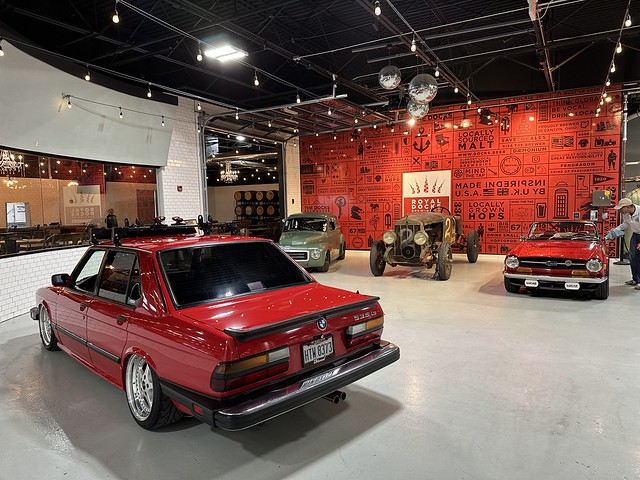
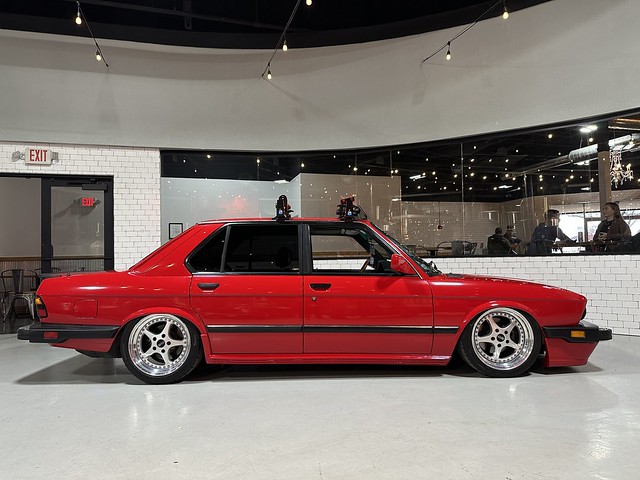
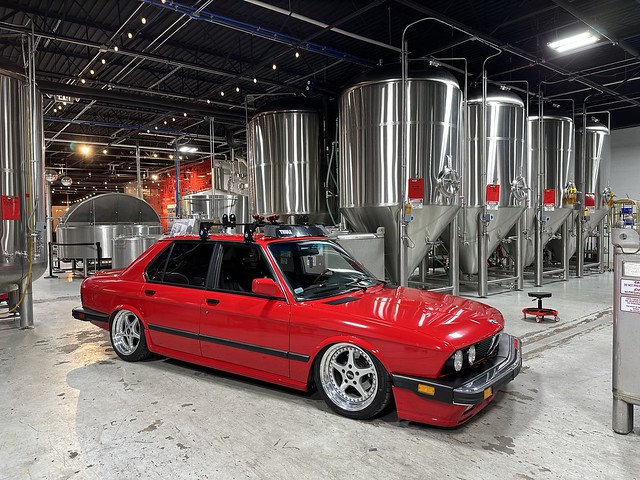
had a unique opportunity over the weekend to park inside the local brewery event space where cars and coffee is held. Season is winding down so this is probably it. I dont feel like cleaning it again to put it away :laugh:
ImageUntitled by Aaron Wey, on Flickr
jonnjojam
Posts: 4
Joined: Jun 08, 2024
Location: 07731

Re: 1988 535is Ohio. 5/4/23 zender skirts and hood insulation

Post by jonnjojam »

Love the wheels. Nice work!
BDKawey
Posts: 1379
Joined: Sep 15, 2011
Location: Canton, Ohio

Re: 1988 535is Ohio. 11/11/25 Turbo stuff has begun

Post by BDKawey »

if anyones been following my other build this shouldnt be a surprise. winter has begun and its time to start coming together with this powertrain. next up will be mounting the intercooler and confirming charge pipe fitment before it gets finish welded. the harness is partially mocked up from the rusty car but ill finish that in the red from this point on before I pin it. then the motor will come out for a gasket refresh and a clutch.

the build will likely just carry on on this thread from here forward. also i dont know why these pictures look so bad

  Image


  Image

 
BDKawey
Posts: 1379
Joined: Sep 15, 2011
Location: Canton, Ohio

Re: 1988 535is Ohio. 11/11/25 Turbo stuff has begun

Post by BDKawey »

update, slowly getting things together. hoping to have all the downpipe and boost pipes finish welded next week but otherwise been doing things to throw the half mocked up harness back in and be ready to pin and loom it. fuel system together with deka 60 injectors, kirban adjustable fuel pressure regulator, and a GM flex fuel sensor. I did the math on the oval in the firewall for the engine harness and found this haltech grommet thats the equivalent circumference as of the oval perimeter, should be good for my harness despite its distorted to an oval. otherwise I'll just design a grommet in to get printed in TPU 

  Image


  Image


  Image


  Image


  Image


  Image


BDKawey
Posts: 1379
Joined: Sep 15, 2011
Location: Canton, Ohio

Re: 1988 535is Ohio. 2/24/2026 motor runs, bay paint time

Post by BDKawey »

Finished up the main engine wiring harness and coil sub harness. was able to fire the motor right up without the turbo. lacking more pictures.
Image
designed this reverse direction spark plug wire cover, printed in PETG-CF17, needs some revisions and reprint the top half but for now I'm happy and have other work to do.


  Image

motor is now pulled to do body work, shaved brackets I'm not using and I knew my battery tray was a little rusty but turns out its also cracked, waiting on an aftermarket replacement panel right now while i finish prepping the bay and cutting out the old tray. they sure went heavy with the cosmoline on my car. its everywhere.

  Image


  Image

  Image


BDKawey
Posts: 1379
Joined: Sep 15, 2011
Location: Canton, Ohio

Re: 1988 535is Ohio. 2/24/2026 motor runs, bay paint time

Post by BDKawey »

car is back from paint! my buddy's collision shop painted it and had him replace the battery tray with one of those overseas aftermarket panels, pretty sure they all come from the same supplier, fitment was just okay it does the job. cosmoline kicked my ass, particularly on the seam seal and the easiest thing to do was just wire wheel it all off and have him redo it.
  Image

  Image


  Image


  Image


I have the block torn apart for main and rod bearings, rings, rebuilding the head with new ireland engineering HD rocker arms, shafts and rocker collars. I work at Trick Flow and am able to clean and refinish my head at work. Ill also likely be measure and assemble the block there too.


  Image


  Image

por15'd the block and fresh freeze plugs
  Image


after soaking in some cleaner
  Image

and I used a buddy's homemade vapor honing cabinet to clean up everything else.
  Image

  Image

Image

 
austin8753
Posts: 1551
Joined: May 16, 2010
Location: Portland, Oregon, USA

Re: 1988 535is Ohio. 3/30/2026 bay painted, engine disassembly, vapor blast

Post by austin8753 »

very nice job. keep up the good work.

A
BDKawey
Posts: 1379
Joined: Sep 15, 2011
Location: Canton, Ohio

Re: 1988 535is Ohio. 3/30/2026 bay painted, engine disassembly, vapor blast

Post by BDKawey »

austin8753 wrote: Mar 31, 2026 1:19 AM very nice job. keep up the good work.

A
Thank you sir! Feels like we’re behind schedule for summer but whatever at this point. Just have to keep pushing and try to not rush things
BDKawey
Posts: 1379
Joined: Sep 15, 2011
Location: Canton, Ohio

88 535is Ohio. 8/8/26 engine build progress, body work

Post by BDKawey »

installed some DEI heat shield in the trans tunnel and firewall
  Image

  Image

Brought the engine to work to blue print it, ended up ordering some 92.5mm 8.5:1 CP carrillo forge pistons and SP connecting rods.
  Image

while waiting for engine components to be manufactured I figured I had enough time to give the car a new wrap, this car had a not so great respray at some point and removing the wrap was a disaster. I knew it would be based on the few issues I had when I wrapped it 4 years ago. the car is getting blocked down to factory primer and then I'm doing body work and more primer before rewrapping. unfortunately with an engine build now, full paint job isn't in the budget right now 
  Image


  Image


  Image

engine back from the machine shop, it went after pistons and rods came, bored and decked with the timing cover. currently waiting on .25mm undersized main bearings so the crank can go to the shop to be sized/polished and balanced. Big shout out to Mike Holtmeier for lending me his torque plate. 
  Image

I designed a fixture that allows you to easily drill and tap a hole to intersect the rocker shaft to hold it in place when using ARP head studs. if you'd like to download and print one to use on your project you can find it here

shortly I will get the engine washed up and size my rings while i wait for bearings, working on getting my head built on my lunch breaks when I can.

Image


  Image
 Image


Post Reply