

I'm not sure on the trans weight but s14 vs s85 is about 200lbs. The s85 is far from a small engine.Lubehead wrote:Do you know the weight of the V10 and tranny compared to the original engine and trans?
Blunttech / Classic Daily S85 V10 E30 M3 Swap
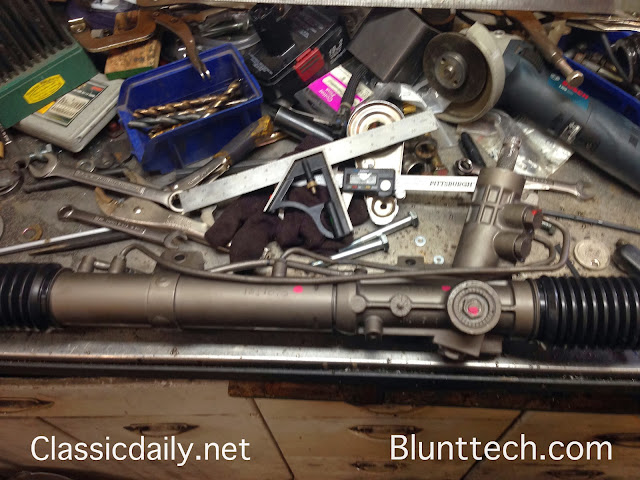
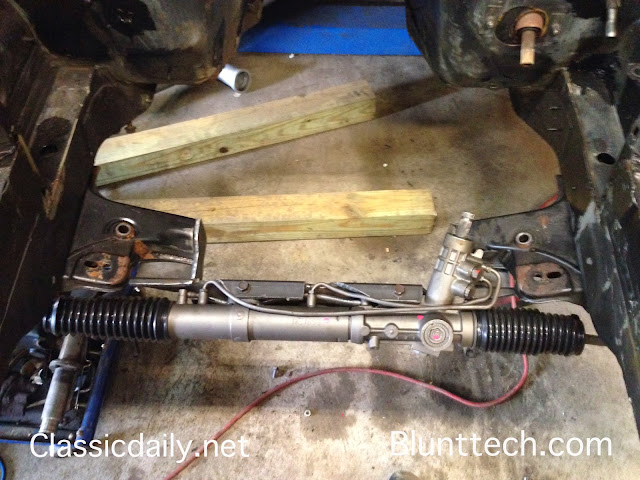
So to limit the amount of oil pan that has to be cut we are going to mount the steering rack as tight as possible. We are using a 2.7 turn Z3 rack and moved the lines to the top/front of the rack rather than the front. As seen here.
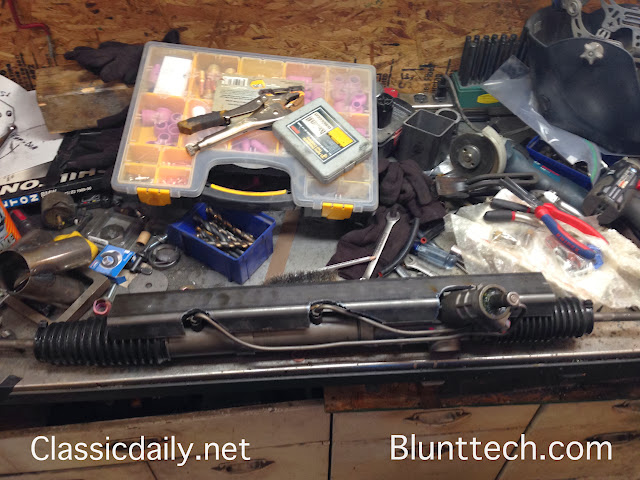
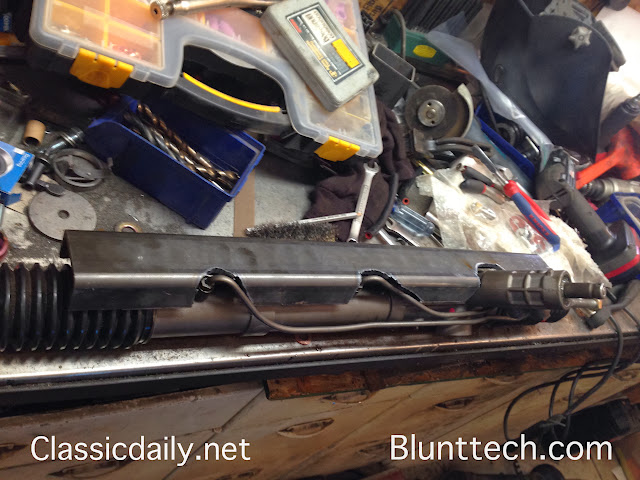
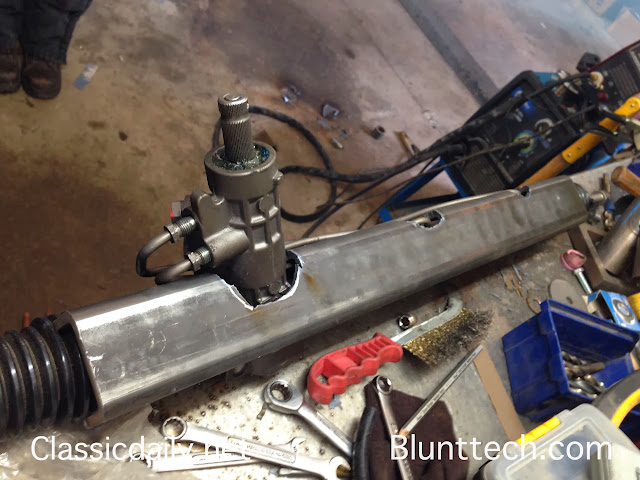
To mount the rack tight as possible the subframe is also the mounting spot. This started as 2" - 0.25 wall box and was cut down into a C. A few spots had to be notched out to make it all fit around the rack. This was cut witha plasma and still needs to be cleaned up a little.
Bolted to the jig
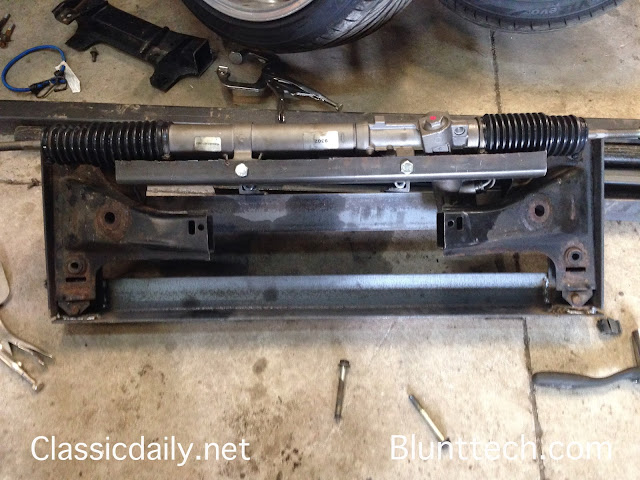
Starting to connect the dots
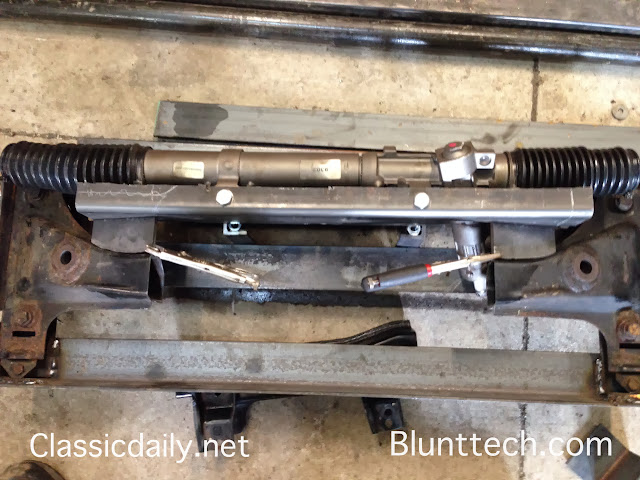
Trimmed down and more pieces tacked in.
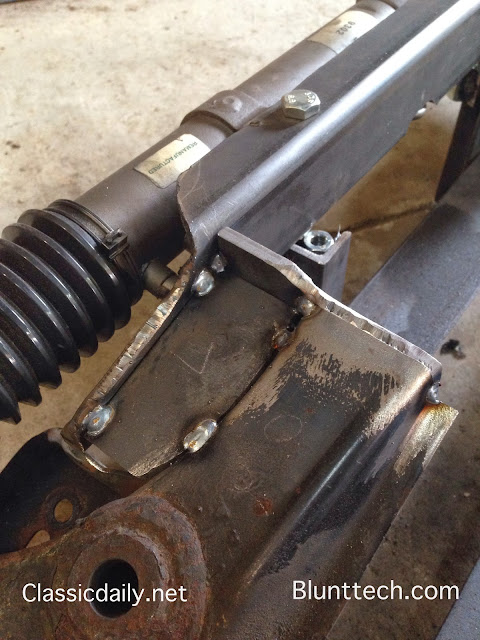
Out of the jig
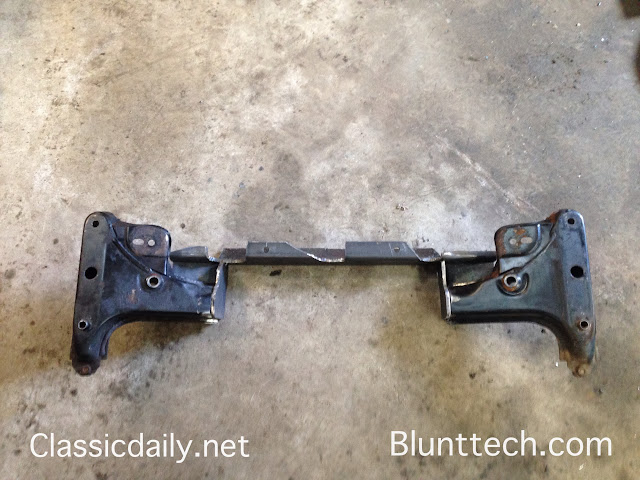
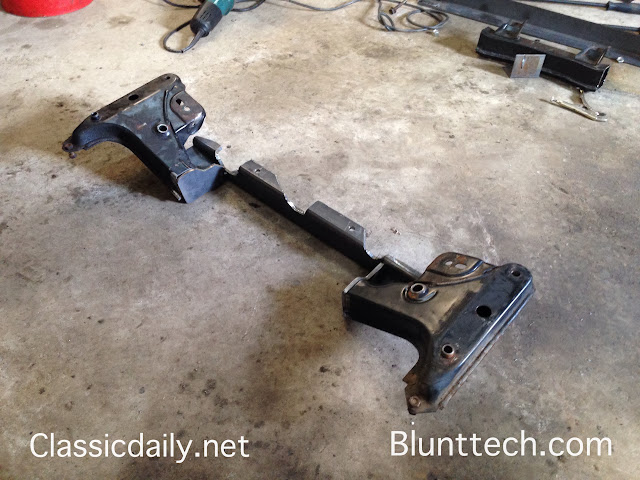
In the car
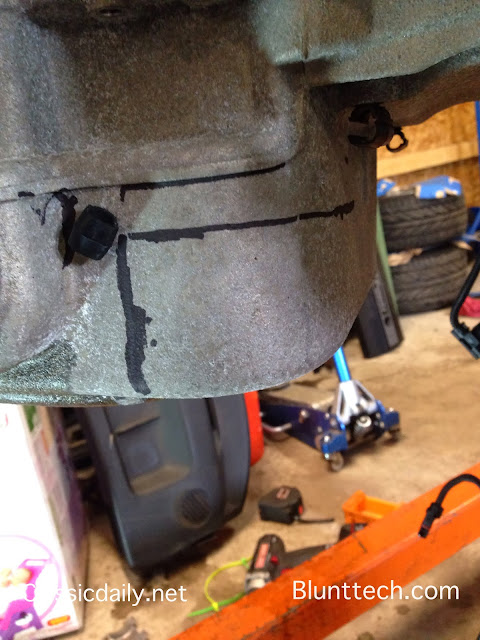
About how much will need to be trimmed from the pan.
Now this subframe is FAR from done. It will get a lot more reinforcements but we are still at the, "lets make it all fit" stage.
To mount the rack tight as possible the subframe is also the mounting spot. This started as 2" - 0.25 wall box and was cut down into a C. A few spots had to be notched out to make it all fit around the rack. This was cut witha plasma and still needs to be cleaned up a little.
Bolted to the jig
Starting to connect the dots
Trimmed down and more pieces tacked in.
Out of the jig
In the car
About how much will need to be trimmed from the pan.
Now this subframe is FAR from done. It will get a lot more reinforcements but we are still at the, "lets make it all fit" stage.


 Freakin' awesome though...
Here is one more....
There is a little more on my site, www.classicdaily.net . I post the updates there a couple days before hitting all the forums.
Also updates on instagram as I do work. @classicdaily
There is a little more on my site, www.classicdaily.net . I post the updates there a couple days before hitting all the forums.
Also updates on instagram as I do work. @classicdaily
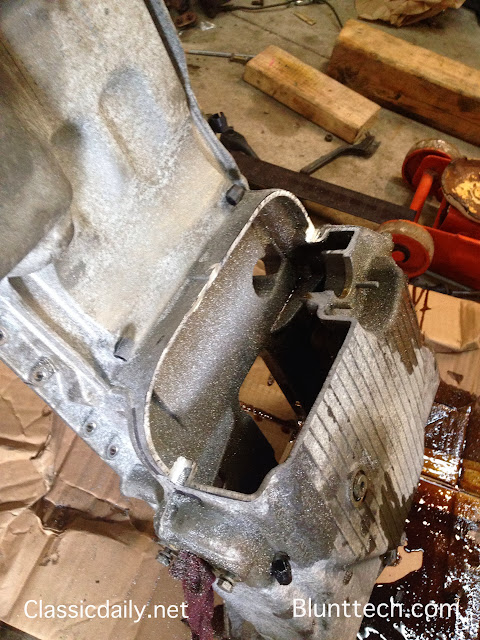
Pulled the pan to cut it apart.
Engine is VERY clean inside.
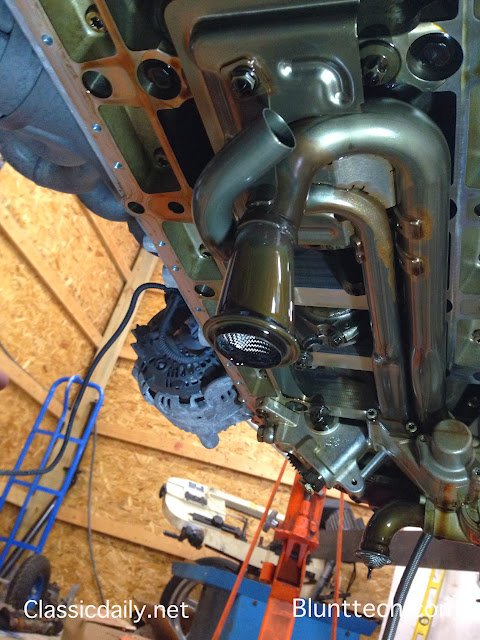
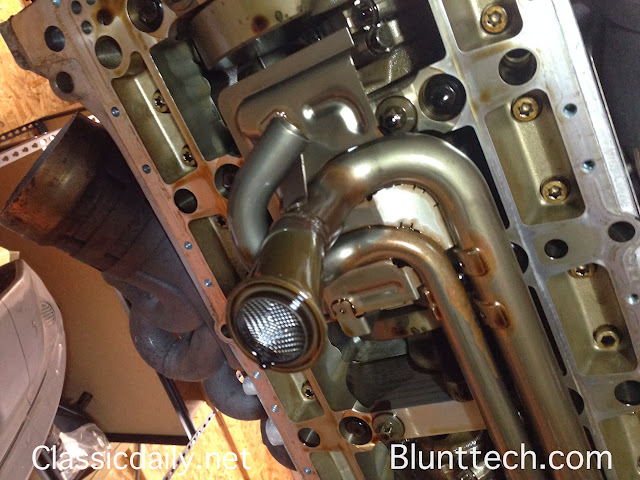
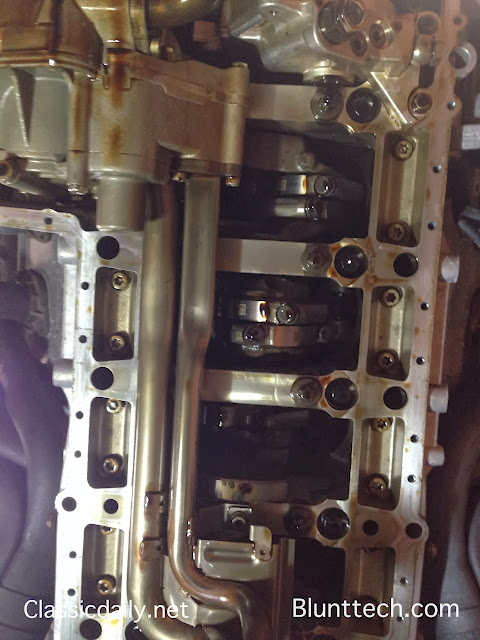
Time to cut the pan...
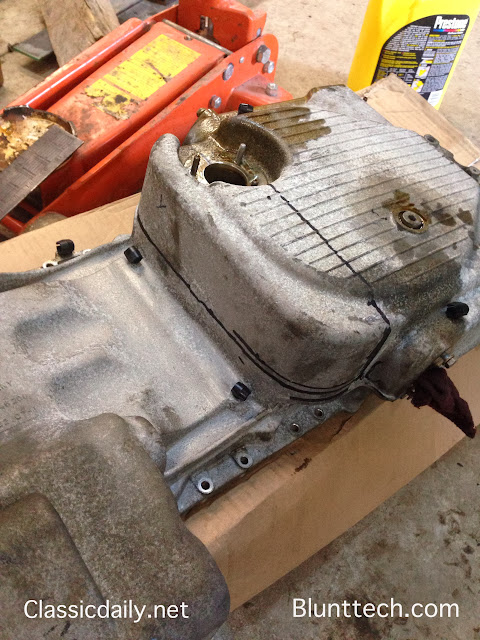
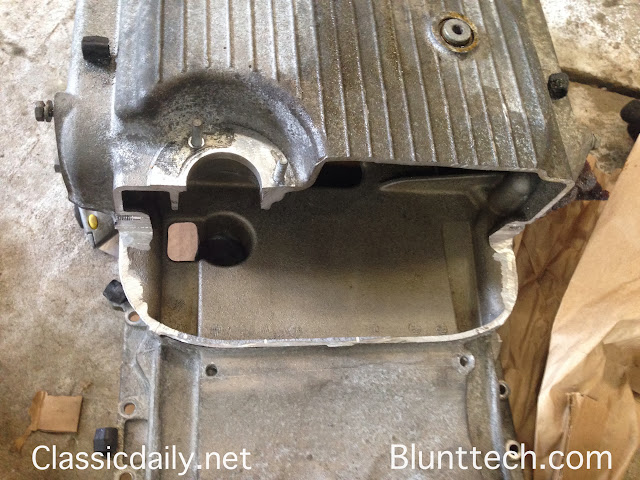
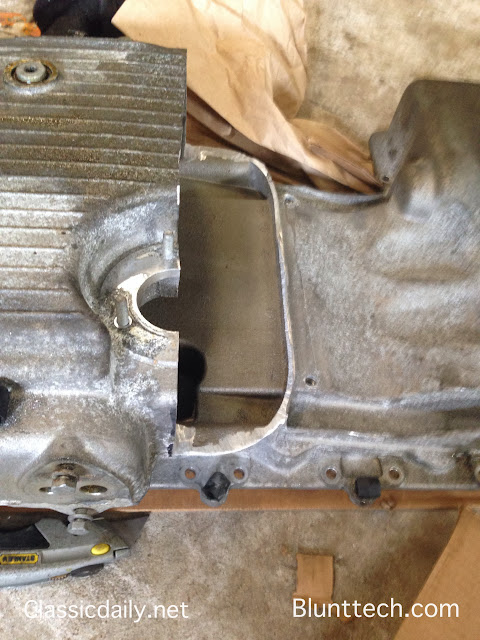
To keep it sealed up
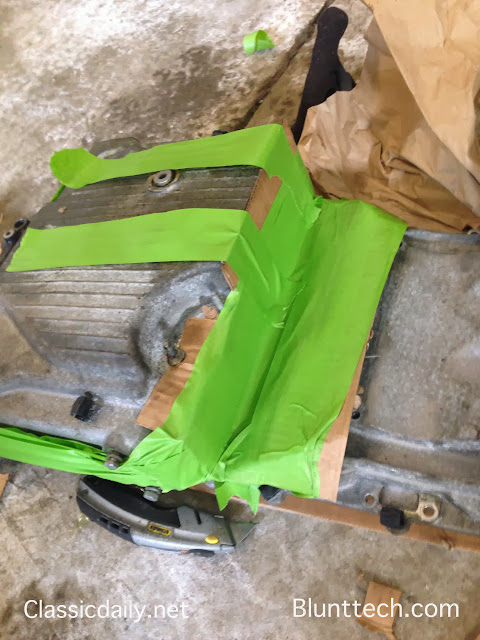
This picture is without the trans on. The pan actually sits closer than this to the subframe/rack mounting.
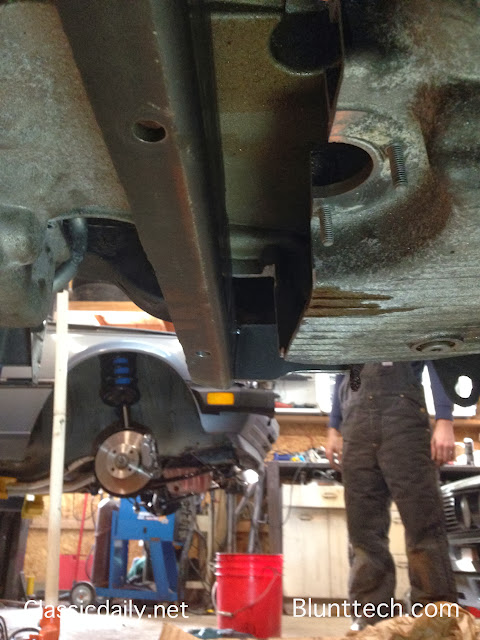
The trans tunnel had to be opened up in one spot to get things to fit better.
A little bit of heat and a hammer did the job.
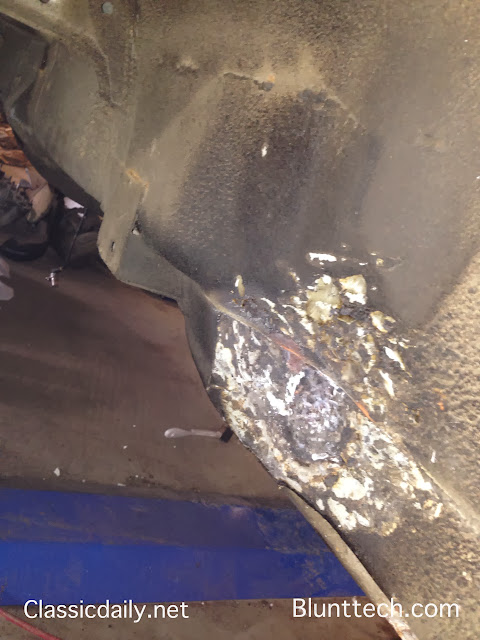
Getting closer to it's final home
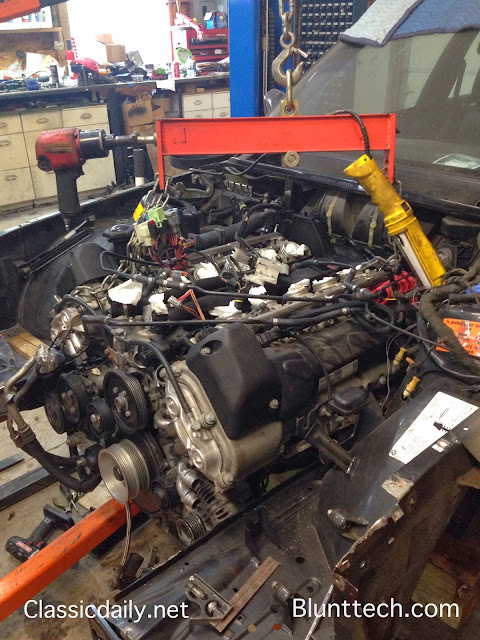
Engine is VERY clean inside.
Time to cut the pan...
To keep it sealed up
This picture is without the trans on. The pan actually sits closer than this to the subframe/rack mounting.
The trans tunnel had to be opened up in one spot to get things to fit better.
A little bit of heat and a hammer did the job.
Getting closer to it's final home
A bit of a slow down with all my projects while I was moving to my new shop. Things are finally moving ahead again so it's time I update some build threads...
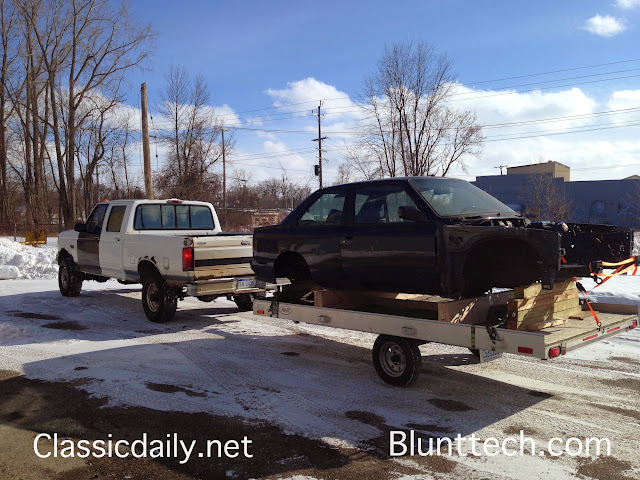
First of all the shell was moved from my home shop to a much bigger space. Let me tell you moving this car was nothing sort of scary. I am sure it was well more secure and nothing was going to happen.
Some pics of it's trip.
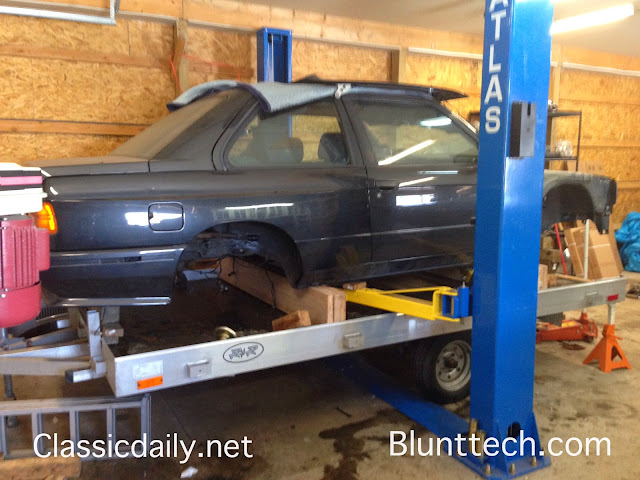
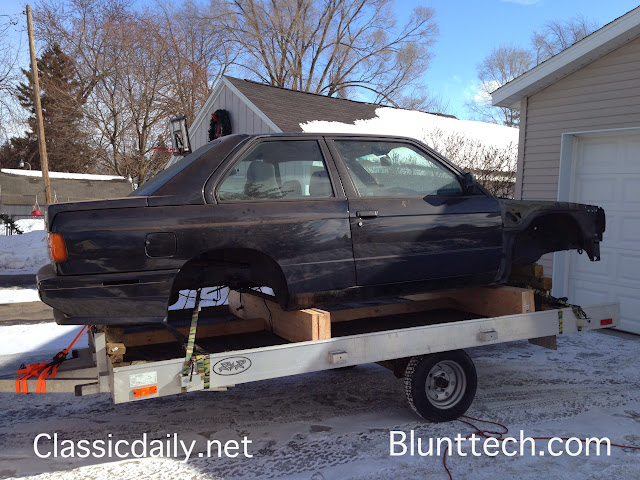
made it....
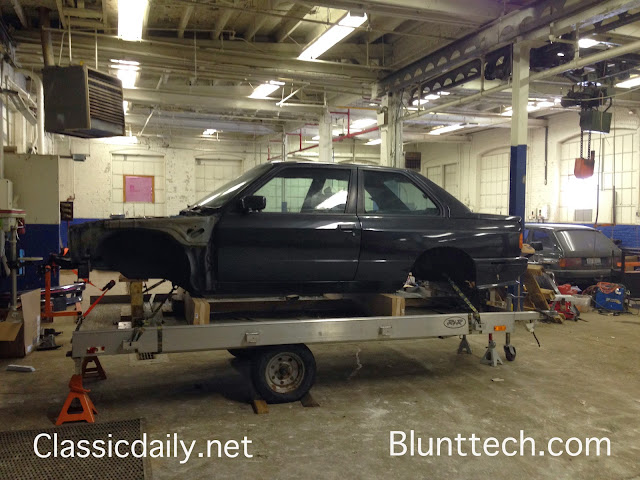
Back on a lift..

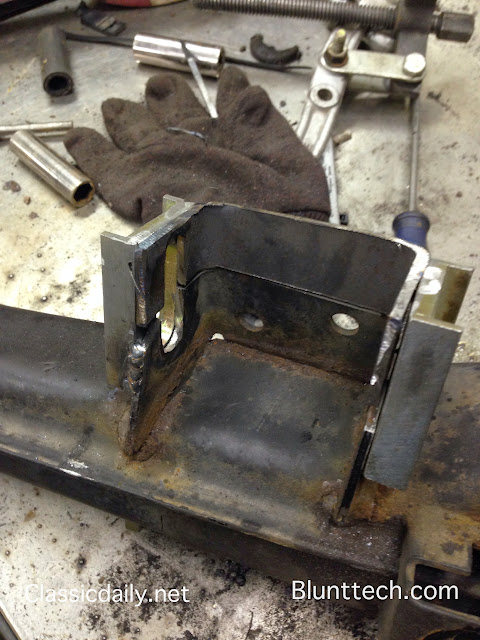
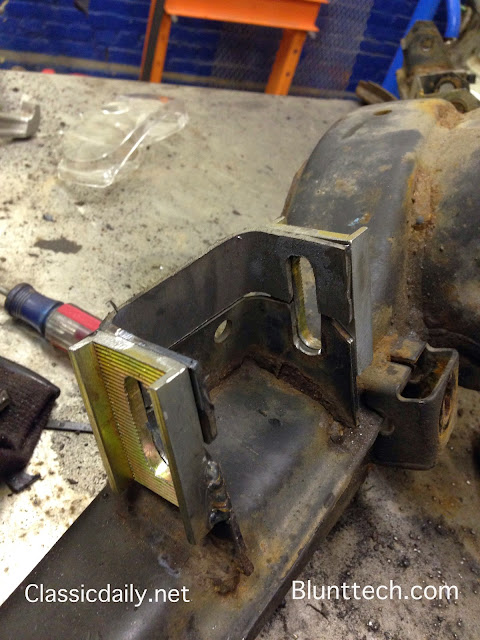
Working on the toe and camber adjusters on the rear subframe.
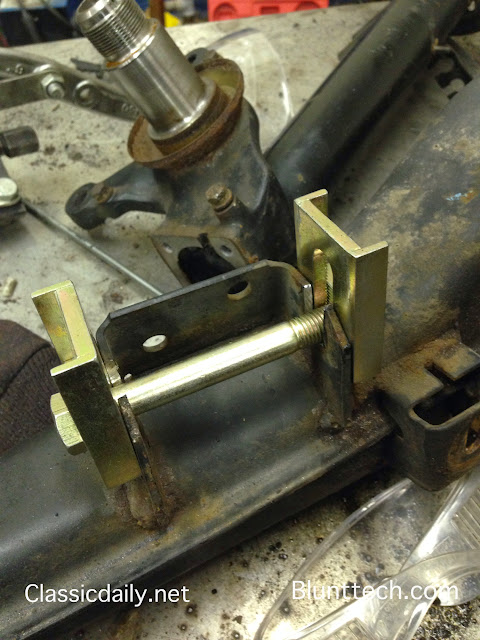
I didn't like how much was unsupported so I extended it some.
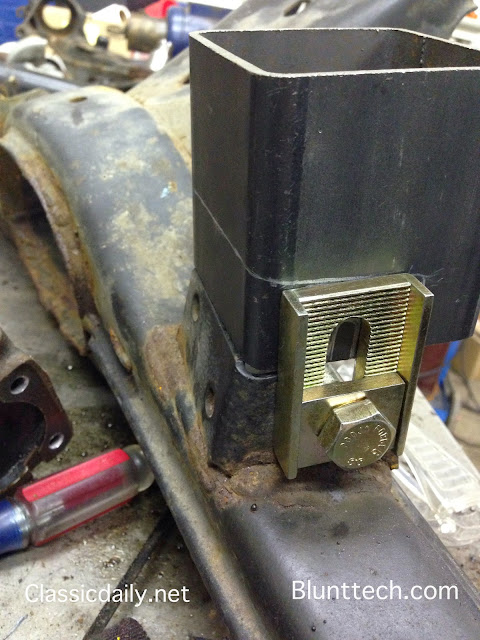
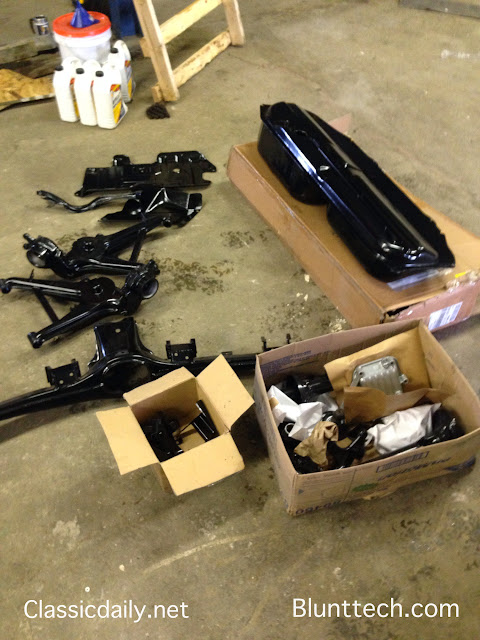
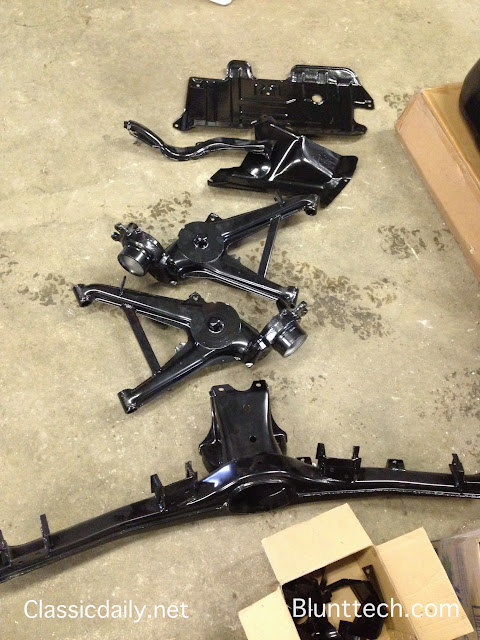
Freshly powdercoated bits
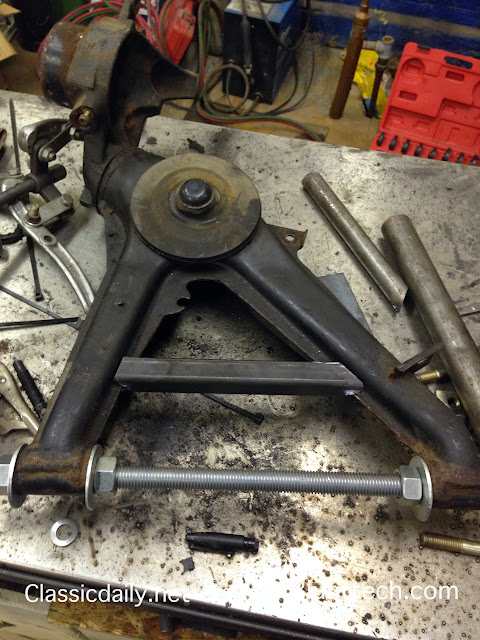
reinforcing trailing arms
A couple pictures of what has been holding things up...
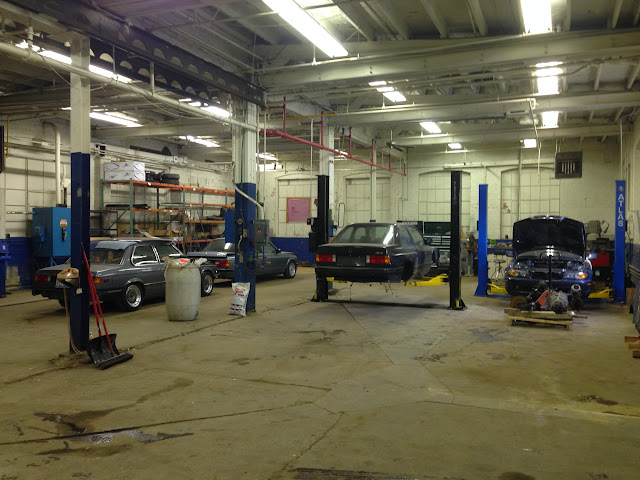
New shop
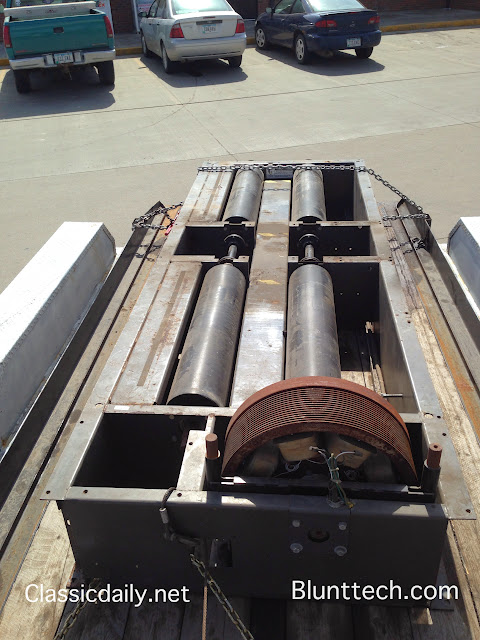
and a new toy...
First of all the shell was moved from my home shop to a much bigger space. Let me tell you moving this car was nothing sort of scary. I am sure it was well more secure and nothing was going to happen.
Some pics of it's trip.
made it....
Back on a lift..
Working on the toe and camber adjusters on the rear subframe.
I didn't like how much was unsupported so I extended it some.
Freshly powdercoated bits
reinforcing trailing arms
A couple pictures of what has been holding things up...
New shop
and a new toy...
-
Adam W in MN
- Posts: 5055
- Joined: Feb 12, 2006
- Location: Don't waste my motherf***in' time!
- Contact:
Steve flew in to do some work on the M3 last week....
Got the bottom all re undercoated.
Before
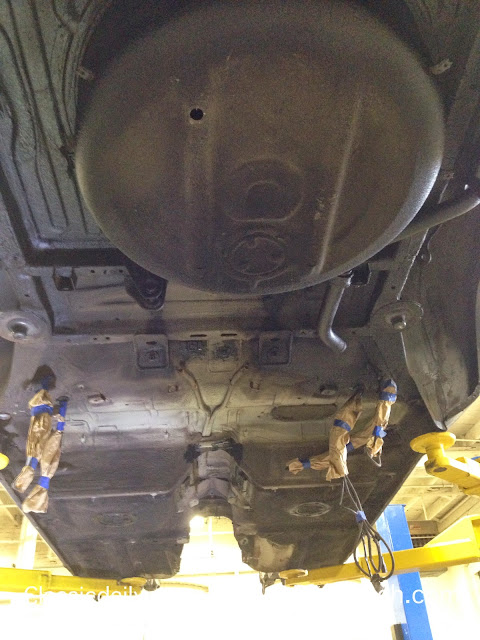
After

Fresh rear subframe and painted diff bolted up.

Subframe in and trailing arms bolted up..new bushings, bearings, etc etc etc

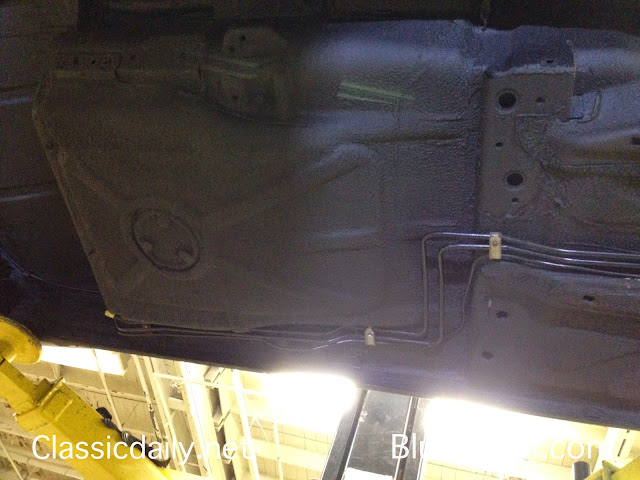
undercoated in the wheel wells too


New brake and fuel lines run

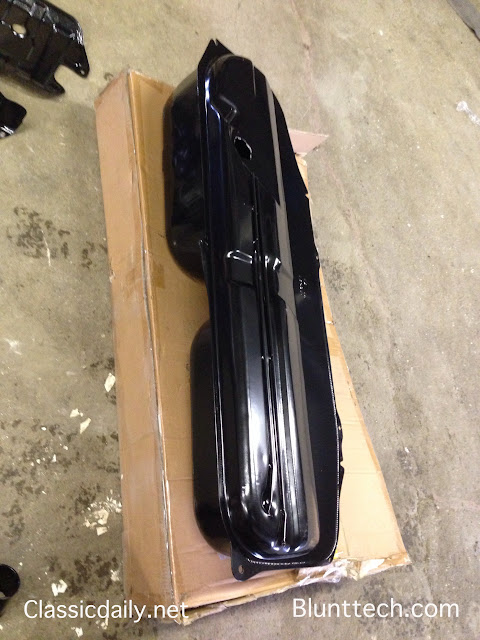
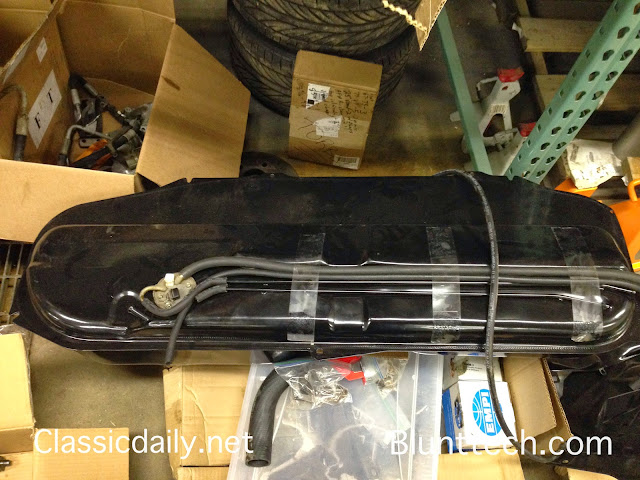
Gas tank ready to go in
Got the bottom all re undercoated.
Before
After
Fresh rear subframe and painted diff bolted up.
Subframe in and trailing arms bolted up..new bushings, bearings, etc etc etc
undercoated in the wheel wells too
New brake and fuel lines run
Gas tank ready to go in
-
Eddie in TO
- Posts: 1007
- Joined: Feb 12, 2006
- Location: Toronto, Ontario, Canada
- Contact:

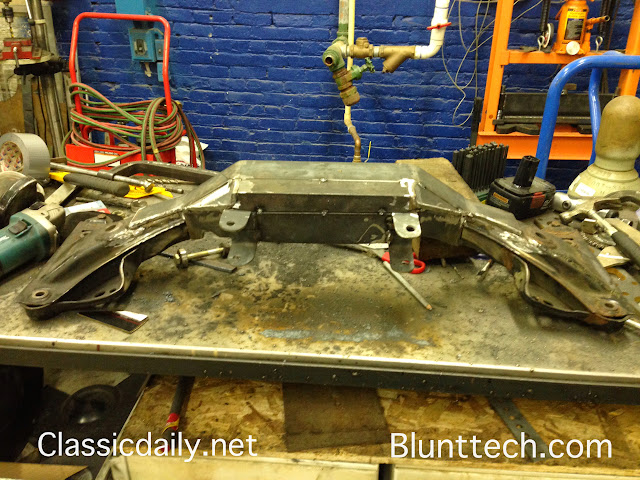
Well the subframe from before was a bust.... The z3 steering rack was wanting to be in the same spot as the header. So we start again.
The engine about in it's final location

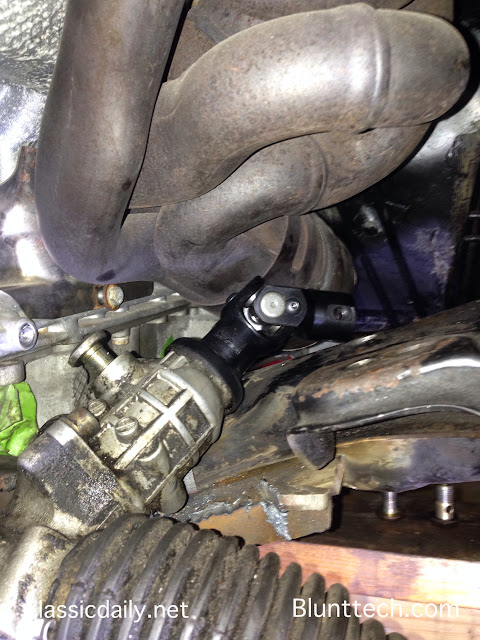
This is the e30 m3 rack rotated slightly down to clear the header.
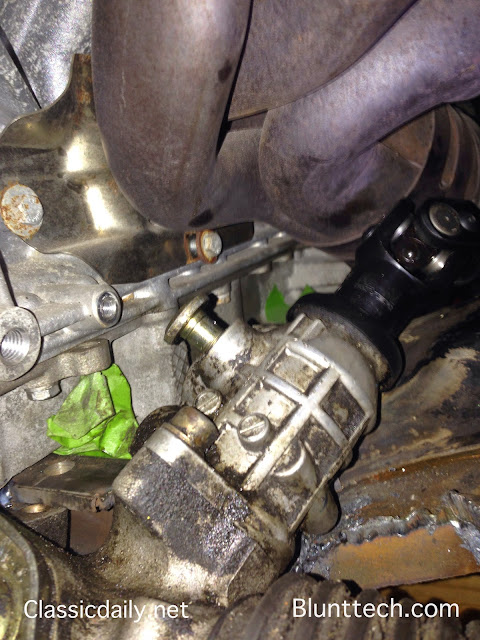
Rack in it's new home in the subframe jig.
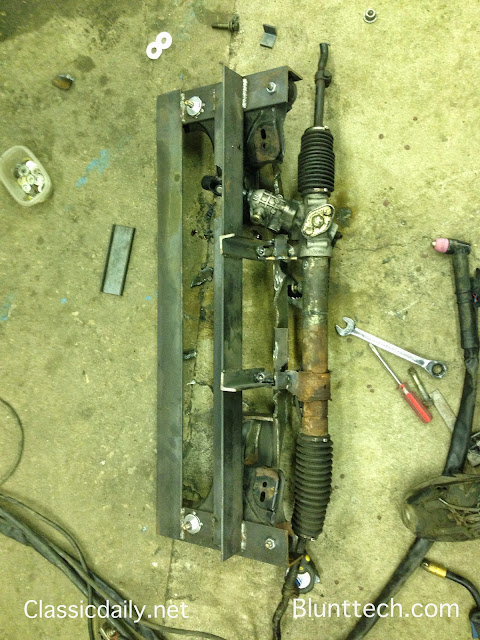
Bending a piece to connect the dots

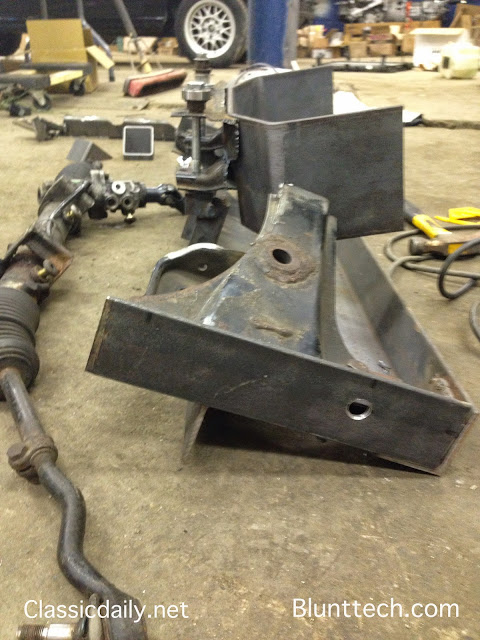
Trimmed down and tacked together
Testing and ears for rack

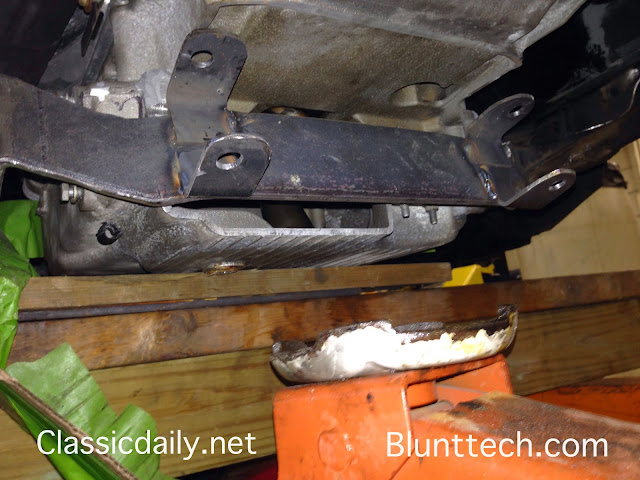
Boxing it in
You can see a piece of bent plate going under the pan here. This piece was fun to make.
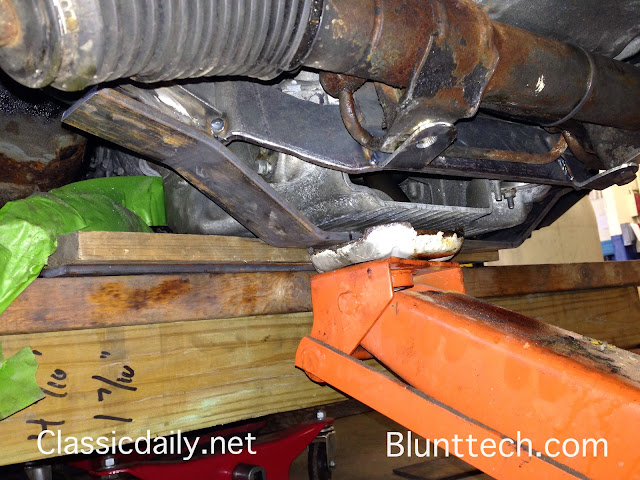
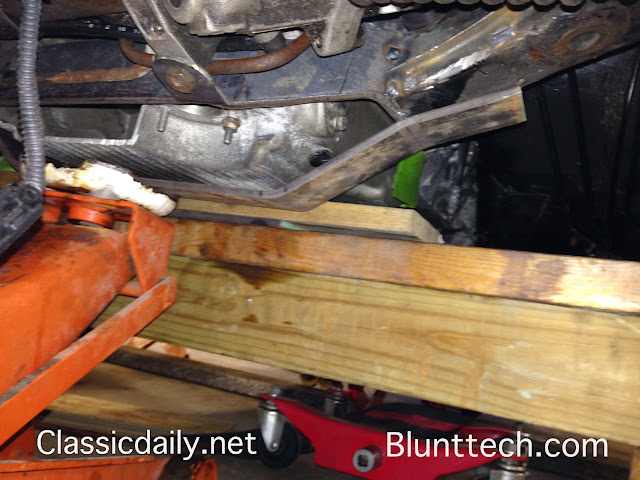
Tacked together
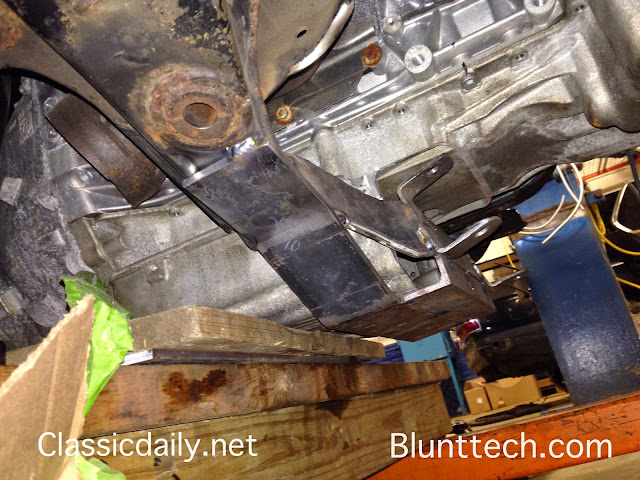
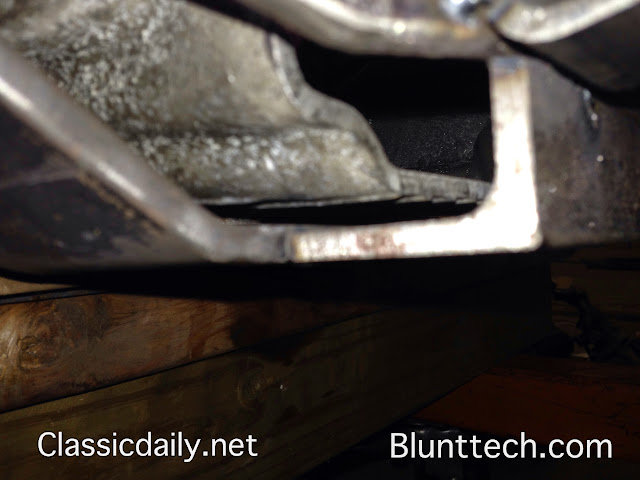
Clearance to the pan...around 1/8-1/4"
Out of the car
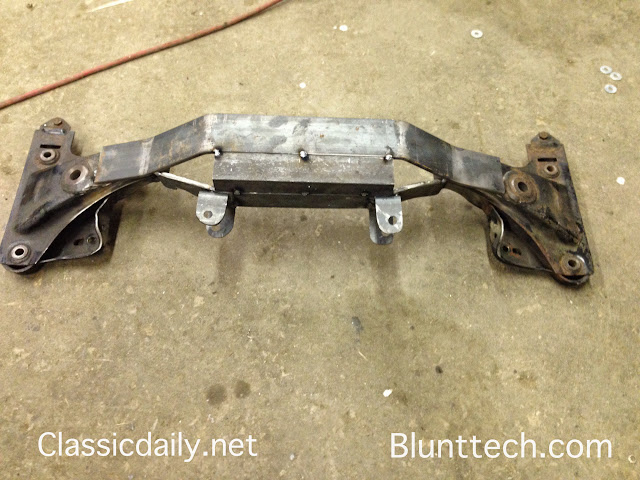
I really like how this part came out. Some little open holes still.
Before (opposite side of after pic)
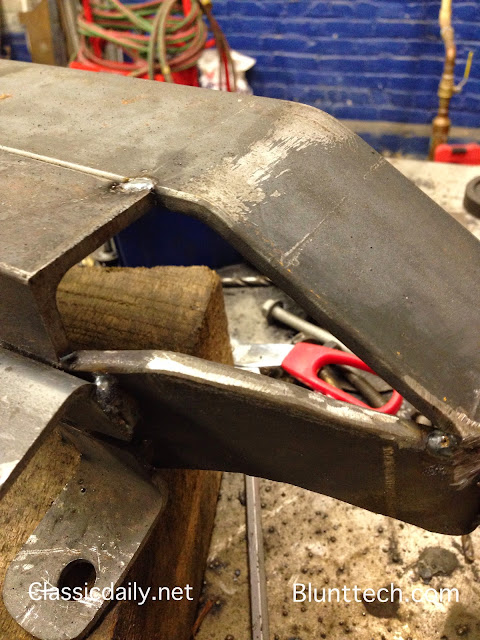
After
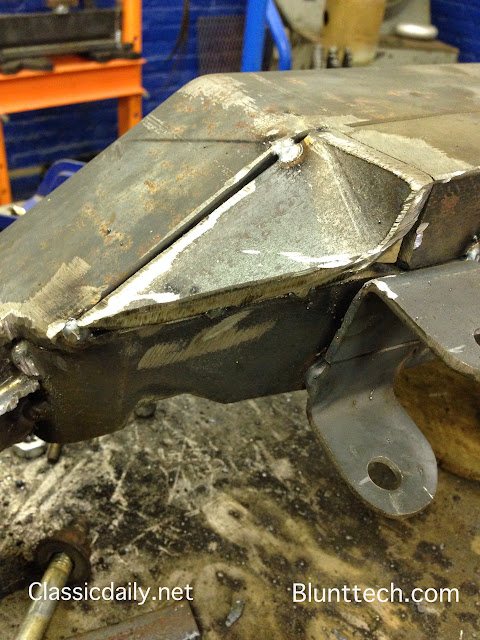
Still more cleanup needed.
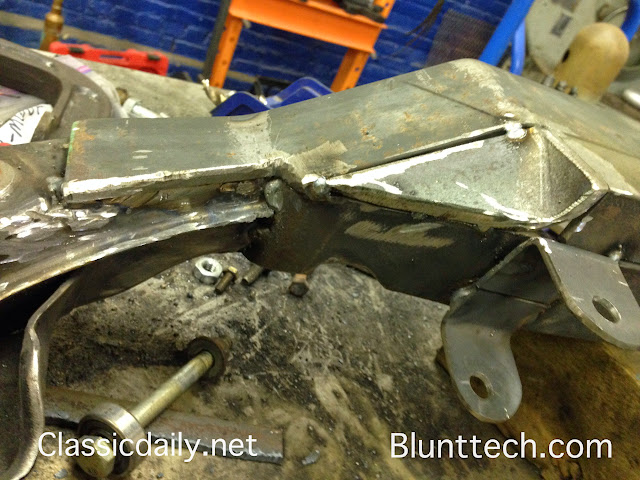
Entire thing before welding...
Also if you are going to vintage in NC this coming weekend this car will be there. Not done but it will be there to check out.
The engine about in it's final location
This is the e30 m3 rack rotated slightly down to clear the header.
Rack in it's new home in the subframe jig.
Bending a piece to connect the dots
Trimmed down and tacked together
Testing and ears for rack
Boxing it in
You can see a piece of bent plate going under the pan here. This piece was fun to make.
Tacked together
Clearance to the pan...around 1/8-1/4"
Out of the car
I really like how this part came out. Some little open holes still.
Before (opposite side of after pic)
After
Still more cleanup needed.
Entire thing before welding...
Also if you are going to vintage in NC this coming weekend this car will be there. Not done but it will be there to check out.

 . Maybe next...


Re: Blunttech / Classic Daily S85 V10 E30 M3 Swap
This update is from a few weeks ago but just finally getting around to uploading all the pics and posting.
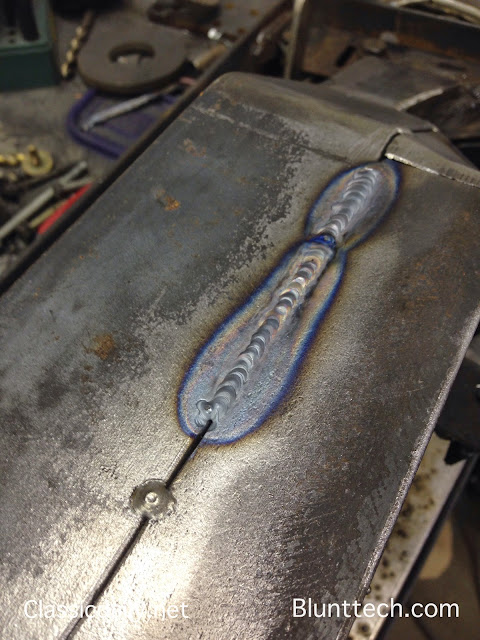
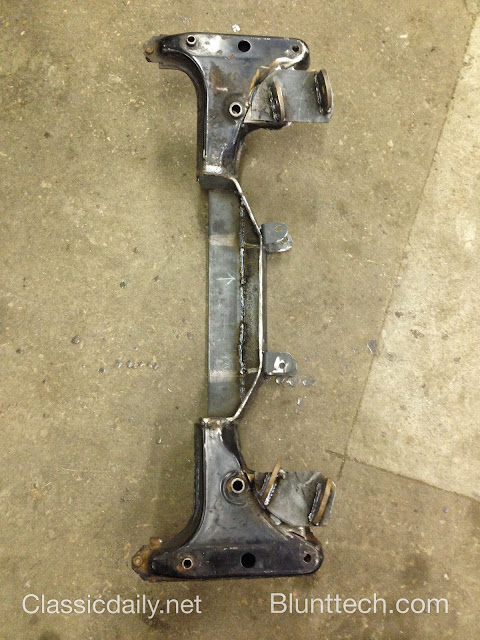
Welding the new subframe up.
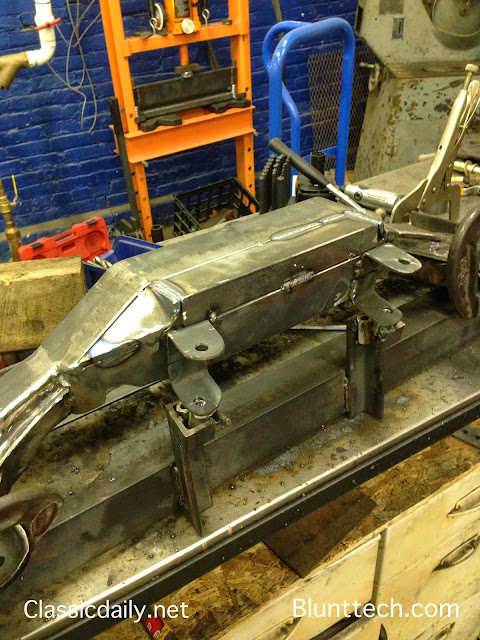
Starting on mounts
drivers side
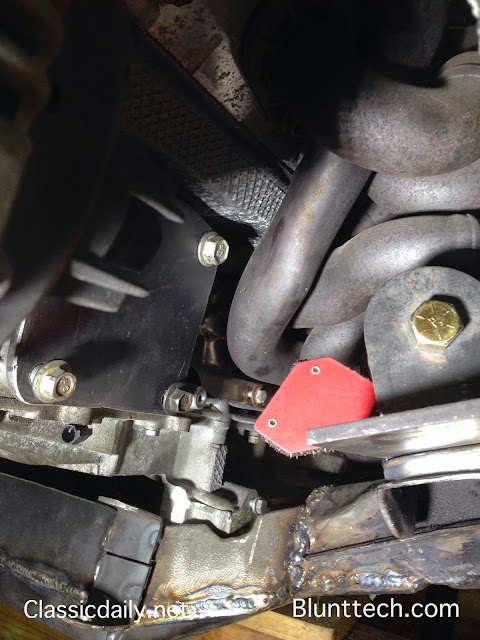
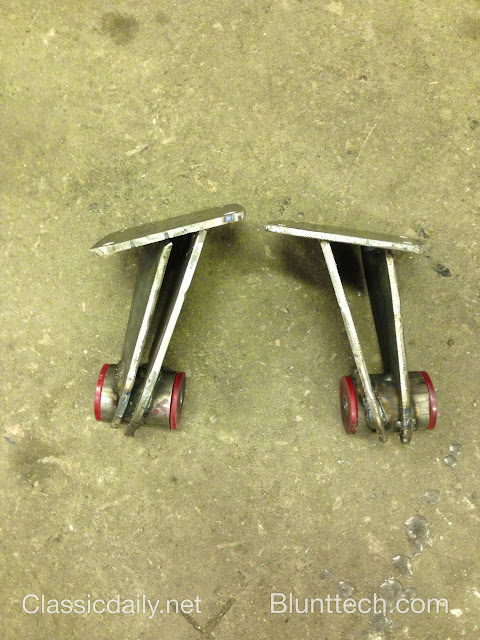
These will be fully boxed and also a new set of plates will be drawn and then water jetted. These are the mock ups.
Subframe with mounts welded on
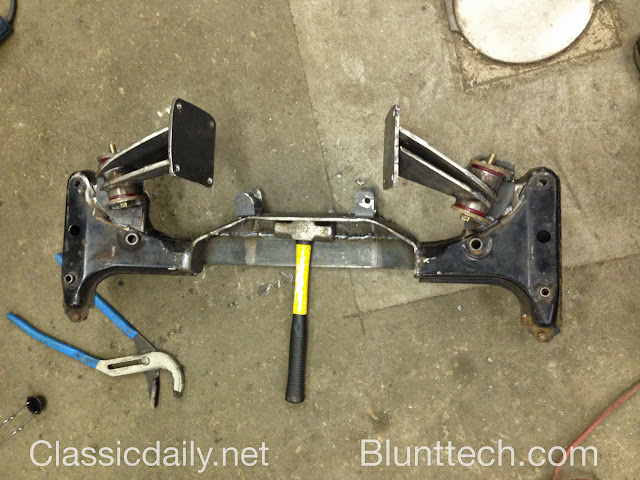
And with both mounts connected. All this will be powder coated
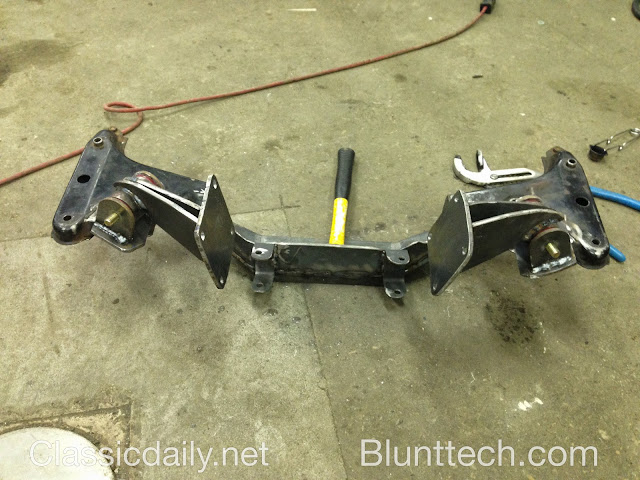
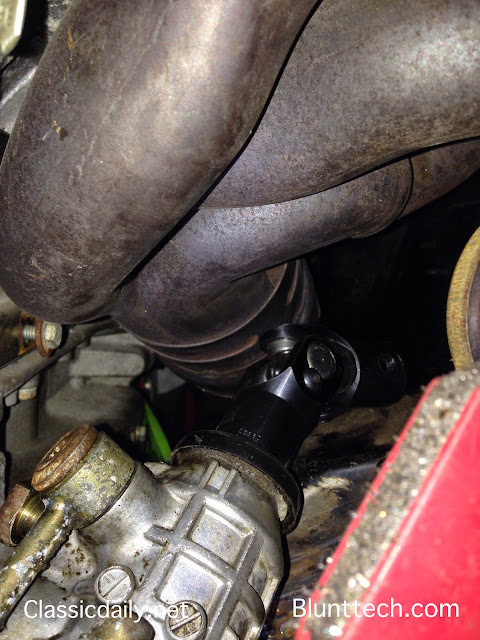
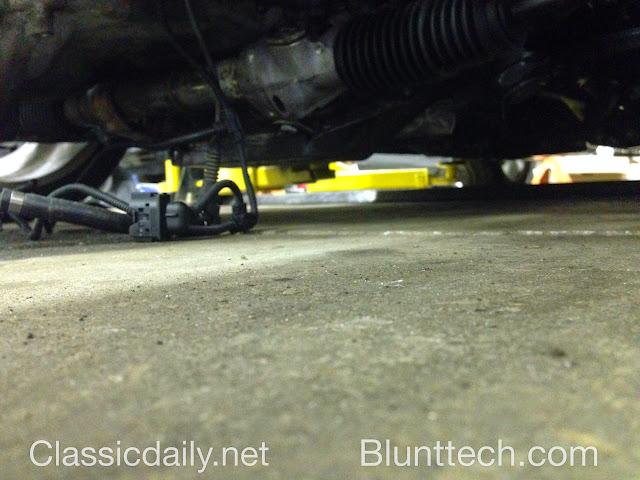
Steering clearance
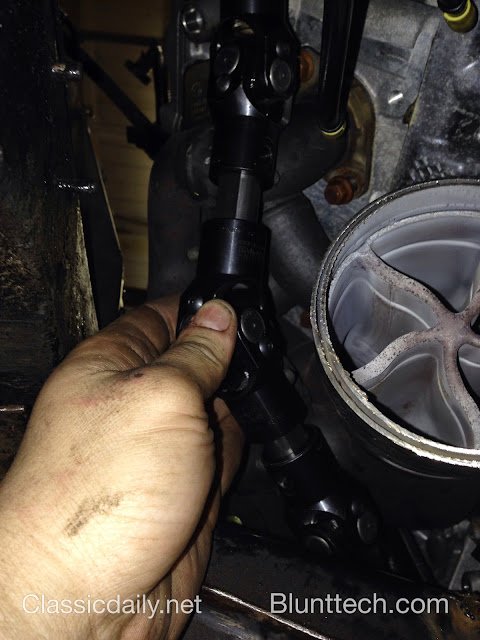
Adding another joint
And a locator
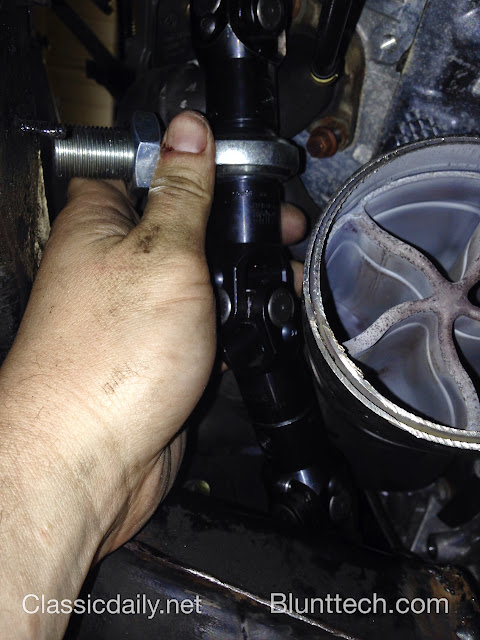
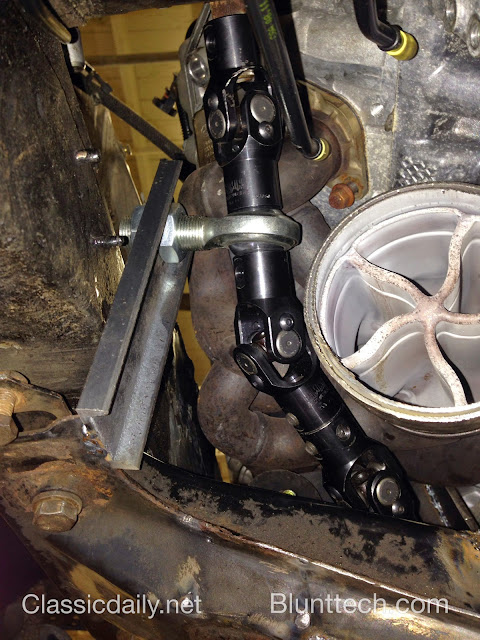
This is JUST a MOCK up. We needed to have the car movable to take to a show so this locator mount was just tacked on so the car can steer. There will be a stronger more elegant solution once the engine comes back out.
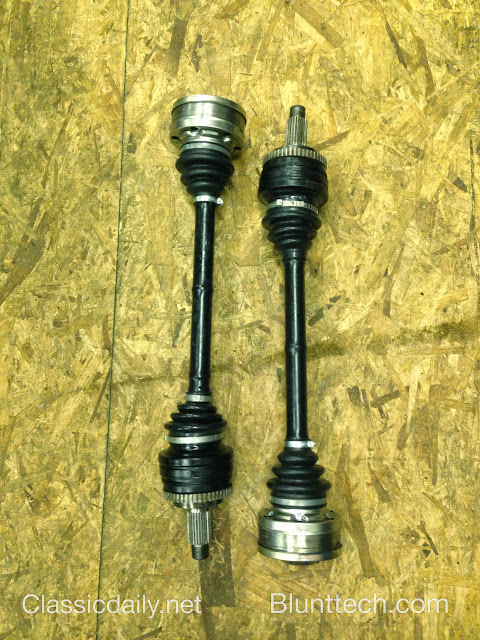
Rebuilt rear axles
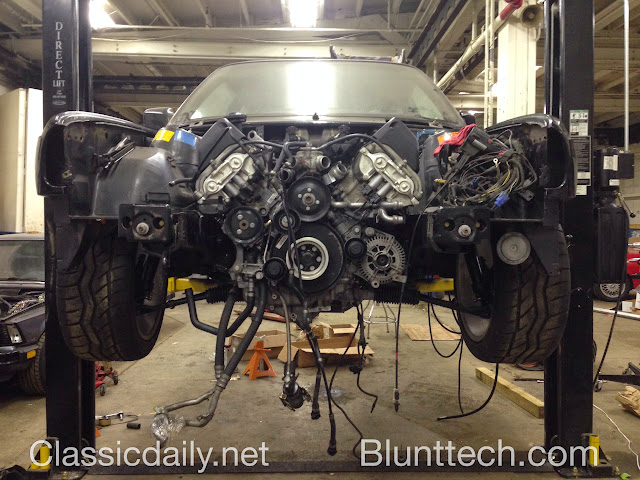
A quick shot from the front.
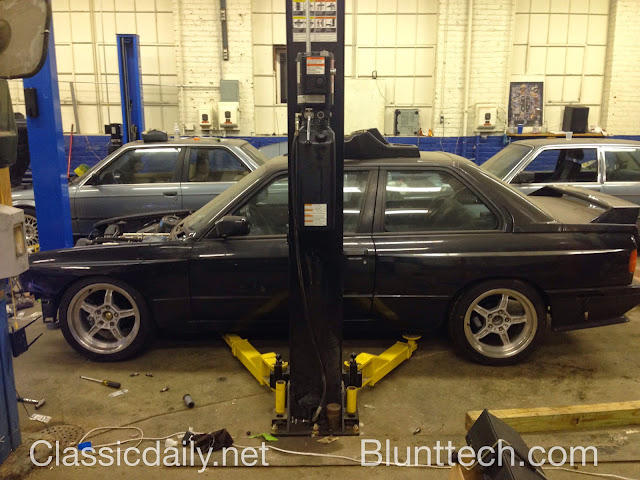
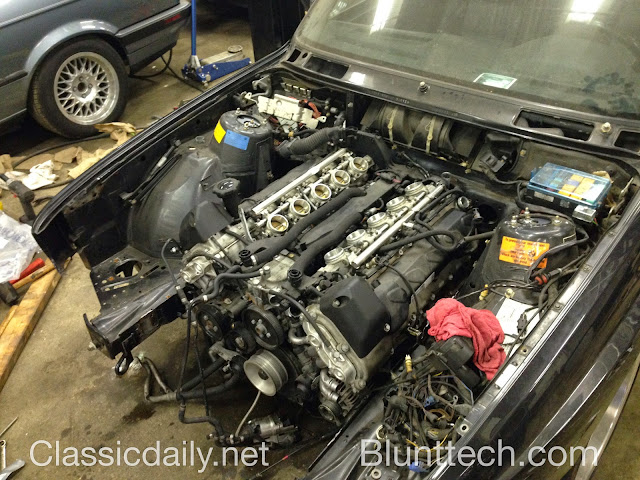
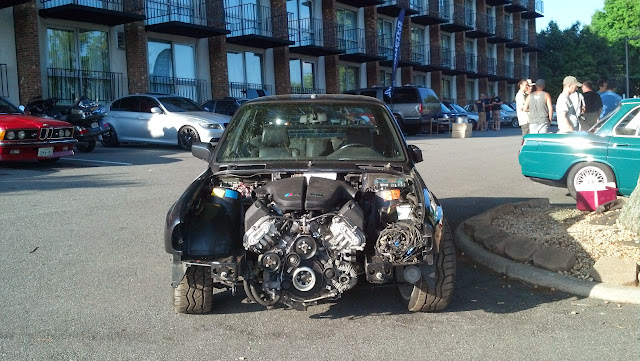
The coilovers are turned all the way down here and there is about 3-3.5" here. Yes it is close but the air boxes are about a 1/4" from the hood.
Here it is at the vintage in NC a couple weeks ago.
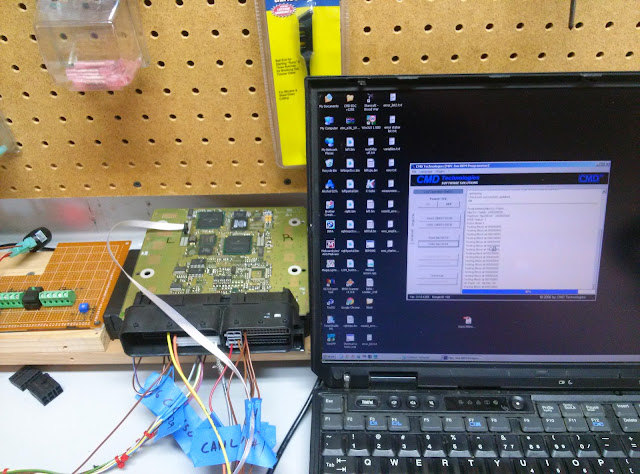
Also it is looking VERY good that we will be using the stock DME. nando has been working on cracking it and it's looking like it's gonna happen.
Welding the new subframe up.
Starting on mounts
drivers side
These will be fully boxed and also a new set of plates will be drawn and then water jetted. These are the mock ups.
Subframe with mounts welded on
And with both mounts connected. All this will be powder coated
Steering clearance
Adding another joint
And a locator
This is JUST a MOCK up. We needed to have the car movable to take to a show so this locator mount was just tacked on so the car can steer. There will be a stronger more elegant solution once the engine comes back out.
Rebuilt rear axles
A quick shot from the front.
The coilovers are turned all the way down here and there is about 3-3.5" here. Yes it is close but the air boxes are about a 1/4" from the hood.
Here it is at the vintage in NC a couple weeks ago.
Also it is looking VERY good that we will be using the stock DME. nando has been working on cracking it and it's looking like it's gonna happen.
Re: Blunttech / Classic Daily S85 V10 E30 M3 Swap
You are a BMW wizard.10 throttle bodies in an E30. Blows my mind!

Re: Blunttech / Classic Daily S85 V10 E30 M3 Swap
Craftsman...
Re: Blunttech / Classic Daily S85 V10 E30 M3 Swap
Un f-in believable. Go man go.