External links now open in a new browser tab - turn this off in your UCP - Read more here.

Noob M30B35 Build

E28 technical advice asked and given! Troubleshooting, modifications and more.
tig
Posts: 9393
Joined: Mar 18, 2013 6:25 PM
Location: Durango
Contact:

Re: Noob M30B35 Build. 2014-05-24: Engine is out!!!

Post by tig »

trevmmeister wrote:Oh awesome! Congratulations to him, I just graduated high school myself last month. Good to hear, where is the list of parts that are being coated again? Forget what page that was on.
From memory:
  • Subframe (black)
  • Air filter housing (black) (i'll probably sell this)
  • Oil filter housing
  • Alternator housing
  • Thermostat housing
  • ICV bracket
  • throttle body
  • A spare B34 intake manifold; I'll sell it
trevmmeister
Posts: 847
Joined: Mar 02, 2014 9:20 PM
Location: Newnan, GA

Re: Noob M30B35 Build. 2014-05-24: Engine is out!!!

Post by trevmmeister »

cek wrote:
trevmmeister wrote:Oh awesome! Congratulations to him, I just graduated high school myself last month. Good to hear, where is the list of parts that are being coated again? Forget what page that was on.
From memory:
  • Subframe (black)
  • Air filter housing (black) (i'll probably sell this)
  • Oil filter housing
  • Alternator housing
  • Thermostat housing
  • ICV bracket
  • throttle body
  • A spare B34 intake manifold; I'll sell it
How much will you be selling the intake and air filter housing for? I will be rebuilding my M30B34 soon(head/crank/pistons) but i will probably just clean my head/cover/block/oil pan.
jodystevens
Posts: 314
Joined: Oct 10, 2013 2:45 PM
Location: Canada

Re: Noob M30B35 Build. 2014-05-24: Engine is out!!!

Post by jodystevens »

What did you use to clean the wheel wells and such?
tig
Posts: 9393
Joined: Mar 18, 2013 6:25 PM
Location: Durango
Contact:

Re: Noob M30B35 Build. 2014-05-24: Engine is out!!!

Post by tig »

jodystevens wrote:What did you use to clean the wheel wells and such?
Getting cosmoline off can be a real bitch. I spent DOZENS of hours on the 911. I used a combination of diesel, P21S Total Auto Wash, various degreasers, and a LOT of elbow grease.

I have since found that a steam cleaner can go a long way towards helping. But you have to be patient.

I found this thread useful:

http://forums.pelicanparts.com/porsche- ... t-off.html
ldsbeaker
Posts: 6133
Joined: Mar 25, 2007 10:14 PM
Location: Slicktop City, AZ
Contact:

Re: Noob M30B35 Build. 2014-05-24: Engine is out!!!

Post by ldsbeaker »

cek wrote:
jodystevens wrote:What did you use to clean the wheel wells and such?
Getting cosmoline off can be a real bitch. I spent DOZENS of hours on the 911. I used a combination of diesel, P21S Total Auto Wash, various degreasers, and a LOT of elbow grease.

I have since found that a steam cleaner can go a long way towards helping. But you have to be patient.

I found this thread useful:

http://forums.pelicanparts.com/porsche- ... t-off.html
I just got lost in there. Thank you.
tig
Posts: 9393
Joined: Mar 18, 2013 6:25 PM
Location: Durango
Contact:

Re: Noob M30B35 Build. 2014-05-24: Engine is out!!!

Post by tig »

I think I found the firewall insulation I'm going to use.

http://www.amazon.com/gp/product/B004PI ... =ceklog-20

Image

A quick wipe with Wurth Clean Solve takes the logo right off:

Image

It's thinner than the OEM stuff, but actually sturdier.

I have some 1/4" thick neophrene insulation I found too.

http://www.amazon.com/gp/product/B003ID ... UTF8&psc=1

Image

I think I'll put it under the Thermo-Tec stuff to get back to the OEM material's thickness. It's closed-cell rubber and even though theres' no heat rating for it, since it will be behind the Thermo-Tec it should work great for additional noise insulation.

In other news, got all the stuff back from powder coating. As usually Powdervision did a great job.

Image

The strut bar came out great. I considered doing it black, but think the aluminum will look sweet.

Image

Image

It is now just slightly more OcCoupe worthy:

Image

I had them powder coat the intake manifold that came off the donor motor just to make it more valuable for selling; to recoup some of the powdercoating costs. Who wants it? $200.

Image
tig
Posts: 9393
Joined: Mar 18, 2013 6:25 PM
Location: Durango
Contact:

Re: Noob M30B35 Build. 2014-05-24: Engine is out!!!

Post by tig »

Glad I have two other throttles lying around so I could make sure I put it back together correctly. ;)

Image

I modified the attachment bracket for the oil level sensor connector. For an E32 it mounts on the back side of the motor mount (because the motor mount on that car is further forward. So on the E28 it's flipped around. I drilled a new hole so it would clear the oil filter housing.

Image
tig
Posts: 9393
Joined: Mar 18, 2013 6:25 PM
Location: Durango
Contact:

Re: Noob M30B35 Build. 2014-05-24: Engine is out!!!

Post by tig »

Steering box mounted to refurbished subframe.

Image

When I pulled the 140A alternator apart I found that this thingy (called "CONDESER" in the parts diagram) was falling apart. The plastic housing had deteriorated and the soldier joint was hanging on by a thread. I re-soldiered it and used F4 tape to re-insulate it. Now I'm *really* glad I pulled this alternator apart because that part was THIS close to failing.

Image

Plus, it just LOOKS FRAKING FANTASTIC!

Image

Image

If I were anal retentive or had even mild OCD I would have used new screws, or gotten the old ones plated. :rofl:

I'm gonna take it up to the auto parts store to get it tested to ensure I didn't break anything or screw something up putting it back together. Better safe than sorry.
tig
Posts: 9393
Joined: Mar 18, 2013 6:25 PM
Location: Durango
Contact:

Re: Noob M30B35 Build. 2014-05-24: Engine is out!!!

Post by tig »

I've lost my flywheel. If anyone knows where I set it, I'd appreciate you telling me. Kthxbai.
tig
Posts: 9393
Joined: Mar 18, 2013 6:25 PM
Location: Durango
Contact:

Re: Noob M30B35 Build. 2014-05-24: Engine is out!!!

Post by tig »

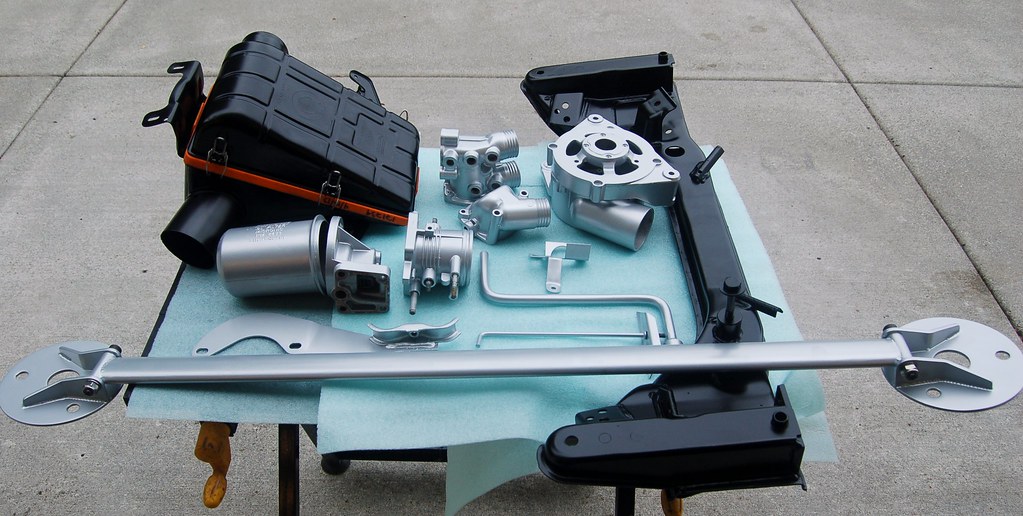
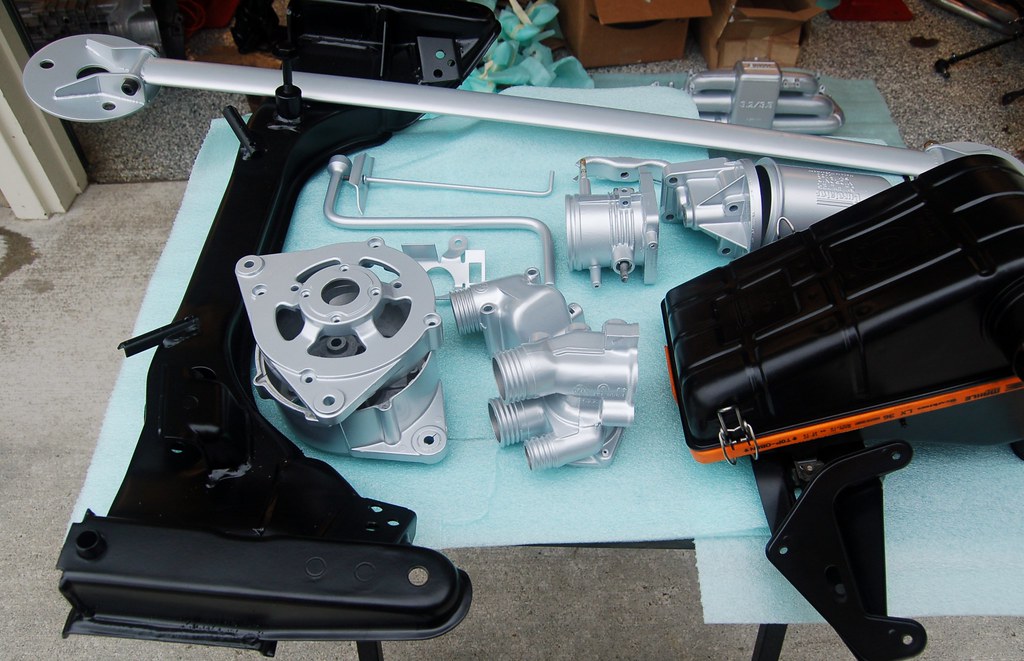
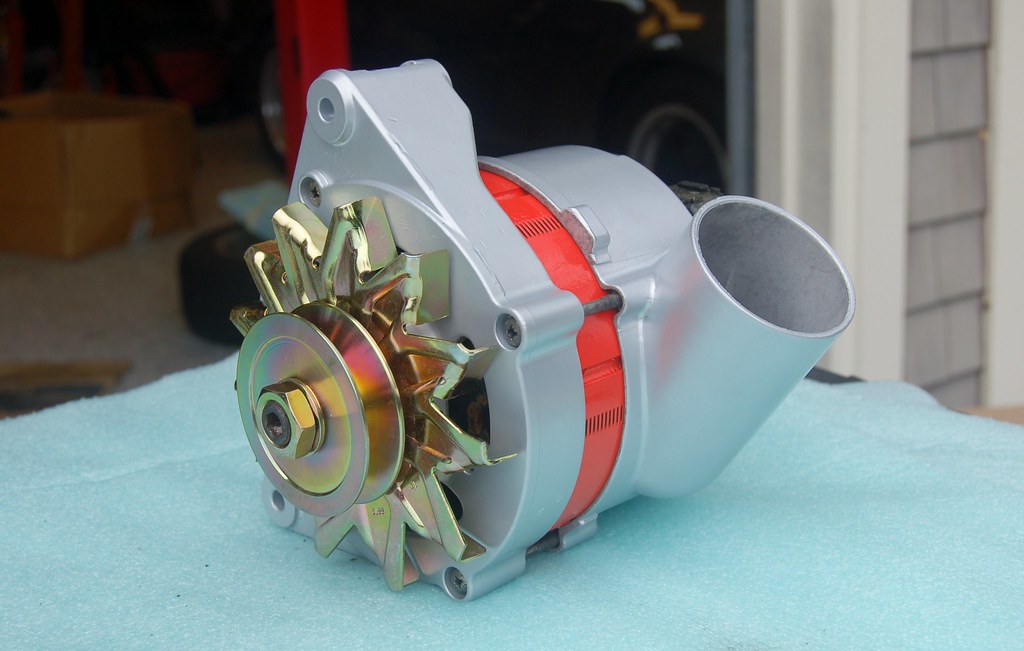
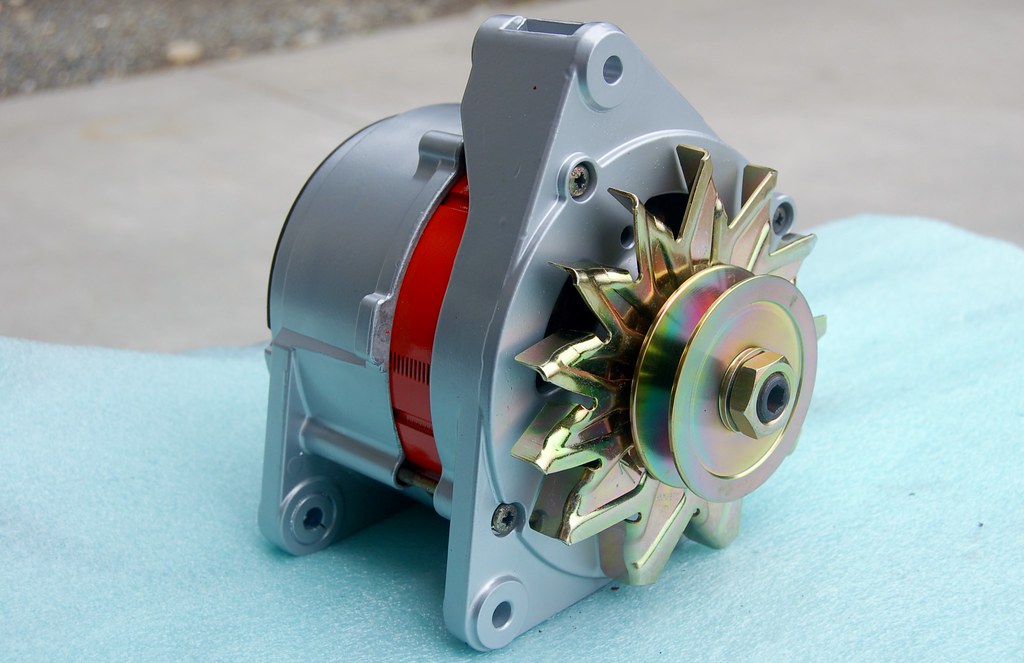
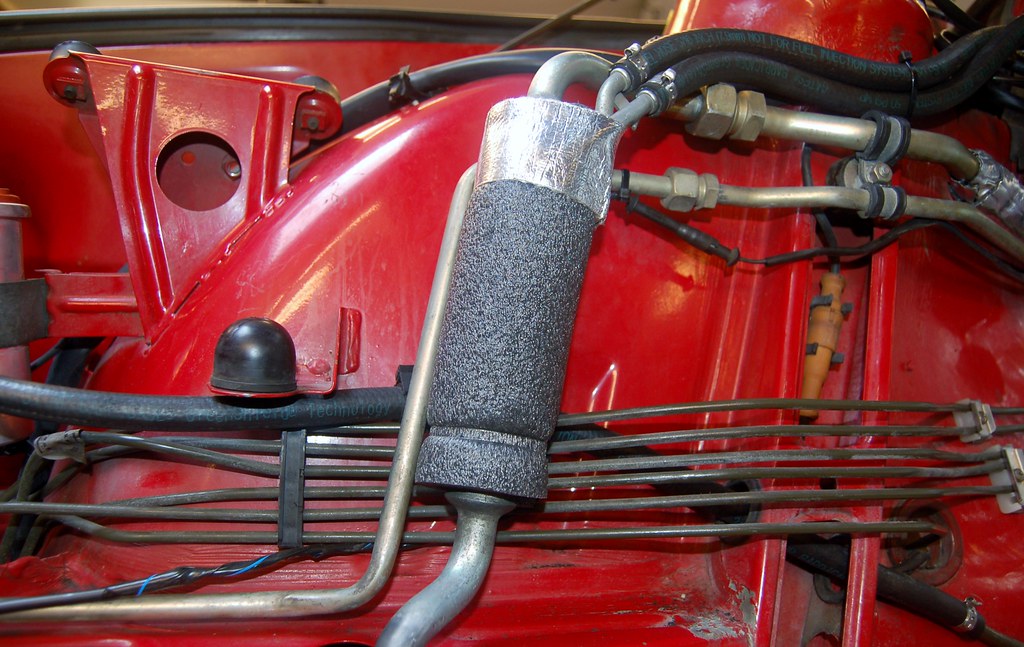
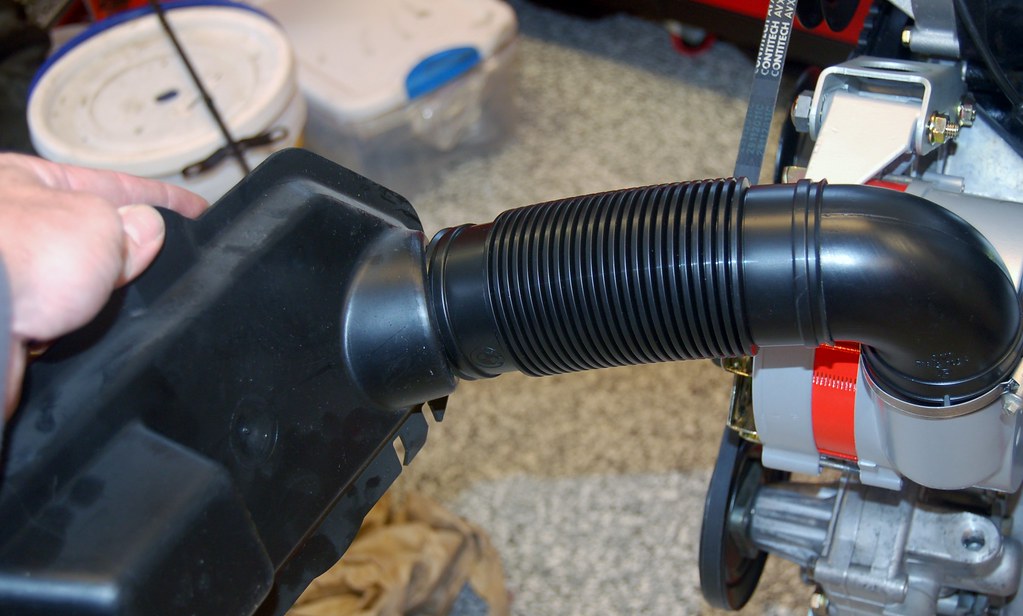
I got the parts for cooling the alternator. Elbow & flex pipe go with an E32. Headlight backing is from the left side on an 528e.

I'll need to make the hole in the headlight backing a little bigger for the pip to fit, and as long as it's long enough I think it'll work great. Won't know for sure until motor is in the car.

Image

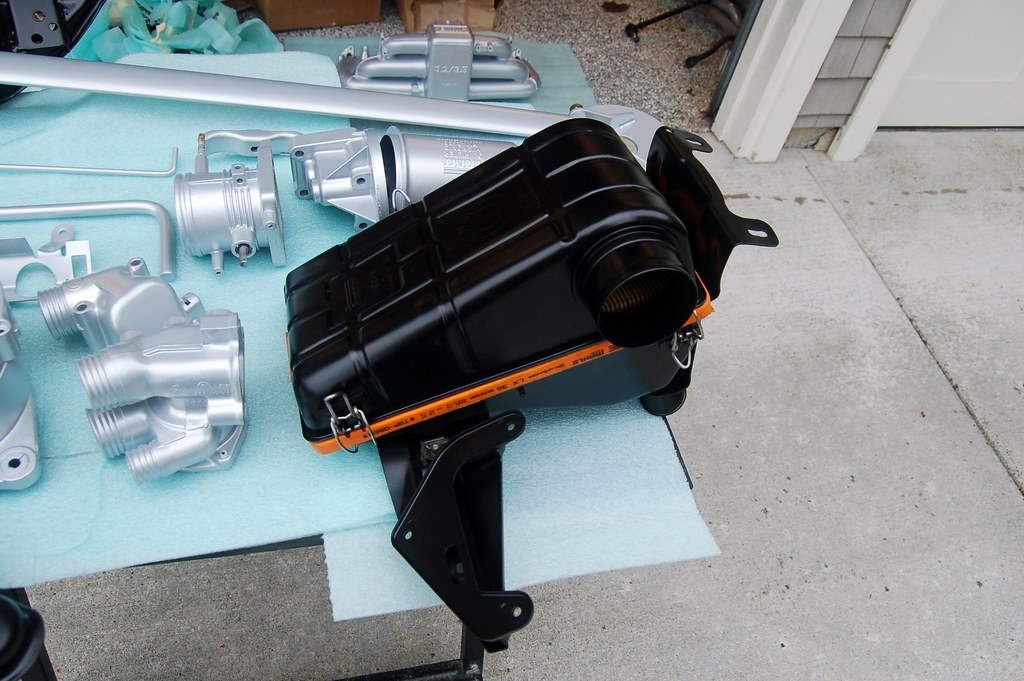
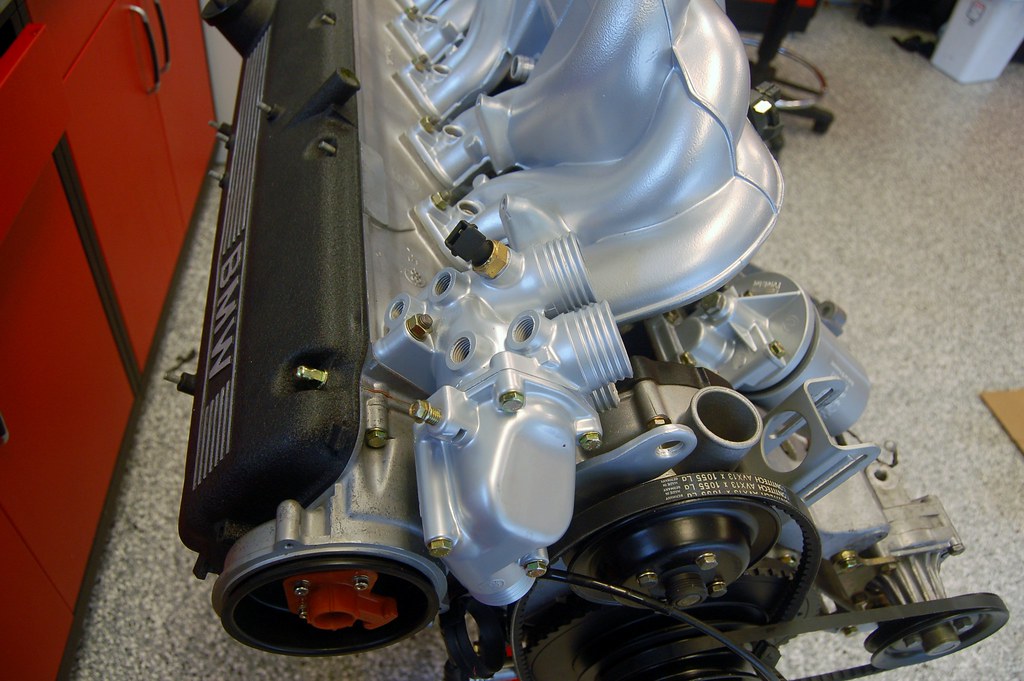
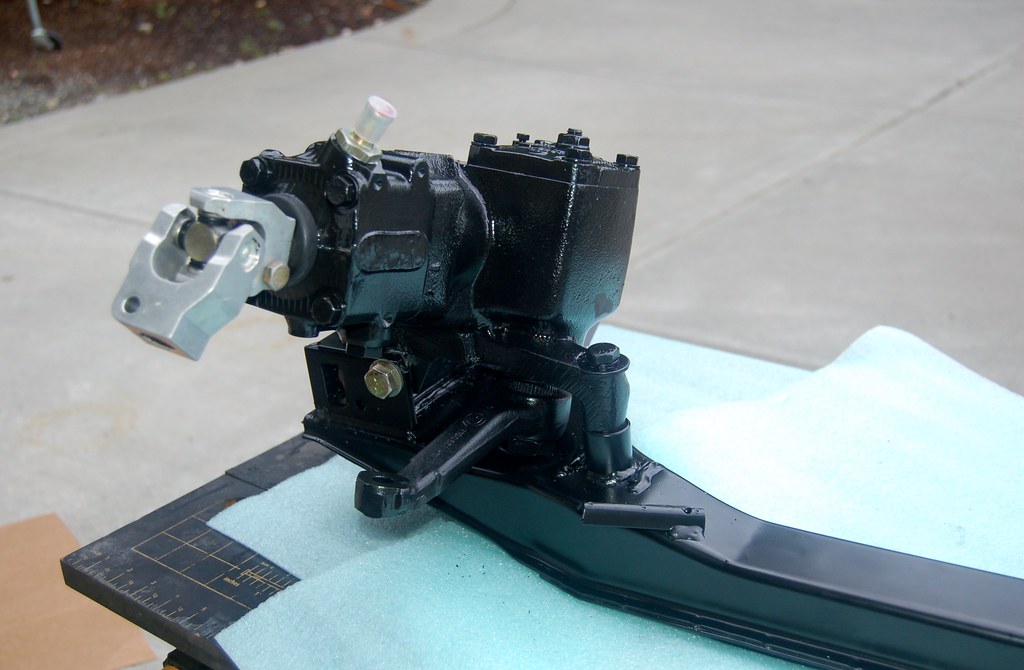
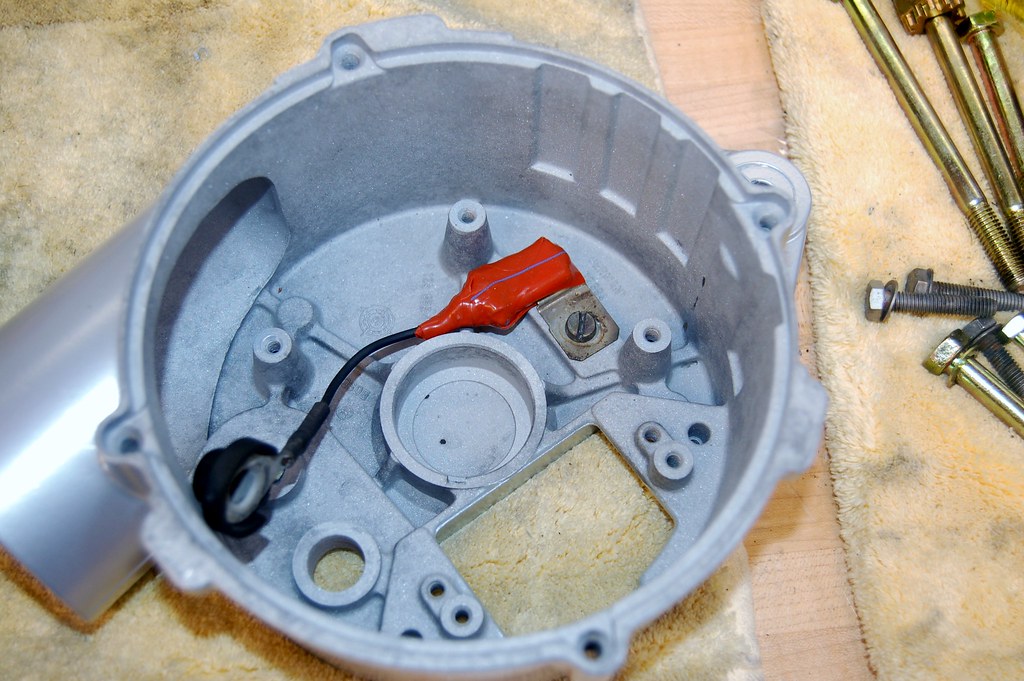
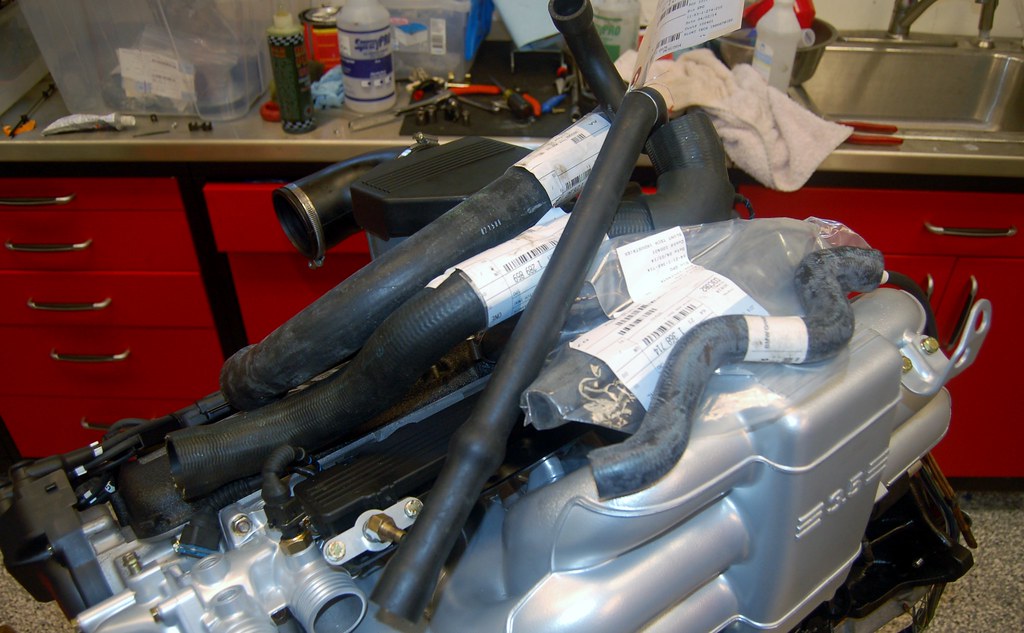
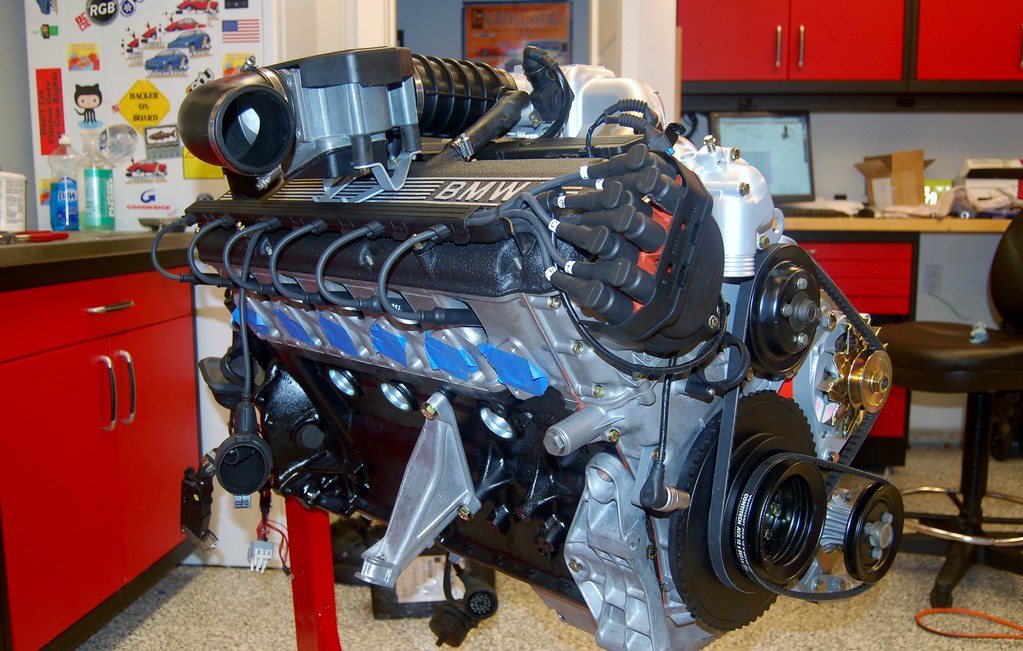
Started putting everything on the engine. I was waiting for a few parts and now am unblocked.

Image

Image

Image

Image

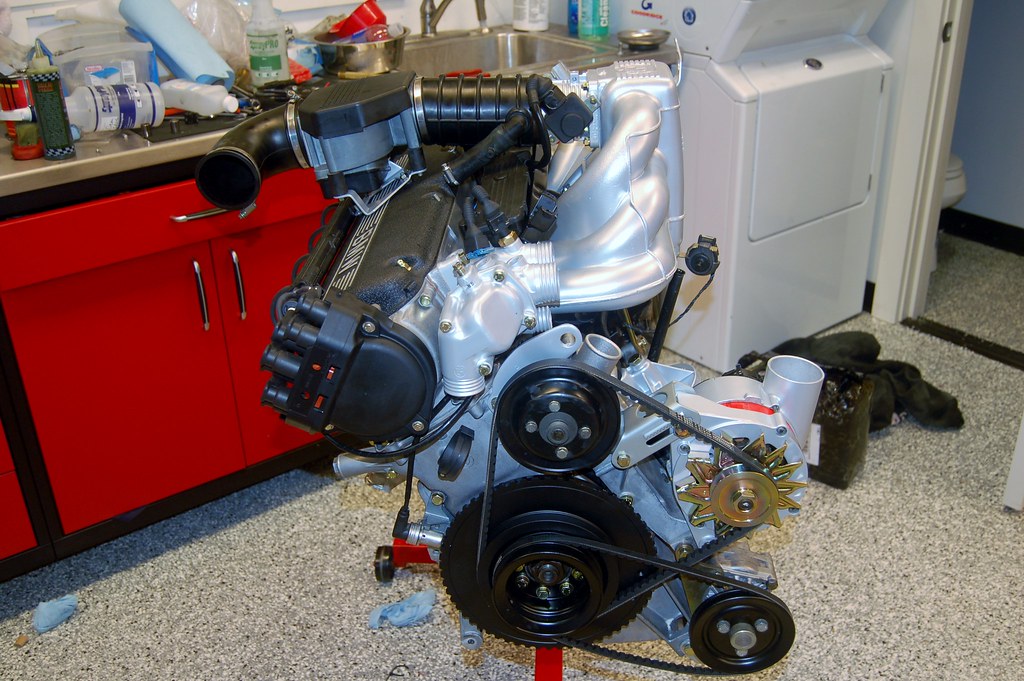
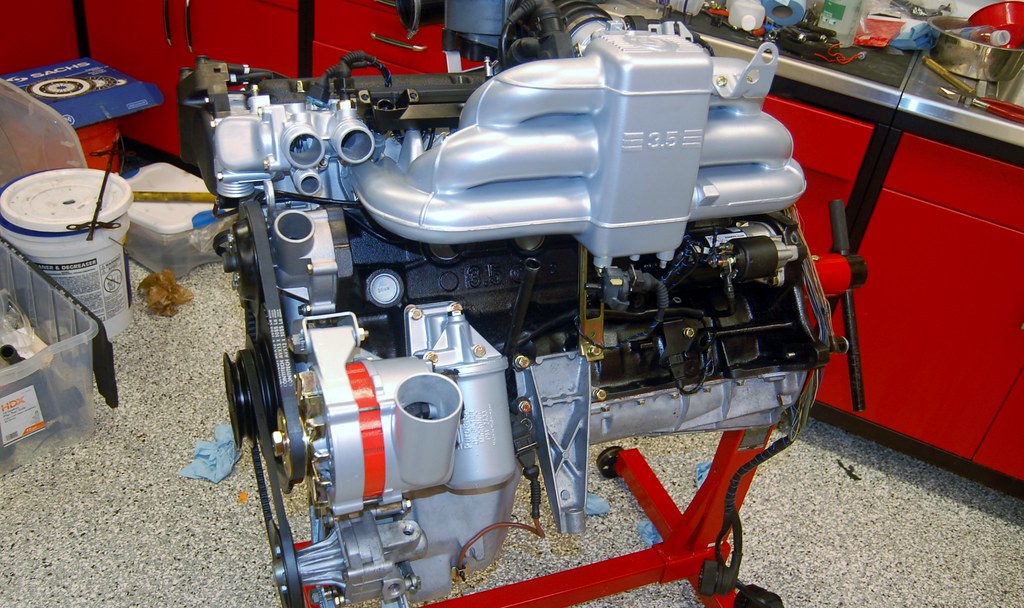
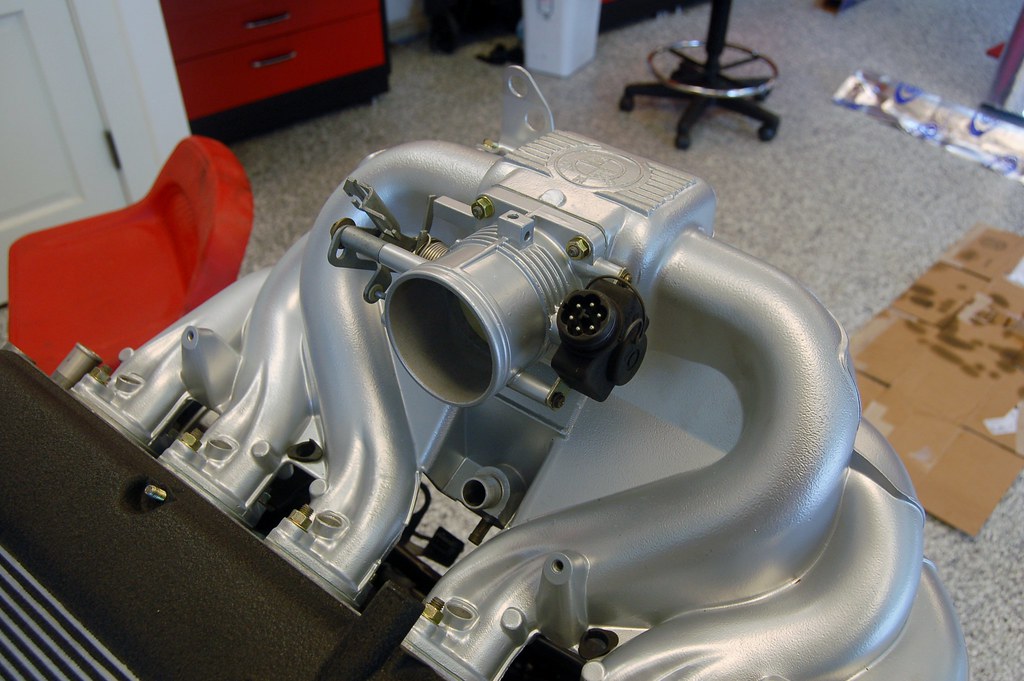
Getting to this point was a huge amount of work for me today. I had to re-wrap some wires, struggle with how the fuel rail/injector electrical harness, etc all went on. Then realized I failed to put the hose from the ICV the intake manifold in and needed to remove it all again.

The stuff up top (AFM etc...) is just test fit with one or two nuts in place for now.

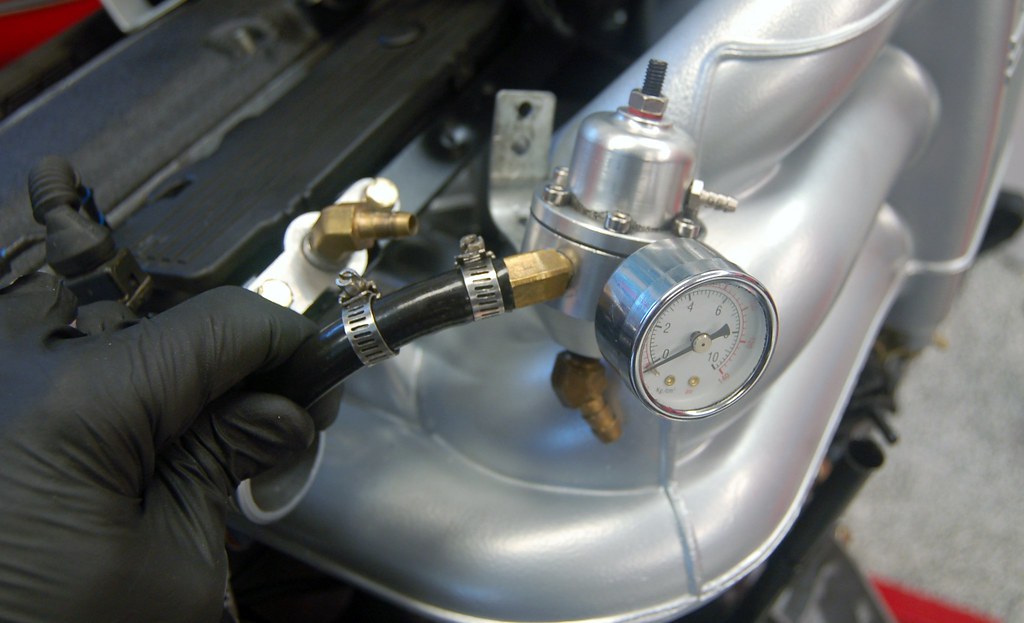
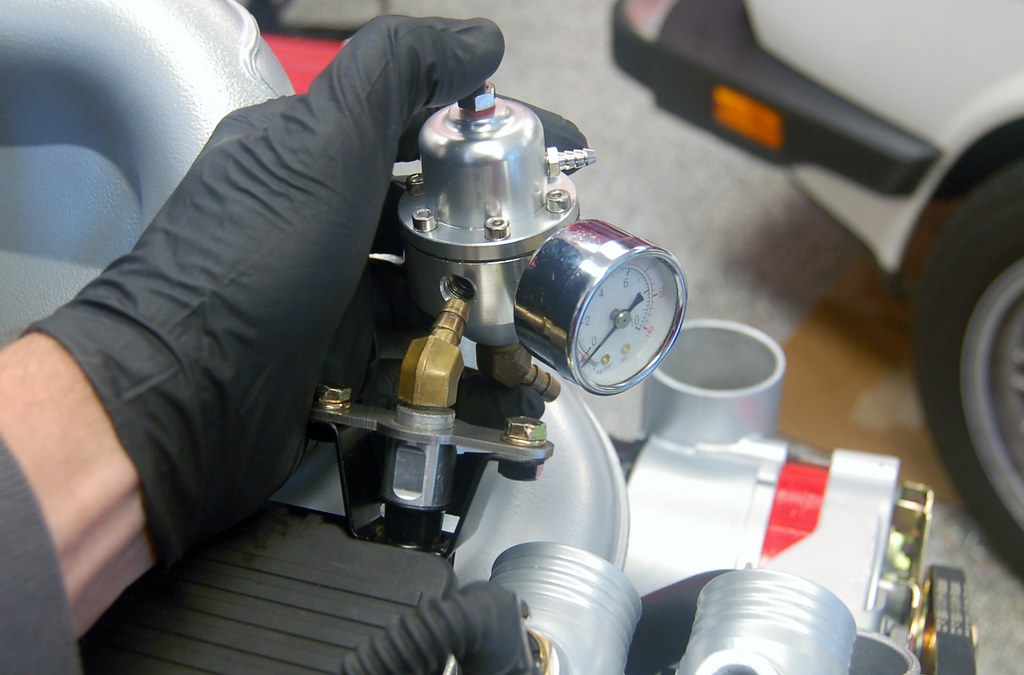
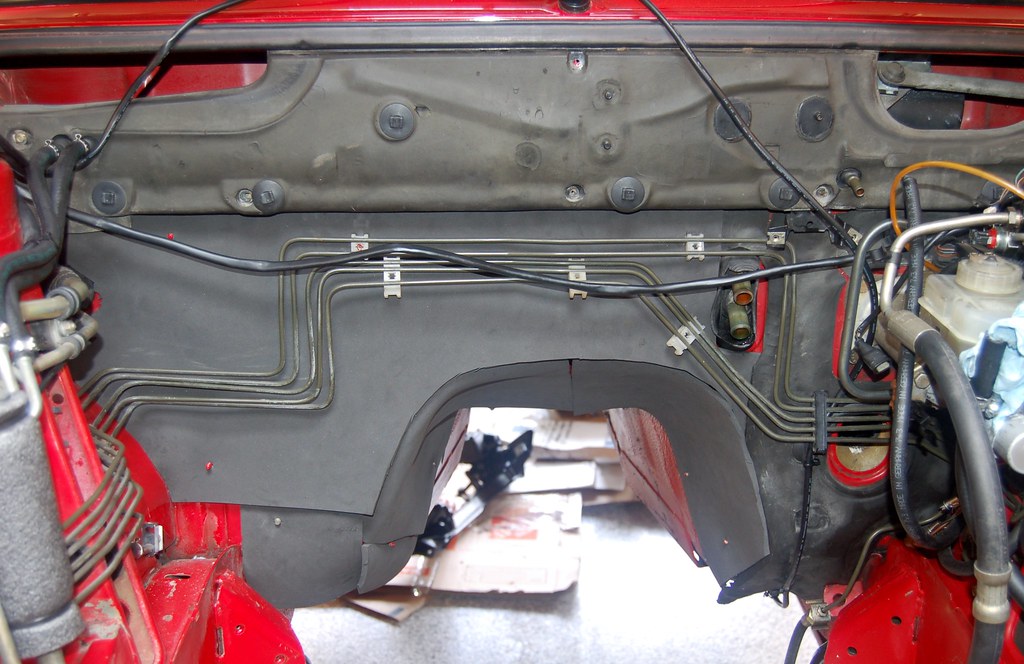
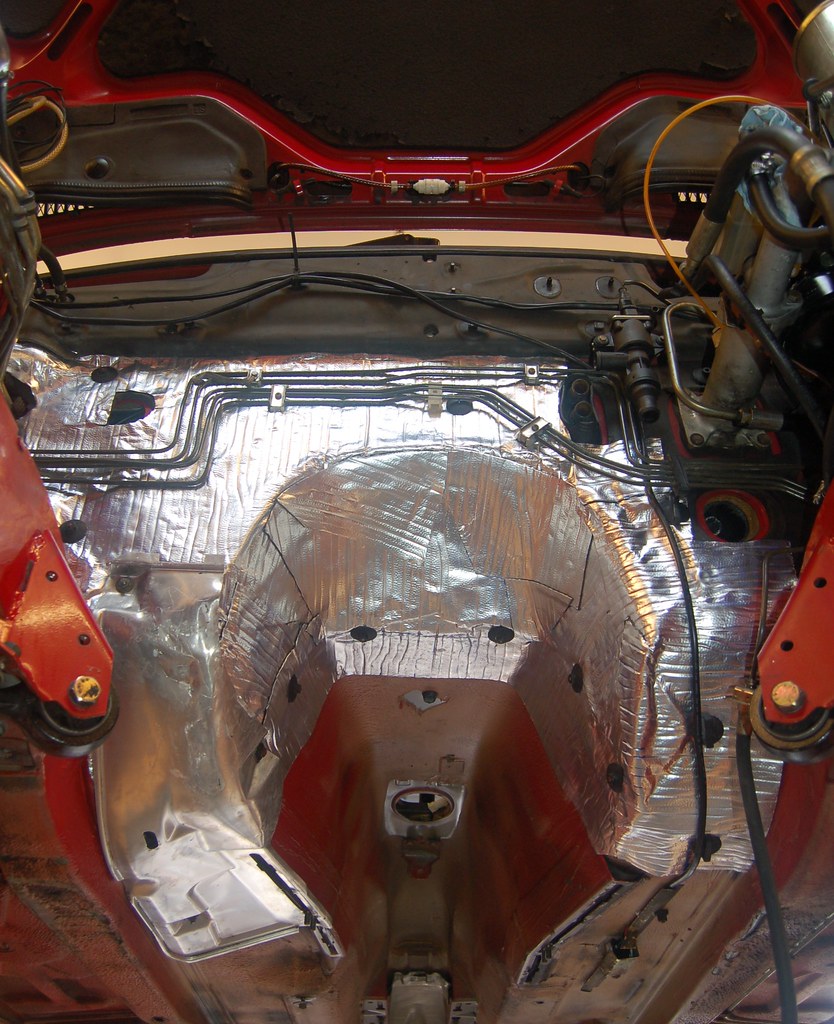
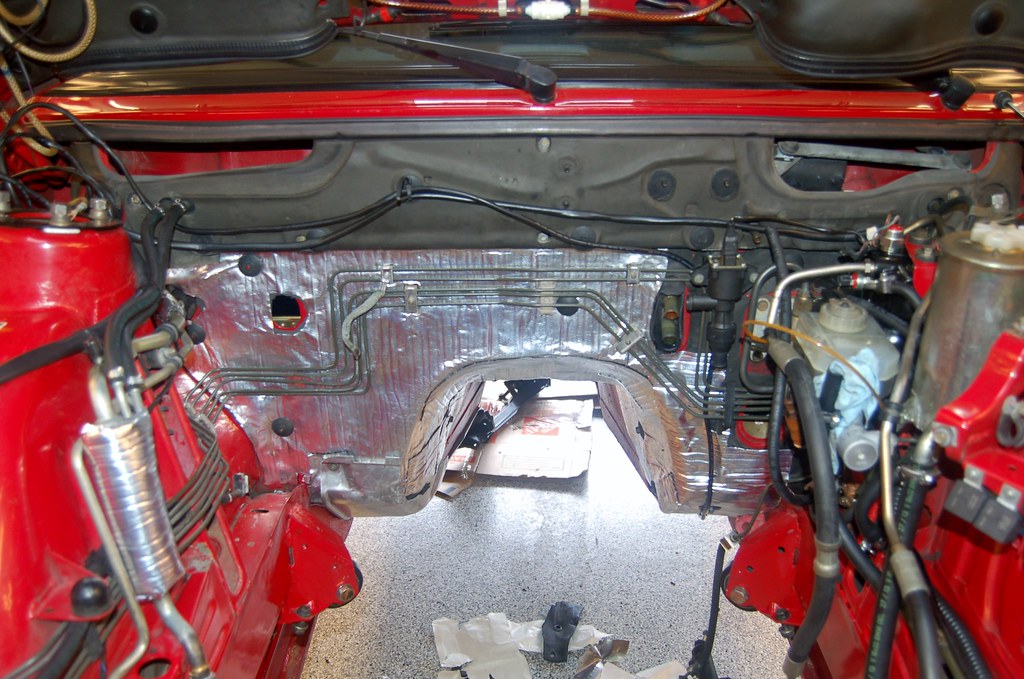
Next step will be the small vacuum and fuel lines.

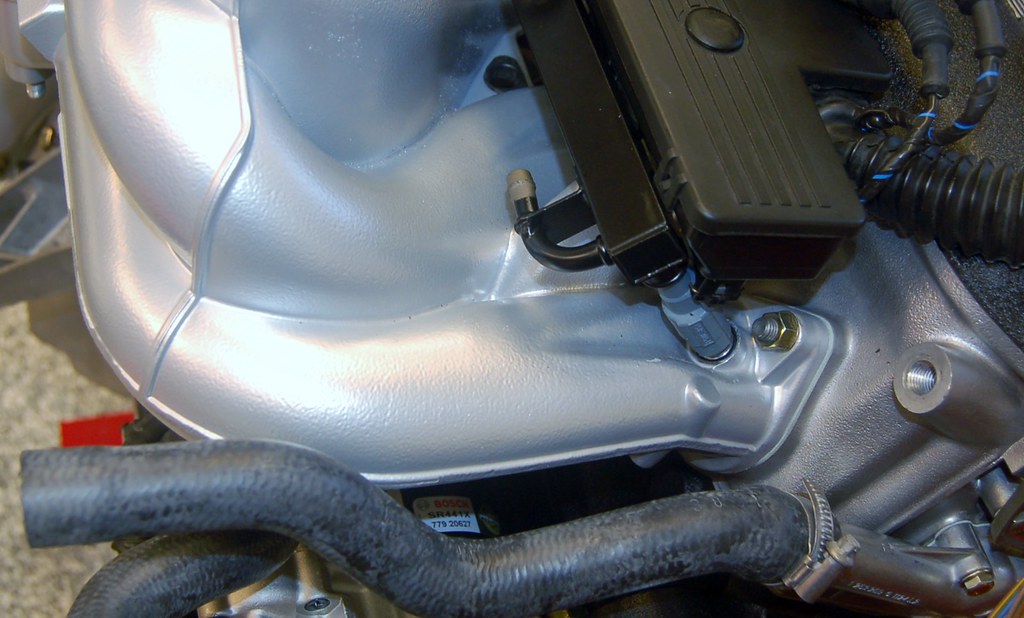
Question: On the breather pipe from the rubber piece between the throttle and AFM that goes to the valve cover there's a little nipple. The parts diagram does not show this nipple. The E32 this motor came off of didn't have an AFM so I don't have a picture of where it was connected. Whelp!?!?

Thanks.
e28Sean
Posts: 994
Joined: Nov 23, 2007 2:07 PM
Location: Greenville, SC
Contact:

Re: Noob M30B35 Build. 2014-05-24: Engine is out!!!

Post by e28Sean »

:shock: Wow.
Kyle in NO
Posts: 17638
Joined: Feb 12, 2006 12:00 PM
Location: Nasty Orleans------> Batten-Rooehjch------>More Souther LA

Re: Noob M30B35 Build. 2014-05-24: Engine is out!!!

Post by Kyle in NO »

The nipple from the breather pipe connects to the underside of the intake manifold, along with the FPR hose and intake temp sensor hose.
tig
Posts: 9393
Joined: Mar 18, 2013 6:25 PM
Location: Durango
Contact:

Re: Noob M30B35 Build. 2014-05-24: Engine is out!!!

Post by tig »

Kyle in NO wrote:The nipple from the breather pipe connects to the underside of the intake manifold, along with the FPR hose and intake temp sensor hose.
Thanks Kyle. There are two small nipples and one large on the bottom of intake manifold.

One goes to the nipple on the breather pipe as you indicate.

What is the intake temp sensor? Is it the thingy that is mounted to the bottom of the intake manifold that has a connection to the wiring harness and a nipple on each side (one small & one large)? Parts diagram calls this Fuel Tank Breather Valve. Just to the right of center in the 2nd to last pic above. #17 here:

http://www.realoem.com./bmw/showparts.d ... g=16&fg=10

I think.

Looks like the large nipple goes to the large nipple under the intake maninfold? I'm guessing the small one goes to the charcoal canister.

Then the 2nd small nipple on the bottom of the manifold is connected to the FPR.

Right? I've been wrenching non-stop all day and am fading, so appreciate your help even more.

I take it "FPR hose" means "vacuum hose to the FPR"?
DJM1986-5
Posts: 1662
Joined: Sep 29, 2008 11:00 PM
Location: Greenville, SC

Re: Noob M30B35 Build. 2014-05-24: Engine is out!!!

Post by DJM1986-5 »

The FPR regulator vacuum hose goes to one small nipple. The other small nipple is used to connect inside temp sensor.the goes to the drivers footwell. The fuel tank valve large side connects to the intake manifold just below throttle body. The small side goes to the charcoal cannister. I used vacuum line for this connection to the cannister and used a 1/8 to 1/4 inch plastic tube fitting to connect the vacuum line to the fuel line at the cannister. Looks 'factory" and is much easier to run smaller vacuum line. I attached the valve under the manifold to the manifold support bracket bolt using the small L bracket for that valve. Again, looks factory plus the harness and hoses all run easily to this location and it's up and out of the way. I should have taken pictures but was beating the clock on getting my build ready for the Vintage in Winston Salem. Hope this helps...
oh, I plugged the nipple on the breather hose from the valve cover to the intake plenum. I ran out of intake manifold vacuum connections and the other two...fpr and internal temp sensor require vacuum feeds. The breather hose was least important in my opinion.
Last edited by DJM1986-5 on Jun 15, 2014 12:59 AM, edited 1 time in total.
Kyle in NO
Posts: 17638
Joined: Feb 12, 2006 12:00 PM
Location: Nasty Orleans------> Batten-Rooehjch------>More Souther LA

Re: Noob M30B35 Build. 2014-05-24: Engine is out!!!

Post by Kyle in NO »

Yes, I meant the vacuum hose for the FPR. Also, interior temp sensor, not intake temp. It's been a long day...
DJM1986-5
Posts: 1662
Joined: Sep 29, 2008 11:00 PM
Location: Greenville, SC

Re: Noob M30B35 Build. 2014-05-24: Engine is out!!!

Post by DJM1986-5 »

I knew what you meant but figured I'd add clarification for cek and future reference.
trevmmeister
Posts: 847
Joined: Mar 02, 2014 9:20 PM
Location: Newnan, GA

Re: Noob M30B35 Build. 2014-05-24: Engine is out!!!

Post by trevmmeister »

cek wrote: Question: there's a little nipple. show this nipple.
Kyle in NO wrote:The nipple
cek wrote:Thanks Kyle. two small nipples. goes to the nipple. a nipple on each side. the large nipple. 2nd small nipple
DJM1986-5 wrote:one small nipple. other small nipple. vacuum. beating the clock. I plugged the nipple
Guys. Come on. Family-friendly site here. c;
tig
Posts: 9393
Joined: Mar 18, 2013 6:25 PM
Location: Durango
Contact:

Re: Noob M30B35 Build. 2014-05-24: Engine is out!!!

Post by tig »

I think my flywheel is still at my machinist, who was to check its balance. At least that's what occurred to me at about 3am this morning.

Happy Father's day to all you dads.
tig
Posts: 9393
Joined: Mar 18, 2013 6:25 PM
Location: Durango
Contact:

Re: Noob M30B35 Build. 2014-05-24: Engine is out!!!

Post by tig »

I have figured out what each coolant hose is for. I think. I'm not as confident on which end goes where though, particularly for the smaller lines that go to the heater and heater control valve. I'm missing the tee (and I don't want to pull it off of Vlad's B34 because those hoses are relatively new and I'd like to leave them intact), so I can't hook everything up today as I had hoped.

Image

Image

Question: The B35 fuel rail has the fuel inlet facing the front of the engine. How is the fuel line supposed to be routed? Down through the middle space on the intake manifold and then back to the supply? Anyone have a pic of a B35 with this detail showing?
tig
Posts: 9393
Joined: Mar 18, 2013 6:25 PM
Location: Durango
Contact:

Re: Noob M30B35 Build. 2014-05-24: Engine is out!!!

Post by tig »

While you all work on answering my previous question, I'm sorting out how to mount my IE AFR.

The B34 intake manifold has some mount points that were sorta convenient. The B35 doesn't.

I'm considering getting rid of the hose between the AFR and the fuel-rail mounty thing and finding some brass fittings that would allow me to just mount it directly. One less hose with clamps to deal with and should be low enough to clear the hood. Good idea? Bad idea?

Image

Image
wkohler
Posts: 50927
Joined: Oct 05, 2006 11:04 PM
Location: Phönix, Arizona, USA
Contact:

Re: Noob M30B35 Build. 2014-05-24: Engine is out!!!

Post by wkohler »

Why do you need an adjustable FPR? You're going to run a WAR chip, right?
tig
Posts: 9393
Joined: Mar 18, 2013 6:25 PM
Location: Durango
Contact:

Re: Noob M30B35 Build. 2014-05-24: Engine is out!!!

Post by tig »

wkohler wrote:Why do you need an adjustable FPR? You're going to run a WAR chip, right?
Maybe. But initially I'm running the stock 179 ECU and AFM. Since this is a high-comp engine with 24lb injectors, Paul Burke recommended that I have an AFPR, at least initially. I also have a wide band gauge (actually two).
wkohler
Posts: 50927
Joined: Oct 05, 2006 11:04 PM
Location: Phönix, Arizona, USA
Contact:

Re: Noob M30B35 Build. 2014-05-24: Engine is out!!!

Post by wkohler »

Okay. I've got a friend that had three of those fail before he ditched them and got the war chip, 24# injectors, a stock regulator and a dyno tune. He said the tuning was best money he had spent on the car.

Motor looks great, btw.
tig
Posts: 9393
Joined: Mar 18, 2013 6:25 PM
Location: Durango
Contact:

Re: Noob M30B35 Build. 2014-05-24: Engine is out!!!

Post by tig »

wkohler wrote:Okay. I've got a friend that had three of those fail before he ditched them and got the war chip, 24# injectors, a stock regulator and a dyno tune. He said the tuning was best money he had spent on the car.

Motor looks great, btw.
As soon as I have it broken in, I'm taking it in for a dyno tune and will likely got with a War chip at that point.
tig
Posts: 9393
Joined: Mar 18, 2013 6:25 PM
Location: Durango
Contact:

Re: Noob M30B35 Build. 2014-05-24: Engine is out!!!

Post by tig »

I started with the 1/4" neoprene for sound deadening. It doesn't matter that it's not cut perfectly because the Thermo-tec will go over it

Image

Turned out great!

Image

I ended up doing more of the driver's side because....well why not?

The insulation on this fuel cooler thingy was shot. Since I have headers and they get super hot I felt it was worth while replacing the insulation. I started with some pipe insulation...

Image

Then wrapped it in Thermo-tec; you can see it blurry on the left of this pic.

Image

Now the subframe goes back on...
tig
Posts: 9393
Joined: Mar 18, 2013 6:25 PM
Location: Durango
Contact:

Re: Noob M30B35 Build. 2014-05-24: Engine is out!!!

Post by tig »

Subframe in.

Image

That's all the Father's day Gods will let me get done today, I think. Have to go to a grad party for someone else's kid.
tig
Posts: 9393
Joined: Mar 18, 2013 6:25 PM
Location: Durango
Contact:

Re: Noob M30B35 Build. 2014-05-24: Engine is out!!!

Post by tig »

Is there anything special or different that needs to be done when adjusting the valves on a brand new head? Just standard cold procedure?
Mike W.
Posts: 27328
Joined: Feb 12, 2006 12:00 PM
Location: California Whine Country

Re: Noob M30B35 Build. 2014-05-24: Engine is out!!!

Post by Mike W. »

cek wrote:Is there anything special or different that needs to be done when adjusting the valves on a brand new head? Just standard cold procedure?
I'm not certain that torquing the head down doesn't change things a bit, so I'd suggest the final adjustment after the head is bolted down tight. Other than that it's the same.
pldlnr
Posts: 2221
Joined: Sep 18, 2007 5:45 PM
Location: Seattle
Contact:

Re: Noob M30B35 Build. 2014-05-24: Engine is out!!!

Post by pldlnr »

I am pretty sure the head gasket comes with instructions on the torque procedures. It will usually includes a final torque after initial start-up and a heat cycle. Adjust the valves before the first start-up and then again after it cools down completely (overnight).
Mike W.
Posts: 27328
Joined: Feb 12, 2006 12:00 PM
Location: California Whine Country

Re: Noob M30B35 Build. 2014-05-24: Engine is out!!!

Post by Mike W. »

pldlnr wrote:I am pretty sure the head gasket comes with instructions on the torque procedures. It will usually includes a final torque after initial start-up and a heat cycle. Adjust the valves before the first start-up and then again after it cools down completely (overnight).
The second adjustment is not necessary IMO, and I've done a bunch.
Post Reply