Page 2 of 2
rust repair
Posted: Feb 04, 2011 9:20 PM
by edlocke
Posted: Feb 05, 2011 8:20 PM
by SW
I am still finding this to be inspiration. Once I get my mechanics up to snuff, I will think about the rust. Mine is bad, bad, bad. But maybe not deadly. My entire passengers floor board has sperated from the rocker (well 60-80% of the seam is gone). My drivers floor and rocker are likely toast as well. The rear valance is academic at this point as well.
Interested in another project?? What is it about these cars that put us through so much abuse, and yet we see a perfect example and we are right back in and at it. I haven't even gotten the driving excitment/satisfaction from mine in ...shoot, seems like years.
m5 project
Posted: Feb 08, 2011 6:19 PM
by edlocke
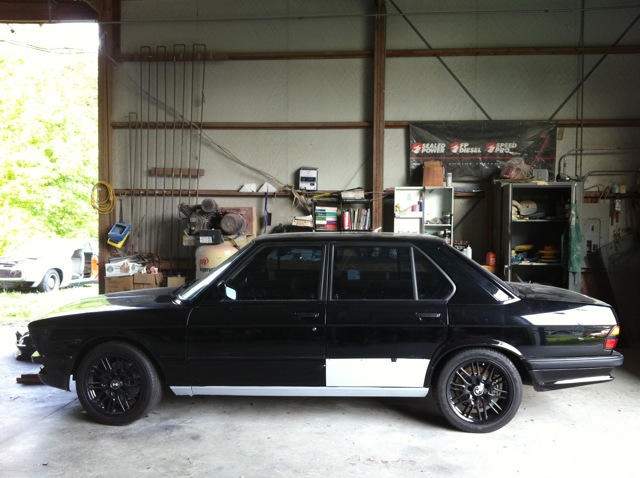
2-8-11, I must say after almost 2 months of working on this car I'm feeling as if I'm getting rewarded. Its starting to all come together and I can see the light at the end of the tunnel!
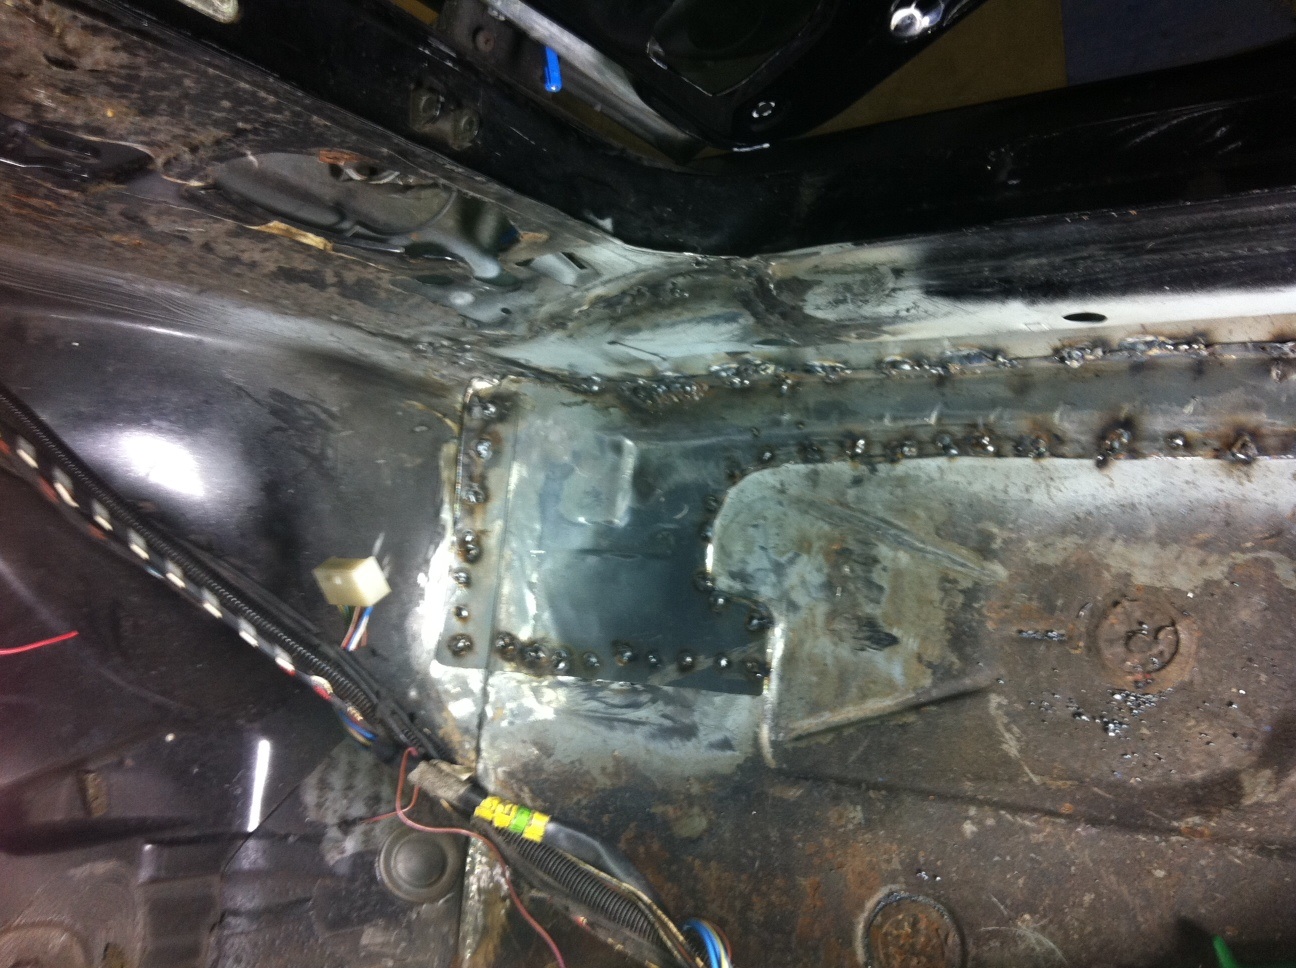
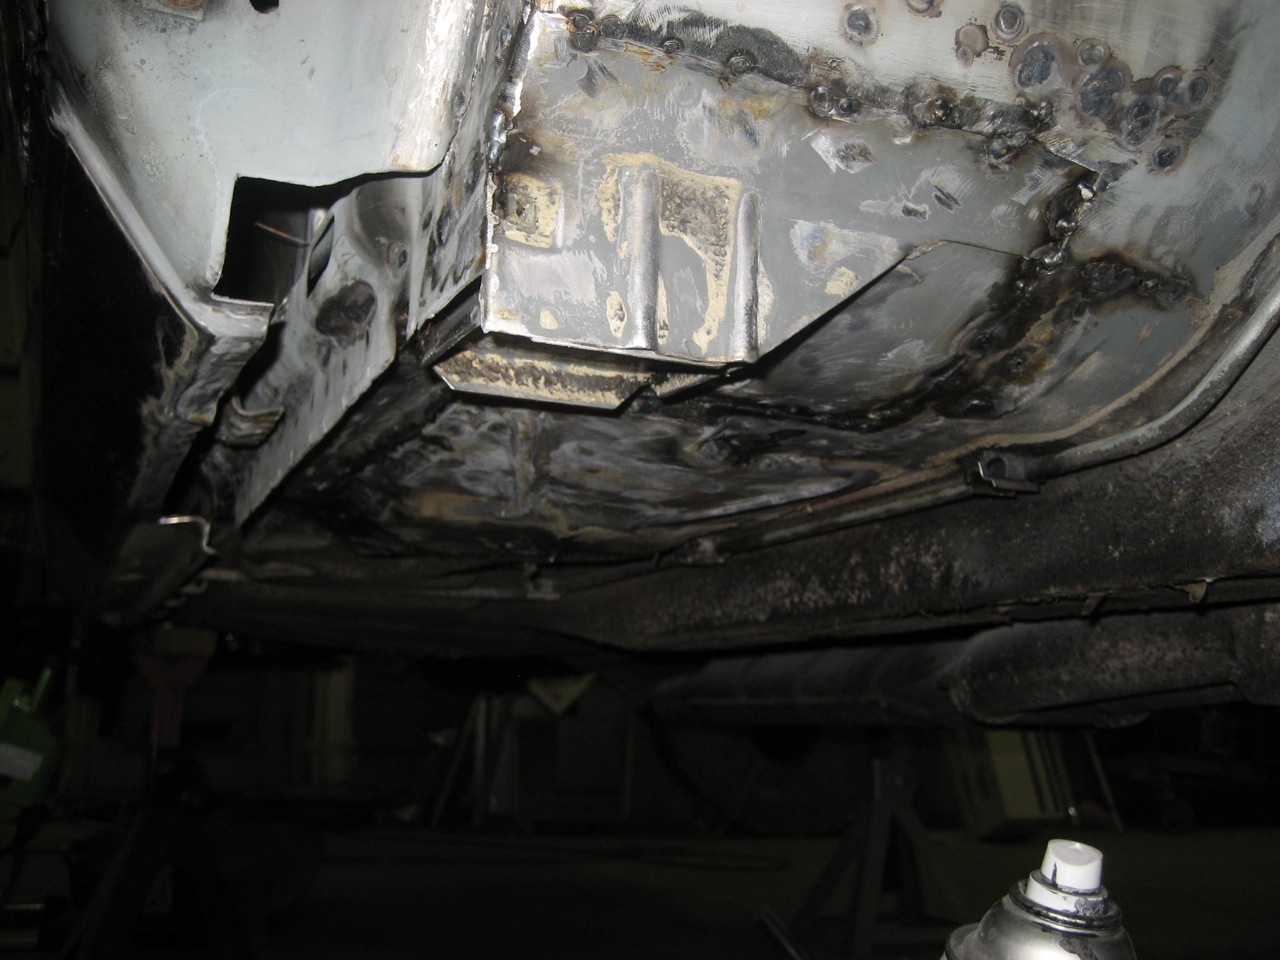
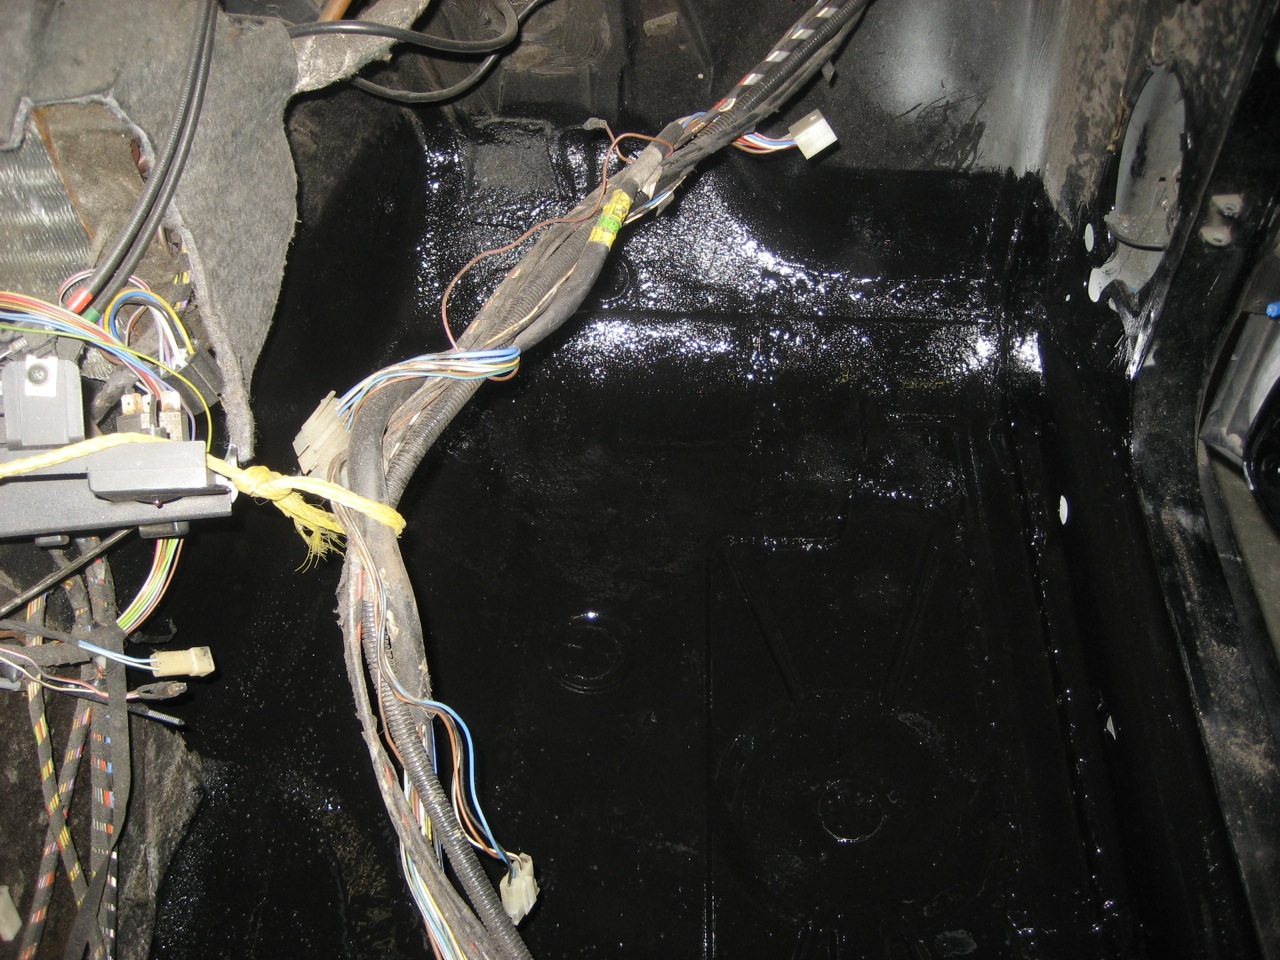
The floor boards cleaned up very nicely after removing all the tar, shit and surface rust. The drivers side repair is done. I burned thru in a few spots and ended up filling the holes making a few ugly welds....but I'm welding upside down...very awkward.....wine/cheese///wine...

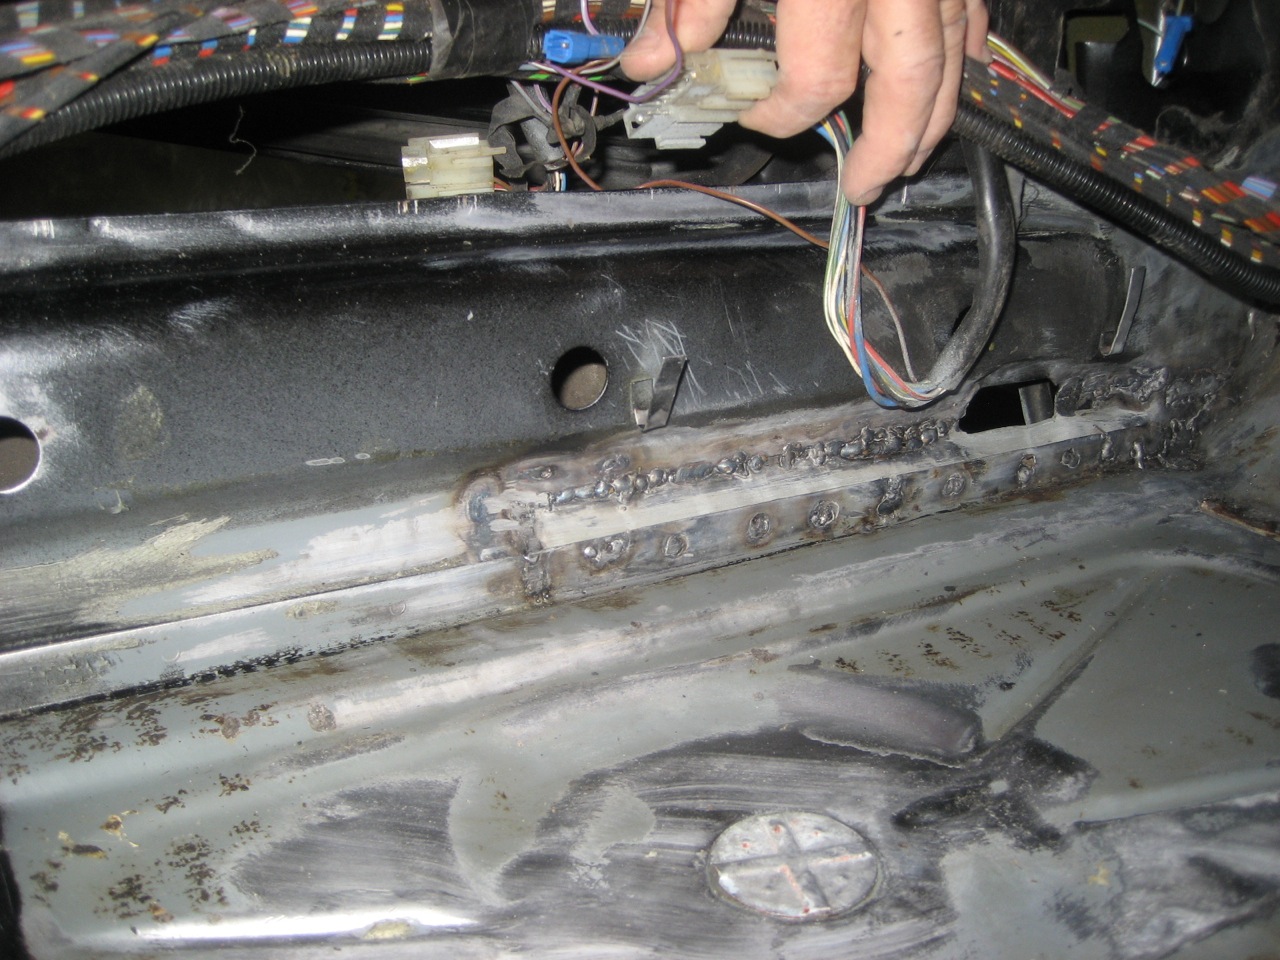
Applied POR15 on the pass side. Seam sealer will go over all the weld joints and seams and then I'll apply the truck bed liner paint. I'll put some kind of sound deadener in also.
Posted: Feb 10, 2011 10:08 PM
by 1st 5er
Worthy project, and work looks to be well done.
Thanks for the pictorial documentary, inspirational.
Posted: Feb 11, 2011 4:13 AM
by Black Steel
Looks great

ed locke M5 Project
Posted: Feb 15, 2011 10:45 PM
by edlocke
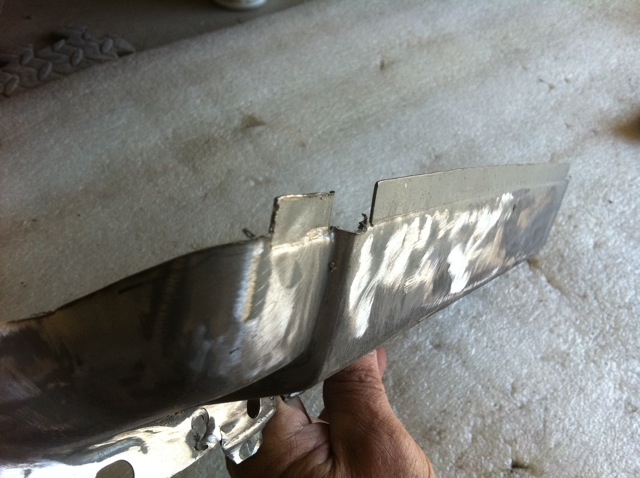
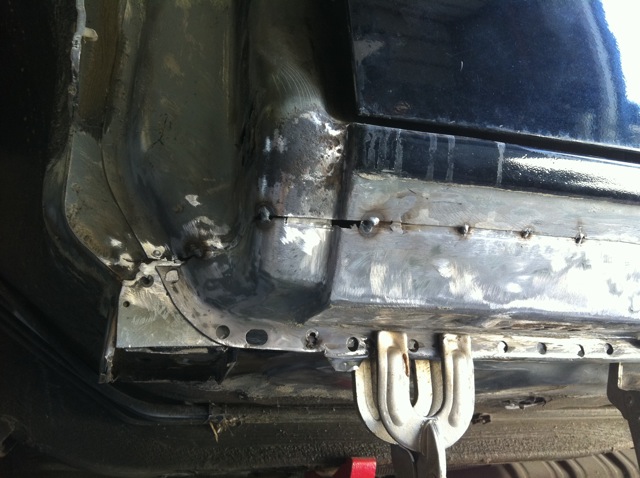
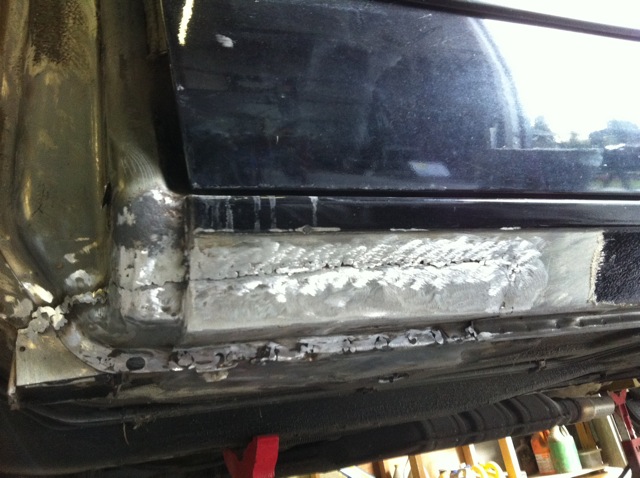
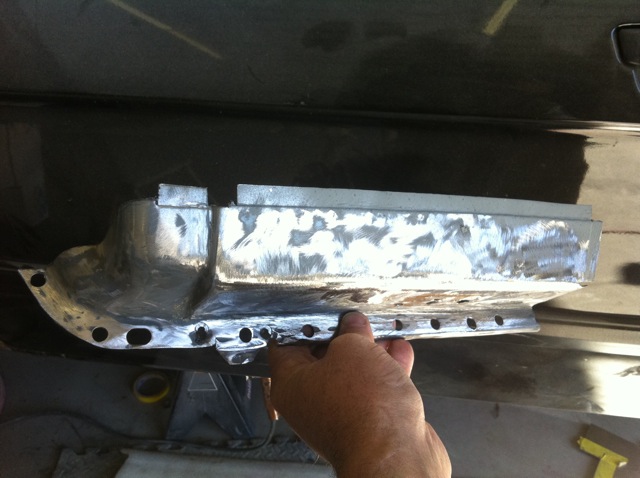
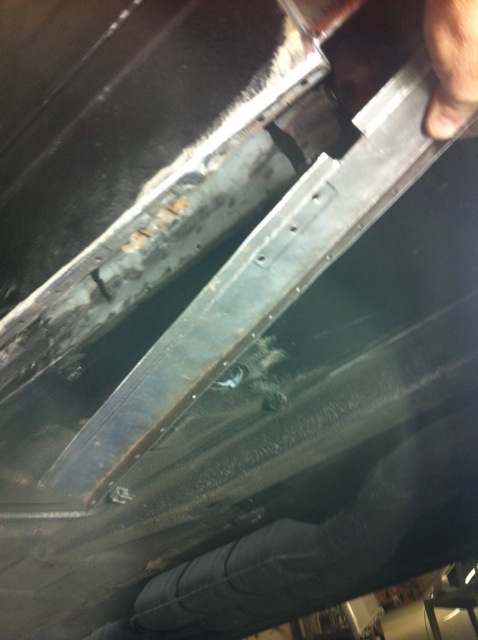
I cut my last bit of rust out of my car. There was a rusty area on the side of the jack points. From here I will take a piece of cardboard, press it against the hole and the jack support to get a indention of the hole. Then I will cut the cardboard for a template and transfer it to fresh sheet metal, it will show the jack support so I can drill holes for spot welds too.
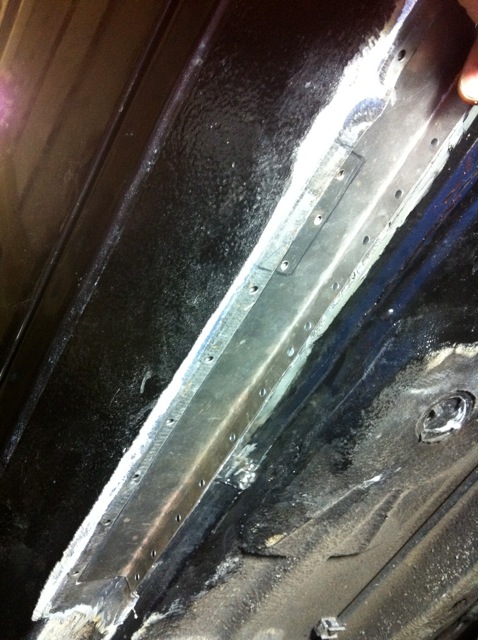
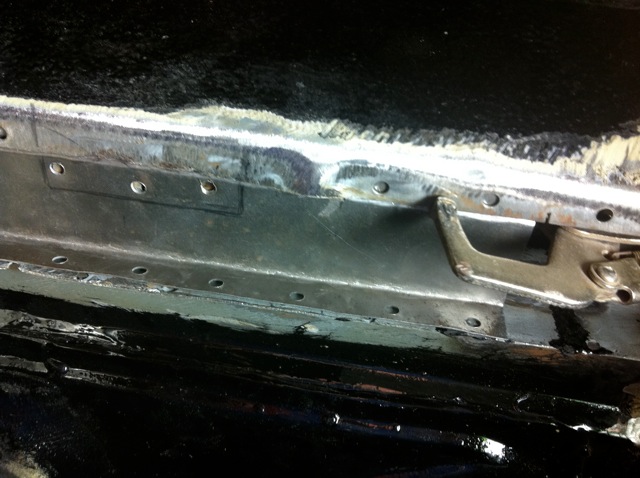
I've been using weld thru primer on the back sides of the metal and joints. Don't apply more than one coat as its a bitch to weld thru if applied too heavy.
I'm actually surprised in how clean and rust free the inside of the rockers are.
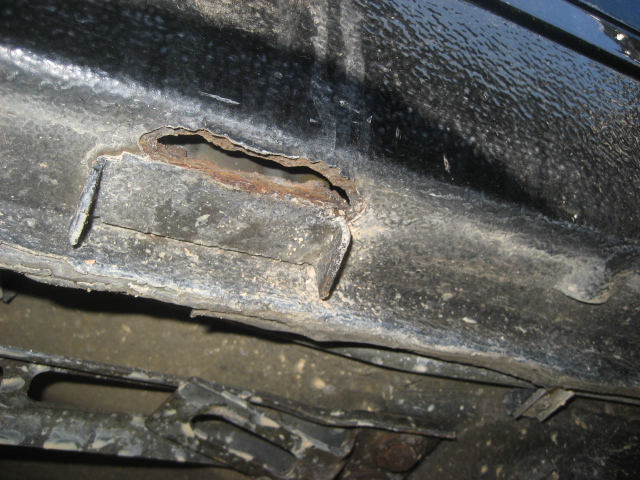

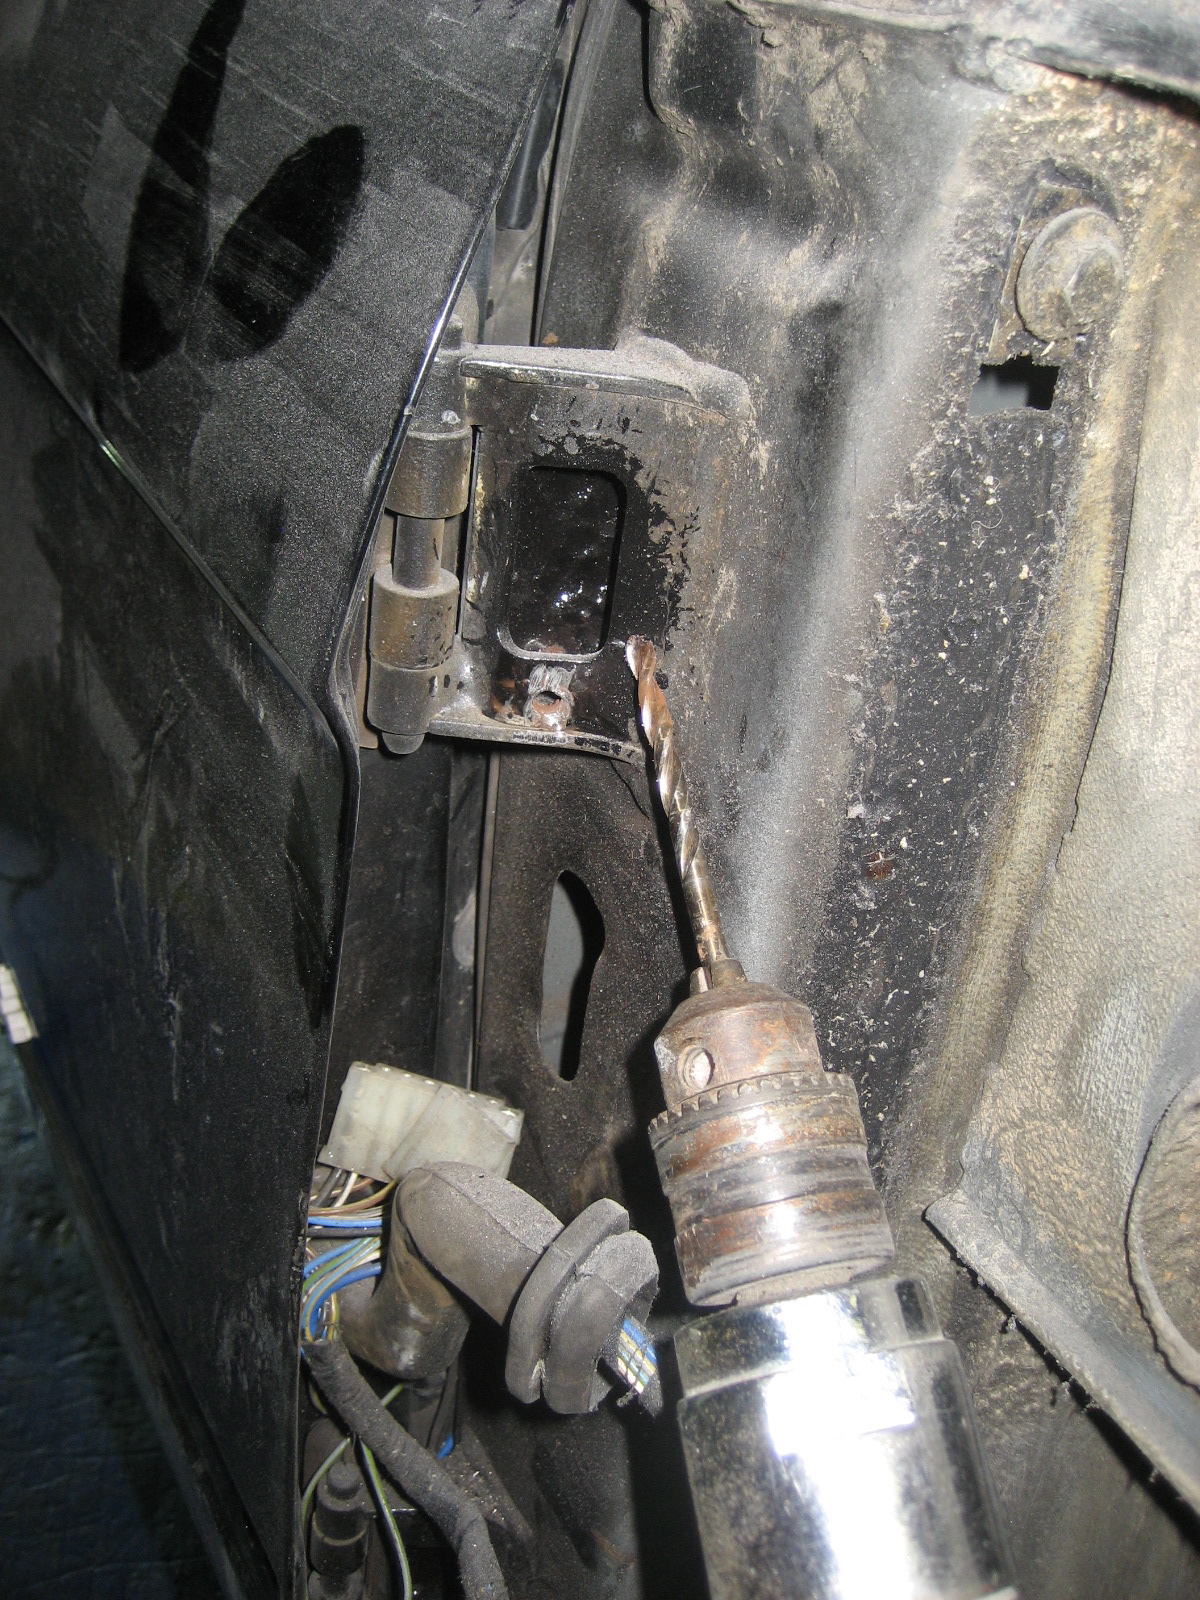
If you ever have your front fenders off....take the time to drill a small water relief hole in your top door hinges....this is a flaw in BMW design as water accumulates in the area. I have seen many hinges nearly rusted thru. The lower hinge is not affected as there is a hole located near the bottom that lets the water pass.

Here I have drilled a hole and applied POR15 for protection.
ed locke project
Posted: Feb 24, 2011 7:18 PM
by edlocke
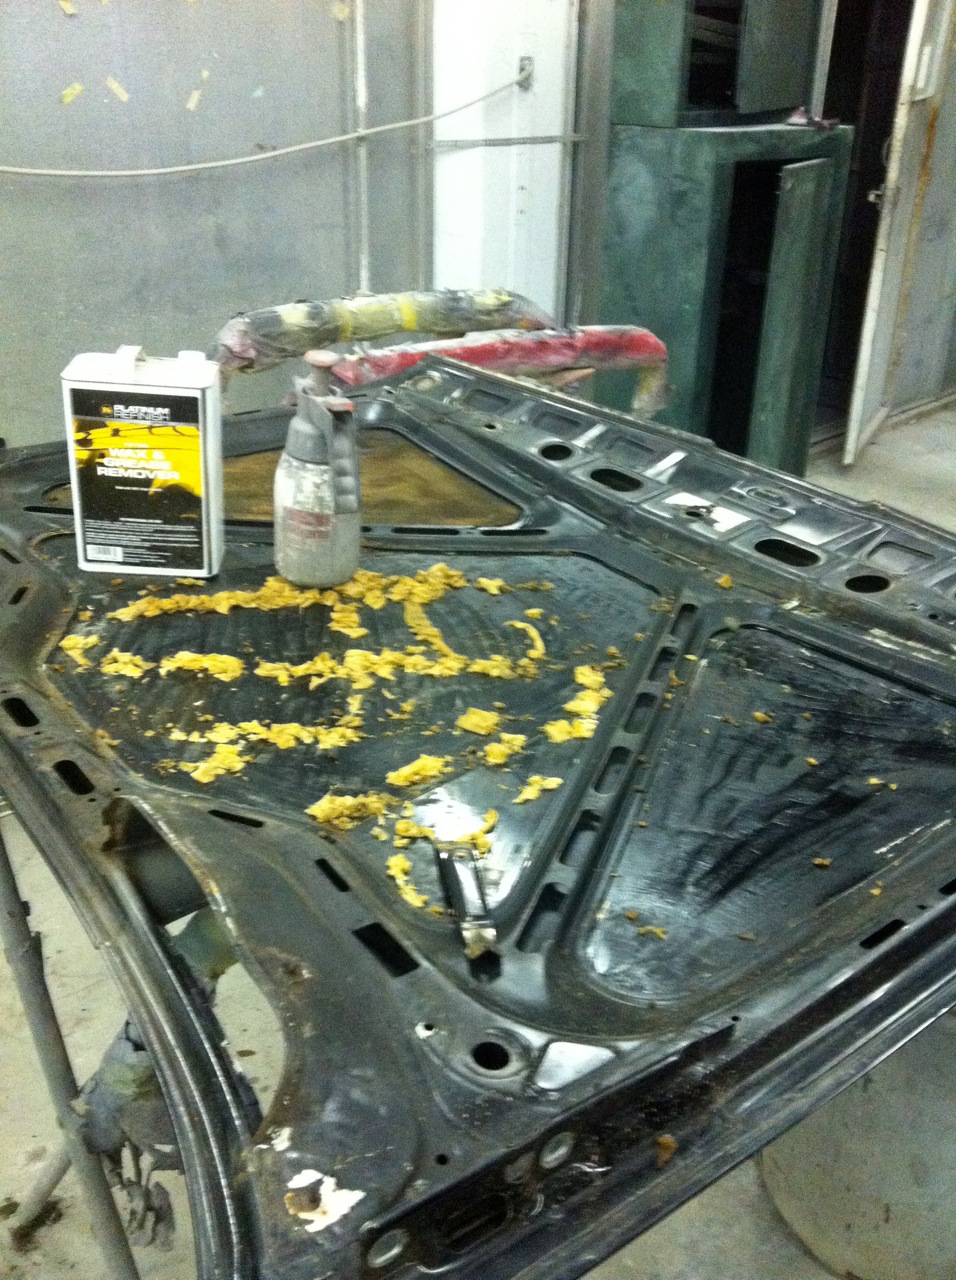
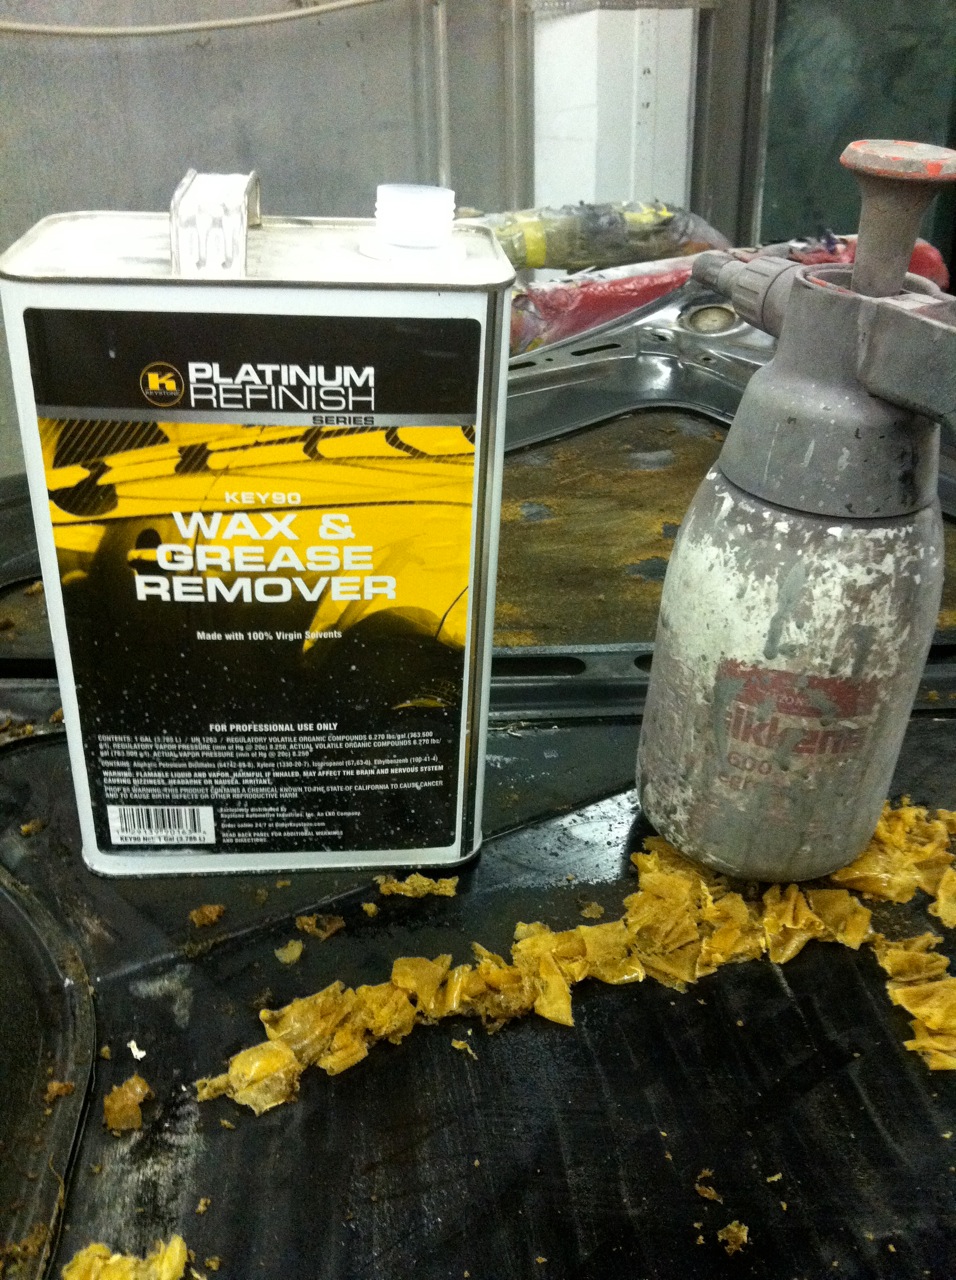
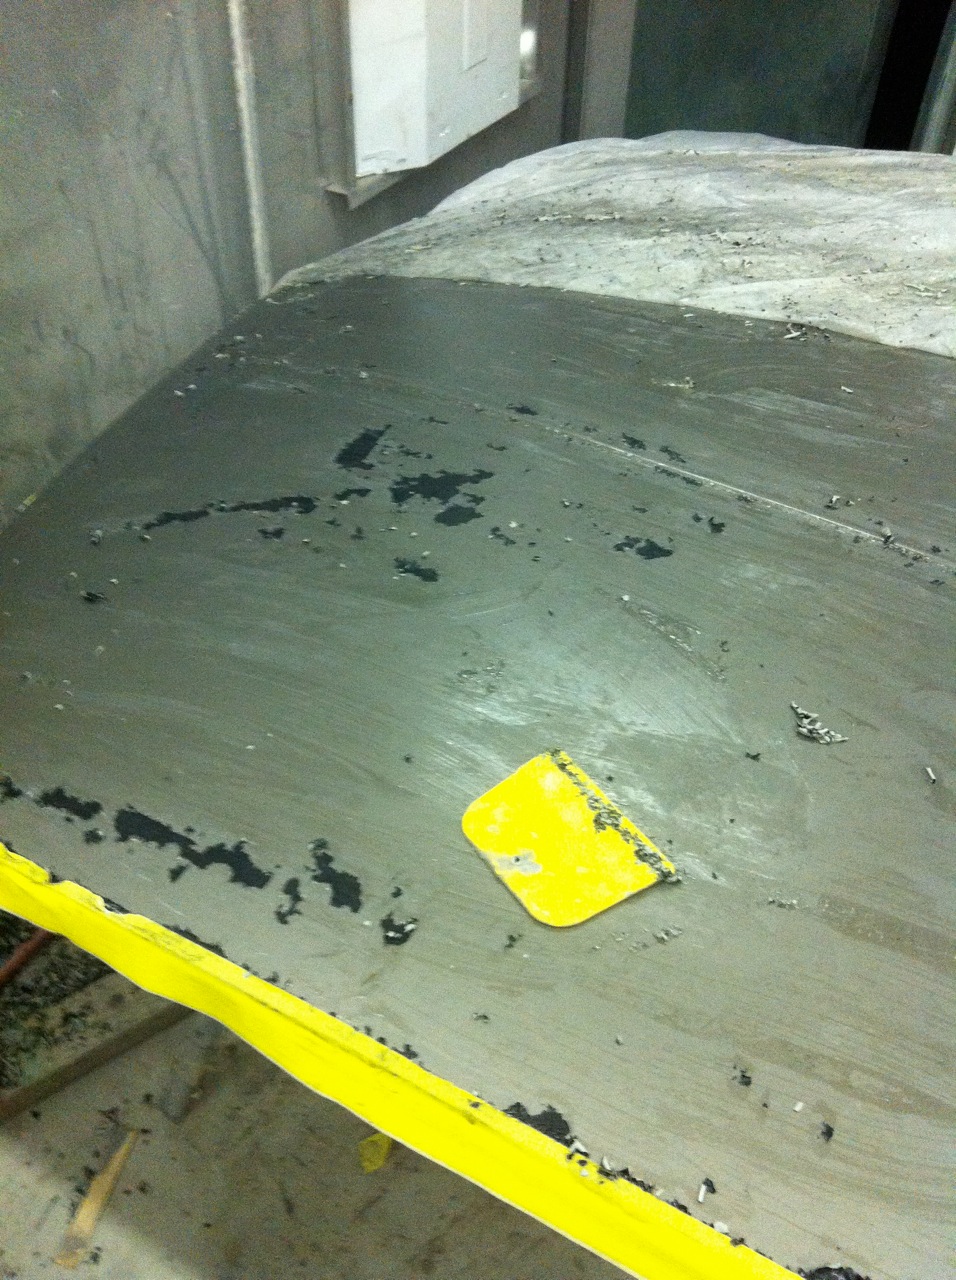
Removed the ugly heat foam from the underside of the hood today. It took about 3-4 applications of the wax/grease remover and good old elbow grease. This stuff works best as it doesn't melt the paint like paint thinner. I cleaned and sanded for fresh paint too.
ed lockes project
Posted: Feb 24, 2011 7:47 PM
by edlocke
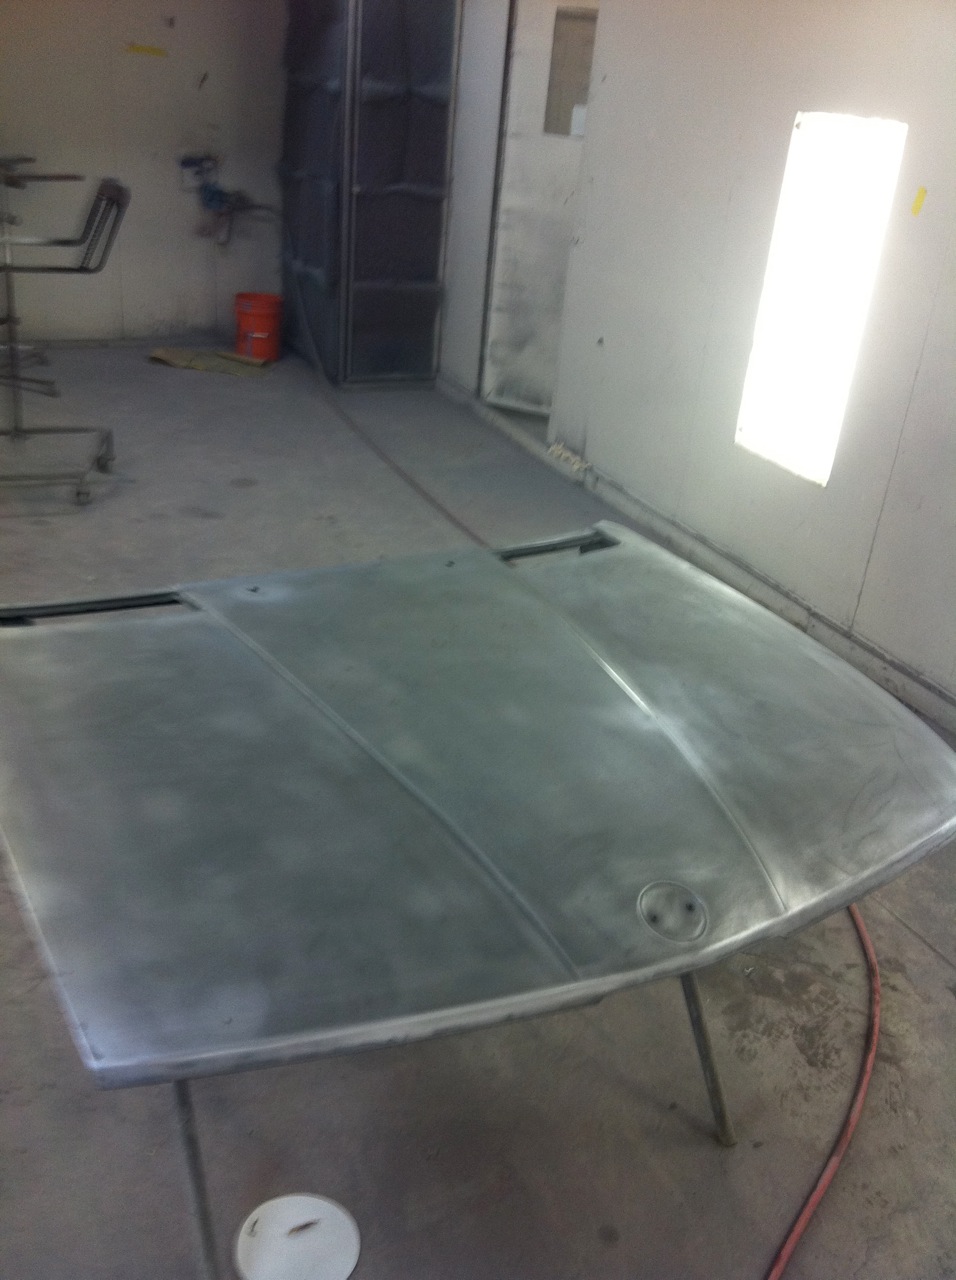
Stripped my hood with Aircraft stripper today. It took about 3 applications to get all the paint off. I taped the edges and any air vents off so stripper wouldn't seep down into the vents and remove good paint finish. Then take 80/100 grit and go around the edges to remove the remaining paint.
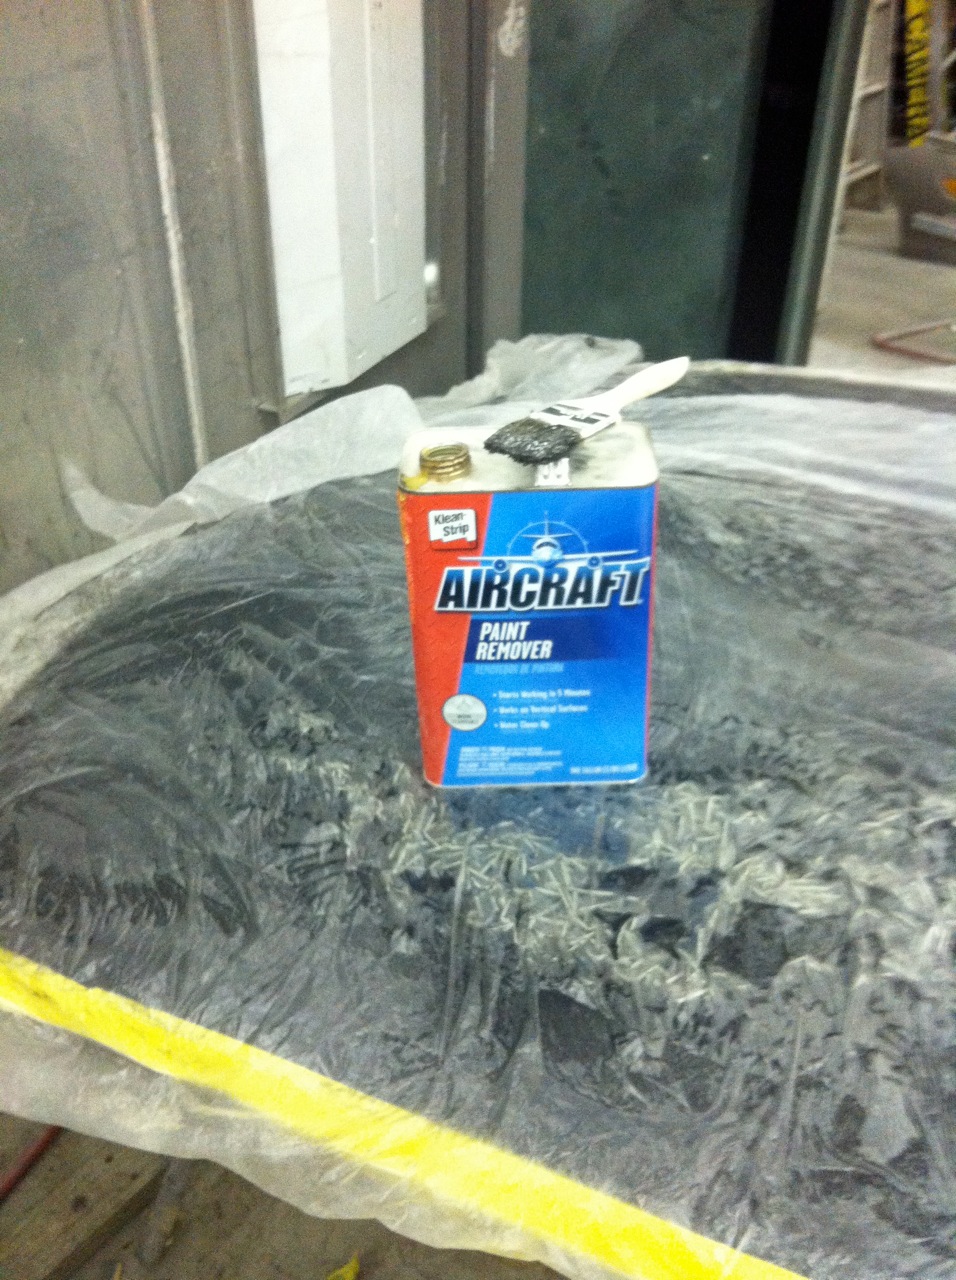
Use a liberal amount each coating, I used a 2 inch bush.

This was the 2nd coat, also put a piece a plastic over your work to keep the stripper from evaporating. Heat helps too.
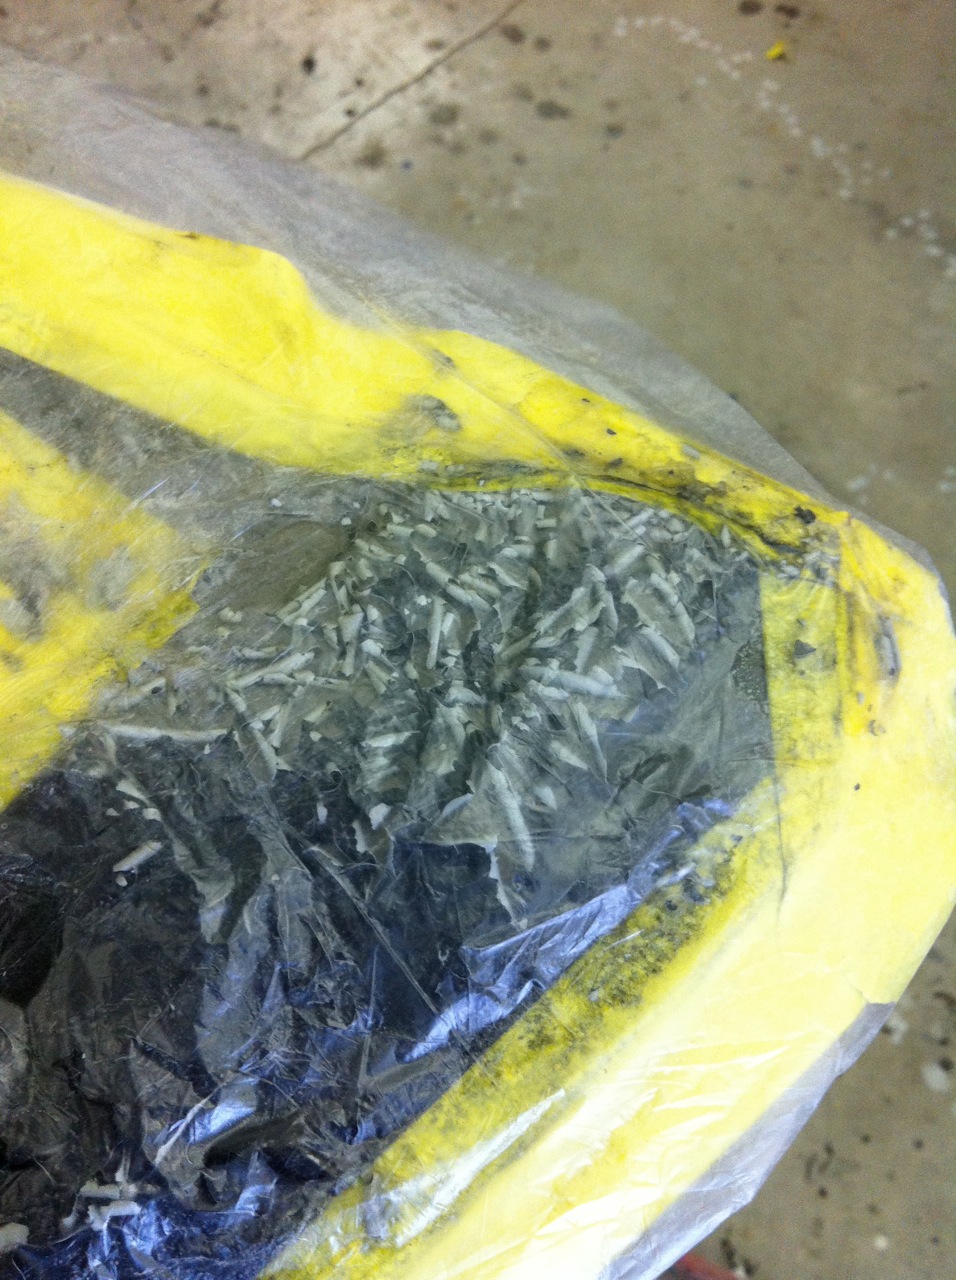
You know when it looks like graded cheese its working!!!
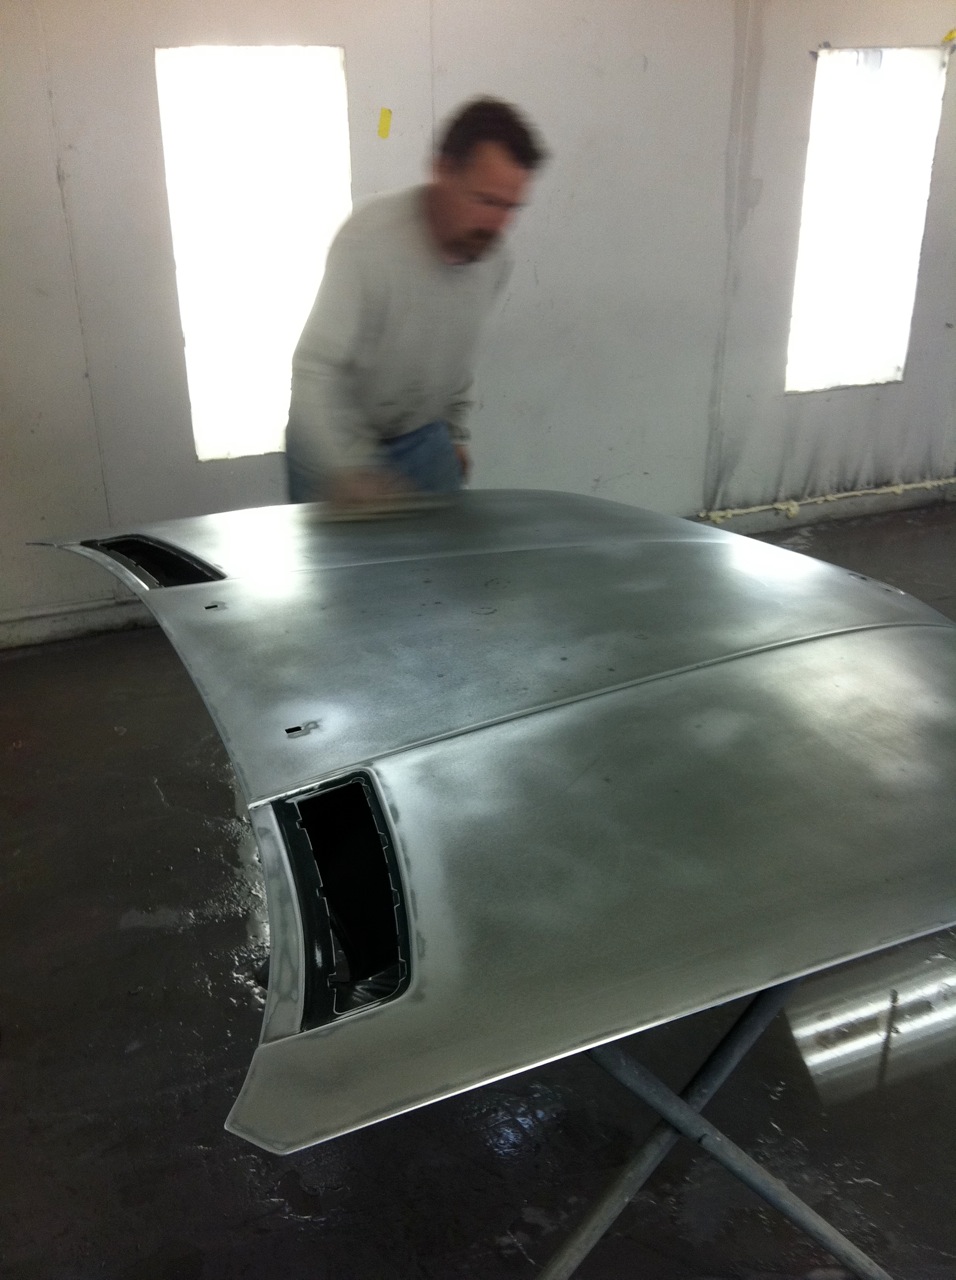
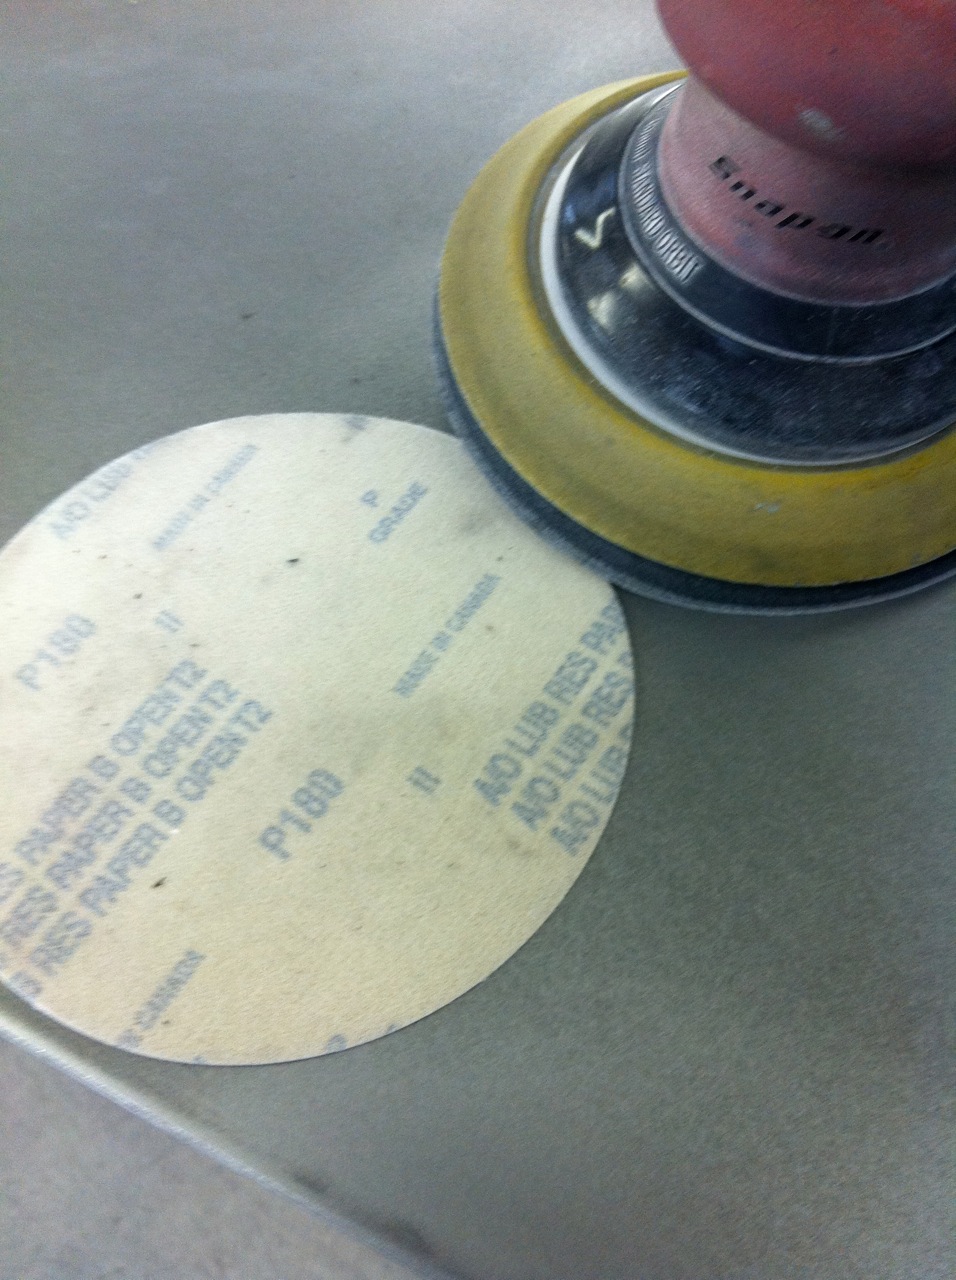
Used 100 grit, then 150, then 180 grit, then grease remover and a final tack cloth.
Etching primer
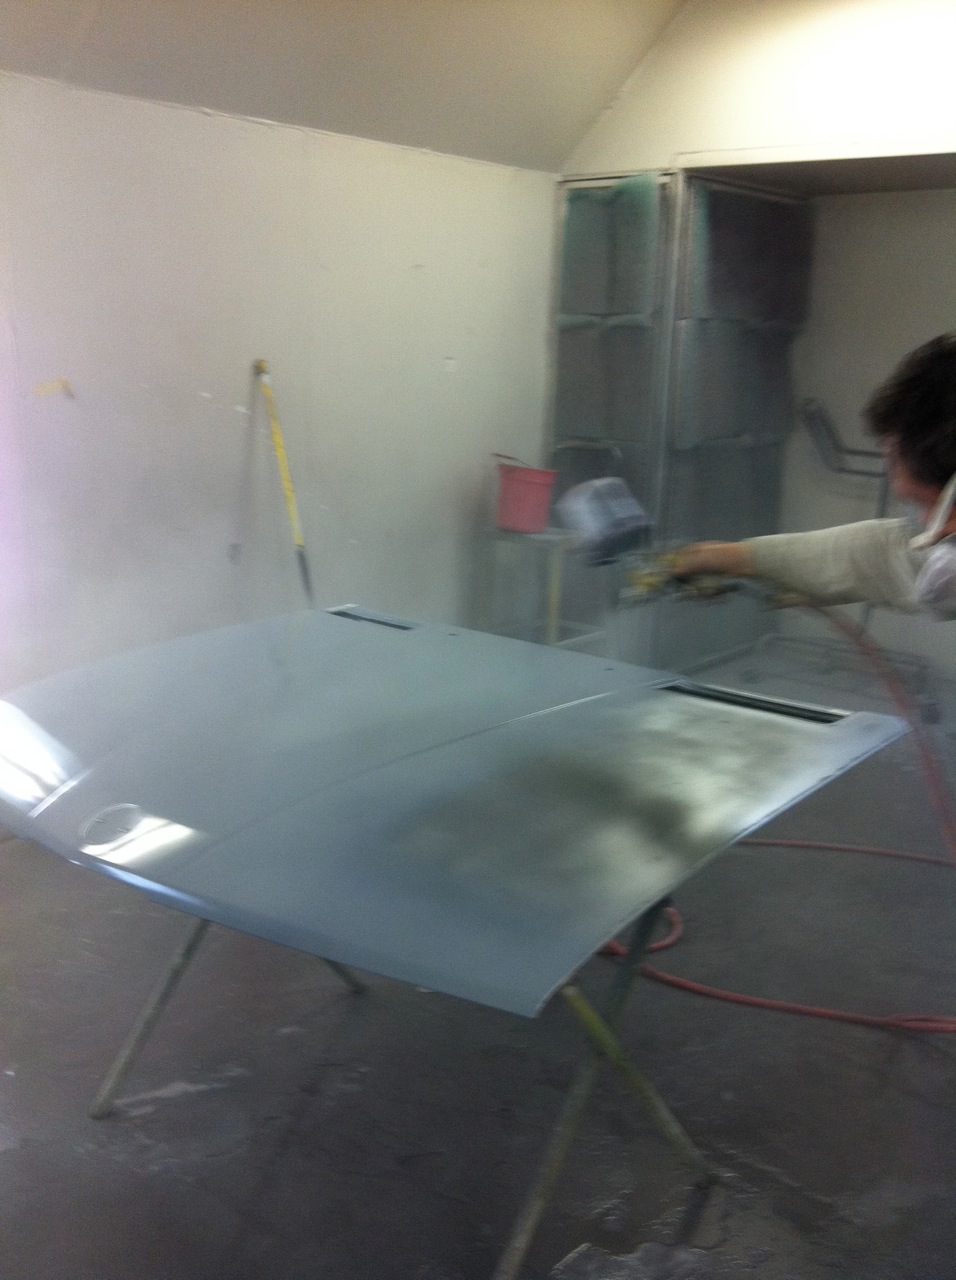
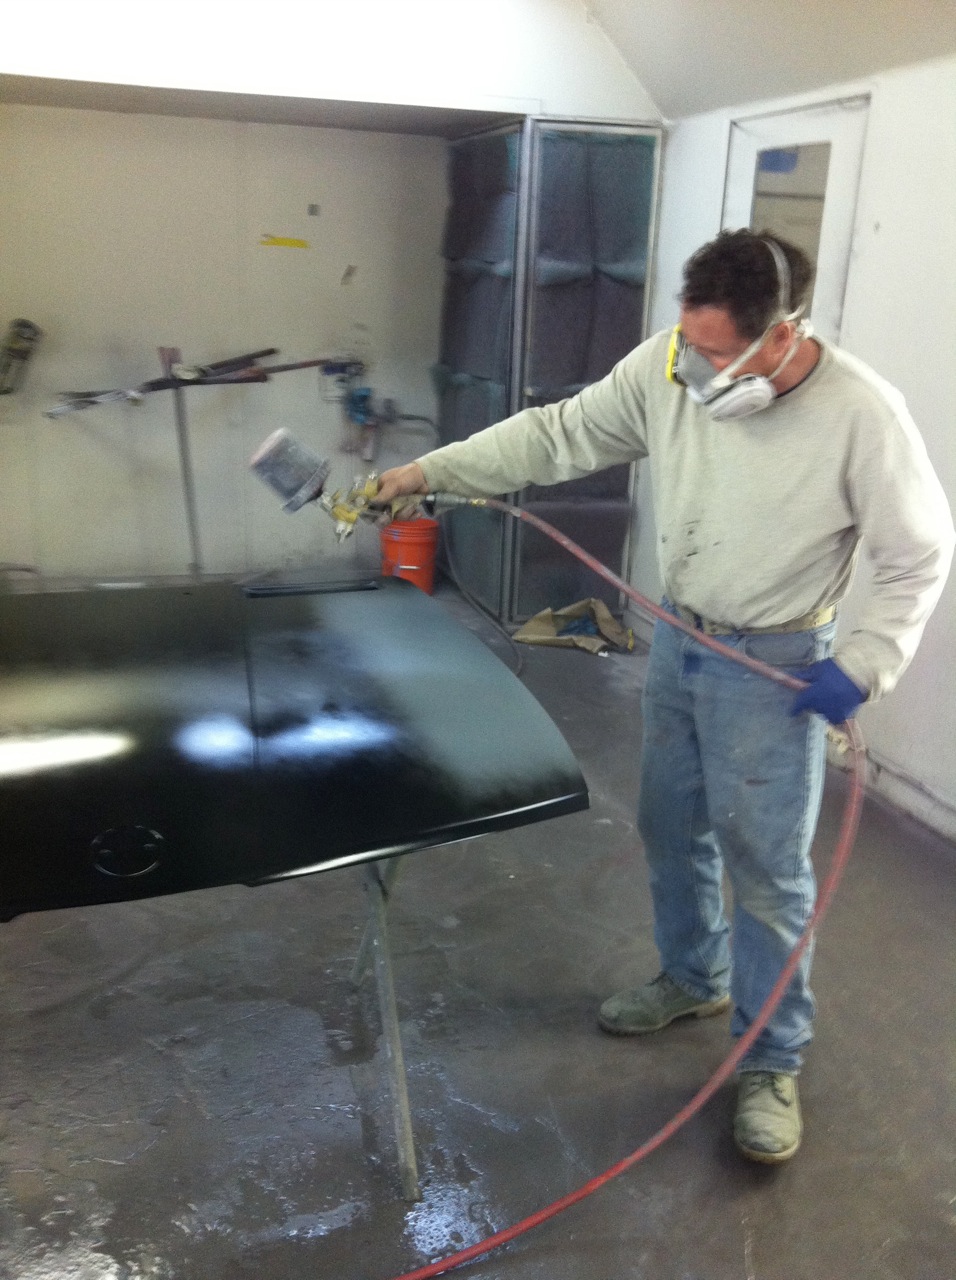
2 coats of black followed by a knock down 800 grit paper, 1 more black and then the clear.
I'll have pics later of the finished piece with new vent rubber, sound/heat mat, rubber and other goodies!
No thats not me, thats my friend who owns the paint shop I have my project in. No he doesn't do rust work but he is a hellava paint!
Posted: Feb 24, 2011 8:45 PM
by rcbmw
Kudos to you Ed! This is amazing.
Best,
RCBMW
edlocke M5 project
Posted: Mar 03, 2011 9:22 PM
by edlocke
Posted: Mar 05, 2011 10:38 PM
by thrty8street
very nice work, keep us updated!
replacing rockers
Posted: Mar 11, 2011 7:53 AM
by edlocke
my m5 project
Posted: Jun 01, 2011 11:40 PM
by edlocke
the project
Posted: Jun 02, 2011 6:45 AM
by edlocke
Posted: Jun 02, 2011 8:54 AM
by oldblackcar
This is really cool. Thanks for taking the time to take and post all of the pics. I'm just now discovering what a rusty mess my 535i is. I don't think I'll be in the position to do that kind of work - but it's nice to see someone get it done.
Posted: Jun 02, 2011 11:16 AM
by skip535i
Posted: Oct 16, 2012 7:30 PM
by S38Mike
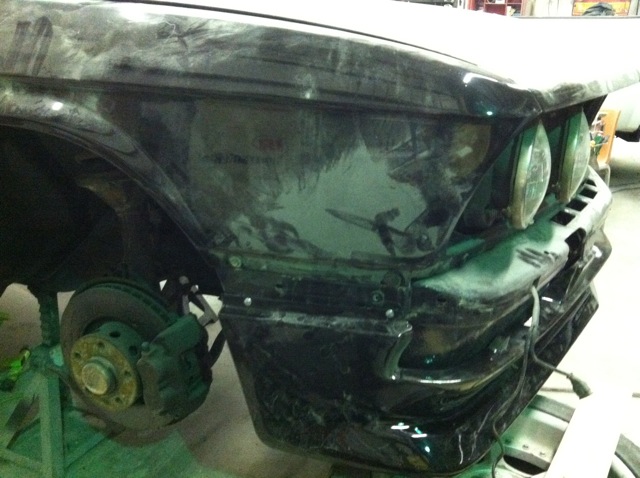
Sadly, the right front corner of my otherwise straight M5 needs this repair. Much respect for taking the job on, Ed. Wish I had something else to drive so I can get started on fixing my M5.