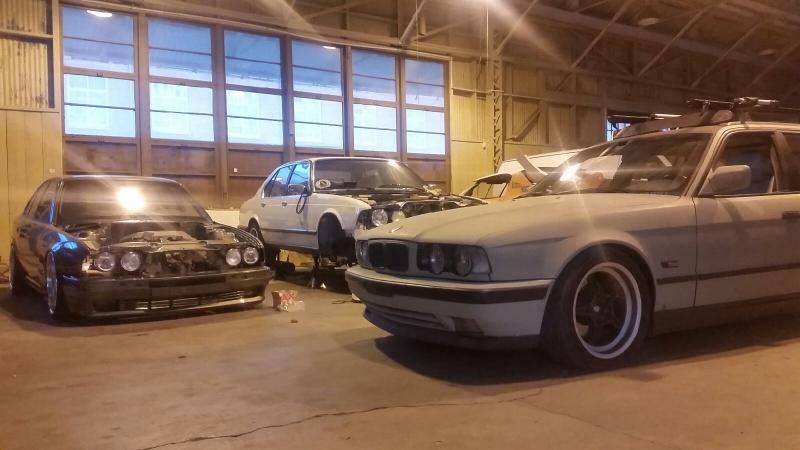
e23 progress...
-
Jelmer538i
- Posts: 1222
- Joined: Feb 12, 2006
- Location: Netherlands
- Contact:
-
m5chaser83
- Posts: 522
- Joined: May 05, 2010
- Location: san rafael ca
how did you get around the check control light for side markers? with the exception of the headlights I wouldn't change a thing. Where are you in the bay? Im looking at doing a b35 swap too on my 85 euro 735i. Ill feel better about taking it on after I hear a success story from you on your swap. I hope to see a build thread. love the look of a clean e23.
Here is a pic of mine.

202447_3678262280735_1280379478_o by homewood1995, on Flickr
Here is a pic of mine.
202447_3678262280735_1280379478_o by homewood1995, on Flickr
Now that's a great looking e23! Wow, yours looks flawless. I'm not sure what you mean about the check control light for the sidemarkers since the ones on my car didn't even have bulbs wired to them. As for the b35 swap, I confess I'm getting my done at Logan's (derrith) shop at Performance Technic. There's no way I'm smart enough to tackle the job myself and am willing to pay the pros to do it. I live out in Mountain House, but work in San Jose. We should definitely meet up once we get our b35s up and running!m5chaser83 wrote:how did you get around the check control light for side markers? with the exception of the headlights I wouldn't change a thing. Where are you in the bay? Im looking at doing a b35 swap too on my 85 euro 735i. Ill feel better about taking it on after I hear a success story from you on your swap. I hope to see a build thread. love the look of a clean e23.
-
Jelmer538i
- Posts: 1222
- Joined: Feb 12, 2006
- Location: Netherlands
- Contact:
-
m5chaser83
- Posts: 522
- Joined: May 05, 2010
- Location: san rafael ca
I can asure you mine is not flawless but its getting there!D Unit wrote:Now that's a great looking e23! Wow, yours looks flawless. I'm not sure what you mean about the check control light for the sidemarkers since the ones on my car didn't even have bulbs wired to them. As for the b35 swap, I confess I'm getting my done at Logan's (derrith) shop at Performance Technic. There's no way I'm smart enough to tackle the job myself and am willing to pay the pros to do it. I live out in Mountain House, but work in San Jose. We should definitely meet up once we get our b35s up and running!m5chaser83 wrote:how did you get around the check control light for side markers? with the exception of the headlights I wouldn't change a thing. Where are you in the bay? Im looking at doing a b35 swap too on my 85 euro 735i. Ill feel better about taking it on after I hear a success story from you on your swap. I hope to see a build thread. love the look of a clean e23.
-
m5chaser83
- Posts: 522
- Joined: May 05, 2010
- Location: san rafael ca
-
SD45T-2

Spent the other day detailing my car. I am by no means a detailing expert. I youtube'd some BlackFire detailing videos and wanted to try it out for myself...
1) Washed with Dawn dish washing soap.
2) Clay'd using my trusty PC7424 at speed 3.
3) Menzerna Aggressive Polish with yellow cutting pad - speed set at 6
4) BlackFire Finishing Polish with orange light cutting pad - speed set at 5
5) BlackFire Wet Diamond Sealant, applied and buff'd by hand
6) P21s Carnuba Wax, 2 coats 24 hours a part
I basically woke up 6am in the morning and quickly washed the car while it was raining outside like an idiot. I had to take fully advantage of having the day off while the wifey went to work and the baby at the baby sitter.

I usually use Zaino products, but I wanted to give BlackFire a try since I read good things about it.

This pad was a life saver! I never had an easier and faster time claying a car in my life. Definitely worth the $12 I paid for it at autogeek.net.

Here's the end result. Sorry I didn't get any before and after pics but the paint looks great now.
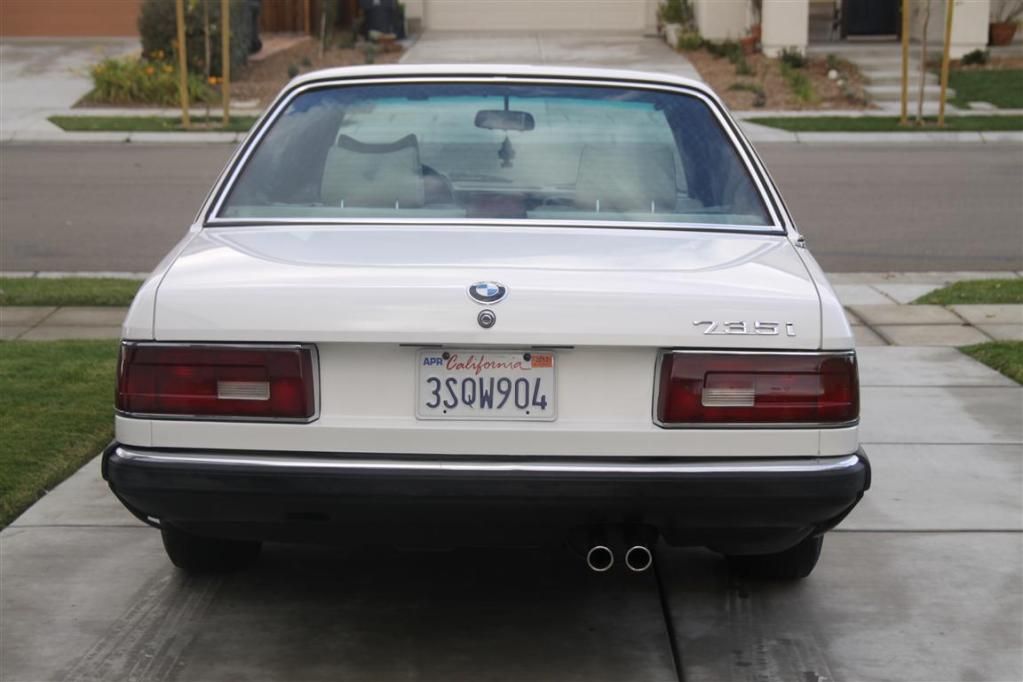
1) Washed with Dawn dish washing soap.
2) Clay'd using my trusty PC7424 at speed 3.
3) Menzerna Aggressive Polish with yellow cutting pad - speed set at 6
4) BlackFire Finishing Polish with orange light cutting pad - speed set at 5
5) BlackFire Wet Diamond Sealant, applied and buff'd by hand
6) P21s Carnuba Wax, 2 coats 24 hours a part
I basically woke up 6am in the morning and quickly washed the car while it was raining outside like an idiot. I had to take fully advantage of having the day off while the wifey went to work and the baby at the baby sitter.
I usually use Zaino products, but I wanted to give BlackFire a try since I read good things about it.
This pad was a life saver! I never had an easier and faster time claying a car in my life. Definitely worth the $12 I paid for it at autogeek.net.
Here's the end result. Sorry I didn't get any before and after pics but the paint looks great now.


-
four2zerohero
- Posts: 322
- Joined: Jul 01, 2010
- Location: Tucson Az

-
Adam W in MN
- Posts: 5055
- Joined: Feb 12, 2006
- Location: Don't waste my motherf***in' time!
- Contact:
-
Jelmer538i
- Posts: 1222
- Joined: Feb 12, 2006
- Location: Netherlands
- Contact:
-
blindlemon77
- Posts: 228
- Joined: Aug 22, 2011
- Location: Colorado

I live out in the country in Mtn House. If I'm ever in the area, I'll PM you so we can plan something.scott s wrote:Awesome e23 man! Where are you in the Bay? I'd love to shoot some pictures with you once my e28's Euro bumper and valance are on. I live in Redwood City on the Peninsula.
It's been a while since I posted, but I finally got my suspension sorted out. After trying a few things (the wrong way), I PM'd Eric for some help. The end result is better but still needs work. Car handles acceptable for now.
350lbsF/375lbsR
e23 Billy Sports fronts, e28 Billy Sports rear
Also got some new wheels.


Last edited by D Unit on May 10, 2014 11:43 AM, edited 1 time in total.
I couldn't resist buying this today. I assumed it was a BBS clone air dam, but the seller described it as 1 of 300 made. I bought it anyway since I totally regretted not buying any of the 5 last clones on Ebay a few months ago.
Last edited by D Unit on Feb 05, 2016 3:58 PM, edited 1 time in total.
Re: e23 progress...
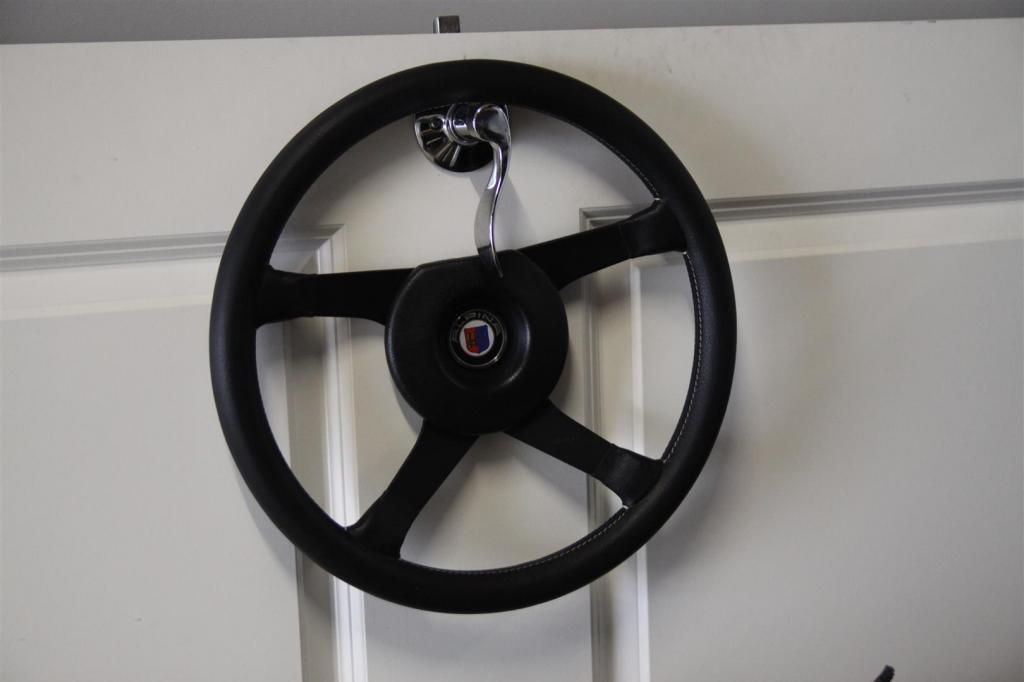
Scored this NOS Alpina/momo steering wheel...
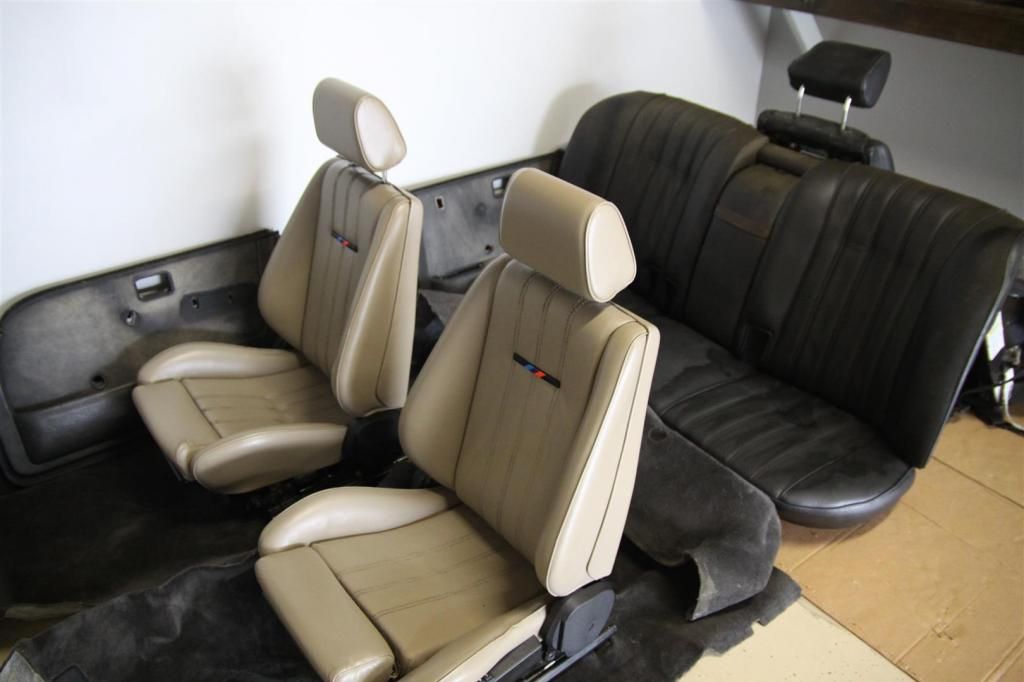
and this waiting to be installed. I also got all the black interior dash pieces, but might mix it up using pearl beige for the dash and black for the center and ebrake consoles.
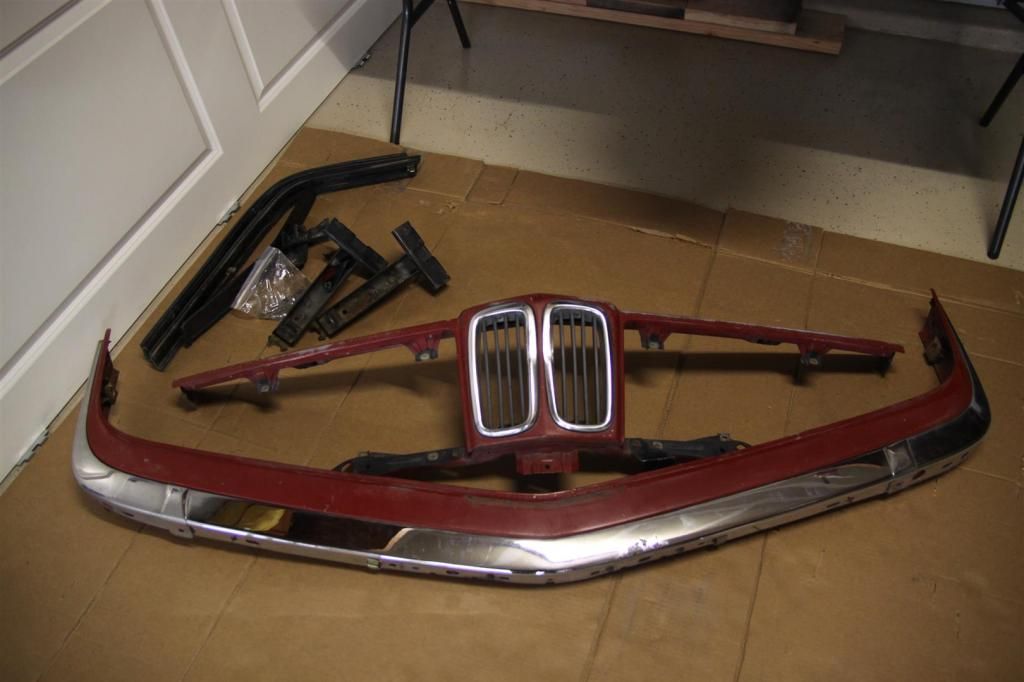
Got this recently pulled from the yard... dropped the bumper off to get powder coated and the sharknose assembly to be sandblasted.
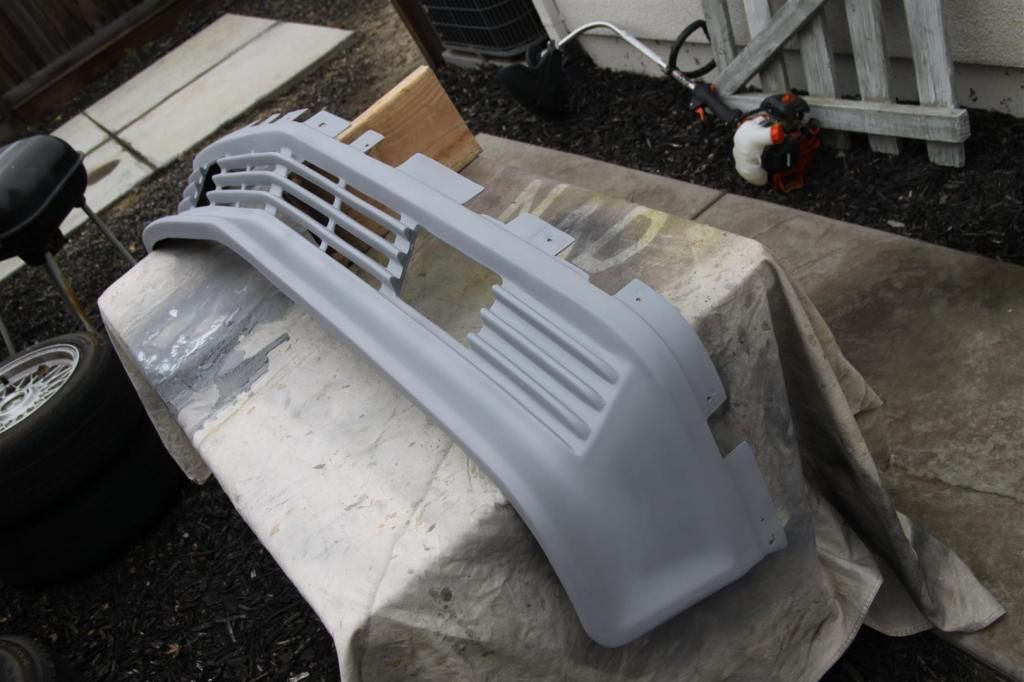
Started prepping this today...
My car is still at the shop, so there's not much I can do until it gets finished... hopefully it will get done soon so I can finally drive her again.

and this waiting to be installed. I also got all the black interior dash pieces, but might mix it up using pearl beige for the dash and black for the center and ebrake consoles.

Got this recently pulled from the yard... dropped the bumper off to get powder coated and the sharknose assembly to be sandblasted.

Started prepping this today...

My car is still at the shop, so there's not much I can do until it gets finished... hopefully it will get done soon so I can finally drive her again.
Last edited by D Unit on Feb 05, 2016 3:26 PM, edited 1 time in total.
Re: e23 progress...
now you're getting serious! keep those pics coming!
Re: e23 progress...
Our cars are shop buddies!