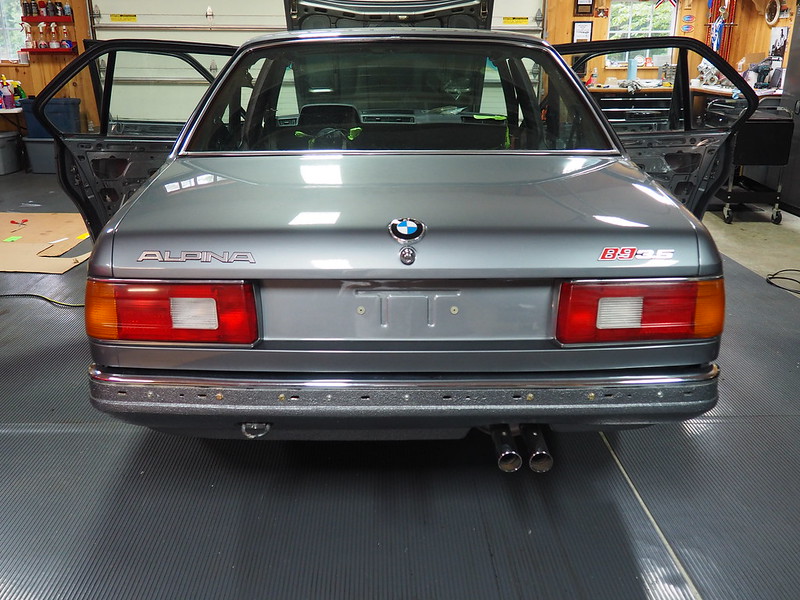
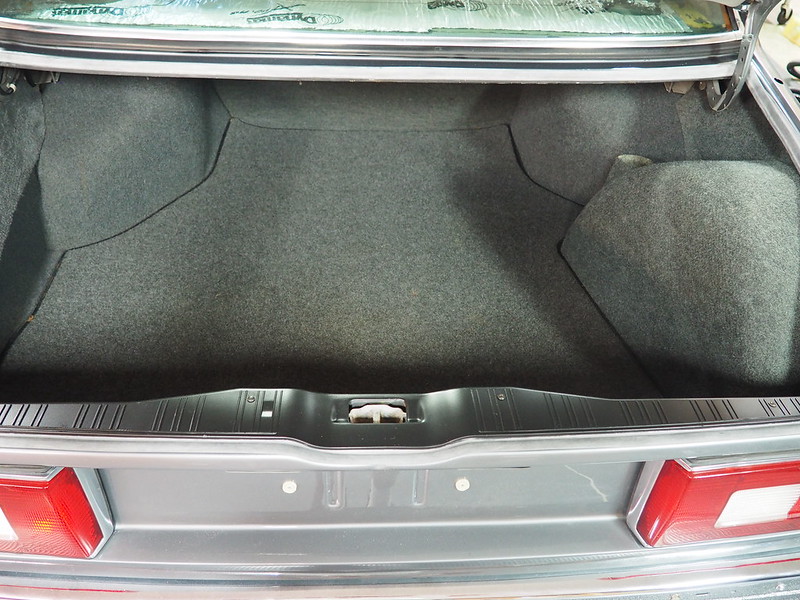
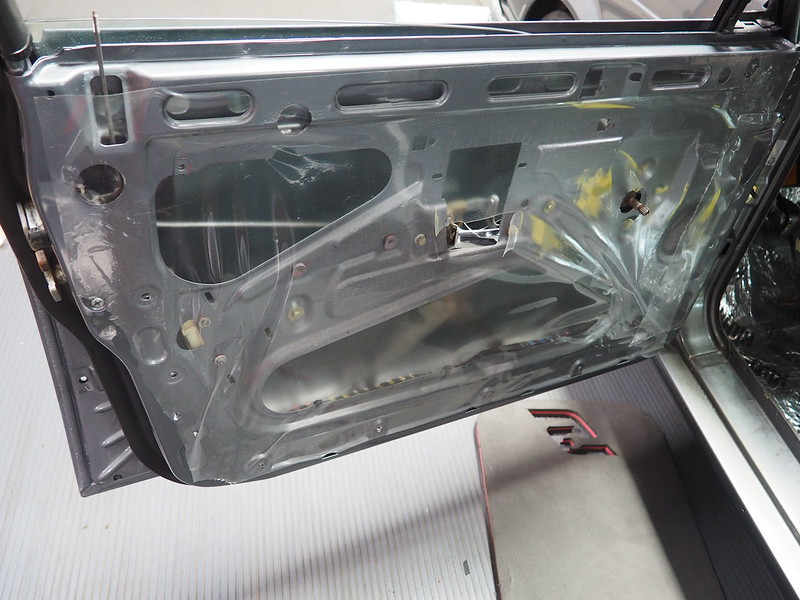
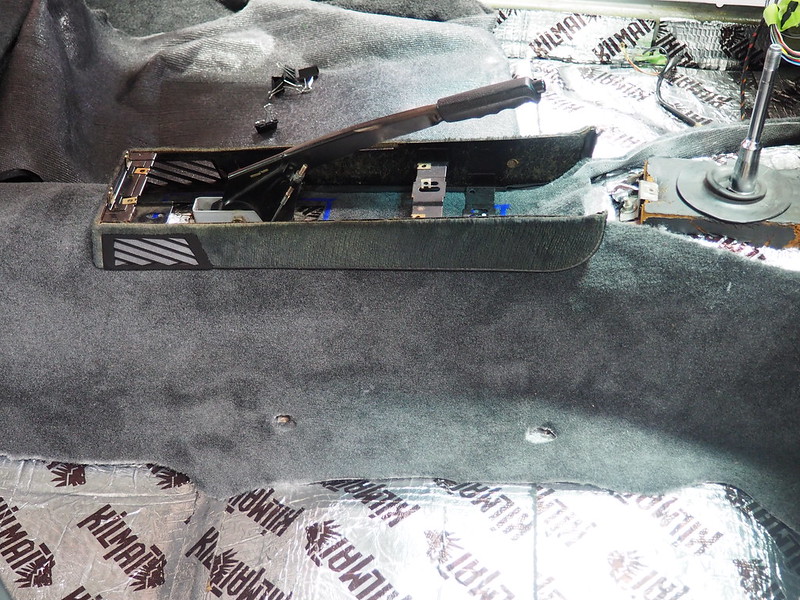
Project e23 B9 build - update 11/25/19

Show off your E28. Read epic threads of other's builds and projects.
RoyW
Posts: 2877
Joined: Feb 12, 2006
Location: Albany, NY

Re: Project e23 B9 build - update 06/13/19

Post by RoyW »

Hit Man X wrote:Hope my gasket was in good enough shape for this car! :shock:
It was perfect... thank you again for coming to the rescue, much appreciated. As was mentioned in previous update, that part (windshield weatherstripping or gasket) from BMW Parts was the wrong size (too big) and they sent two, but still haven't figured out what the problem is?? :shock: :oops:

-RoyW
Dale3783
Posts: 439
Joined: Oct 26, 2016
Location: Miami, FL

Re: Project e23 B9 build - update 06/13/19

Post by Dale3783 »

Amazing work. Cant wait to see this car finished...and hopefully in person someday!
Hit Man X
Posts: 570
Joined: Jun 10, 2010
Location: FUNKYTOWN

Re: Project e23 B9 build - update 06/13/19

Post by Hit Man X »

Glad to hear it worked great! :D :D :D
ahab
Posts: 6224
Joined: Jun 11, 2006
Location: Chalfont, PA

Re: Project e23 B9 build - update 06/13/19

Post by ahab »

RoyW wrote: Still targeting next weekend for completion. Onward and upward! :alright:
FTFY ;)
espoe
Posts: 12
Joined: Feb 11, 2013
Location: New Orleans, LA

Re: Project e23 B9 build - update 06/13/19

Post by espoe »

RoyW wrote:
Hit Man X wrote:Hope my gasket was in good enough shape for this car! :shock:
It was perfect... thank you again for coming to the rescue, much appreciated. As was mentioned in previous update, that part (windshield weatherstripping or gasket) from BMW Parts was the wrong size (too big) and they sent two, but still haven't figured out what the problem is?? :shock: :oops:

-RoyW
Roy

Im going through an issue with my windshield gasket as well and thought it was an installer issue. They said the gasket was too big and I thought to myself no way. Apparently that's not the case. I bought mine a while back so now I am wondering if they'll take it back or exchange it at least. Do you have any dialogue with BMW about this or know if this is a known issue. I bought mine from getbmwparts.com so I am going to take it up with them. Just wondering if you have any helpful info if I should need it.

Thanks and it's looking great. Wish I had your work crew!
RoyW
Posts: 2877
Joined: Feb 12, 2006
Location: Albany, NY

Re: Project e23 B9 build - update 06/13/19

Post by RoyW »

espoe wrote:
RoyW wrote:
Hit Man X wrote:Hope my gasket was in good enough shape for this car! :shock:
It was perfect... thank you again for coming to the rescue, much appreciated. As was mentioned in previous update, that part (windshield weatherstripping or gasket) from BMW Parts was the wrong size (too big) and they sent two, but still haven't figured out what the problem is?? :shock: :oops:

-RoyW
Roy

Im going through an issue with my windshield gasket as well and thought it was an installer issue. They said the gasket was too big and I thought to myself no way. Apparently that's not the case. I bought mine a while back so now I am wondering if they'll take it back or exchange it at least. Do you have any dialogue with BMW about this or know if this is a known issue. I bought mine from getbmwparts.com so I am going to take it up with them. Just wondering if you have any helpful info if I should need it.

Thanks and it's looking great. Wish I had your work crew!
Clearly BMW Germany Parts has a problem with this gasket... its wrong! The dealer thought the first one was simply an error of some sort, but when the second one was exactly the same (too big) they contacted BMW Germany (Parts)... they asked for pictures and measurements, which I gave them. I'm guessing their source is or was producing the wrong specifications? Who knows? The vendor you got yours from probably sourced it from BMW Germany and it came from the same bad batch. Hopefully they will take it back and refund, but, good luck getting an answer from BMW.

RoyW
wkohler
Posts: 50939
Joined: Oct 05, 2006
Location: Phönix, Arizona, USA
Contact:

Re: Project e23 B9 build - update 06/13/19

Post by wkohler »

BMW Classic puts part numbers out to bid for reproductions so the people that made it originally probably didn't make the new ones. Just like lower aluminum windshield trim for E28s and stuff like door gaskets for 2002s. I've probably got hundreds of dollars in parts that are worthless. I've been better about checking stuff lately but some stuff I've had so long I didn't know.
espoe
Posts: 12
Joined: Feb 11, 2013
Location: New Orleans, LA

Re: Project e23 B9 build - update 06/13/19

Post by espoe »

wkohler wrote:BMW Classic puts part numbers out to bid for reproductions so the people that made it originally probably didn't make the new ones. Just like lower aluminum windshield trim for E28s and stuff like door gaskets for 2002s. I've probably got hundreds of dollars in parts that are worthless. I've been better about checking stuff lately but some stuff I've had so long I didn't know.
It's startling in a way because this is the first issue I've had with a part not fitting that wasn't my fault. I've bought the wrong headlight grills (forgot about the facelift), turn signal switch and a couple other things but it was always me that missed a detail. Never occurred to me to check a part ordered from BMW, that was the same from the first production car to the last, for sizing. Now I've had the thing for about 6 months as I was stockpiling parts for my paint job. They may very well take care of it and at the same time they could tell me its been too long, we'll see.

I will say I have always been uncomfortable not having a "parts guy" and doing everything online. This is a time when that relationship would really help. Like you I already have hundreds on parts that for one reason or another are wrong. This would just add ~$300.00 to the list but it would be the first part I have that is of no use to anyone. At least the others I can sell!

Thanks for the input guys, I am going to keep plugging as my car (85 e23 745i) is now back in my hands from the paint shop ready for reassembly.
ahab
Posts: 6224
Joined: Jun 11, 2006
Location: Chalfont, PA

Re: Project e23 B9 build - update 06/13/19

Post by ahab »

Having seen both gaskets in person, I'm going to chalk this up to dyslexia in Germany. E23 <-> E32. I am guessing that the gasket itself isn't "wrong", but the label on the bag is making it so.

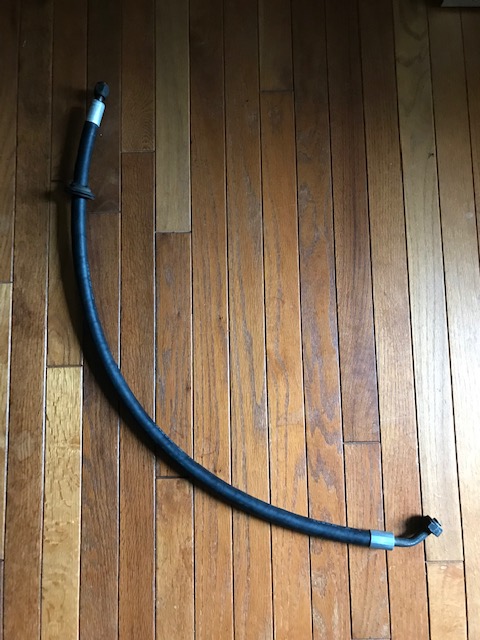
That aside, I picked this up yesterday. Hopefully this helps put the AC conundrum to bed. Has the new drier arrived?

Image
RoyW
Posts: 2877
Joined: Feb 12, 2006
Location: Albany, NY

Re: Project e23 B9 build - update 06/13/19

Post by RoyW »

ahab wrote:Having seen both gaskets in person, I'm going to chalk this up to dyslexia in Germany. E23 <-> E32. I am guessing that the gasket itself isn't "wrong", but the label on the bag is making it so.

That aside, I picked this up yesterday. Hopefully this helps put the AC conundrum to bed. Has the new drier arrived?

Image
Thanks Aaron.... unfortunately the re-furbished dryer won't be here for another couple weeks (they called yesterday for a CC and said it's now in the queue). But we can get those hoses back in place, so we continue on with re-assembly to the front end. :)

You may be right about the gasket being for an e32 (vs. and e23) and things just got mixed up somewhere along the line... but we'll probably never know, unless someone fits one of these on an e32 windshield. :)

-RoyW
RoyW
Posts: 2877
Joined: Feb 12, 2006
Location: Albany, NY

Re: Project e23 B9 build - update 06/13/19

Post by RoyW »

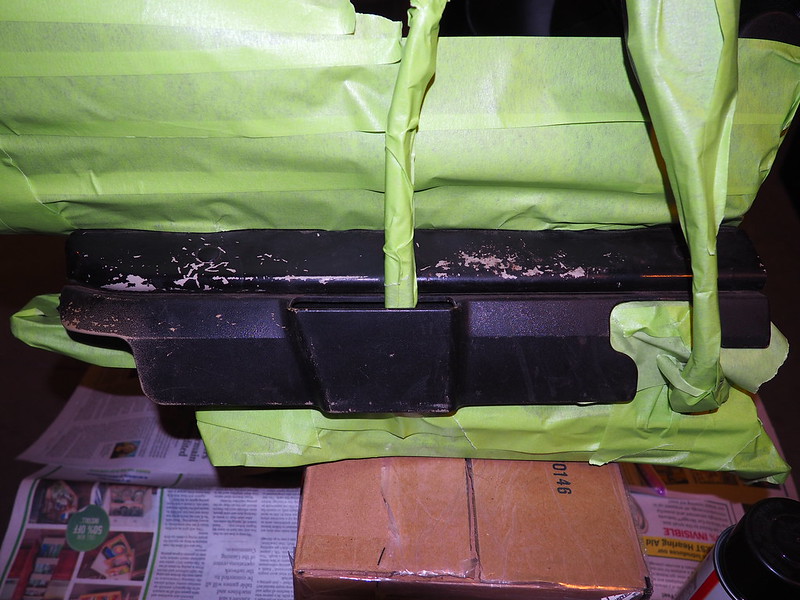
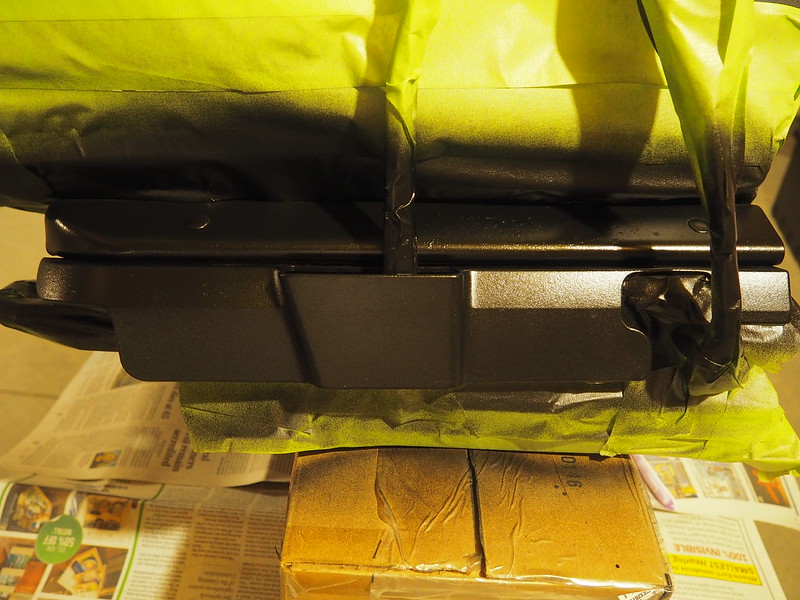
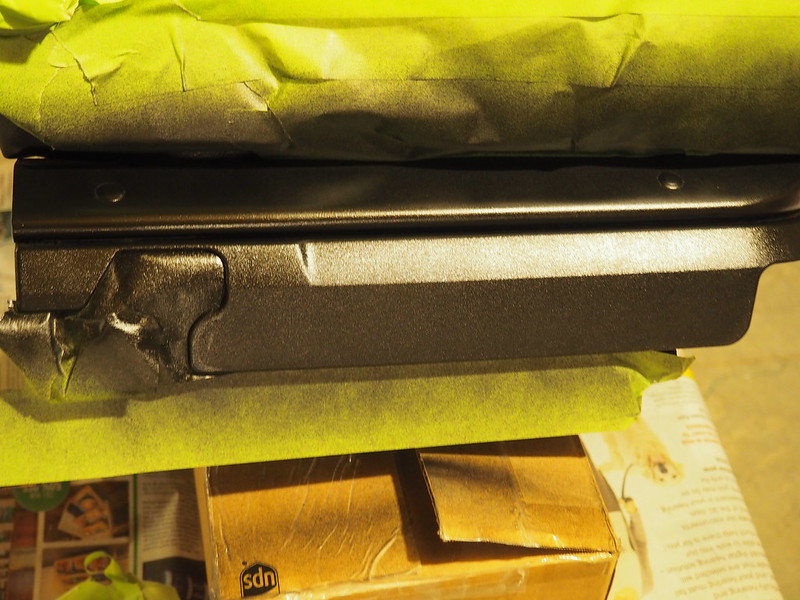
I just re-sprayed the front seat frames that were all scratched up from 38 years of use... they came out pretty nice using a spray can of Wurth satin trim paint.

-RoyW

ImageP6141445 by Roy Wicklund, on Flickr
ImageP6141449 by Roy Wicklund, on Flickr
ImageP6141451 by Roy Wicklund, on Flickr
espoe
Posts: 12
Joined: Feb 11, 2013
Location: New Orleans, LA

Re: Project e23 B9 build - update 06/13/19

Post by espoe »

Roy just outstanding. I saw you used a chrome polish on the trim. Did you use it on old trim or in prepping new stuff, or both? Cloudy trim is an issue on all of these and some parts are now NLA, so just wondering how you tackled it.

Also since you were in the seats, did it have heaters; and if you changed them what did you use?

Also and just FYI, I wish I could say the gaskets were a crossing of the numbers, but an e32 doesn’t have a gasket like that. Those are the first ones to do the sealer and trim type, So Chris is right I think. So for those out there with e23’s heads up!
RoyW
Posts: 2877
Joined: Feb 12, 2006
Location: Albany, NY

Re: Project e23 B9 build - update 06/13/19

Post by RoyW »

espoe wrote:Roy just outstanding. I saw you used a chrome polish on the trim. Did you use it on old trim or in prepping new stuff, or both? Cloudy trim is an issue on all of these and some parts are now NLA, so just wondering how you tackled it.

Also since you were in the seats, did it have heaters; and if you changed them what did you use?

Also and just FYI, I wish I could say the gaskets were a crossing of the numbers, but an e32 doesn’t have a gasket like that. Those are the first ones to do the sealer and trim type, So Chris is right I think. So for those out there with e23’s heads up!
Thank you. As for the Simichrome polish I used (on the original trim, no new trim, as its all pretty much NLA) it did not remove the cloudiness and milky staining that is inherent with anodized aluminum, but it did shine it up a bit and removed some surface oxidation. No heated seats in those Recaros, all manual, no power.

Thanks for the clarification on the e32 gasket... looks like it's just an incorrect spec used in manufacturing by the vendor?

-RoyW
RoyW
Posts: 2877
Joined: Feb 12, 2006
Location: Albany, NY

Re: Project e23 B9 build - update 06/23/19

Post by RoyW »

Worked on the B9 this past week and made some good progress on its re-assembly, especially thanks to George, Aaron, and George’s son, Riley. Prior to help arriving on Thursday and late Friday, I focused on a bunch of small stuff like: dying the rear seat headrests (black) from the parts car (they were a weird light color); installing the tail-lights; re-covering and installing some trunk trim parts; and, trying to install the fog lights. In addition, I did a dry fitting of the carpet set and trimmed some of the excess. I ran into some difficulty with, 1) the fog-lights and their fitment on the custom brackets used with the BBS front spoiler; 2) the studs that were missing or broken on the tail-lights…. resolution provided by Aaron over the phone and later in person… thanks pal :) I also tried to install the front and rear rubber bumper strips, but discovered that new clips are needed, as the old ones would have been far too much work to straighten out so they’d connect properly when pushed into the bumper (tried with several, but they were damaged upon removal I’d say)

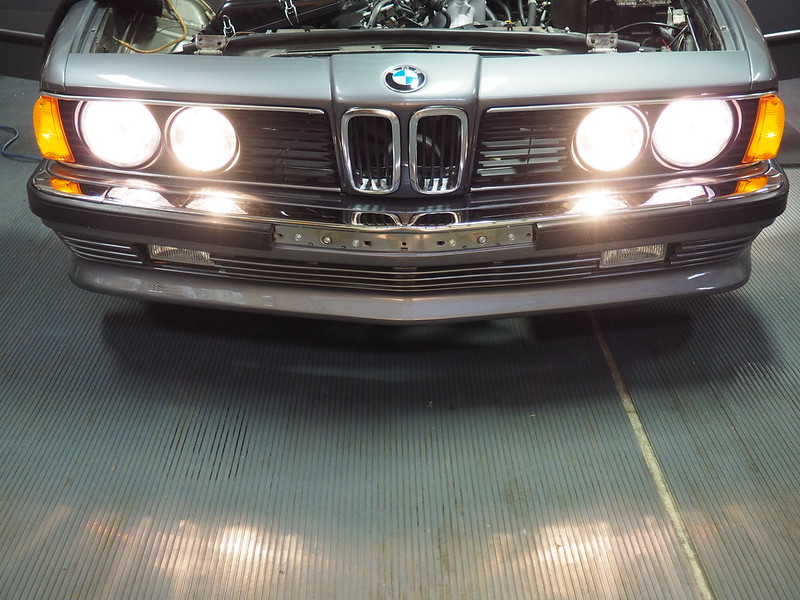
The Friday and Saturday’s work sessions were focused mainly on: 1) re-assembly of the front of the car, e.g., lights, grills, etc.; 2) re-conditioning and installing side moldings; and 3) fully installing the interior carpet set. We also reconditioned some trim pieces and test fit some seats. George’s son tried to create one working antenna out of two bad ones with marginal success (we probably need a replacement here), and, he and Aaron chased numerous electrical issues, e.g., wiring problems, bad connectors, bad bulbs, etc., in order to get all the lights to work on the car. Also, a bunch of small stuff was done and a parts list (for next time) was created. Here’s a summary of the work done this weekend:

- installed rear tail-lights (several connectors were corroded and a couple bad bulbs, plus missing and/or broken mounting studs)

- re-covered and installed a couple trunk trim carpeted pieces

- dyed rear seat headrests black (Leatherique) that were taken from parts car (they were a light color)

- installed new fog lens and bulbs

- installed two A/C lines (one was new) for A/C system, awaiting re-built receiver/dryer for full system connection and test of system

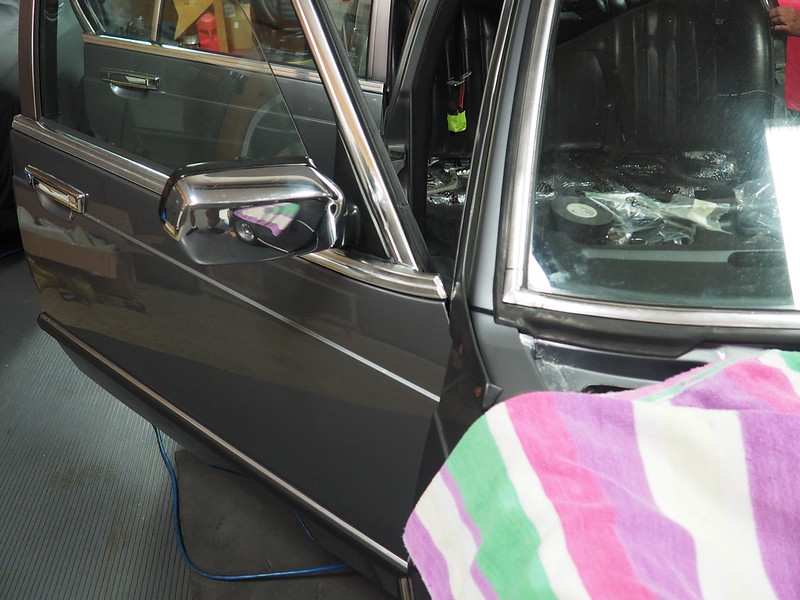
- installed clear vapor barriers on the inside of all four doors

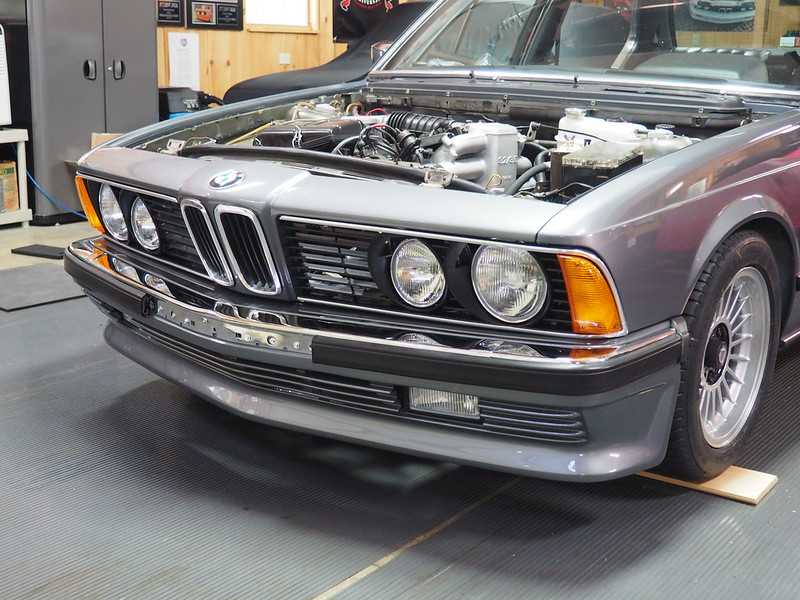
- installed head-light grills, kidney grill, turn signals, and head-light buckets (headlights need replacing, as they have rust spots inside or are multi-brands and/or different lamps types, color, etc.)

- tested and repaired all external lights, e.g., front & rear fogs, head lights, running lights, turn signal and stop lights…. some re-wiring, replace connectors, and/or bulbs

- re-conditioned all side molding pieces, hood grates, front grills, speaker grills, trunk top edge
trim piece, etc. using either Wurth Satin Trim paint or Back to Black

- installed side and rocker mouldings

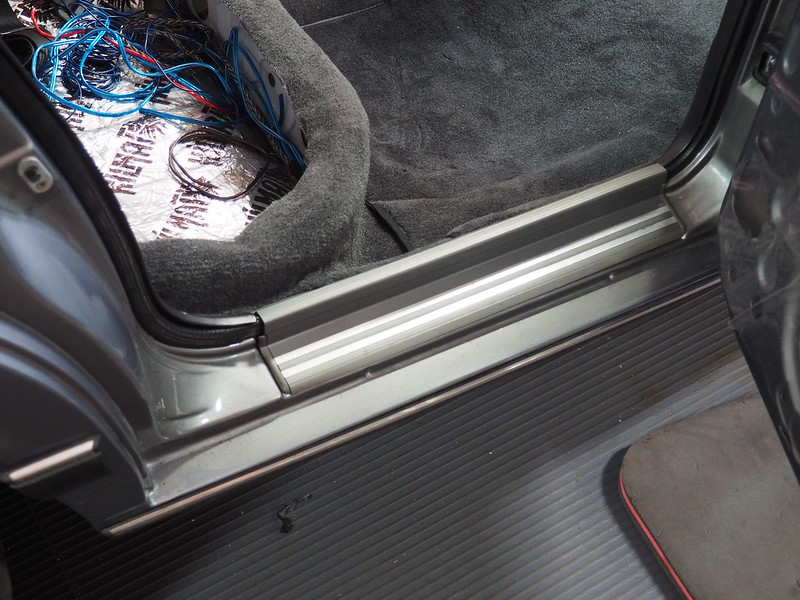
- installed inside carpet set

- test fit rear seat bottom and passenger front seat

The big remaining items now include: A/C system; windshield washer system (new tanks on order, new hoses in hand); many interior items, e.g., dash area pieces, center console area, door cards, door sealings, seats, seat belts etc.; sound system; external trim, e.g., bumper rubber pieces and end caps, window trim, antenna, wiper blades; wheels and tires; etc. Lots to still get done… still hopeful for Fall finish, concluding a two year process! :D

Thanks again George, Aaron, & Riley :D

Here are some pics of this week’s work…. starting to look like a real car!

-RoyW

ImageP6211480 by Roy Wicklund, on Flickr
ImageP6221486 by Roy Wicklund, on Flickr
ImageP6231497 by Roy Wicklund, on Flickr
ImageP6221485 by Roy Wicklund, on Flickr
ImageP6231498 by Roy Wicklund, on Flickr
ImageP6201477 by Roy Wicklund, on Flickr
ImageP6201465 by Roy Wicklund, on Flickr
ImageP6221481 by Roy Wicklund, on Flickr
ImageP6221482 by Roy Wicklund, on Flickr
ImageP6221492 by Roy Wicklund, on Flickr
ImageP6221493 by Roy Wicklund, on Flickr
ImageP6221487 by Roy Wicklund, on Flickr
ImageP6221489 by Roy Wicklund, on Flickr
ImageP6221491 by Roy Wicklund, on Flickr
ImageP6221496 by Roy Wicklund, on Flickr
ImageP6201470 by Roy Wicklund, on Flickr
ImageP6201466 by Roy Wicklund, on Flickr
ImageP6201472 by Roy Wicklund, on Flickr
ImageP6201473 by Roy Wicklund, on Flickr
ImageP6201476 by Roy Wicklund, on Flickr
ImageP6211479 by Roy Wicklund, on Flickr
ImageP6231502 by Roy Wicklund, on Flickr
ImageP6231500 by Roy Wicklund, on Flickr
ImageP6231504 by Roy Wicklund, on Flickr
ImageP6231503 by Roy Wicklund, on Flickr
ImageP6231507 by Roy Wicklund, on Flickr
tig
Posts: 9593
Joined: Mar 18, 2013
Location: Durango
Contact:

Re: Project e23 B9 build - update 06/23/19

Post by tig »

Beautimus!
davintosh
Posts: 13964
Joined: Jan 28, 2009
Location: Sioux Falls, SD
Contact:

Re: Project e23 B9 build - update 06/23/19

Post by davintosh »

Very nice, Roy. :up:
steve4270
Posts: 2
Joined: Jul 12, 2008

Re: Project e23 B9 build - update 06/23/19

Post by steve4270 »

looking good guys sorry to of missed a session
RoyW
Posts: 2877
Joined: Feb 12, 2006
Location: Albany, NY

Re: Project e23 B9 build - update 07/20/19

Post by RoyW »

Lots of progress was made over the past couple weeks on the re-assembly of the B9, especially these last few days, what with George here for a few days, and a visit on Thursday from local fellow Mye28er, Jim T. What a crew… these guys are the best!!

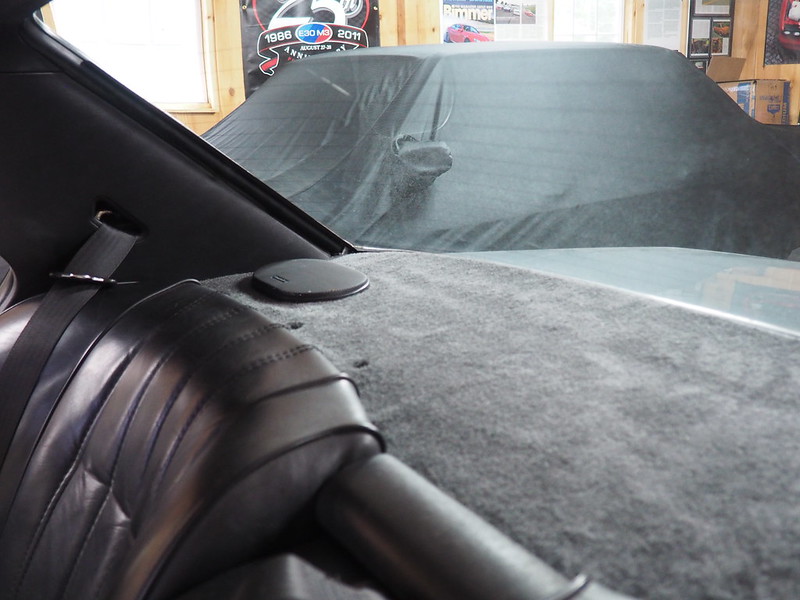
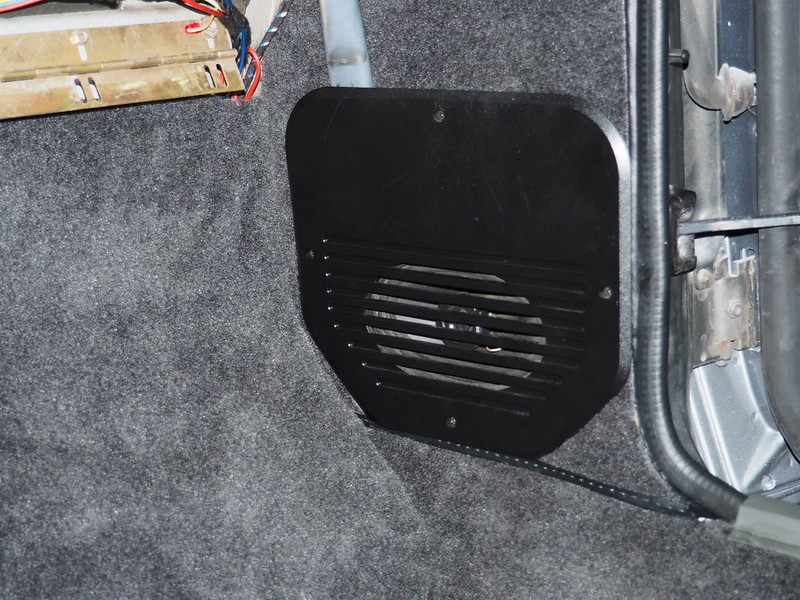
Prior to these past few days, I had ordered and received some parts from Germany, e.g., headlights, trim pieces, washer tanks, etc., along with a set of Michelins from the TireRack (to mount on the re-freshed 16” staggered Alpina wheels that George had found). I was also able to get the new Hella H1 & H4 headlamps installed, along with installation of the rear parcel shelf and rear speakers. My friend and stereo expert, Ian, came over to run all new wiring for the sound system, e.g., power, speakers, input/output, etc., to and from the amp location, speakers, and head unit. The speakers are a mild upgrade from stock (it’s what was already in the car), as is the old school Blaupunkt head unit (that was also already in the car), but I found a small NOS Blaupunkt 4 channel amp that will replace the missing stock amp.

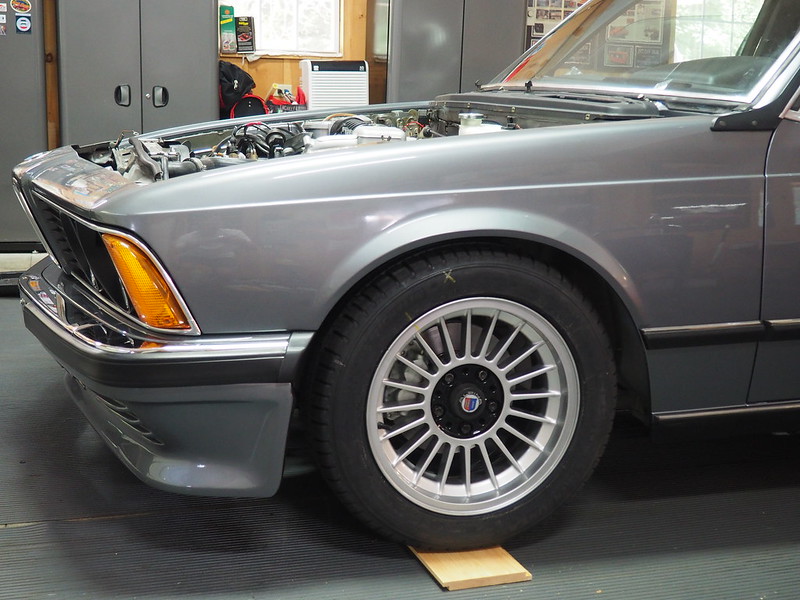
So, over the past 3 days we were able to tackle almost all of the exterior trim and a lot of the interior installation. Jim took on the difficult task of replacing all the rubber window wipes on the aluminum trim piece that’s are at the bottom of each door window… these new rubber pieces were for a 2 door e30 (the e23 ones are NLA) and had to be trimmed and retrofitted to work (thanks to an e23 Facebook person for that tip) , but look and work perfectly… thanks Jim for the great job! :D We planned to install the new windshield washer tanks, but found the new large tank I had just received from BMW Germany is totally different than the old one (despite same part number?) and won’t work with the pumps that are on the old one… not to mention it has no level sensor opening and is slightly wider??? This issue is being researched!! :x :? We also mounted the Alpina wheels… so now, with all this progress, and according to my wife, “she’s starting to look like a real car… it’s about time!” :lol:

Here’s a detailed list of the work done since my last update and some pictures:

- Installed new Hella H1 & H4 headlamps and bulbs (had to remove previously installed grills and turn signals in order to affix the trim rings around the headlights… lesson learned on sequencing :laugh: )

- Attached speakers to rear parcel shelf and installed shelf

- New tires mounted and balanced on re-finished 16” staggered Alpina wheels, installed on the car

- New window wipes retrofitted and installed on associated trim pieces and installed on car

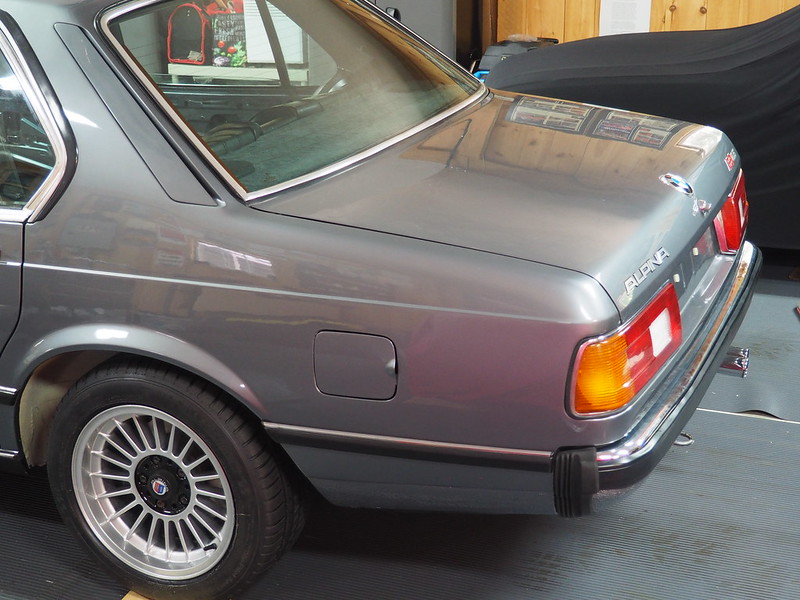
- External trim pieces installed, e.g., bumper rubber moldings and end caps, window trim, roof-line trim, mirrors, etc.

- Carpet set trimming and installation was completed at door edges, front footwells, and kick panels

- Rear seat belts and rear seat back was installed (install of rear seat bottom is on hold until completion of stereo amp install, as it will be located under that seat)

- Rear headrest dyed a second coat and installed

- Door cards and all associated door parts installed; also door sealings, sans mouse fur :)

- Front speakers in front kick panel area installed

- A, B, & C pillar trim pieces installed

Those Items that still remain on the to-do list include: complete the sound system install i.e., amp and connections; install new washer system tanks and new hoses; install A/C dryer and get system activated and running; find and install replacement antenna; complete interior install of center console, glove box, steering wheel, rear-view mirror, and other dash area items; install front Recaro bucket seats; re-install hood and sunroof (being re-painted); install new trunk-lid spoiler and wheel arches; and, I’m sure, there are several other smaller items I’m forgetting :) Then, of course, get some mileage on the freshly re-built engine and re-torque all bolts and fasteners :D

With any luck, all will get sorted out and completed by end of September… that’s the goal anyway… basically a two year restoration! Thanks again George for your outstanding support and help with this project, you are a great friend!! As have been Steve, Aaron, Jim, VSR, and several other contributors along the way... we're nearing the end, I think :lol:

-RoyW

ImageP7201636 by Roy Wicklund, on Flickr
ImageP7191609 by Roy Wicklund, on Flickr
ImageP7181595 by Roy Wicklund, on Flickr
ImageP7181599 by Roy Wicklund, on Flickr
ImageP7181598 by Roy Wicklund, on Flickr
ImageP7181593 by Roy Wicklund, on Flickr
ImageP7181600 by Roy Wicklund, on Flickr
ImageP7181605 by Roy Wicklund, on Flickr
ImageP7181607 by Roy Wicklund, on Flickr
ImageP7181608 by Roy Wicklund, on Flickr
ImageP7181603 by Roy Wicklund, on Flickr
ImageP7191631 by Roy Wicklund, on Flickr
ImageP7191626 by Roy Wicklund, on Flickr
ImageP7191627 by Roy Wicklund, on Flickr
ImageP7191628 by Roy Wicklund, on Flickr
ImageP7201637 by Roy Wicklund, on Flickr
ImageP7201633 by Roy Wicklund, on Flickr
ImageP7191613 by Roy Wicklund, on Flickr
ImageP7191614 by Roy Wicklund, on Flickr
ImageP7191615 by Roy Wicklund, on Flickr
ImageP7191616 by Roy Wicklund, on Flickr
ImageP7191617 by Roy Wicklund, on Flickr
ImageP7191618 by Roy Wicklund, on Flickr
steve4270
Posts: 2
Joined: Jul 12, 2008

Re: Project e23 B9 build - update 07/20/19

Post by steve4270 »

Love the wheels , seems you got a lot done :D
Adam W in MN
Posts: 5055
Joined: Feb 12, 2006
Location: Don't waste my motherf***in' time!
Contact:

Re: Project e23 B9 build - update 07/20/19

Post by Adam W in MN »

It's looking so nice, Roy!
boomvader
Posts: 92
Joined: May 22, 2019
Location: Asheville, NC

Re: Project e23 B9 build - update 07/20/19

Post by boomvader »

What an amazing build! Love that garage, too!
Corner Carver
Posts: 1166
Joined: Jun 02, 2006
Location: $6,000,000 Man's Hometown

Re: Project e23 B9 build - update 07/20/19

Post by Corner Carver »

Hot stuff!! :clap:

If I wasn't already bit by the e23 bug this would put me right over the top. Nice work Roy. I really appreciate your attention to detail.
Bonsaibacker
Posts: 979
Joined: Oct 26, 2017
Location: Fleming Island FL

Re: Project e23 B9 build - update 07/20/19

Post by Bonsaibacker »

Incredible thread and build. And what a great communal effort- clearly good peeps!
geordi
Posts: 1417
Joined: Jan 26, 2012
Location: WYOKA

Re: Project e23 B9 build - update 07/20/19

Post by geordi »

Don't want to jump the gun... it's been registered for SoCal Vintage.
As Roy had written, there are a few things to tidy up.
We hope everything falls into place and it can be in SoCal 02 Nov.
geo
Pavel
Posts: 1505
Joined: Jan 02, 2012
Location: Sugar Land, TX

Re: Project e23 B9 build - update 07/20/19

Post by Pavel »

:clap: lots of progress since I last seen it.
1st 5er
Posts: 21966
Joined: Jun 13, 2008
Location: Cypress
Contact:

Re: Project e23 B9 build - update 07/20/19

Post by 1st 5er »

:wave:
geordi wrote:Don't want to jump the gun... it's been registered for SoCal Vintage.
As Roy had written, there are a few things to tidy up.
We hope everything falls into place and it can be in SoCal 02 Nov.
geo
Lookin' good George.
Fingers crossed ya make it.
BenGerman
Posts: 750
Joined: Jun 26, 2016
Location: MA

Re: Project e23 B9 build - update 07/20/19

Post by BenGerman »

That's some shiny calipers! :cool:

Looks great with the Alpinas!!
RoyW
Posts: 2877
Joined: Feb 12, 2006
Location: Albany, NY

Re: Project e23 B9 build - update 08/27/19

Post by RoyW »

More progress was made on the B9 project car this past month… a couple weeks ago my friend, Ian, came by and completed the install and wiring of the stereo system amp and the Blaupunkt Sydney head unit. When turning it on to test, we discovered that the head unit would come on (light up) and immediately turn off… we suspect the security card that you slide into the front of this old-school head is faulty, as it has a big dent in it and is probably not being read correctly by the unit. ARGG!! Need to find a suitable replacement, because I’m pretty sure nobody repairs these babies? :x :(

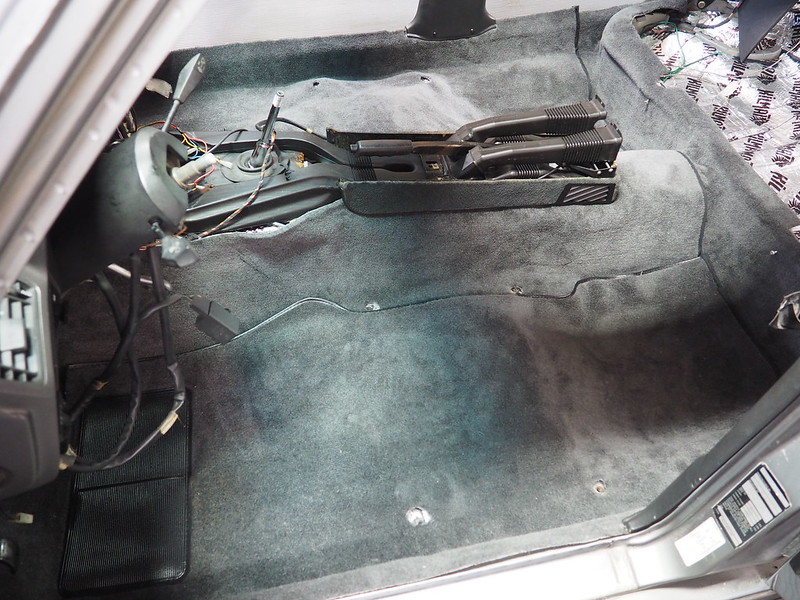
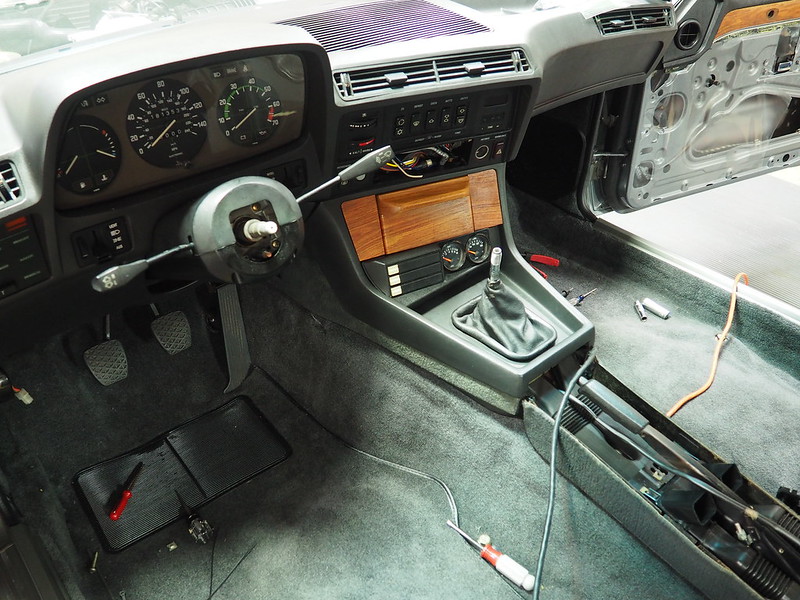
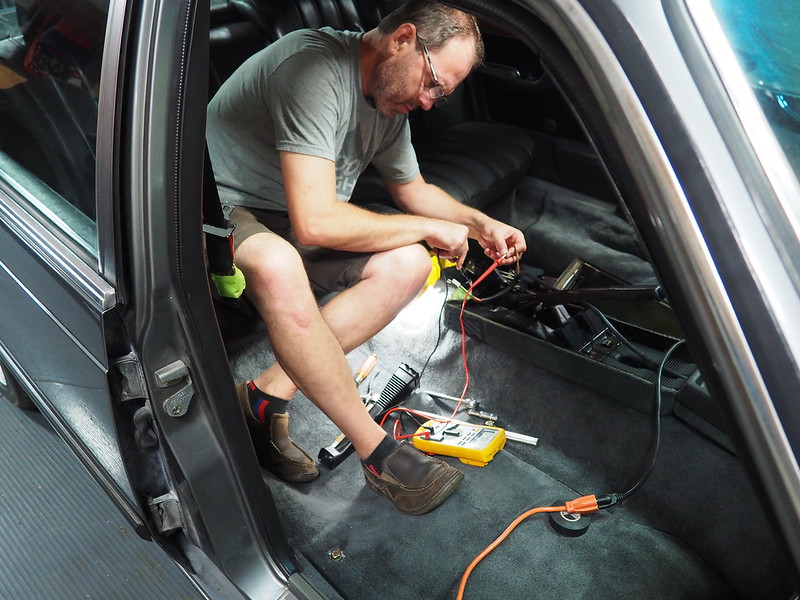
This past Friday and Saturday things went a lot better, as more re-assembly work was completed on the B9, thanks primarily to Aaron… this work session was spurred on by the fact that our house has finally SOLD, well at least we have a signed P&S and a close date in early October… so, it's not technically sold yet! :) Anyway, Aaron came out to help with the completion of the interior install, e.g., all lower dash panels, center console, rear seat bottom, etc. (we still have a few pieces to find or replace, e.g., right side front door card and trim that is damaged, glove box handle broken, etc. In addition, we fired up the engine for a couple of heat cycles, bled the cooling system, and added more ATF to the steering and brake booster…. and then, into the trailer she went for another trip up to VSR for the install of the re-painted hood and sunroof (although we may do the sunroof ourselves) and a general check over, on a lift, to assure all fasteners are secure, address a small leak, and lastly, install the wheel arches and new trunk lid spoiler... drilling holes in the trunk YIKES!

It’s amazing how long it takes to install the whole lower dash area, especially the glove box, as well as the center console… so many different sizes and types of fasteners and a definite sequence, which you don’t remember from the dis-assembly process many months ago… several do-overs were needed on the center console because of incorrect sequencing. :oops: :?

Now for full disclosure… for this whole project I have had a silent partner, George (geordi)… yes, that George! :D He has provided an equal amount of sweat equity and financial support to the saving and restoration of this very rare car (only known one in the U.S). And, based on all the times he been out here helping with the car, I’m sure most people figured that out. :lol: We were fortunate to also have many Mye28 (and e23) friends that helped us out along the way, in particular, Aaron, Pavel, Jim, Ben, Steve, Micah, and others…. Thanks guys couldn’t have gotten this far without you!!

Anyway, once I pick the car up at VSR next week, George and I will trailer it out to a Mye28.com friend’s facility in Upstate NY, where it will be stored and finished up (one or two more sessions needed) over the next few months.

This car will end up being a two year project that was fun to do, took 50% longer than we anticipated, and was full of surprises and over-runs :shock: :roll: … as these projects seem to do most of the time! My experience has been: After you estimate what it will take to do the job on any project car, double the budget and double the timeline and you’ll be close :)

-RoyW

ImageP8231839 by Roy Wicklund, on Flickr
ImageP8231840 by Roy Wicklund, on Flickr
ImageP8241846 by Roy Wicklund, on Flickr
ImageP8241842 by Roy Wicklund, on Flickr
ImageP8241843 by Roy Wicklund, on Flickr
ImageP8241844 by Roy Wicklund, on Flickr
ImageP8241848 by Roy Wicklund, on Flickr
ImageP8241849 by Roy Wicklund, on Flickr
wkohler
Posts: 50939
Joined: Oct 05, 2006
Location: Phönix, Arizona, USA
Contact:

Re: Project e23 B9 build - update 08/27/19

Post by wkohler »

It’s coming together. Yes those interiors are rather complicated compared to e28s. They also have a solid feel and everything seems heavy. Shame about the Sydney. I’ve got a box of Torontos and Sydneys and they all have various problems I can’t get fixed. Also you can’t just stick another keycard in it since it needs onEnter that’s programmed to the unit. Good news is that several radios use the same type of connectors like those VDO/Continental units.
tig
Posts: 9593
Joined: Mar 18, 2013
Location: Durango
Contact:

Re: Project e23 B9 build - update 08/27/19

Post by tig »

Congrats on the house sale, Roy! Big milestone.

I'd give my left knee to have that crew come help me with Minerva or another project. You are blessed to have all those folks nearby and willing to help.
Post Reply