Had to smile at your choice of door card colors:
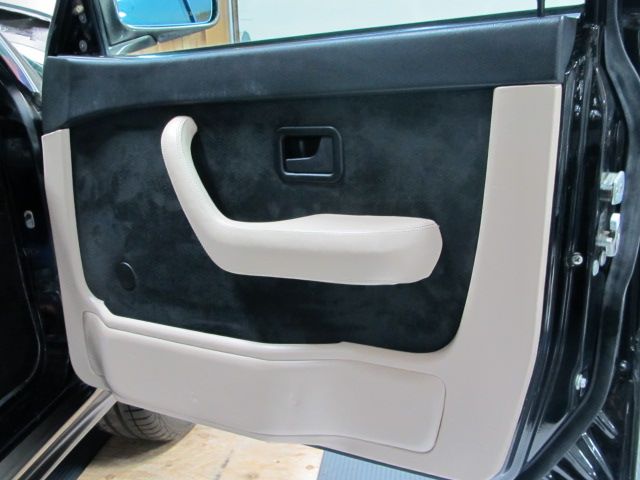
I went the opposite direction, kept the PB center section, and swapped in black armrests/handles & surrounds.


Chris... you are right about there not being enough holes, as there should be three more, one for the very center stud and the other two that are just to it's left and right... but, the apron has been cut to accommodate the inter-cooler radiator just where those holes would need to be in the apron. When we put the valance on, starting at each corner, the valance was pulled under the crease (or dip) in the apron in the center area and was all wavy as it transitioned from over that crease/dip to just under it.wkohler wrote:Roy, the spoiler should fit on the valance. It is a tight fit, and what helps is to make sure your mounting holes in the valance are large enough to make fine adjustments. I usually start in the middle, but that doesn't seem to be something you can do. There should be more fasteners than I'm seeing holes for, too.


Taking Chris' advice, I'm moving to Plan B and will go with a Hartge front valance... same as the one I had on my former M5 track car (see pic below)wkohler wrote:Yes, Roy those three holes are key. There should also be holes in the corners of the valance too at the Apex of the bend. The big problem is that the valance is what gives the spoiler its shape. Without it it will just fall apart and flop around. I was afraid of that. I hate to mention it, but I think the Hartge front spoiler will do exactly what you want and it will flow to your side skirts and rear skirt.

Glad you went back to the Hartge idea.Dinan e28 wrote:I would modify the Hartge Its fiberglass any way. Other wise the rear and side skirts don't make since.Murfinator wrote:I agree with the above sentiment. I'd run the Hartge spoiler to match the rear valance which appears to be Hartge(?). There is a version with a cut-out for an oil cooler. I believe it would provide a much more finished look.Coldswede wrote:I would be tempted to just leave the inter cooler radiator exposed just like it is.
Great build.
Now that will look cool for the Turbo ... good stuffRoyW wrote:Taking Chris' advice, I'm moving to Plan B and will go with a Hartge front valance... same as the one I had on my former M5 track car (see pic below)wkohler wrote:Yes, Roy those three holes are key. There should also be holes in the corners of the valance too at the Apex of the bend. The big problem is that the valance is what gives the spoiler its shape. Without it it will just fall apart and flop around. I was afraid of that. I hate to mention it, but I think the Hartge front spoiler will do exactly what you want and it will flow to your side skirts and rear skirt.Awaiting shipment from Paul L, then fitment and paint.

-RoyW
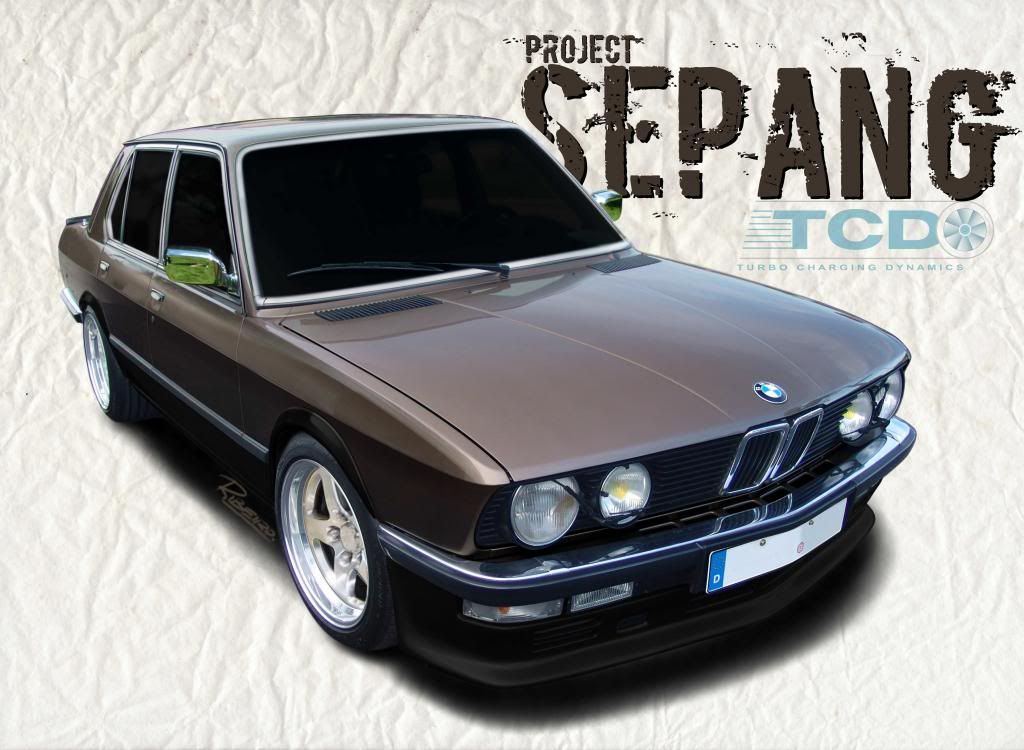
But you already knew dat!RoyW wrote:Yes. Fikse FM-5s size17x887royal wrote:Are those the actual wheels that will be installed on this car?RoyW wrote:My good friend Eddie (from T.O.) did a great rendering of what my 535i project car will look like when its completed... right down to the bumpers, trim, wheels, TCD turbo, and two-tone paint scheme it will have. It going to be bitchin'
-RoyW
-RoyW


As always.trevmmeister wrote:Roy, your bimmer is absolutely beautiful. Just gorgeous. I am in love and somewhat inspired to put some true love into my '87 535is and get the windows tinted, new rims and wheels, tail lights fixed, re-wax her....
But that's besides the point, you have created a masterpiece here Roy.