Page 5 of 9
Posted: Apr 10, 2012 5:29 PM
by tsmall07
Nicely done. I like wiring, but I don't know enough about it, so I usually end up frustrated. I'm not really a planner, either...
Posted: Apr 10, 2012 5:31 PM
by mooseheadm5
jakeb wrote:The entire exhaust is mocked up....not fully welded yet. I have it tucked up as close as I could get it. I am hoping I don't have any clearance issues....if so I will have to redo the center section.
I am REALLY happy with how it came out tho.
You will high side over speed bumps.
Posted: Apr 10, 2012 5:35 PM
by tsmall07
mooseheadm5 wrote:jakeb wrote:The entire exhaust is mocked up....not fully welded yet. I have it tucked up as close as I could get it. I am hoping I don't have any clearance issues....if so I will have to redo the center section.
I am REALLY happy with how it came out tho.
You will high side over speed bumps.
High center?
Posted: Apr 10, 2012 6:05 PM
by mooseheadm5
Yes, that.
Posted: Apr 10, 2012 6:33 PM
by jakeb
I already bought a different center muffler so I can gain some clearance. It will be here Thursday and the exhaust will be re done friday.
Posted: Apr 10, 2012 7:13 PM
by mooseheadm5
Your cats may touch down too, depending on ride height. BTDT.
Posted: Apr 10, 2012 8:23 PM
by jakeb
I might move the cats up in the center tunnel too if i can gain any clearance with them there. Otherwise I will leave them where they are at.... I would think the lack of clearance would be more of an issue in the center of the car.
Posted: Apr 10, 2012 8:31 PM
by mooseheadm5
You'd think that, but my flex coupling hits the ground exiting certain driveways, and it is right near the bell housing.
Awesome project!
Posted: Apr 12, 2012 9:20 AM
by StolenFox
As a fellow E28 "swapper" i have huge respect for the quality of the work shown in your pics. Looks like the LS motor is bit easier to fit in certain areas than the Ford. I like how you were able to go out the back with the exhaust, mine had to be front exit under the cradle.
Good luck with the final stages!
S.F.
Posted: Apr 12, 2012 10:03 AM
by unt0uchable
skip535i wrote:Holy Sh!t. I have nothing but respect for that kind of wiring skills!!
This!!

Keep it up man, It's looking pretty slick. Can't wait to see the end results. And kudo's for being so thorough. That wiring gets tedious.
Posted: Apr 13, 2012 5:05 PM
by jakeb
thanks all!!
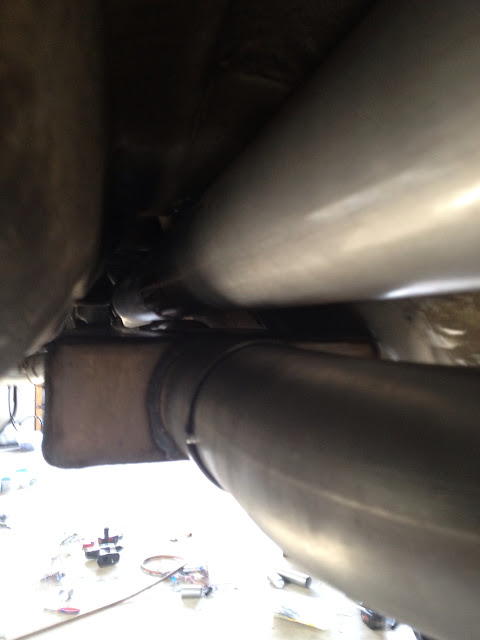
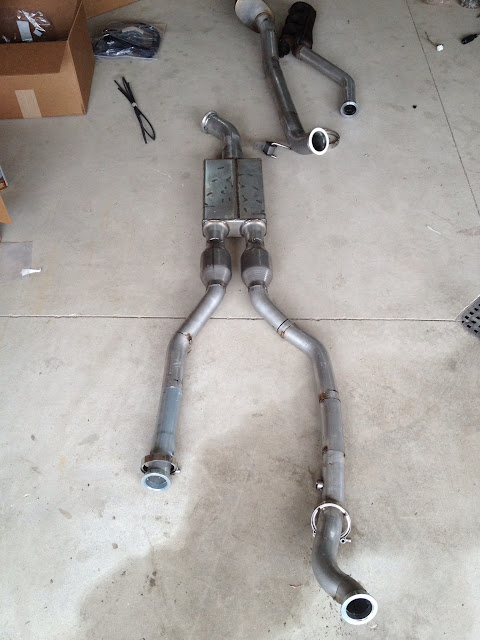
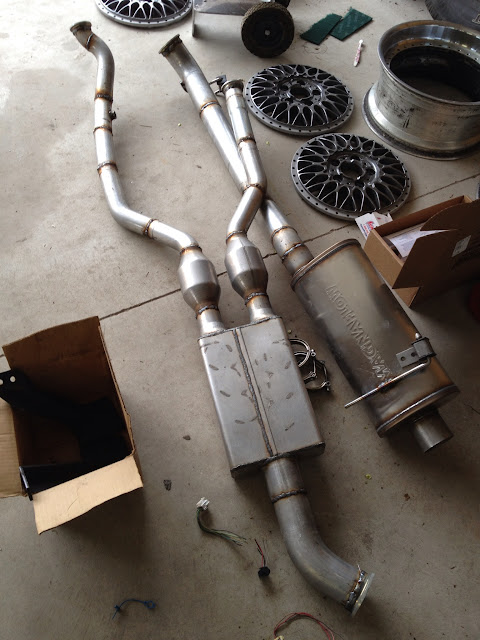
New muffler came yesterday....I was able to gain 2" of ground clearance. There is about 3/8" between the driveshaft and the muffler. Debating dropping it down a little bit...The driveshaft can't really move tho...
What do you all think?
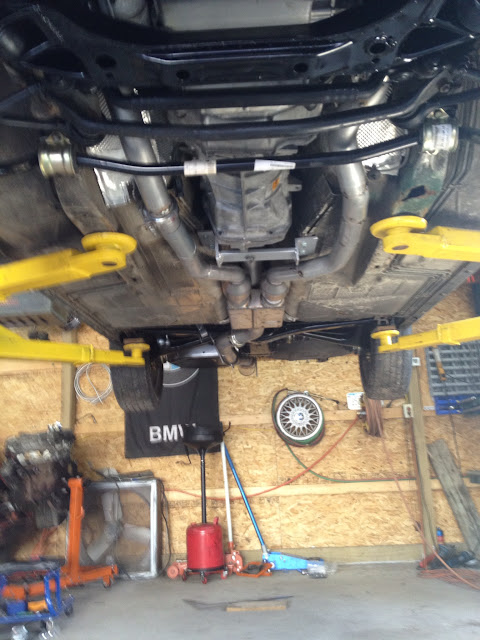
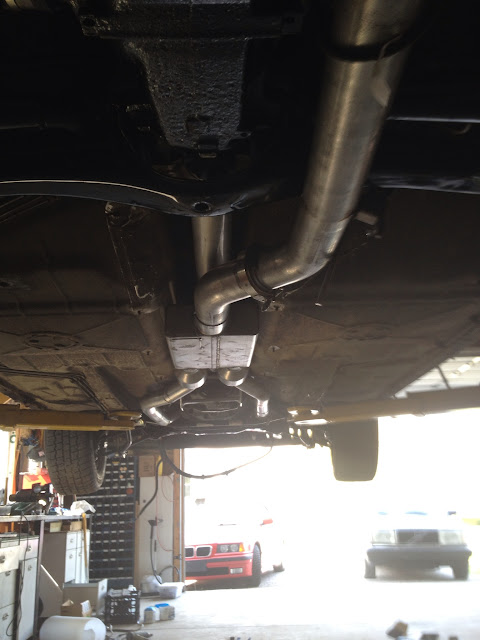
Here is the clearance to the drive shaft. Sorta hard to see but there is about 3/8"
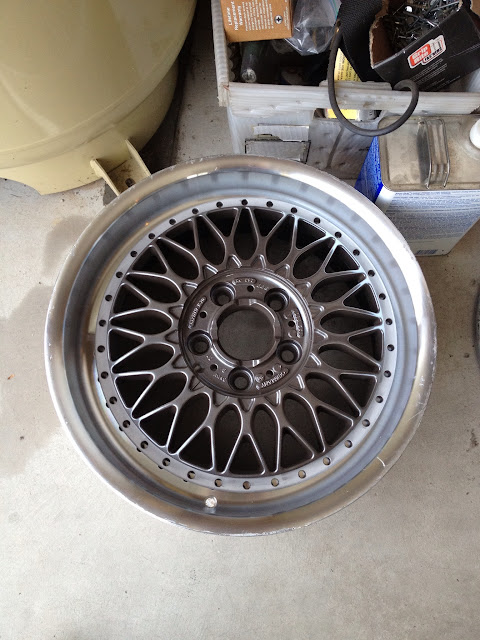
I got the centers back from the powder coater. I am very happy with the color choice.
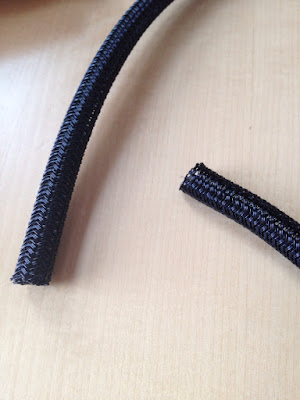
Got sot some mesh wrap for the harness.
Posted: Apr 15, 2012 3:43 PM
by jakeb
I am able to adjust the exhaust up and down maybe 1/2-3/4" each way so if I end up being too close the to driveshaft I can lower it down a bit. Added some more tack welds to the exhaust and took it off the car before I weld it all the way.

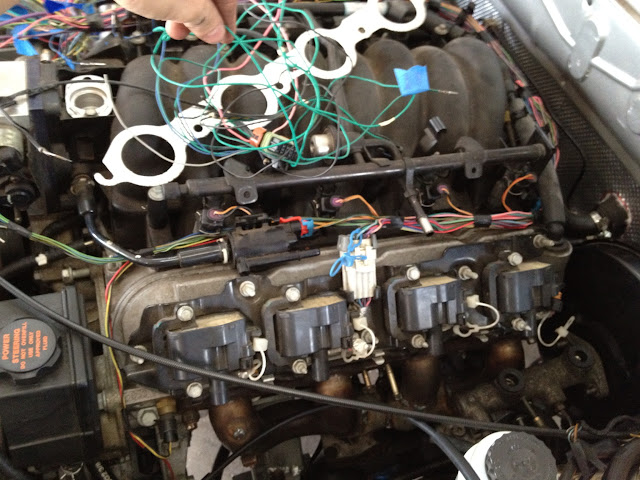
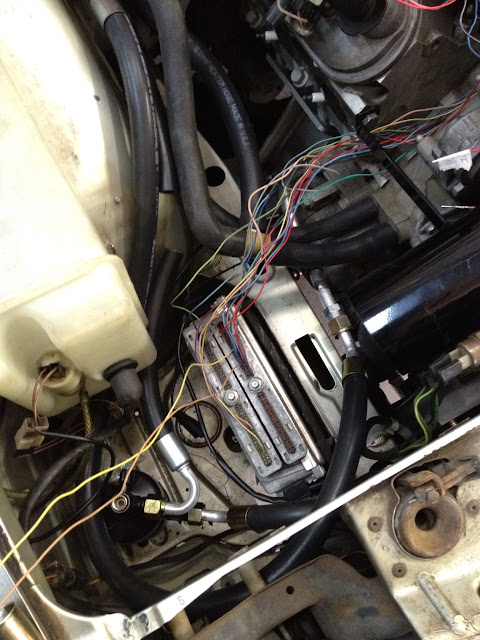
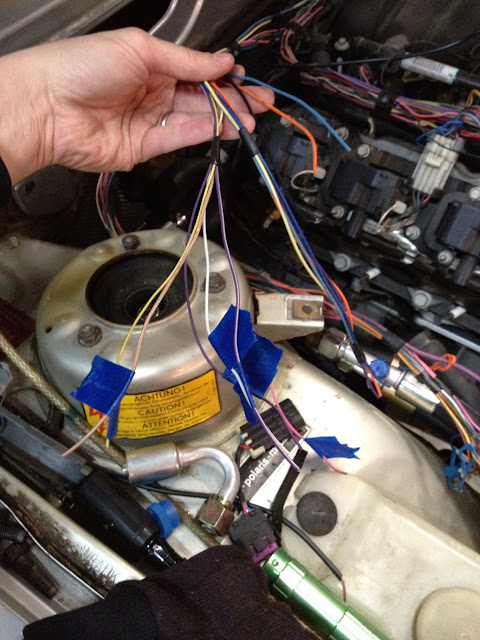
More wiring done....
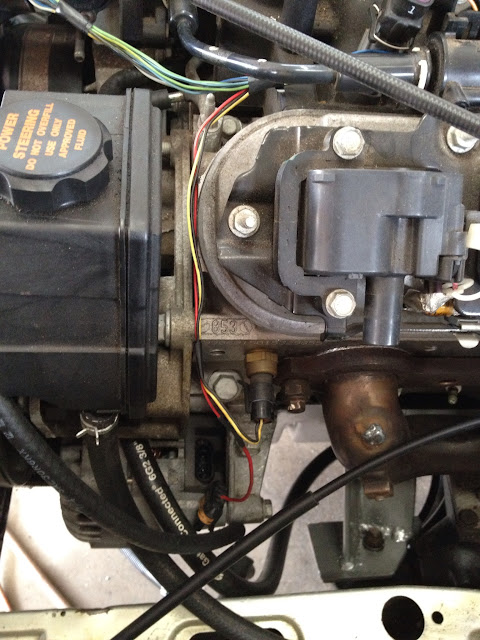
Wiring coming off the TPS and IAC

Alternator and PCM coolant sensor
Wiring routed along from the injectors, coil, evap valve. Tapped anytime a wire comes in or out of the bundle.
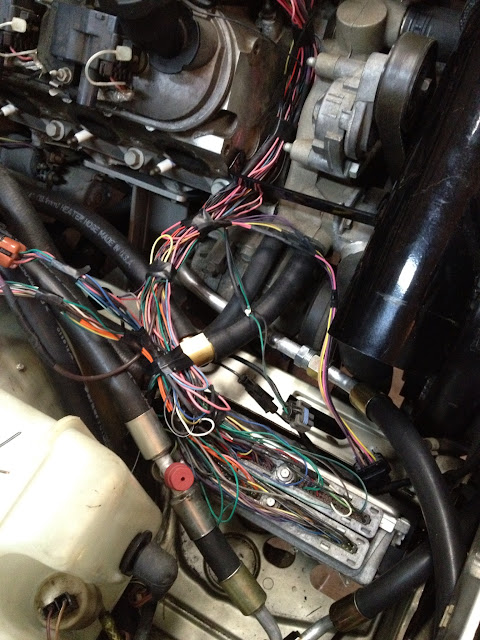
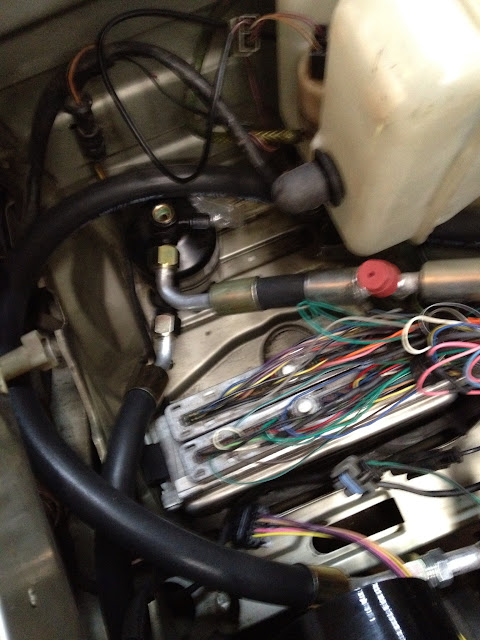
Goes along the back of the engine...you can just see the wires coming up from the trans (O2 sensors, VSS, reverse lockout). Then it picks up, oil dummy light, cam sensor, maf, knock sensors.
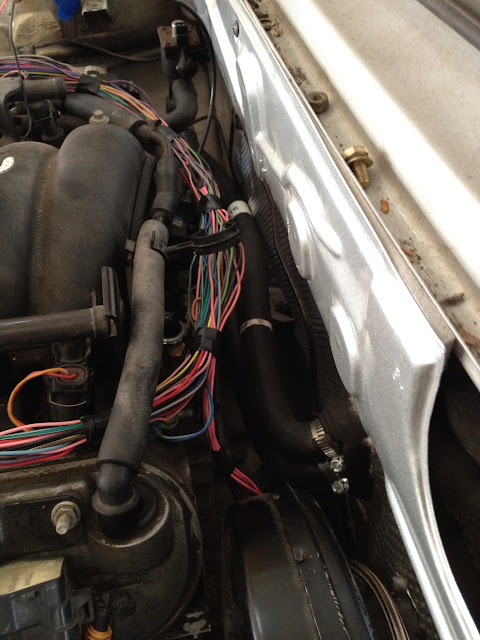
From the passenger side...You can also see the crank sensor, coolant gauge, and starter wiring coming up into the bundle.

Passenger side bundle....it's getting bigger. Picks up the other injectors and coil wires.
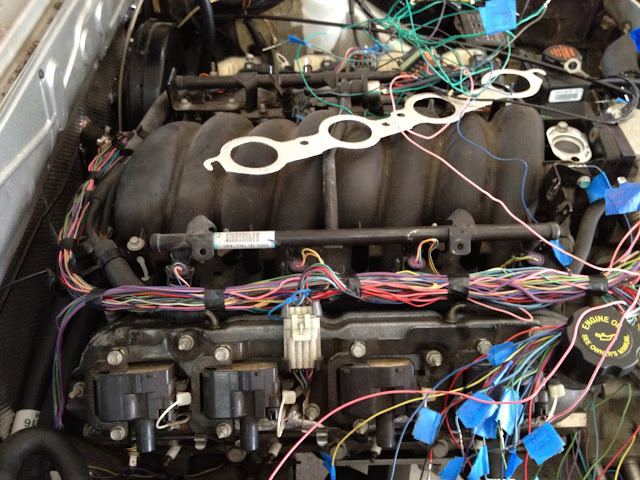
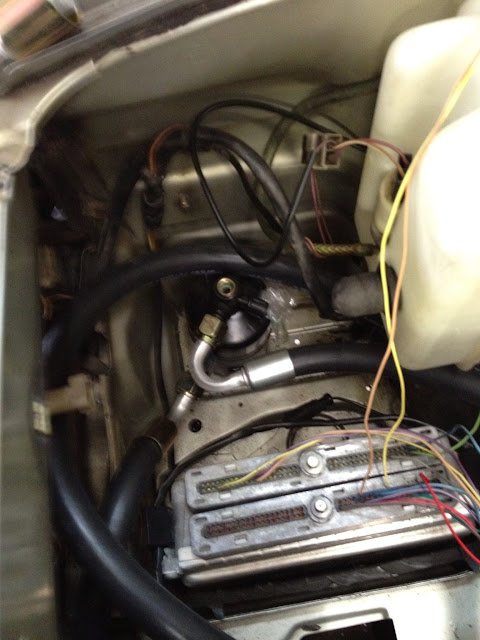
Here you can see the wires started to be plugged back into the PCM in its new location. Some of the wires are too short and some are too long. The short ones will have to be lengthened of course but I am debating shortening the ones that are too long.... Some are up to 12" too long and I could sorta fold them back on themselves in the bundle or I can shorten them..... Any suggestions which way is best?
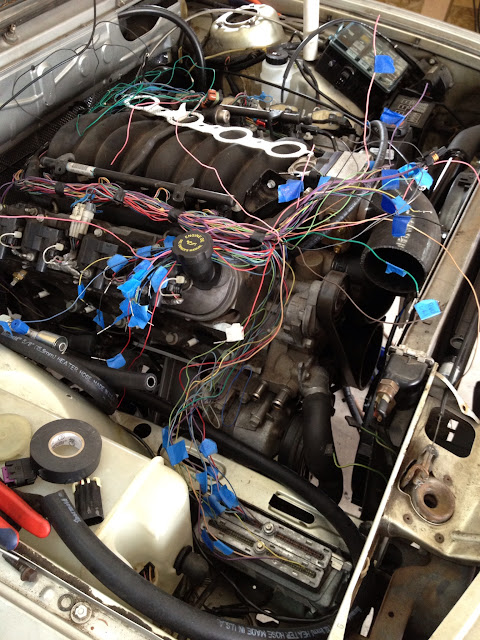
All connections of wires have been soldered and then covered in dual walled heat shrink. Inside has a adhesive that melts and bonds to the wire to provide moisture protection.
The rest of the AC parts will be here tomorrow so then I can finish the AC pressure sensor wiring as well as the MAF/IAC wiring.
If anyone else is doing a similar swap and needs harness work let me know. I really enjoy this step.
I was hoping it would be running next weekend but I am guessing it is the following. One of the problems I have is when I start to see the end of a project I almost don't want it to end...it's like a really good movie.
Posted: Apr 15, 2012 3:46 PM
by mooseheadm5
Keep the exhaust as high as possible, but you may wish to keep the factory heat shields.
Posted: Apr 15, 2012 4:01 PM
by jakeb
Yeah I am going to mount it as high as I can without hitting the drive shaft. I have around 6" of clearance now and that is with tires that are slightly flat. My wifes e36 has about 6-7" of clearance so I think I will be good now. Much better than the 4" I had before. This muffler might be slightly louder because it is smaller but.... If it is to loud for my taste I can swap out the rear muffler with something different.
I might be able to fit the factory heat shield but I am guessing it will not fit as the drive shaft is a little lower than the stock one....mostly because it is bigger.
Posted: Apr 16, 2012 6:43 PM
by jakeb
There is a wind storm here today and the school I teach at lost power so I ended up with a half day.
I had power at my house tho..
I was able to get the exhaust all welded up.
The rest of my AC parts came today....and once again one of them is wrong. The company I got them from knows what they messed up....new one should get made and on the way. But the part I needed to be able to route all the lines was correct so that is good.
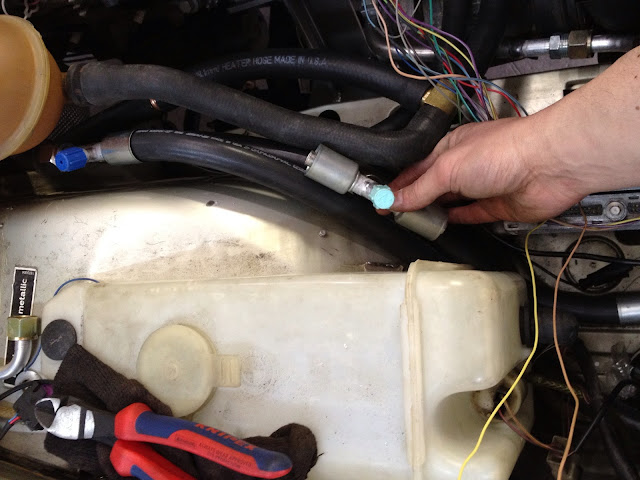
A couple AC line pictures..still need to be crimped
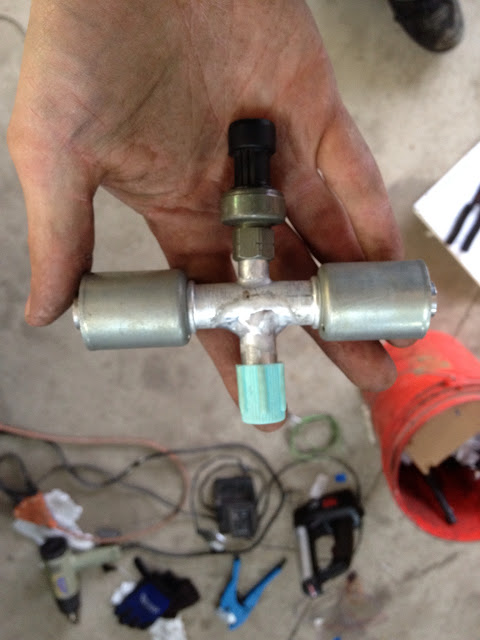
This is the part that is wrong....for the second time. It should have a #8 beadlock with a high side fill port. This one has #10 and a low side port.
Started plugging things back into the PCM. Lengthening or shortening by soldering and covering with adhesive lined heat shrink. Matching wire colors as close as I can get .
Posted: Apr 16, 2012 7:02 PM
by mooseheadm5
Is that the permanent location for your PCM?
Posted: Apr 16, 2012 7:49 PM
by jakeb
yes it is.
The GM PCMs unlike BMW live in the engine compartment. On the Camaro it was up near the firewall.
Posted: Apr 16, 2012 9:36 PM
by fukoa
jakeb wrote:thanks all!!
New muffler came yesterday....I was able to gain 2" of ground clearance. There is about 3/8" between the driveshaft and the muffler. Debating dropping it down a little bit...The driveshaft can't really move tho...
What do you all think?

the build looks good man
and I really want to know whether that , M42/44 from the e36, is going in that Fiat or what

Posted: Apr 16, 2012 9:44 PM
by Duke
fukoa wrote:
the build looks good man
and I really want to know whether that , M42/44 from the e36, is going in that Fiat or what
+1
Posted: Apr 17, 2012 7:54 AM
by jakeb
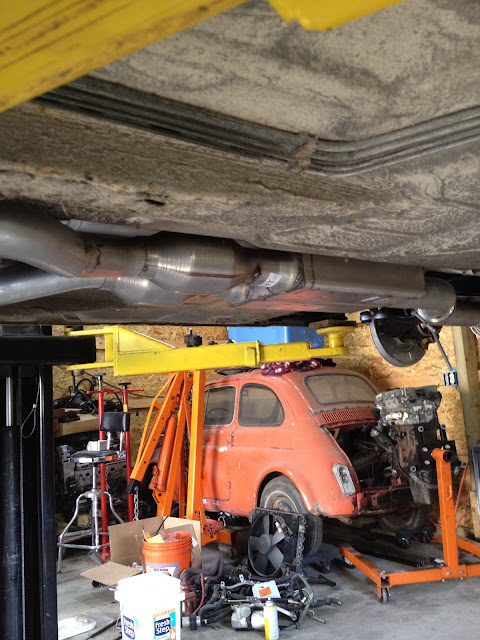
Good eyes on the fiat as well as the M42. No the M42 is not going in the fiat. I did 5 m42 2002 swaps and that is an extra engine (bad thrust bearing) and it just happens to fit pushed tightly to the fiat.
The fiat is a 1960 500....VERY VERY VERY rusty. It will be a long term project and a lesson is learning sheet metal work. I actually have a 67 fiat 850 spider that I bought last summer and I plan to use the 850 engine and trans axle in the 500. I am still somewhat unsure if the 850 is going to be enough power or not..... I have debating turboing the 850 engine, or ditching the 850 engine idea all together and run a VW trans axle mated to a subaru flat 4...
Here is a link to some pictures of the fiat and it's rust
http://theguestroom.net/fiat/
Posted: Apr 18, 2012 1:01 AM
by 1st 5er
, a real Fred Flinstone car.
I thought they only existed in HollyWood.


Posted: Apr 18, 2012 7:37 AM
by jakeb
haha yes.....rust has taken hold of this one. It really is to far gone but I love a good project.
Posted: Apr 18, 2012 8:29 AM
by shagrath
Awesome project! I love this thread. I tell all my GM Fbody friends about this and their eyes get HUGE and they say "bullshit". I pull this up on my phone and they tremble with fear.
Great buil;d man, I am learning a lot here.
Posted: Apr 18, 2012 11:08 AM
by leadphut
awesome thread.

side question on the M42 swap into the '02's - is that a direct bolt up to the transmission? curious if you've ever done the s14 swap? curious how the two compare.
seems the M42 engine would be easier/cheaper to acquire/maintain.
thanks!
Posted: Apr 18, 2012 11:40 AM
by shagrath
leadphut wrote:awesome thread.
side question on the M42 swap into the '02's - is that a direct bolt up to the transmission? curious if you've ever done the s14 swap? curious how the two compare.
seems the M42 engine would be easier/cheaper to acquire/maintain.
thanks!
A supercharged m42 would put out more power to the wheels than the s14 too. Definately a swap I would do.
Posted: Apr 18, 2012 11:42 AM
by jakeb
shagrath: thanks, I am happy to be able to spread around my knowledge.
leadphut: I use the e30 5 speed transmission. I make mounts to bolt it all in (pretty much). I have not done an s14 swap...The s14 swap is actually easier becasue it is an m10 at heart so it just bolts in. But it is also a lot more money than the m42.
Here are some links to builds on m42 swaps I have done
http://www.bmw2002faq.com/component/opt ... /highlight,/
turbo m42 (not done yet)
http://www.bmw2002faq.com/component/opt ... /highlight,/
Posted: Apr 18, 2012 3:45 PM
by leadphut
Very nice! You definitely have some build-skills. That turbo piping is impressive.
I used to live in the '02 world many moons ago and almost did the s14 swap. I think the only real mod needed (outside of the wiring) was the flywheel sensor added to the transmission bell; even to the e21 tranny.
I was curious about the M42 and how much of a bolt-up it would be; but it appears to be much more involved.
Again, nice job! Thanks for sharing!
Curious - any idea what the weight difference is with the M42/e30 combo vs M10/e21? Does the car feel any different or plow more?
Posted: Apr 25, 2012 4:37 PM
by Blackey1693
Im actually in the precess of finding a motor and tranny and everything i need for this swap and my only question is what were your drive shaft specs?
Posted: May 02, 2012 2:28 PM
by jakeb
Driveshaft with my mounts was 53 7/8" long. I am making mounts if you are looking. Send me a PM
A small update...been busy with life and I haven't had as much garage time as I like. Wiring is ALMOST done. The engine harness just needs to be wrapped and the chassis to engine needs to be connected at the GM fuse box and then some wires routed inside. I took this friday off and plan to get all the small things done and if all works out I will be firing it up. HP Tuners is in route so I can pull off all the unneeded stuff from the PCM.
Some pictures...
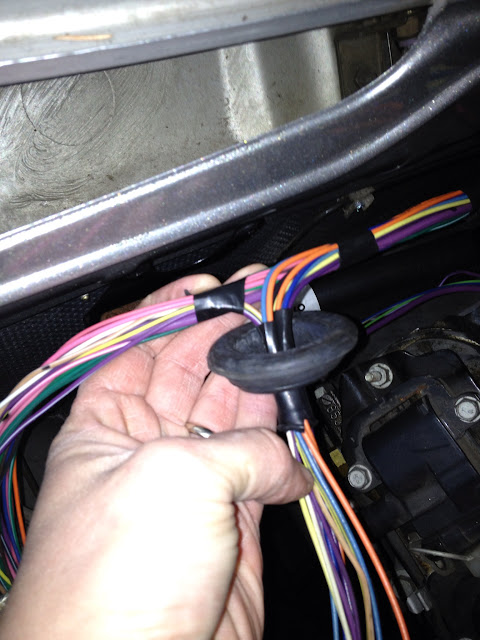
Where the engine harness will connect to the chassis side.
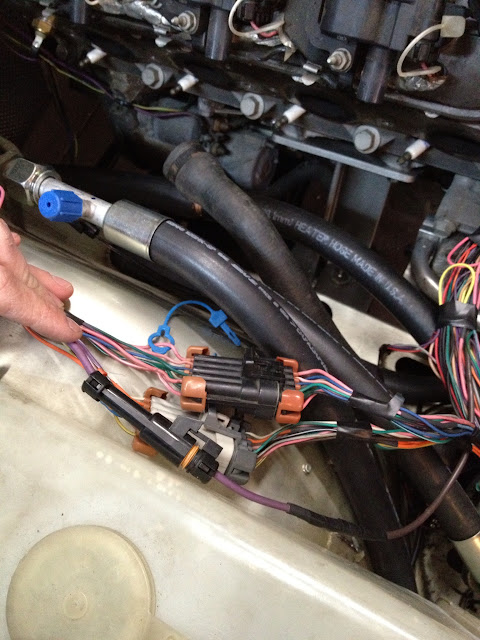

Wiring that will go into the cabin.... econ gauge, tach wire, check engine light, OBDII port, 12v (switched) 12v (constant), ground, and also 6 wires if I ever want to connect my wideband.
Where it connects to the BMW fuse box.
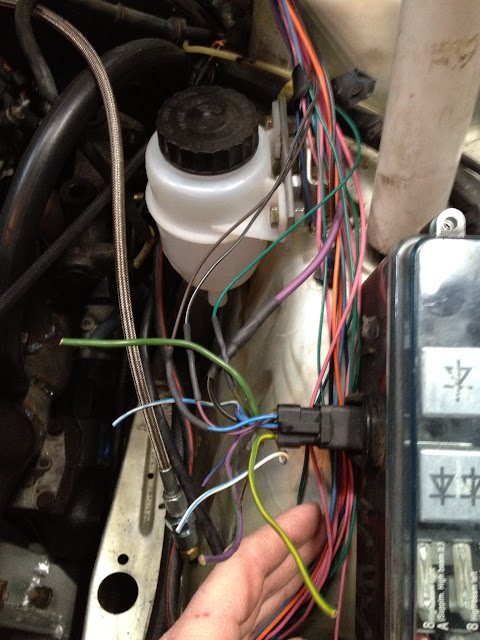
You can see how the AC lines will route and hook up to the drier here.
Posted: May 02, 2012 11:14 PM
by Blackey1693
Now that I look at the wiring I think I'm going to need a little more advice then just driveshaft lengths