

M5 Sun Visors:
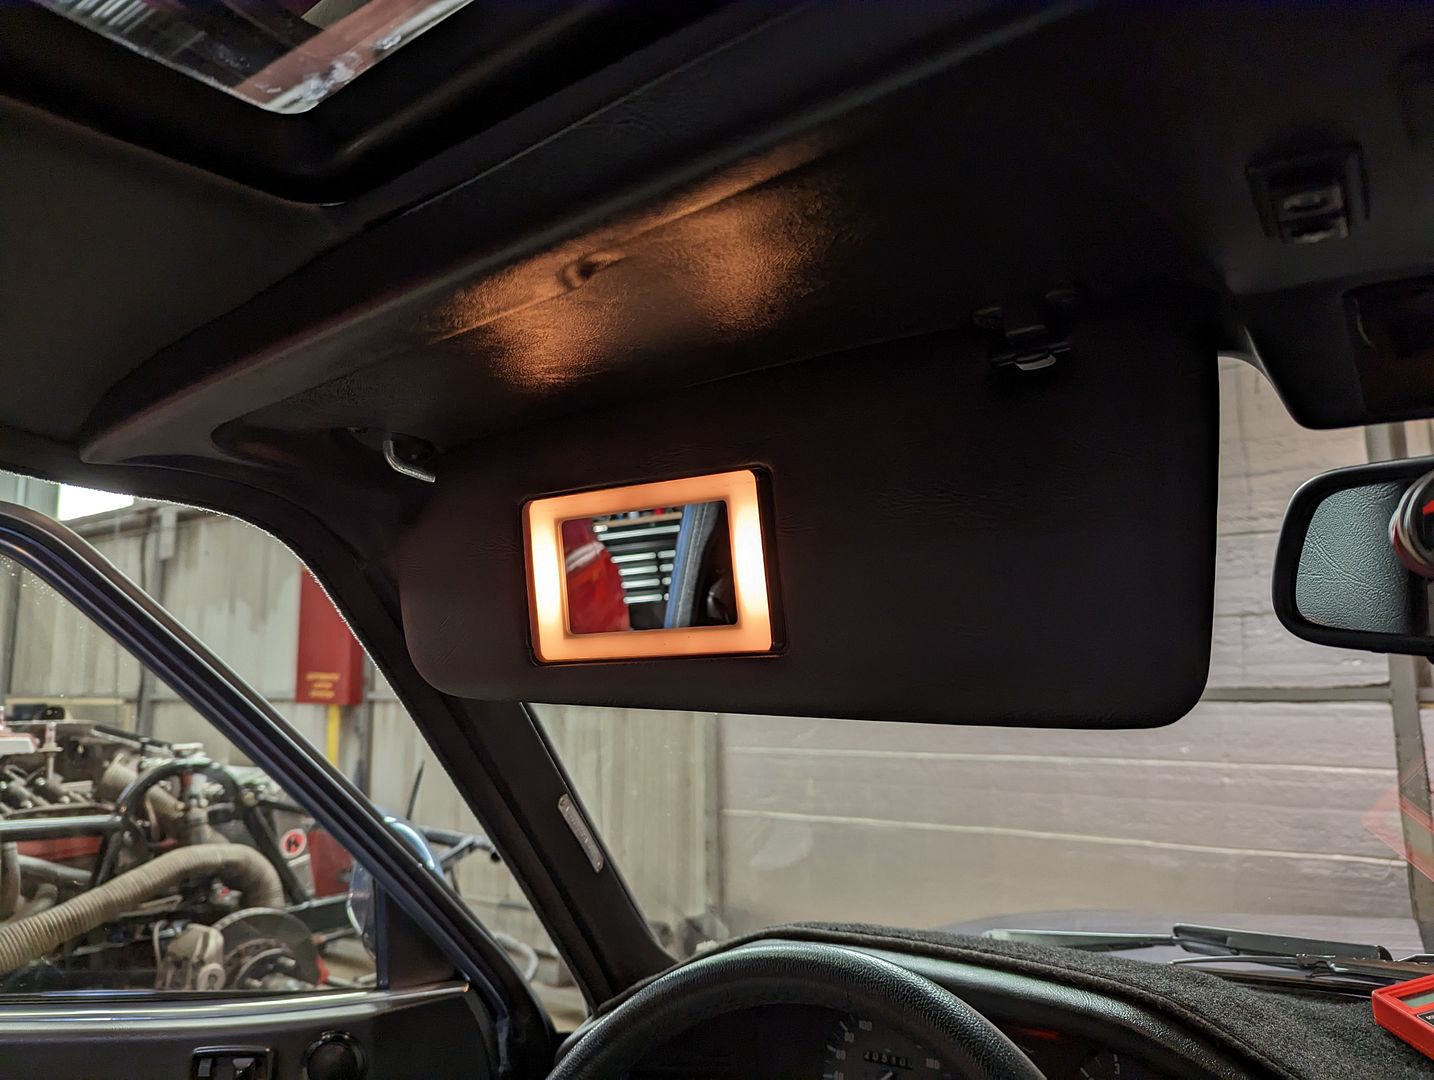
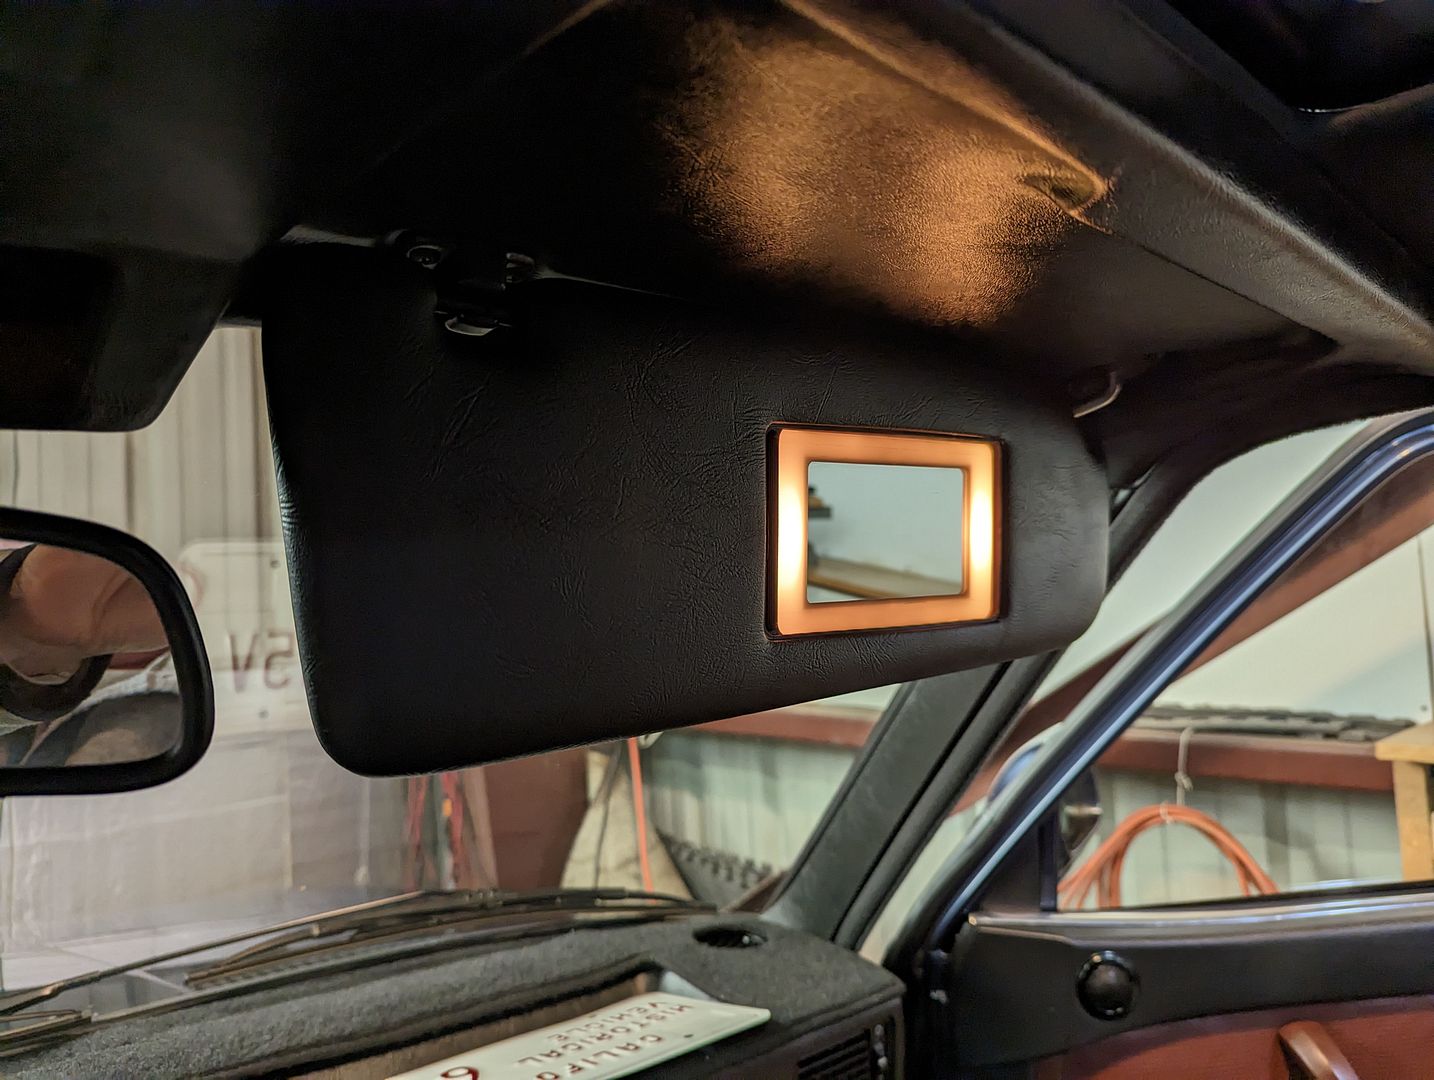
I put these in kind of at the last minute during the Interiors project simply because I had forgotten I had a set of these lighted M5 Sun Visors sitting in a box for nearly a decade. I hadn’t even bothered to test them before I installed them and given how they came along late in the process, I had to get creative with the wiring for them. So, when they didn’t work part of me wasn’t surprised and I put them on the punch list. I just got around a few weeks back to addressing this issue.
1) Stated by bench testing them wherein I found out they do indeed work
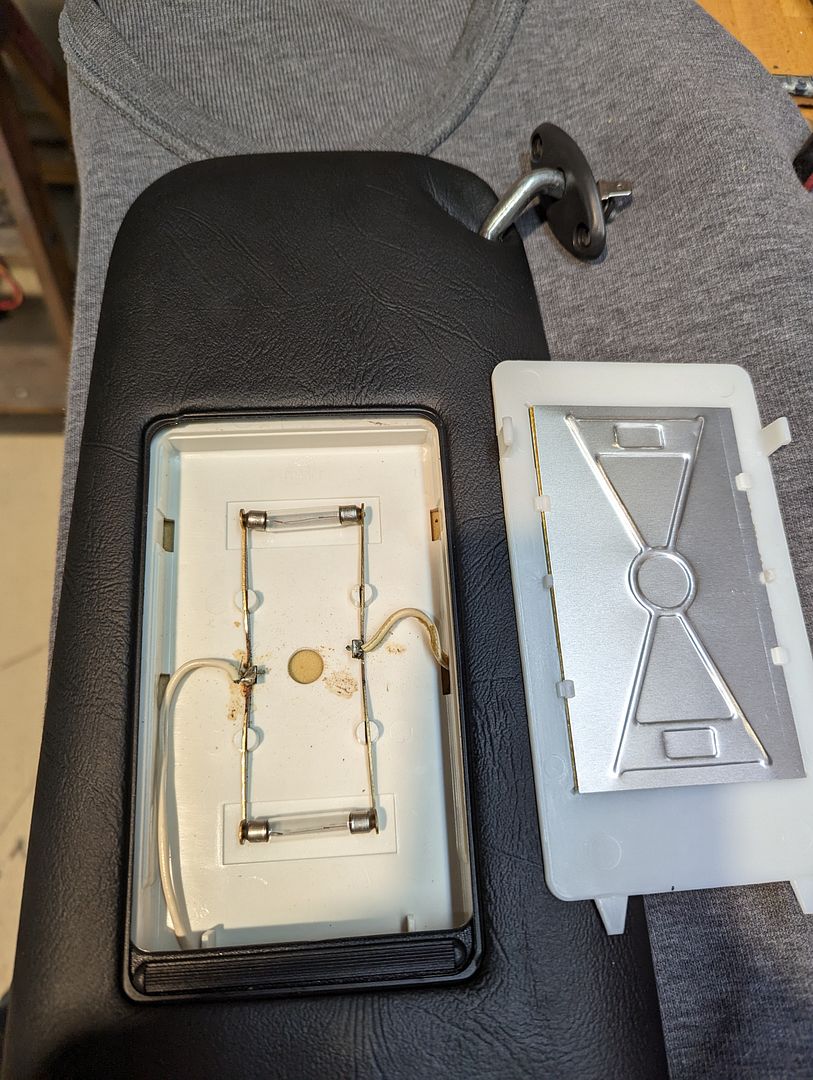
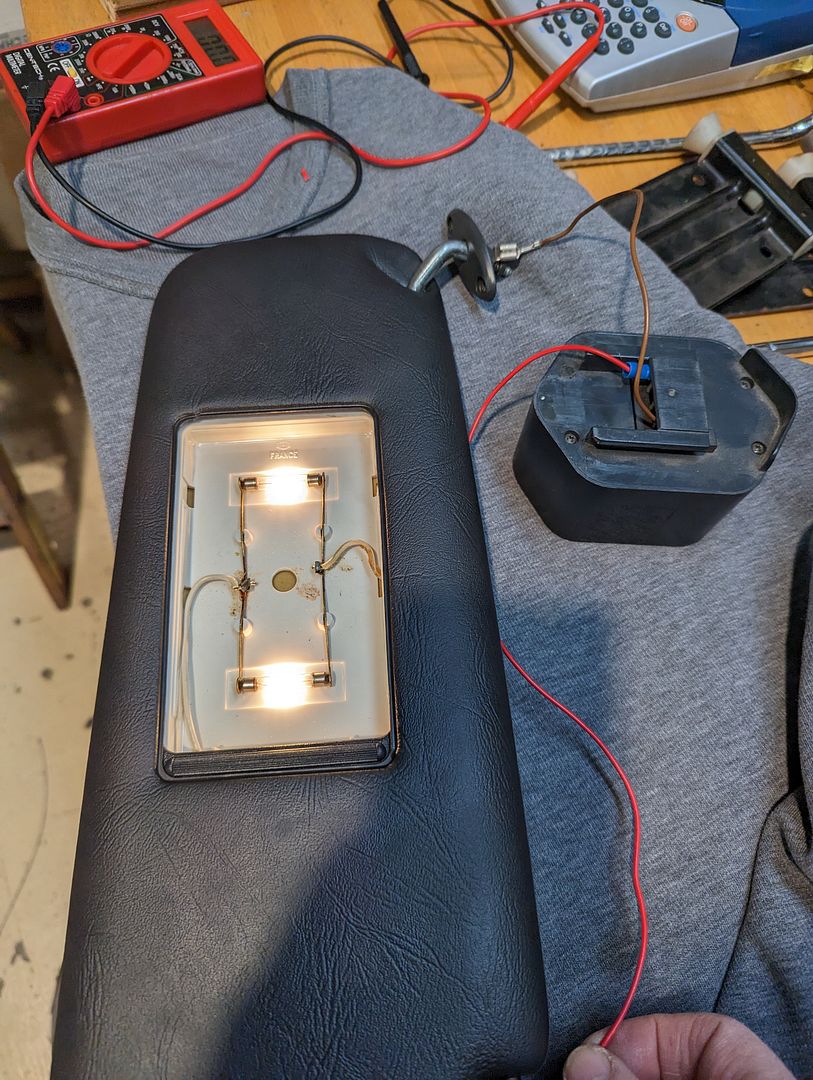
2) Turns out the contacts on the receiver clips and on the visor themselves needed some attention
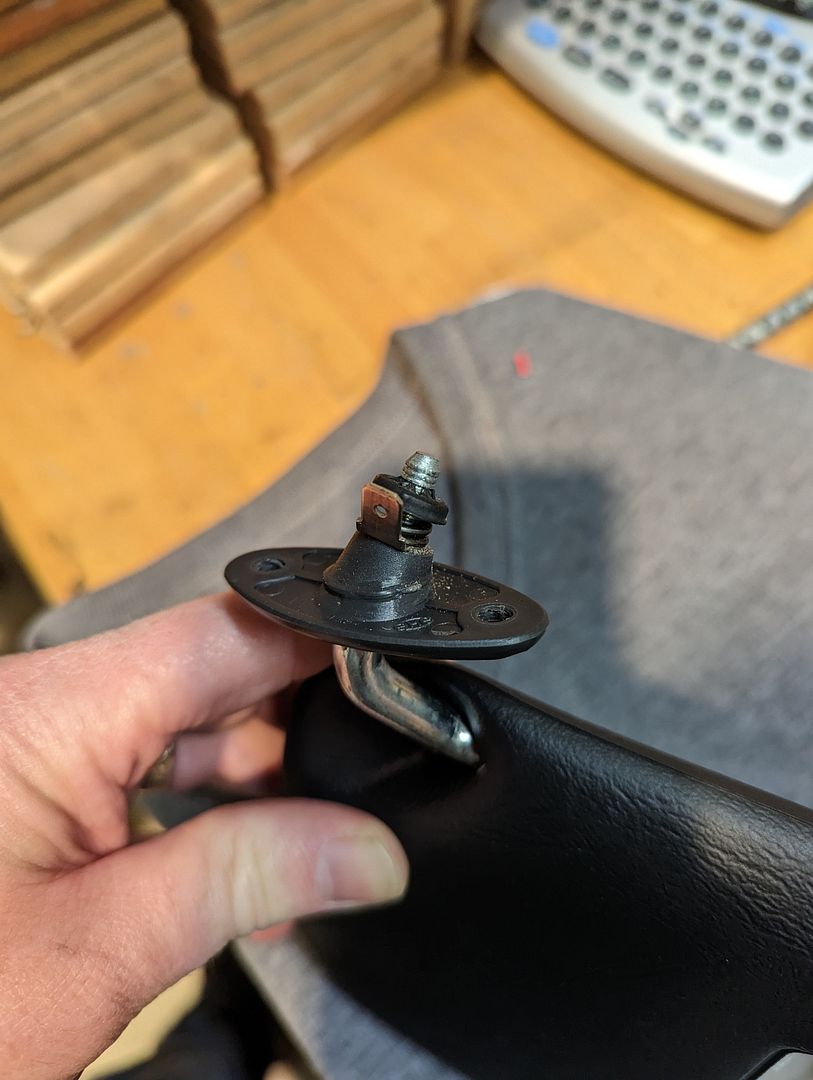
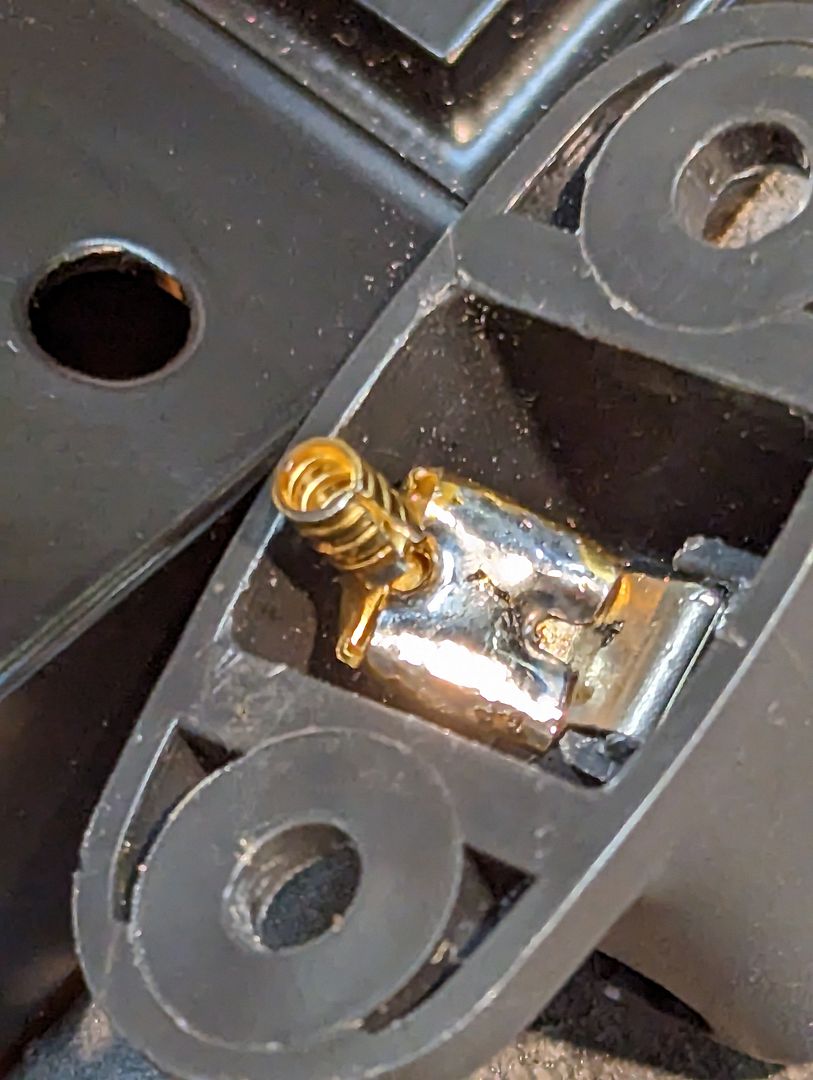
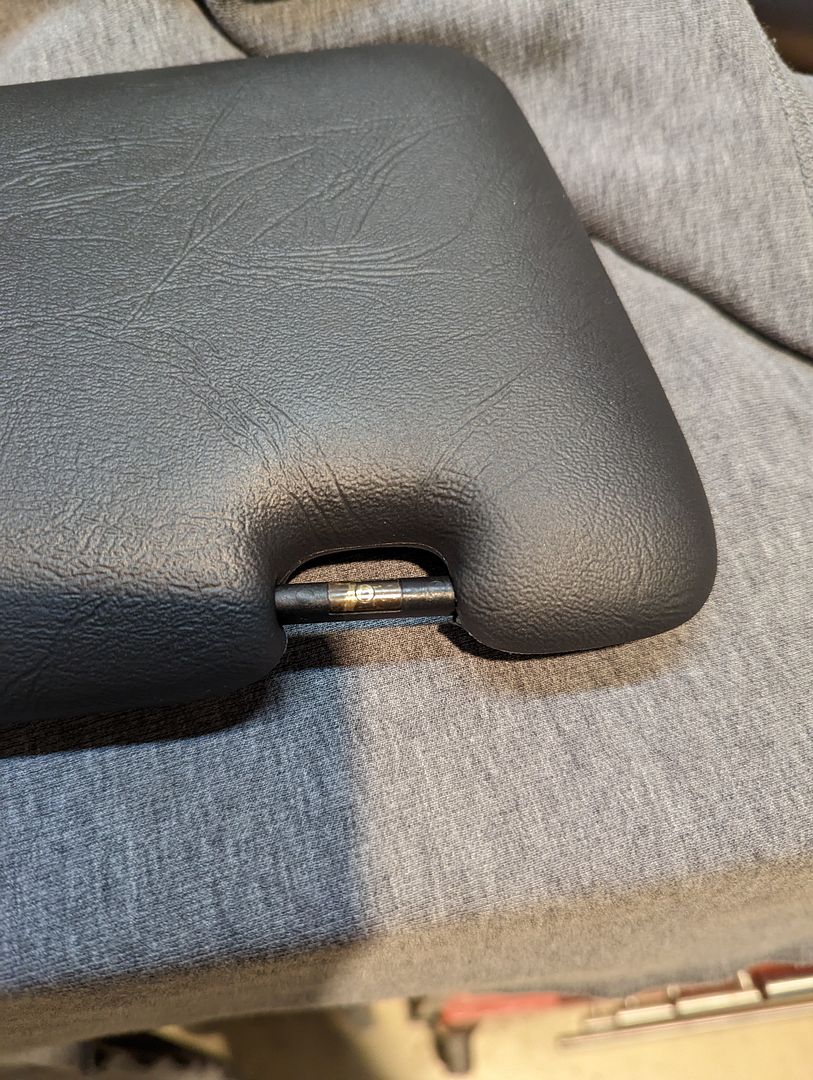
3)They still don’t work 100% and is dependent on what position the visor is in (the contact points on those clips is a bit 'iffy) but more than they did before, which wasn’t at all
Interior Door Handles:
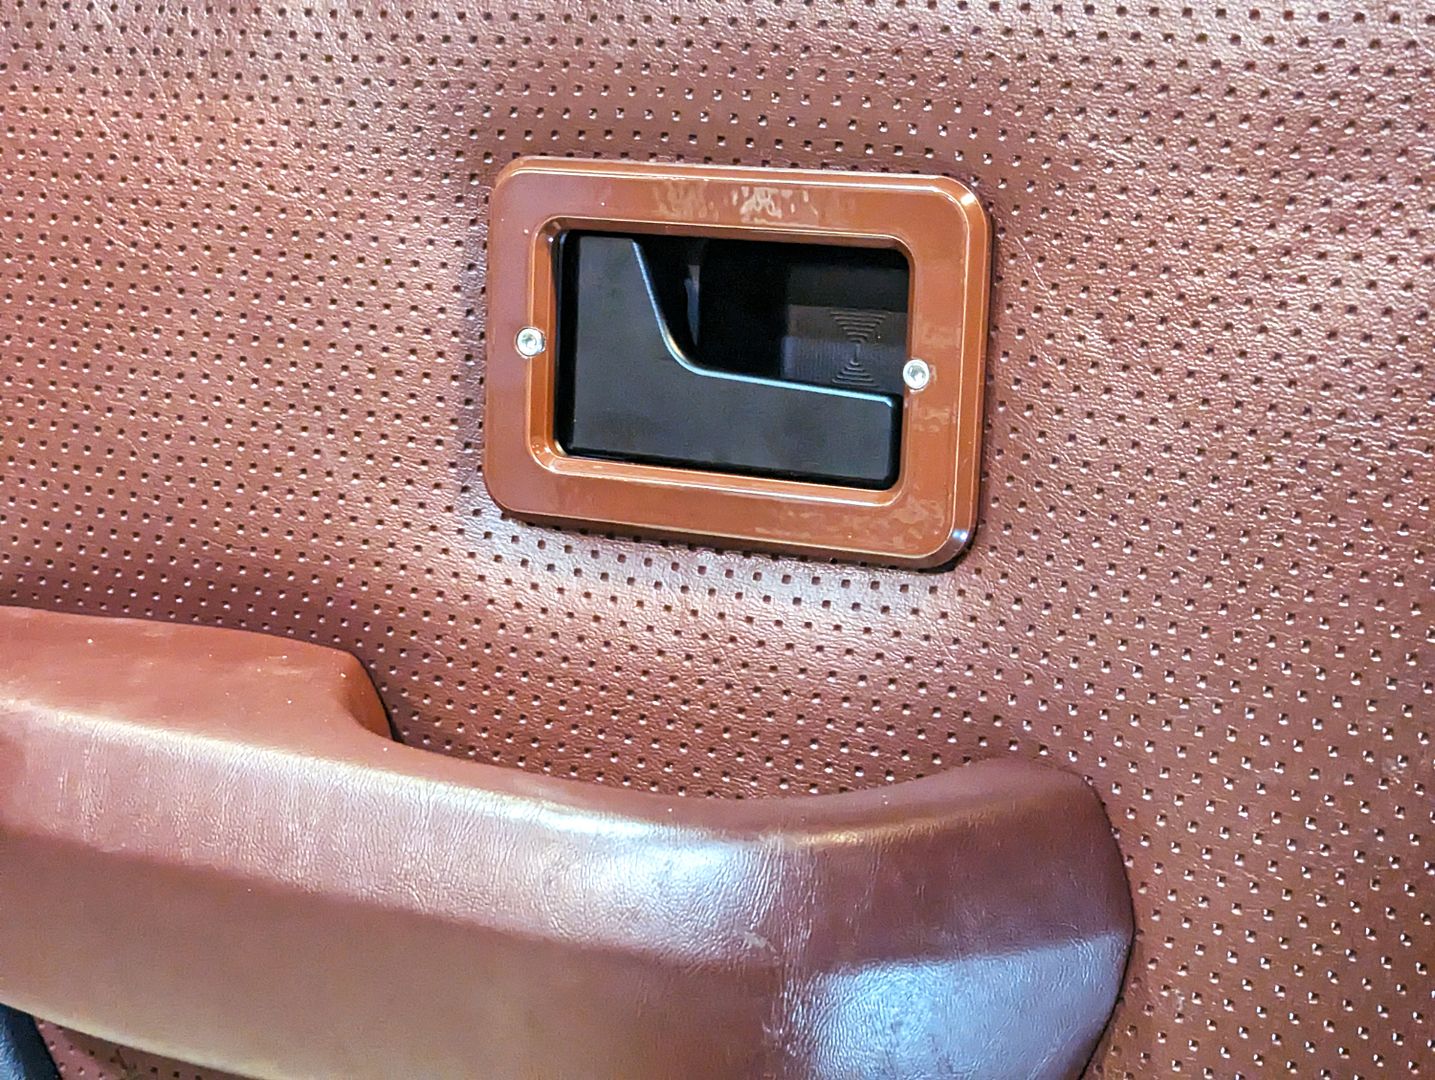
Okay, I thought the Wiper System was a splurge, this, however was a total indulgence. After I have replaced several Interior Door Latch assemblies in recent years, it is evident that the quality of these new parts is really lacking. Someone came up with solution, albeit an over the top, expensive one. Leo Grande Racing out of Long Island, NY started fabricating aluminum replacement assemblies. This included the one part that keeps breaking: the Interior Trim Ring. These are really robust pieces that will hopefully outlast my lifetime.

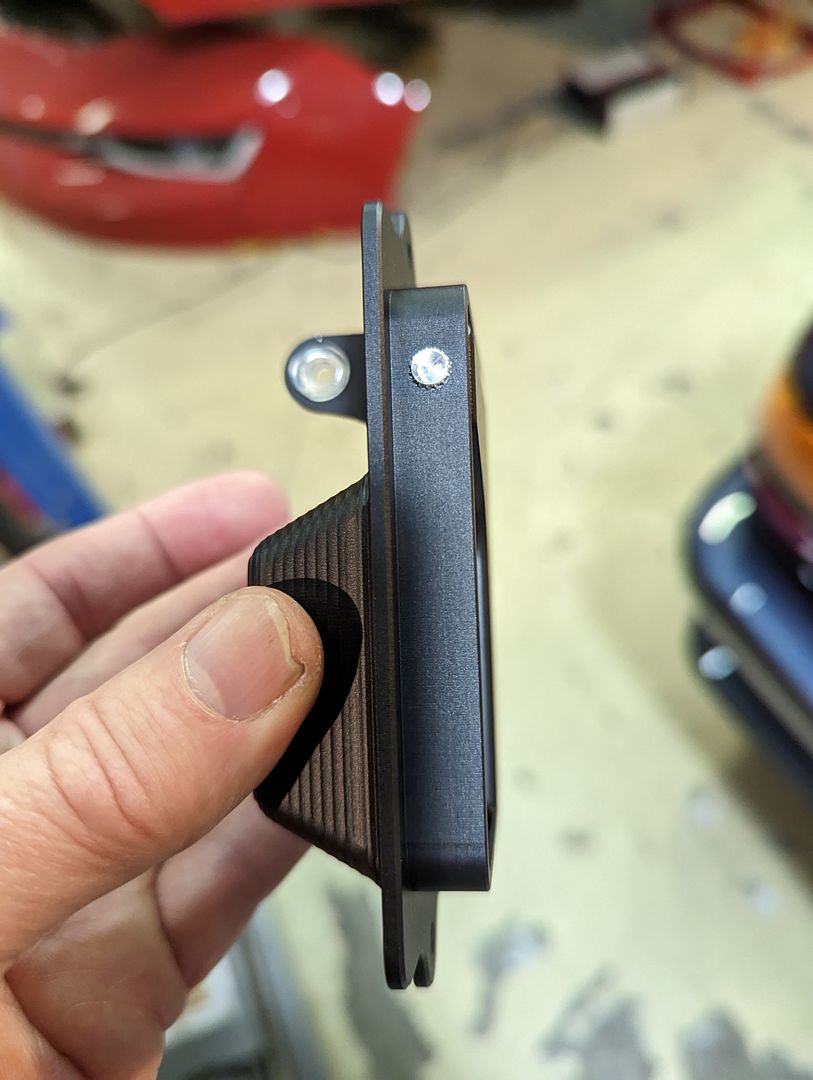
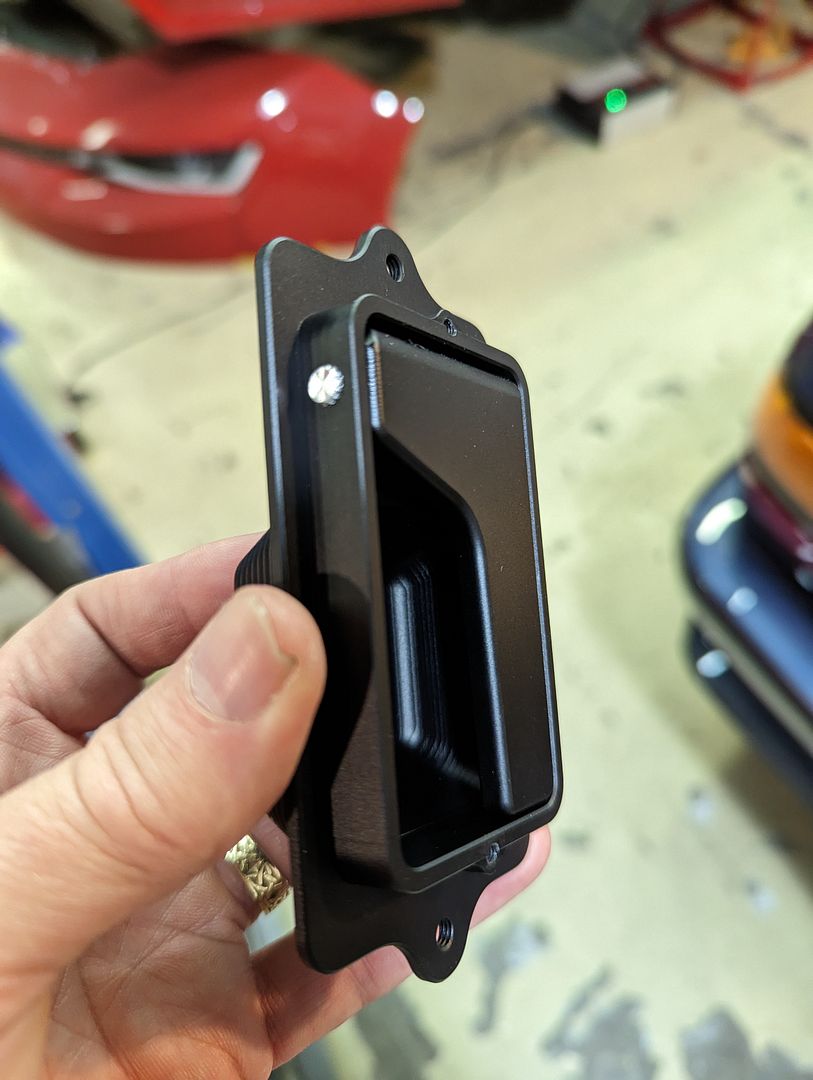
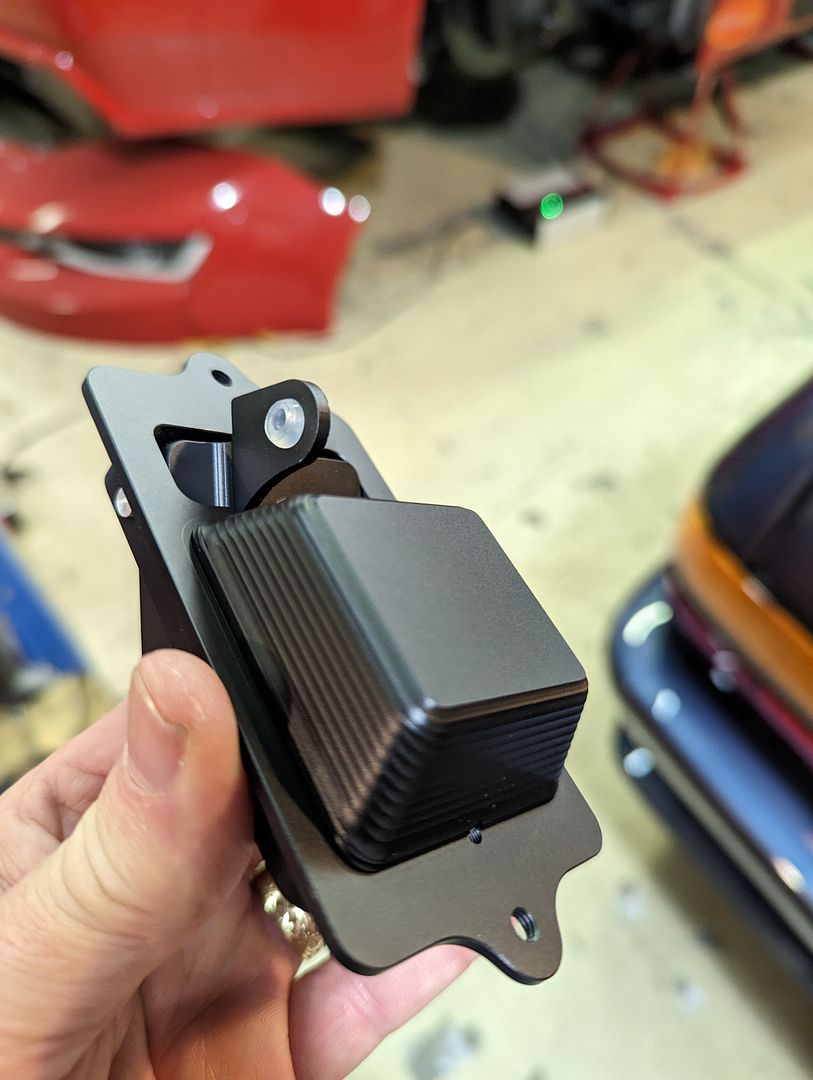
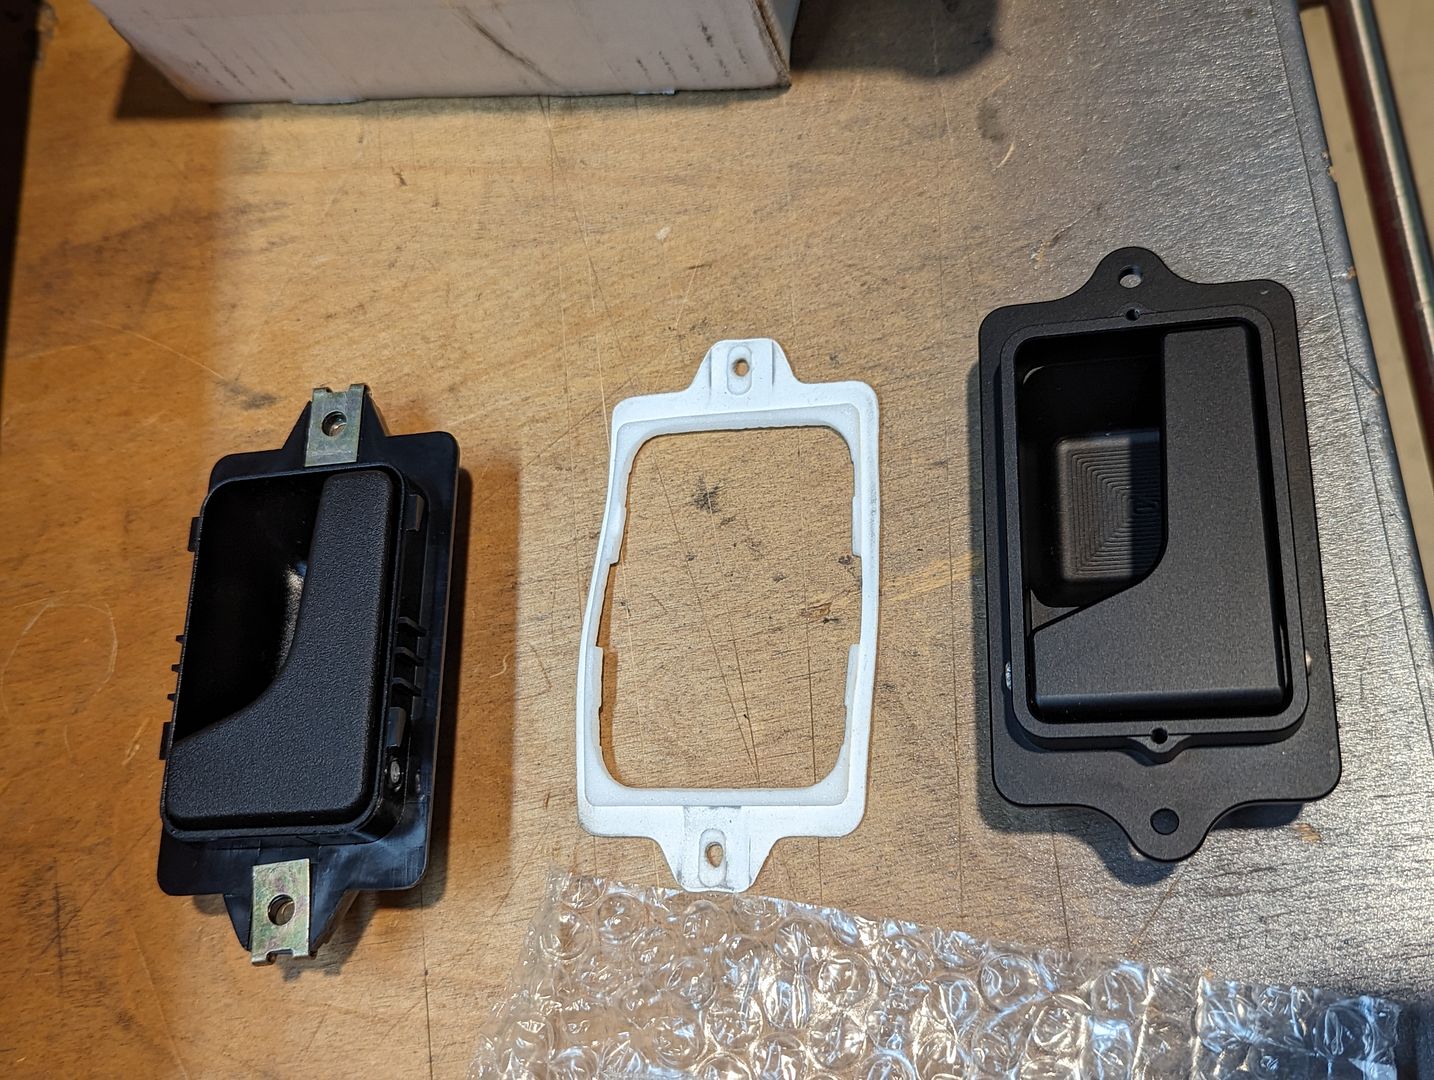
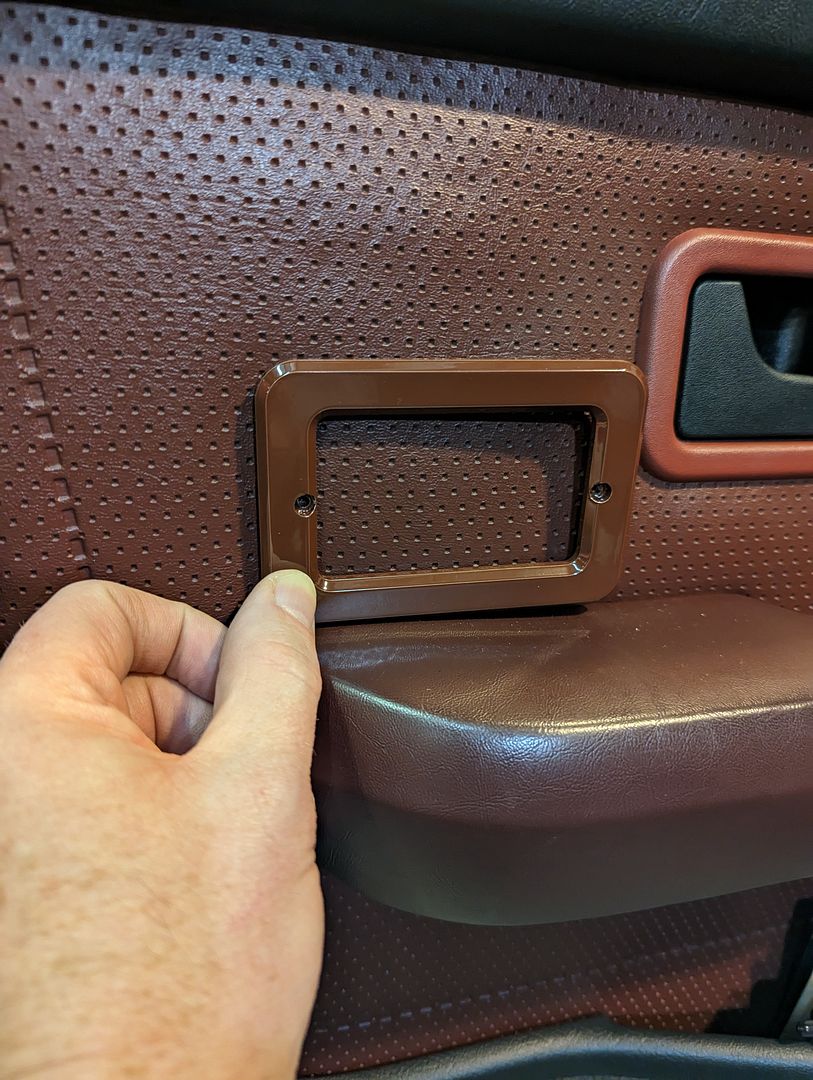
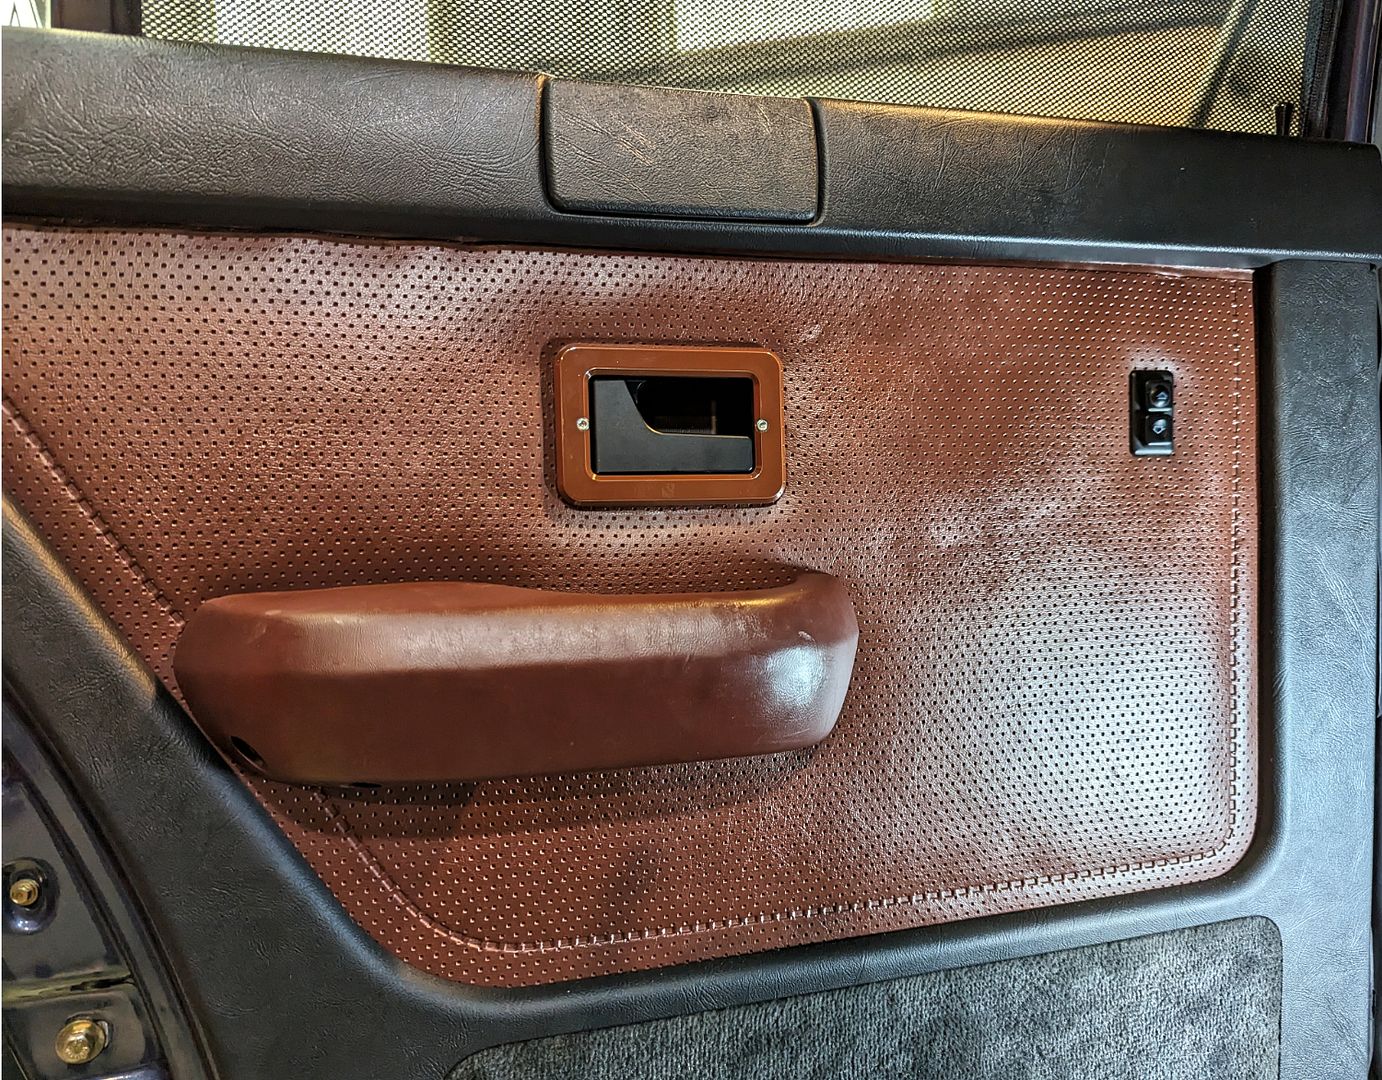
Here I was in a bit of quandary regarding the Trim Rings: BMW still makes replacements in a color that they claim is Taurusrot but in reality is Cardinal. All my used or old NIB Taurusrot trim rings consistently break even after I tried reinforcing them by laying down a bead of Super Glue on the back side. (You can see the 'new' Taurus rings in one of the photos below; see how light it is compared to either the original ring or vinyl cover)
The quandary was that Leo Grande only makes the Trim Rings in either black or clear anodized finishes. I could have simply accepted the black ones, but I just couldn’t, not after spending all this effort on the Taurusrot interior; it seemed a sacrilege. Since they weren’t changing their finishes, I asked for milled finish and decided to powder coat the rings in a matching color.
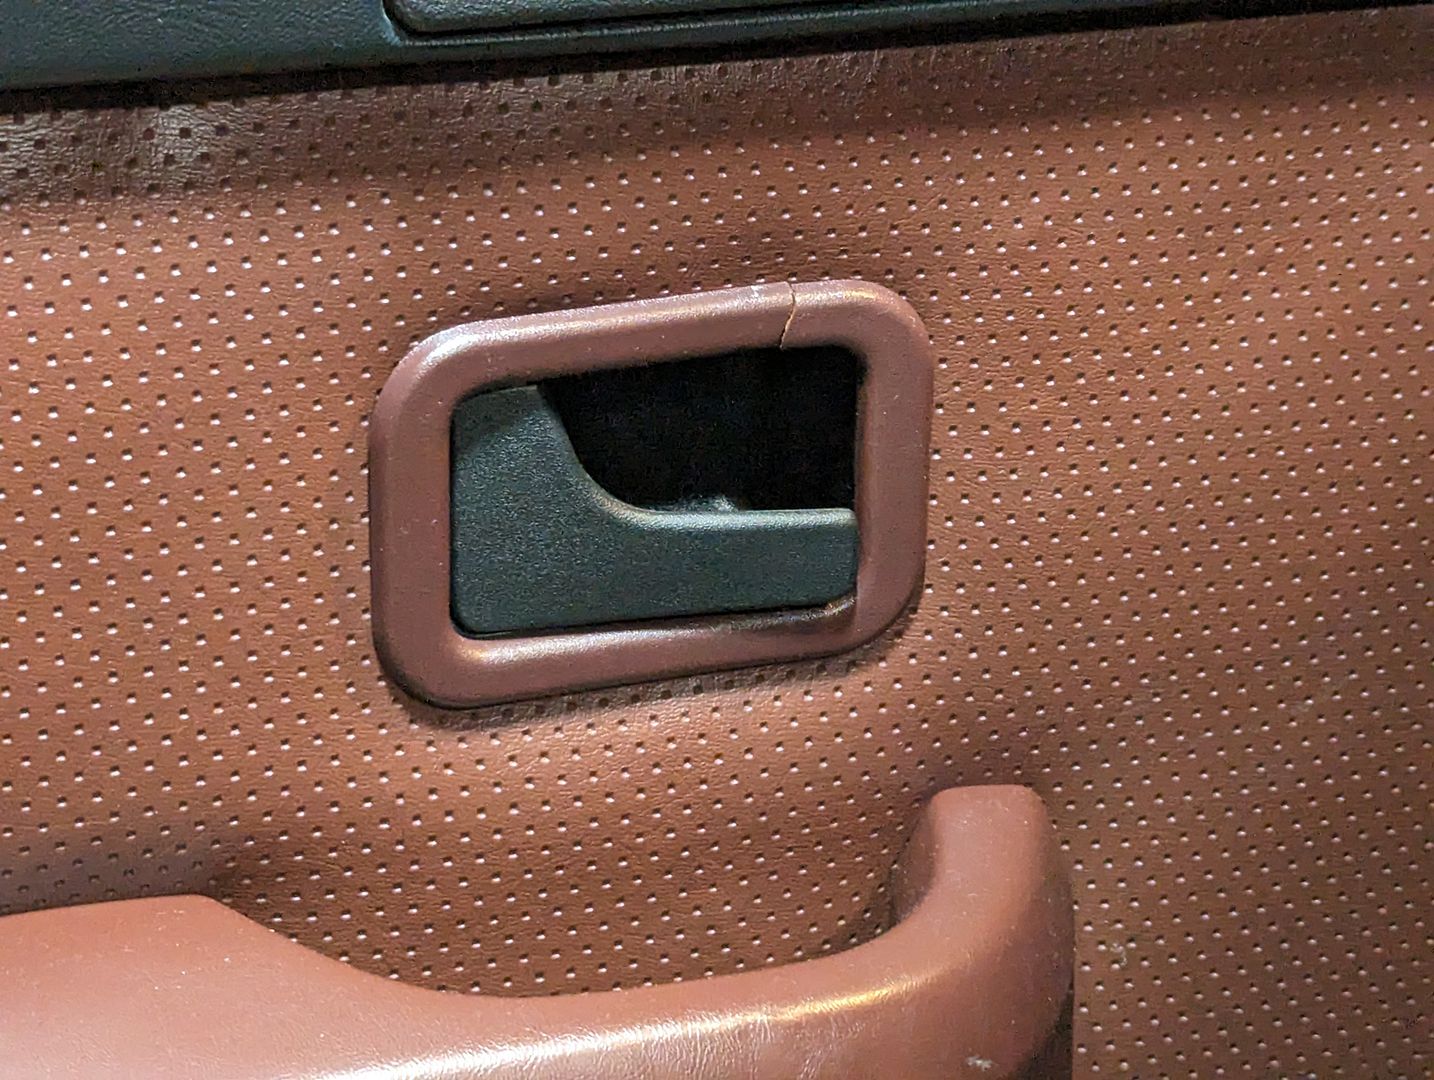
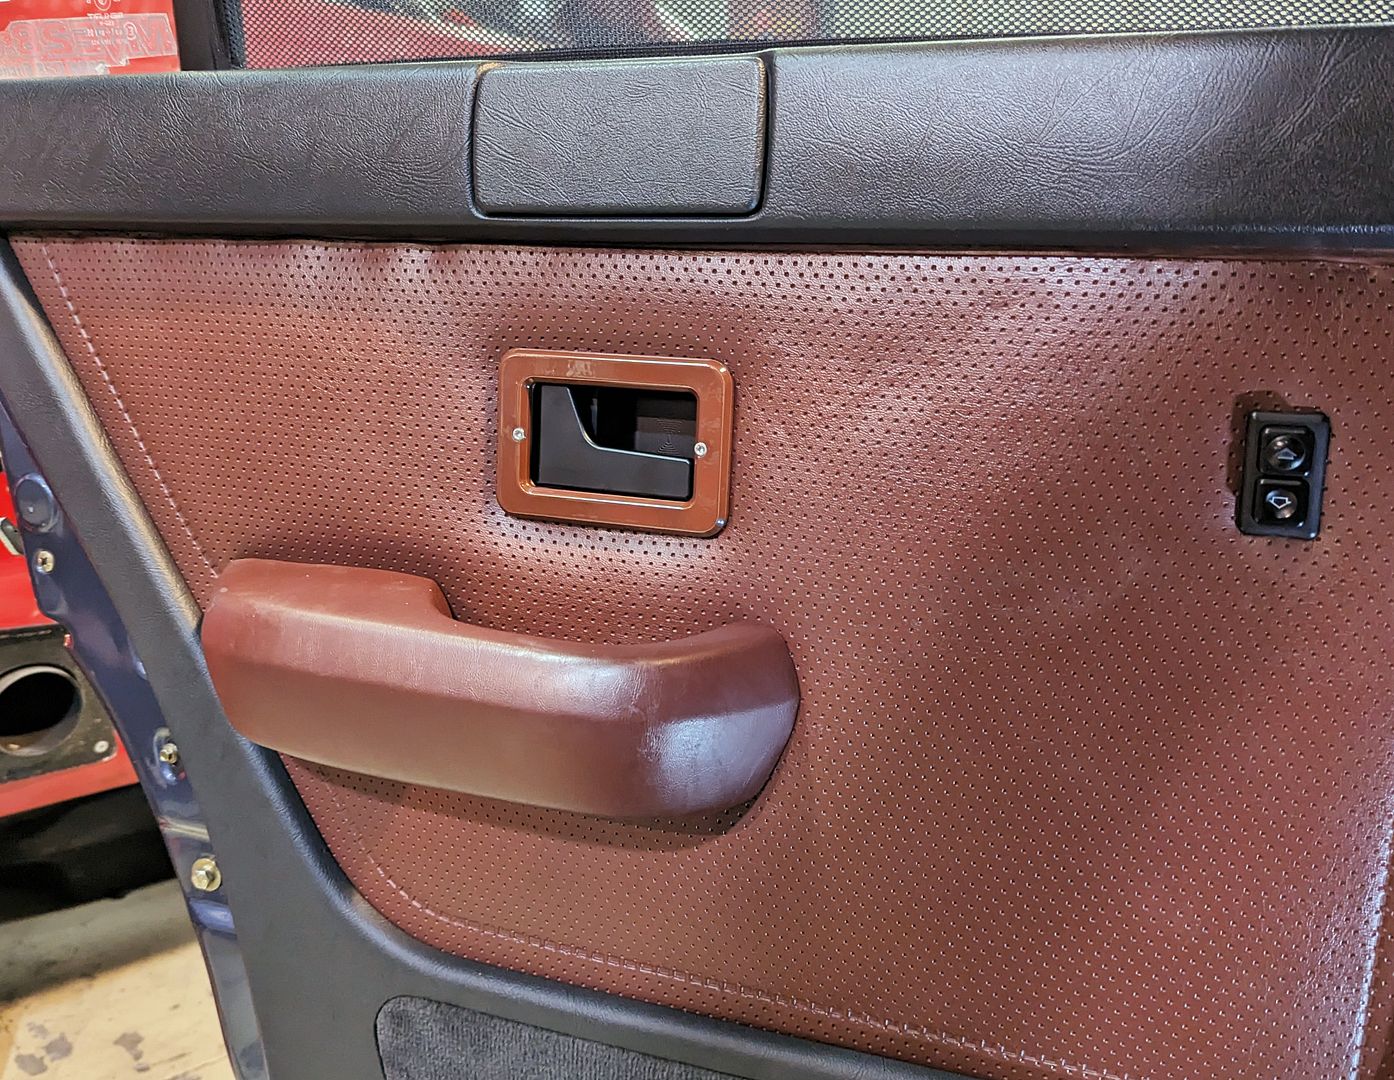
After going through RAL color samples at the powdercoater, I came up with one from Prismatic Powders (RAL 8016). It’s actually a brown but given the brown nature of Taurus in certain light, it works. Too bad it’s only available in a gloss finish, but I’m living with it. I may apply a satin or low luster topcoat to knock that sheen down eventually. I will also paint the trim screws either to match or just black.
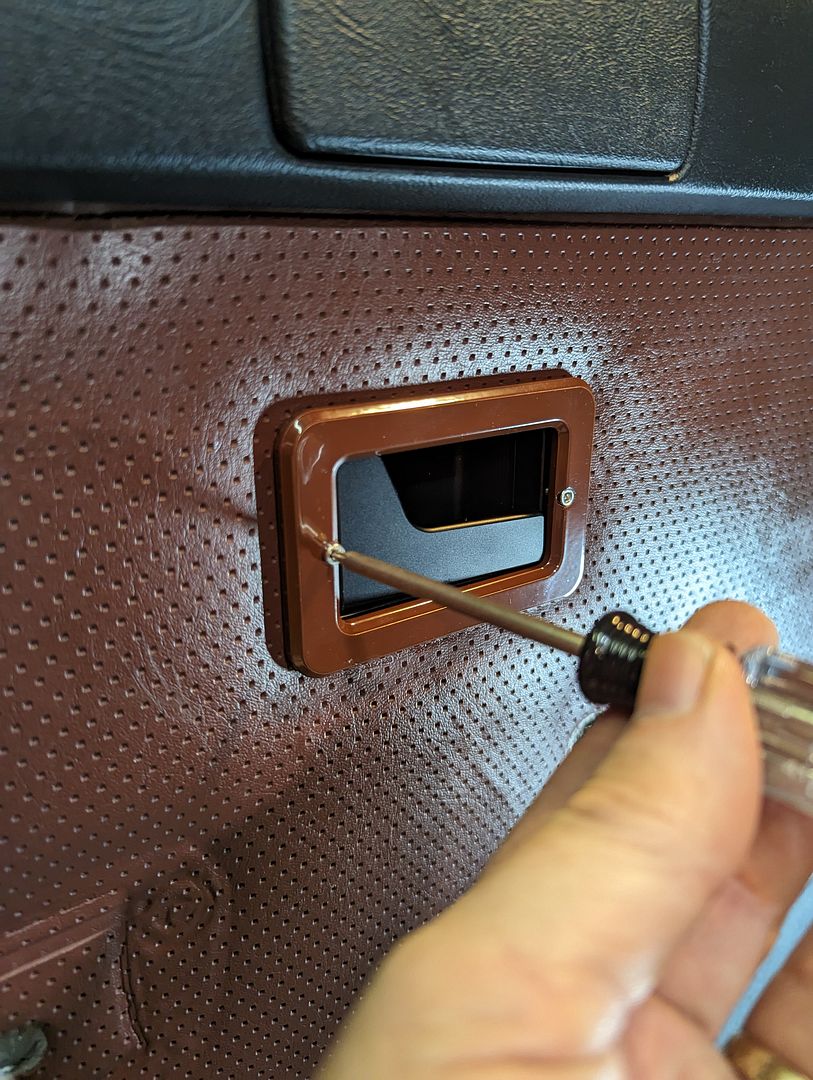
Installation was easy and they go in just like the OEM versions: Remove Trim Ring, Armrest/Handle, and Door Panel. Disconnect & remove existing latch. Connect and install new latch. Re-install all the components. Screw on the finish Trim Ring with the oh-so-impossibly small torx screws they provide. You’re set.
Yeah, it is an expensive solution to a minor problem but I did it anyway.
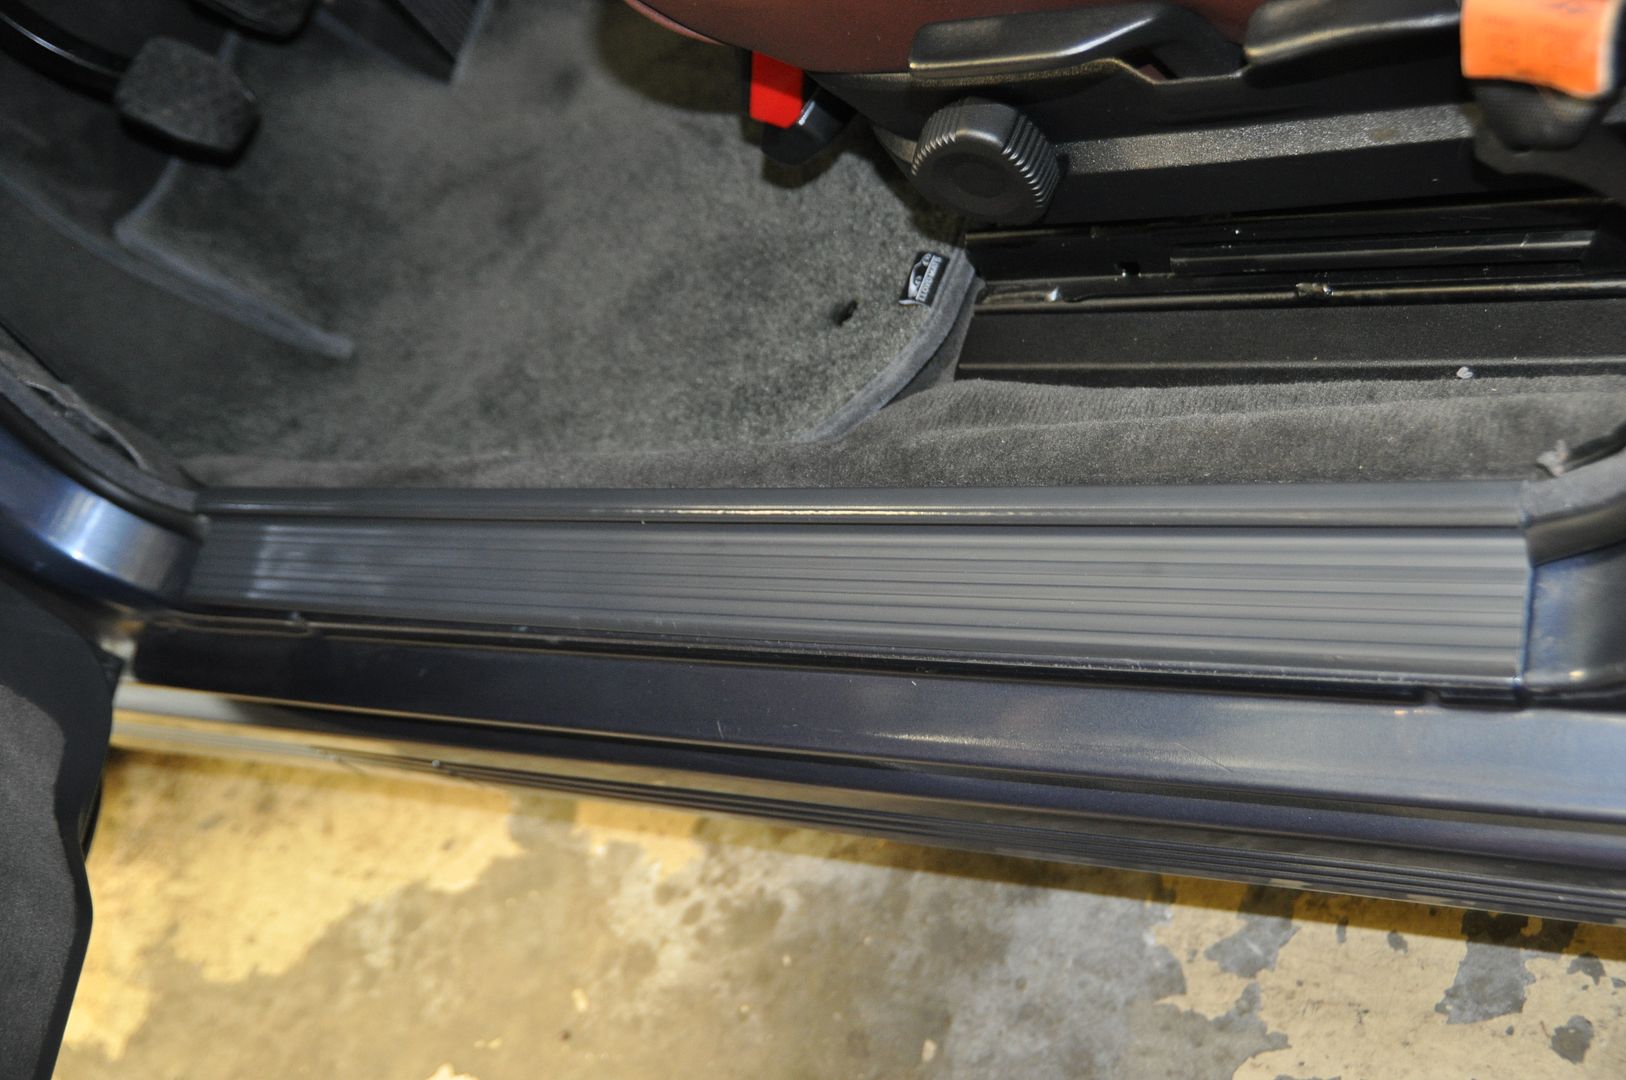
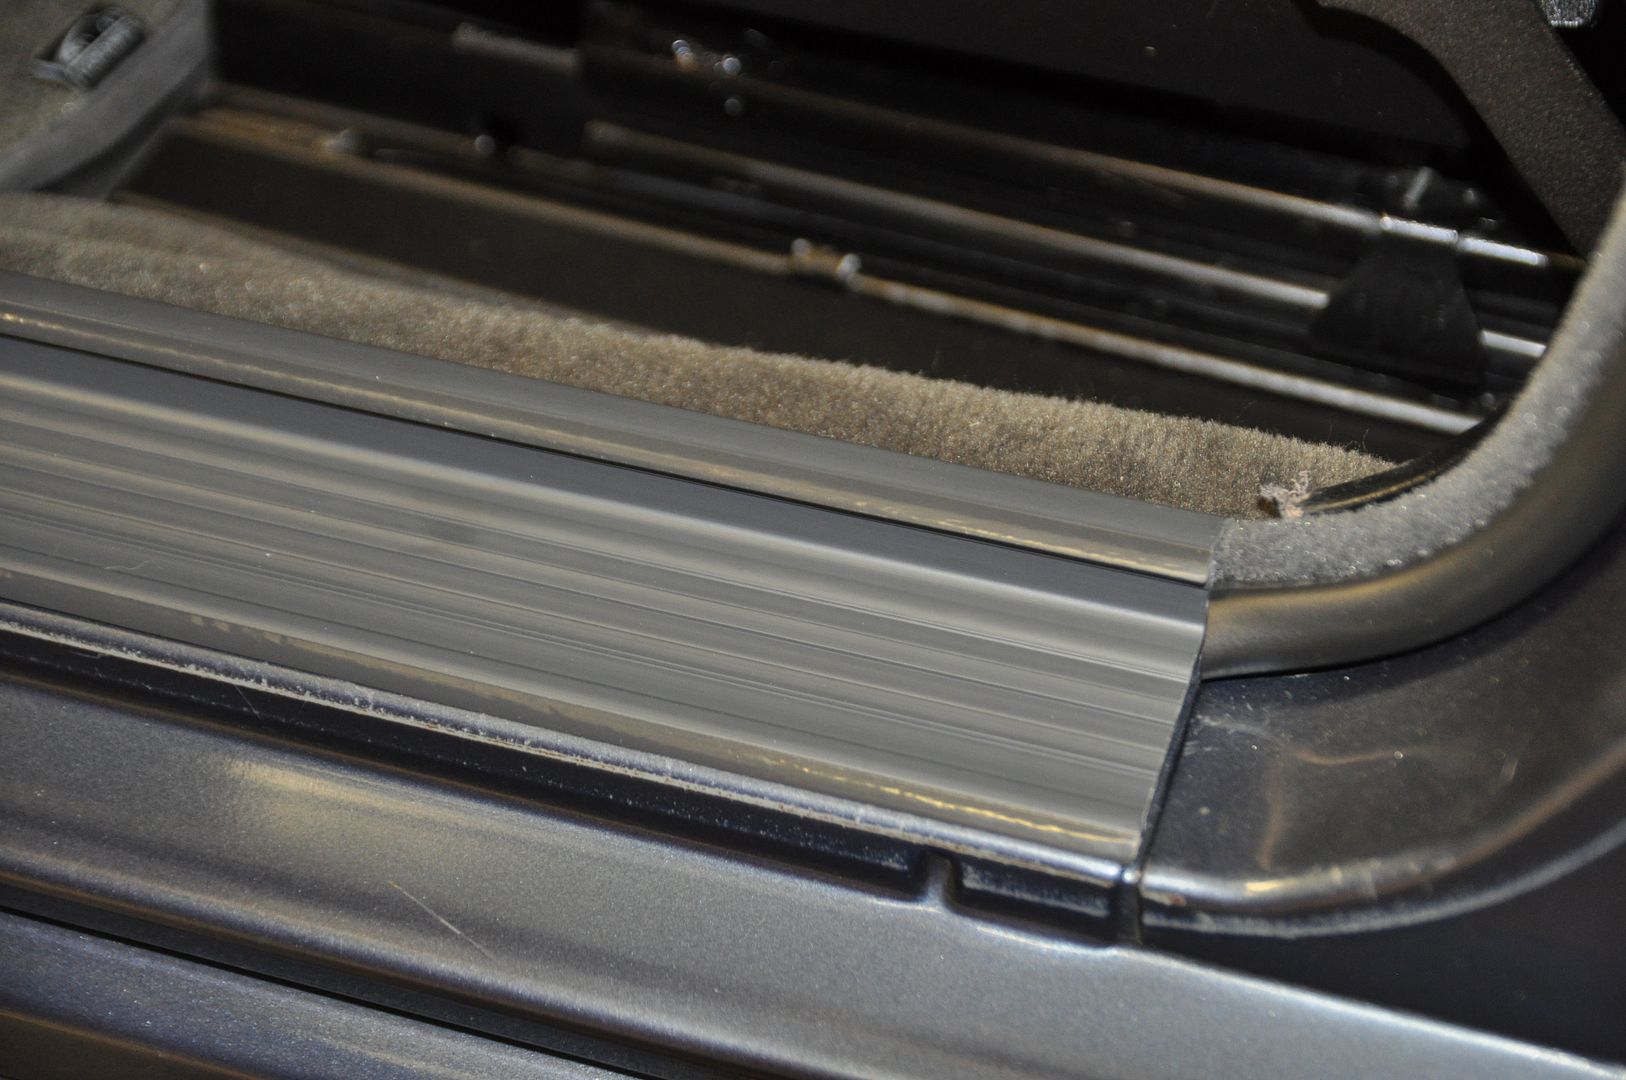
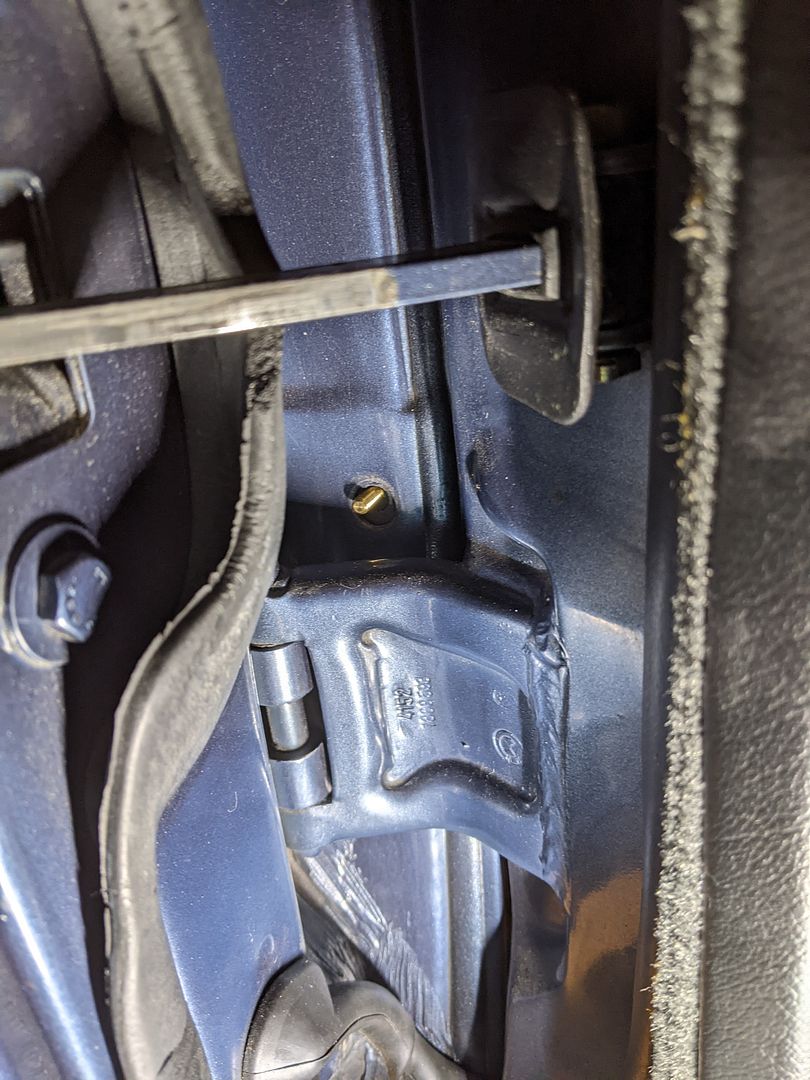
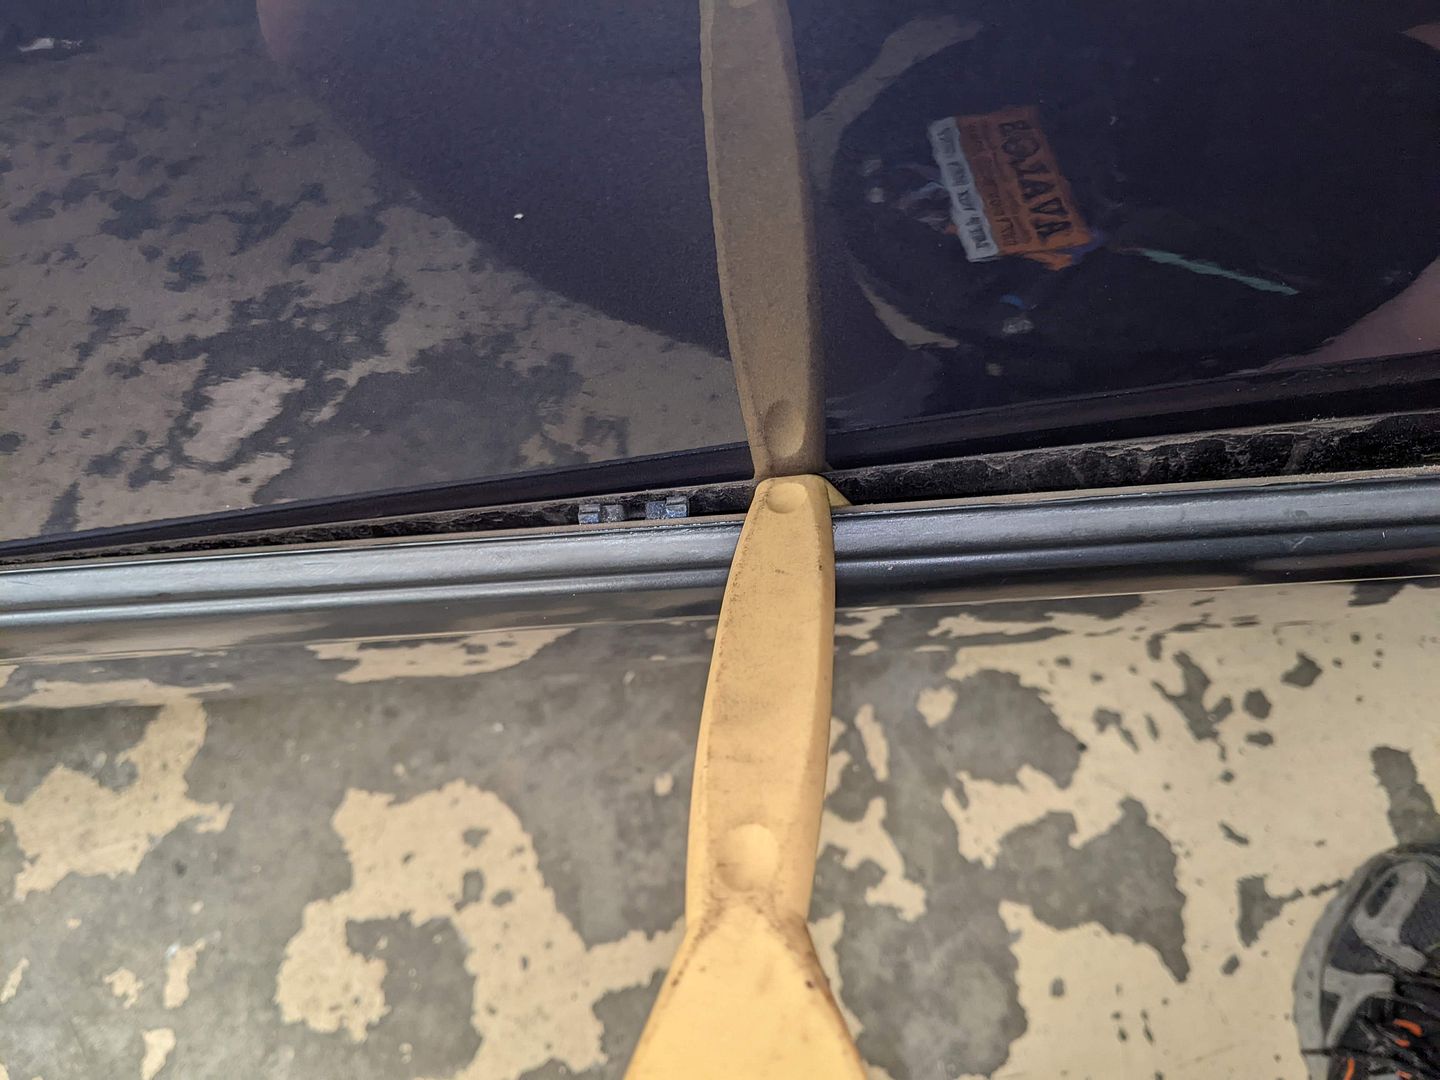
Door Weatherstripping & Door Sills:
This too is a work in progress but is getting closer to being complete. I installed my original rear sets, but due to an extreme case of brain-fartness, I ‘lost’ my original front sets. I temporarily installed a set of after-market versions sourced from a guy in Turkey via ebay. While they don’t have the requisite “Mouse Fur” of the OEM, they fit really well and offered complete door opening coverage. This is the real weak part of the E28 door seal system: the seal breaks at the Door Sills and nothing is underneath them to seal off the opening adequately (BMW offered complete opening seals in almost every other model except the E28 and E12).
I also ‘lost’ my two front Door Sills (I don’t know what happened that week in the Hangar) and of course these are NLA so I set out trying to find decent, clean replacements; a tall order. I have plans to modify the sills and add some rubber/foam profile weatherstrip to build a better mousetrap, more complete seal to the bottom of the door seal to get better acoustic control.
In the meantime, the E12 Door Sills are/were available and compared to used E28 sills, a bargain from BMW. The E12’s are also all black which I tend to like better with my interior.
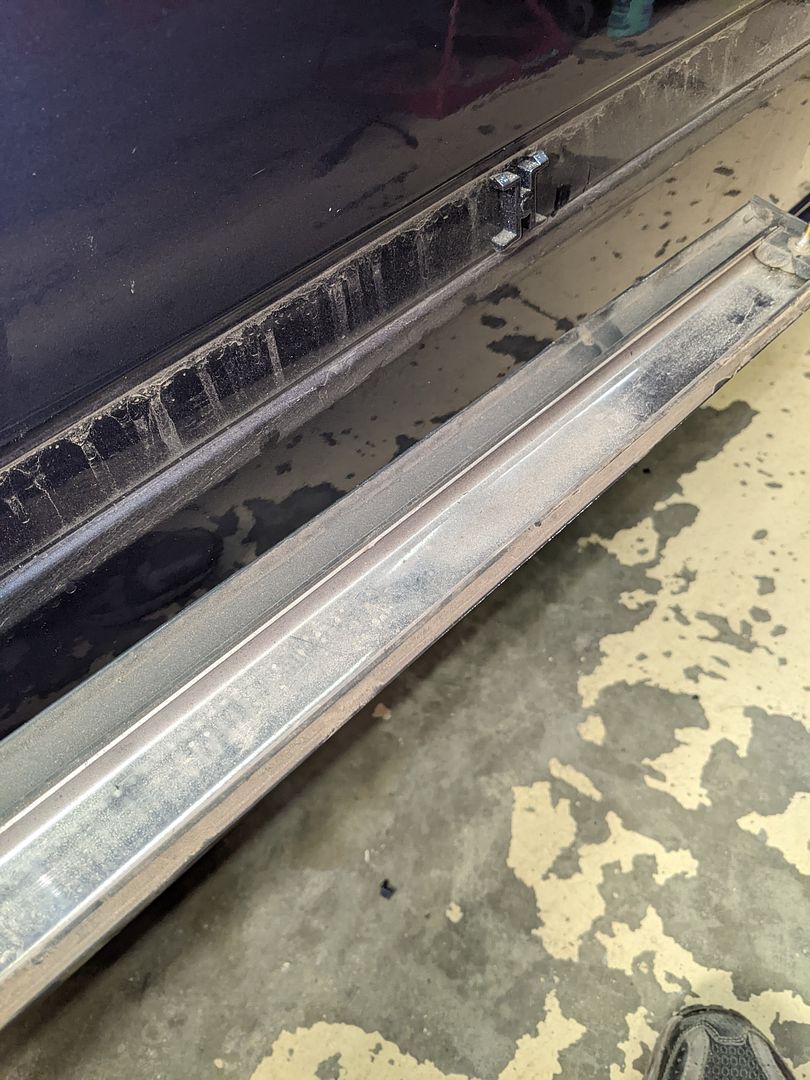
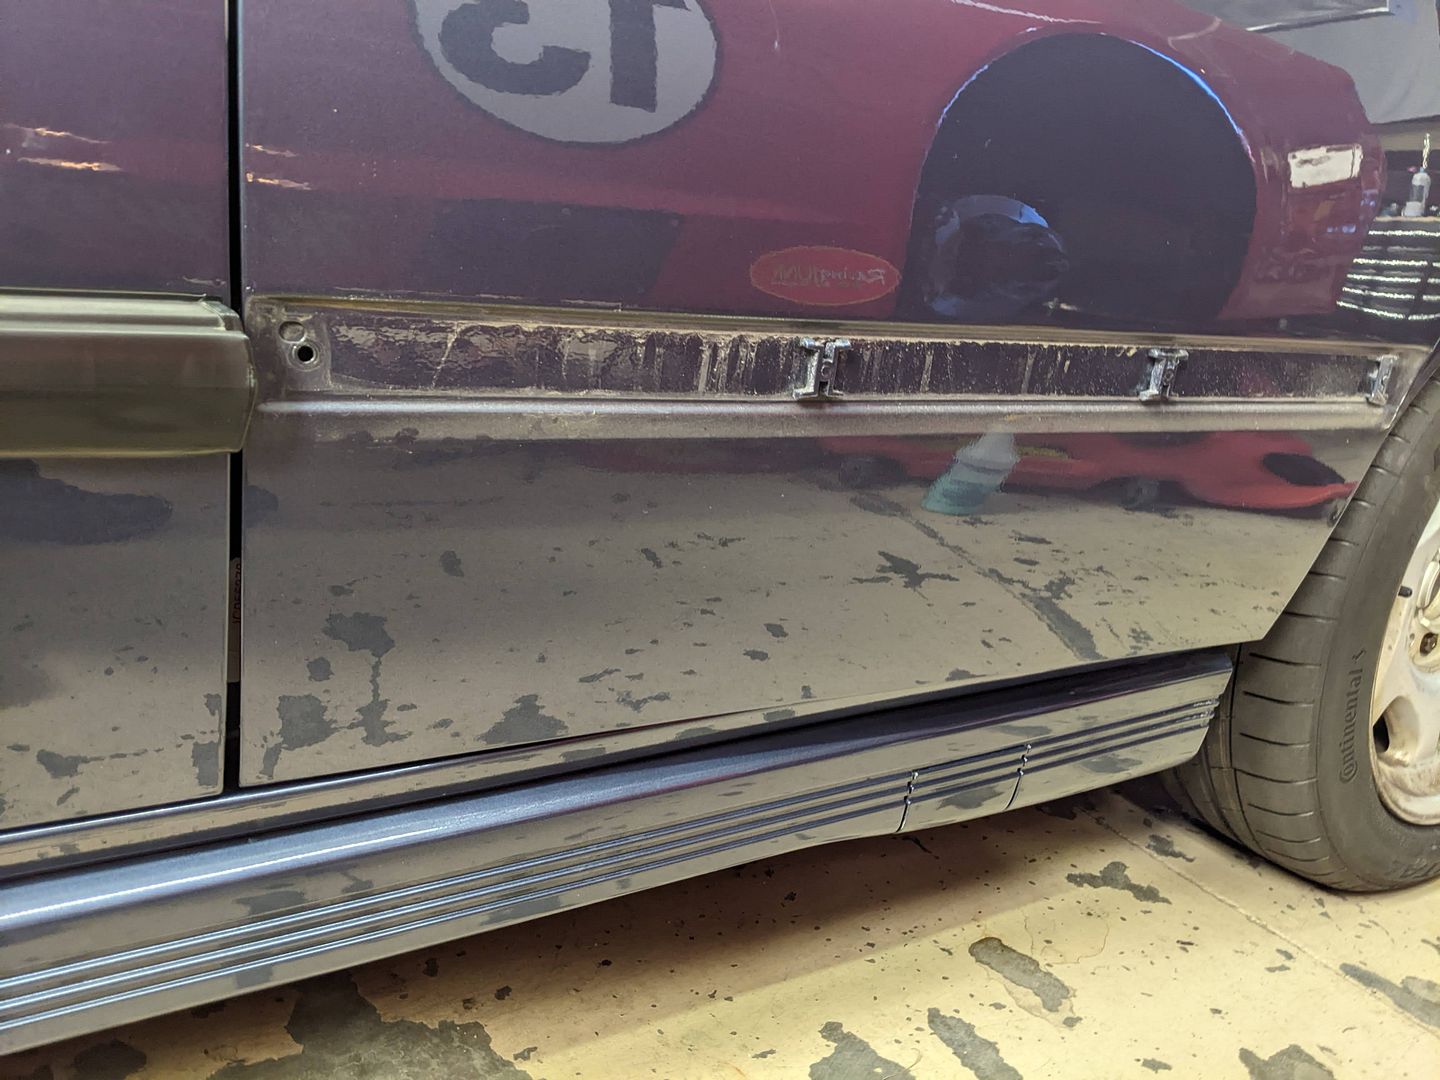
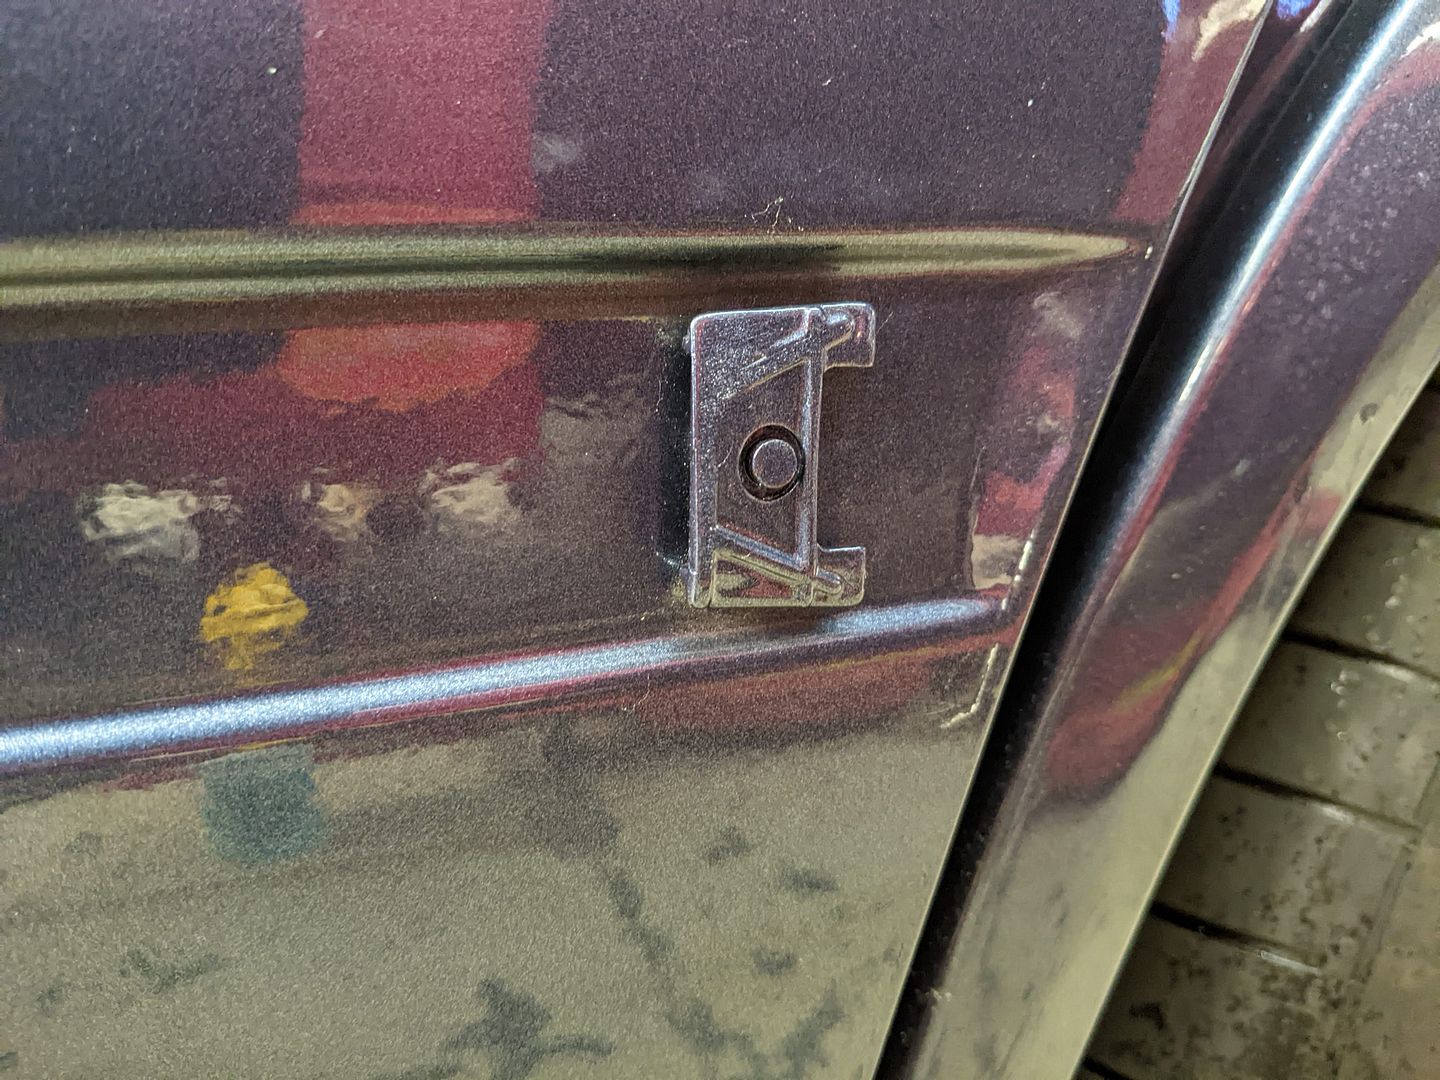
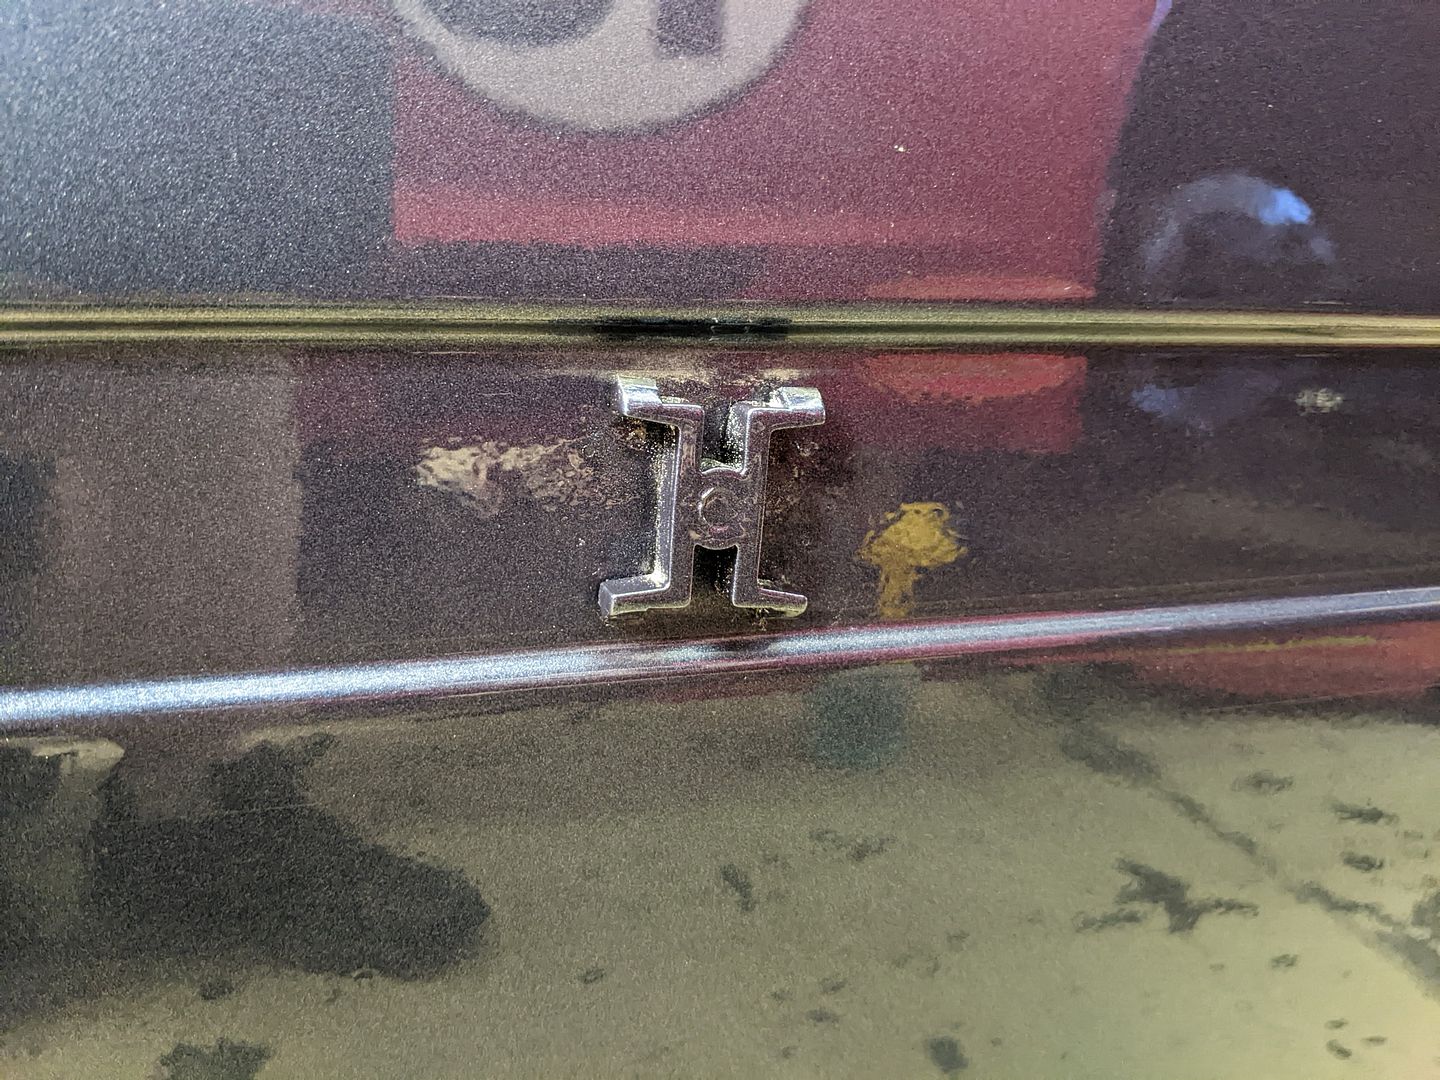
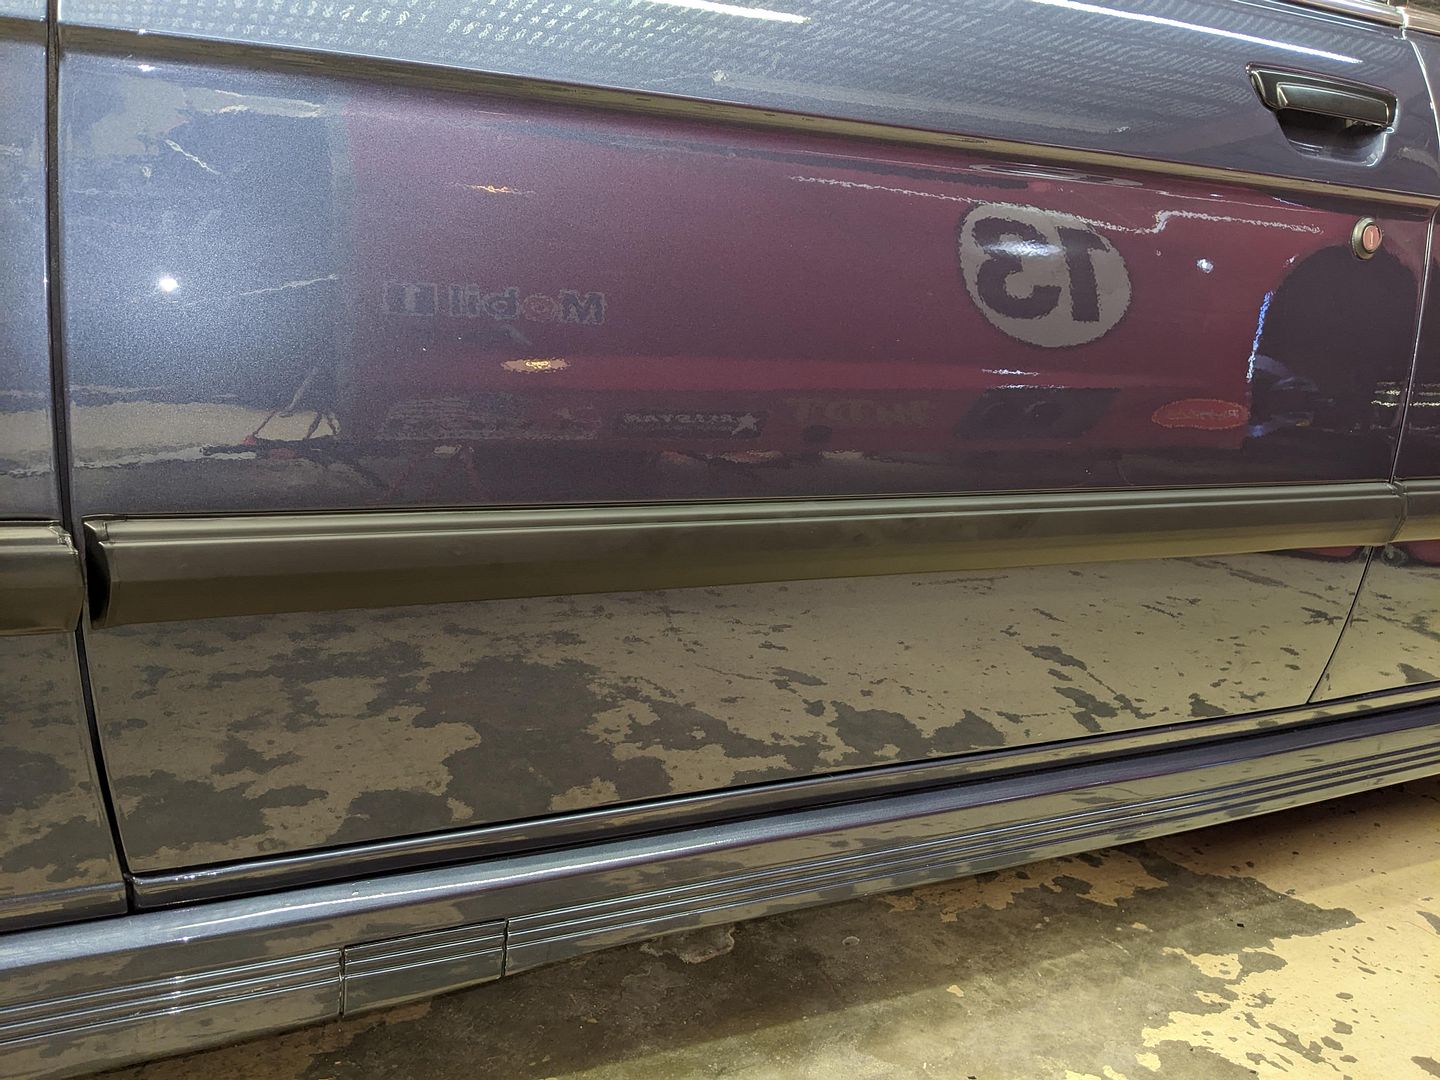
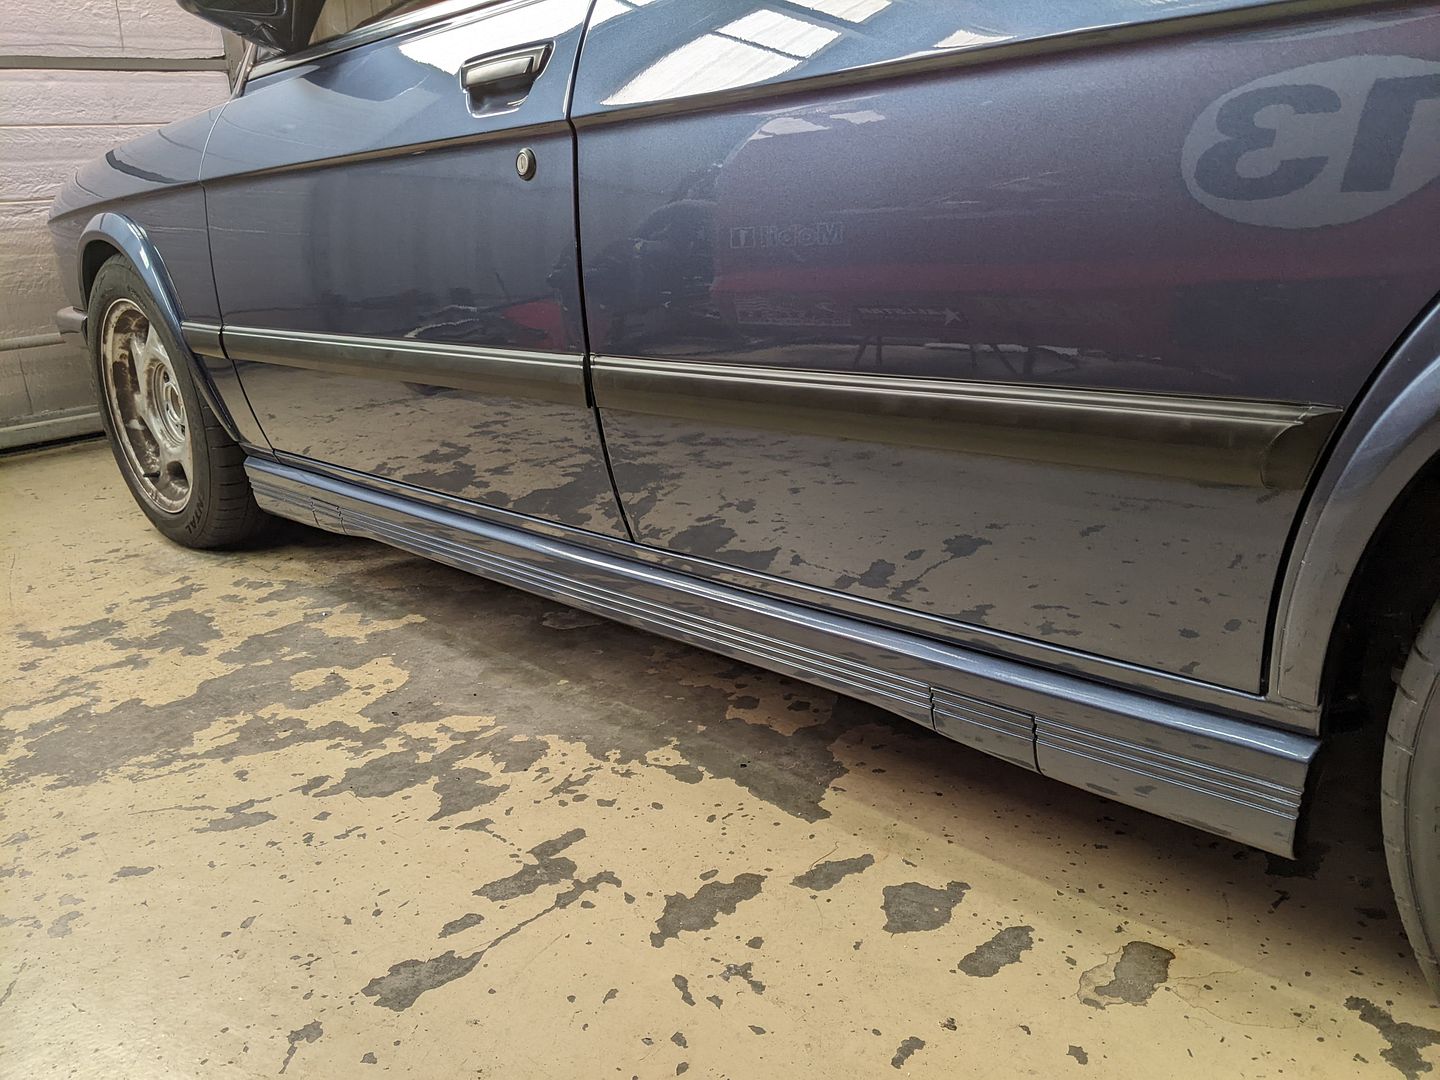
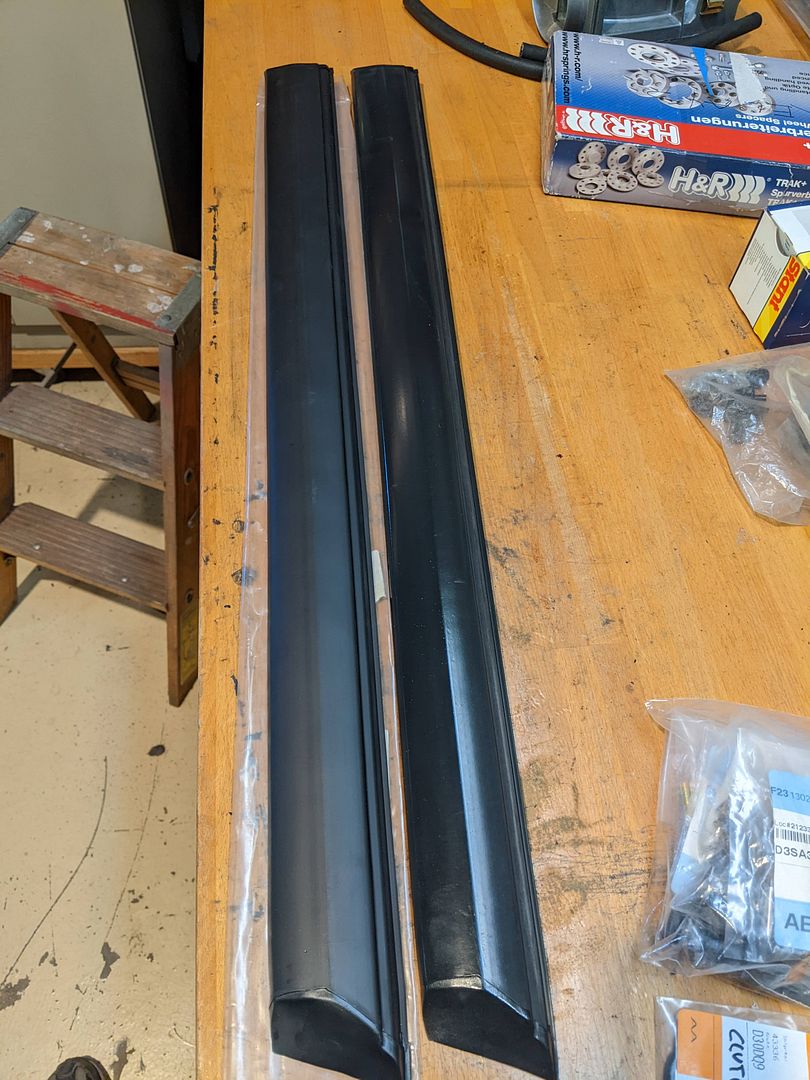
Door Lower Edge Guards:
After 32 years those rubber edge guards were starting to show their age and wear. Multiple dings, scrapes, and general fading left these kind of dull looking and a bit distracting. No matter what refinishing and/or cleaning and treatments I did, I couldn’t restore them completely. On the M535i these are Shadowline trim so finding good replacements was next to impossible. Fortunately, these are still available from BMW; but unfortunately not all of them are available: missing are the Driver’s front fender and the Passenger’s rear door.
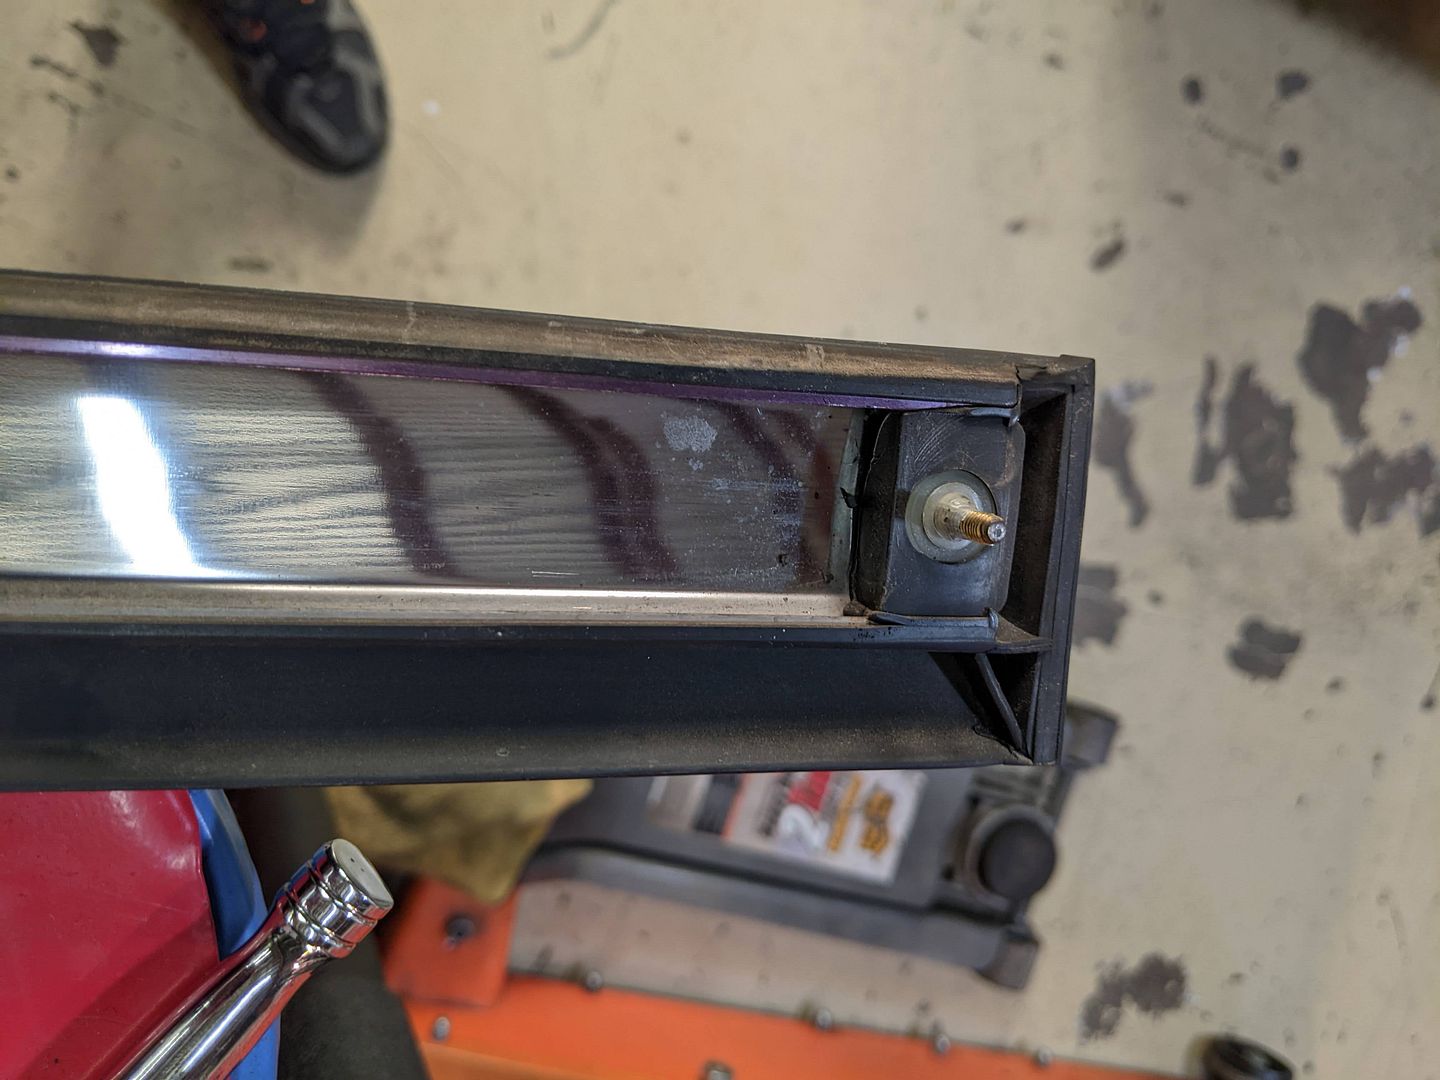
Replacing these is very easy actually as they are held in with just one plastic capture nut and some plastic clips on the door:
1) Open door, remove the plastic capture nut on the inside of the door edge at the back
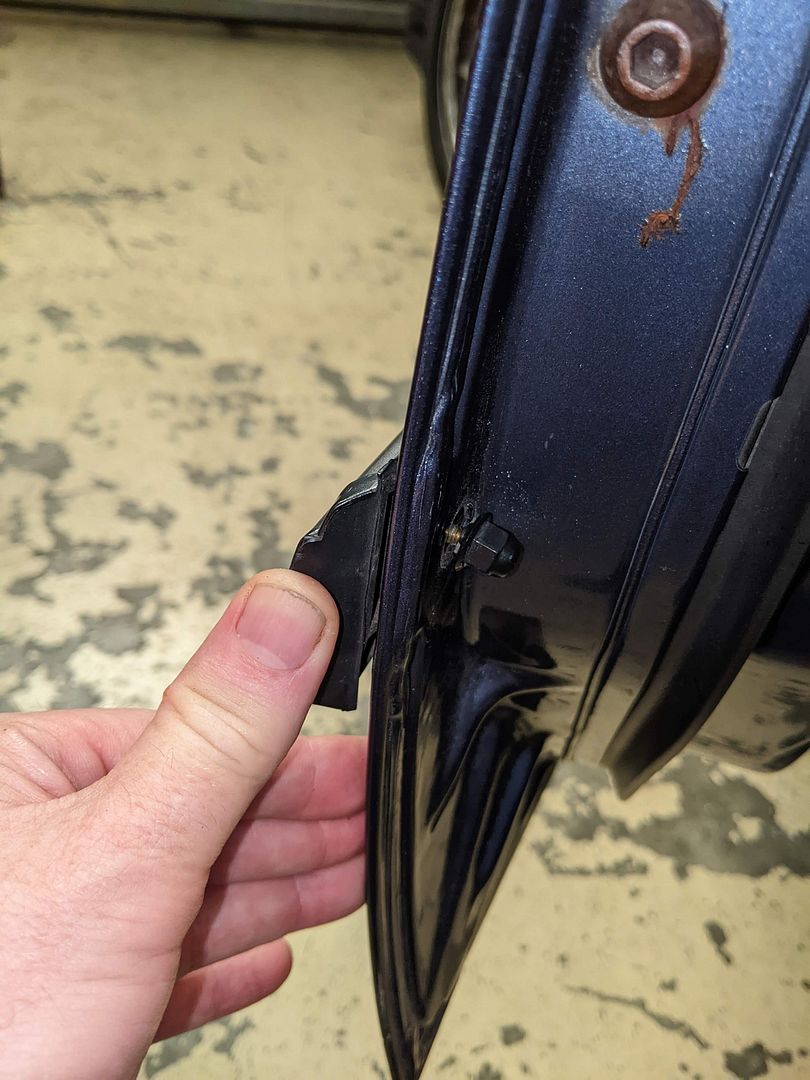
2) Gently pry off the edge guard with the correct plastic trim tools, they will pop off the clips with some concentrated effort
3) Replace any retaining clips as needed, thoroughly clean behind them and prep the replacement edge guards (it’s a good idea to pre-thread the plastic capture nuts ahead of installation) as well as treating the new rubber. Mine were obviously not removed during the car re-paint in 1990-91(these are white and still available in bulk from BMW):
4) Install the new edge guard in reverse order.
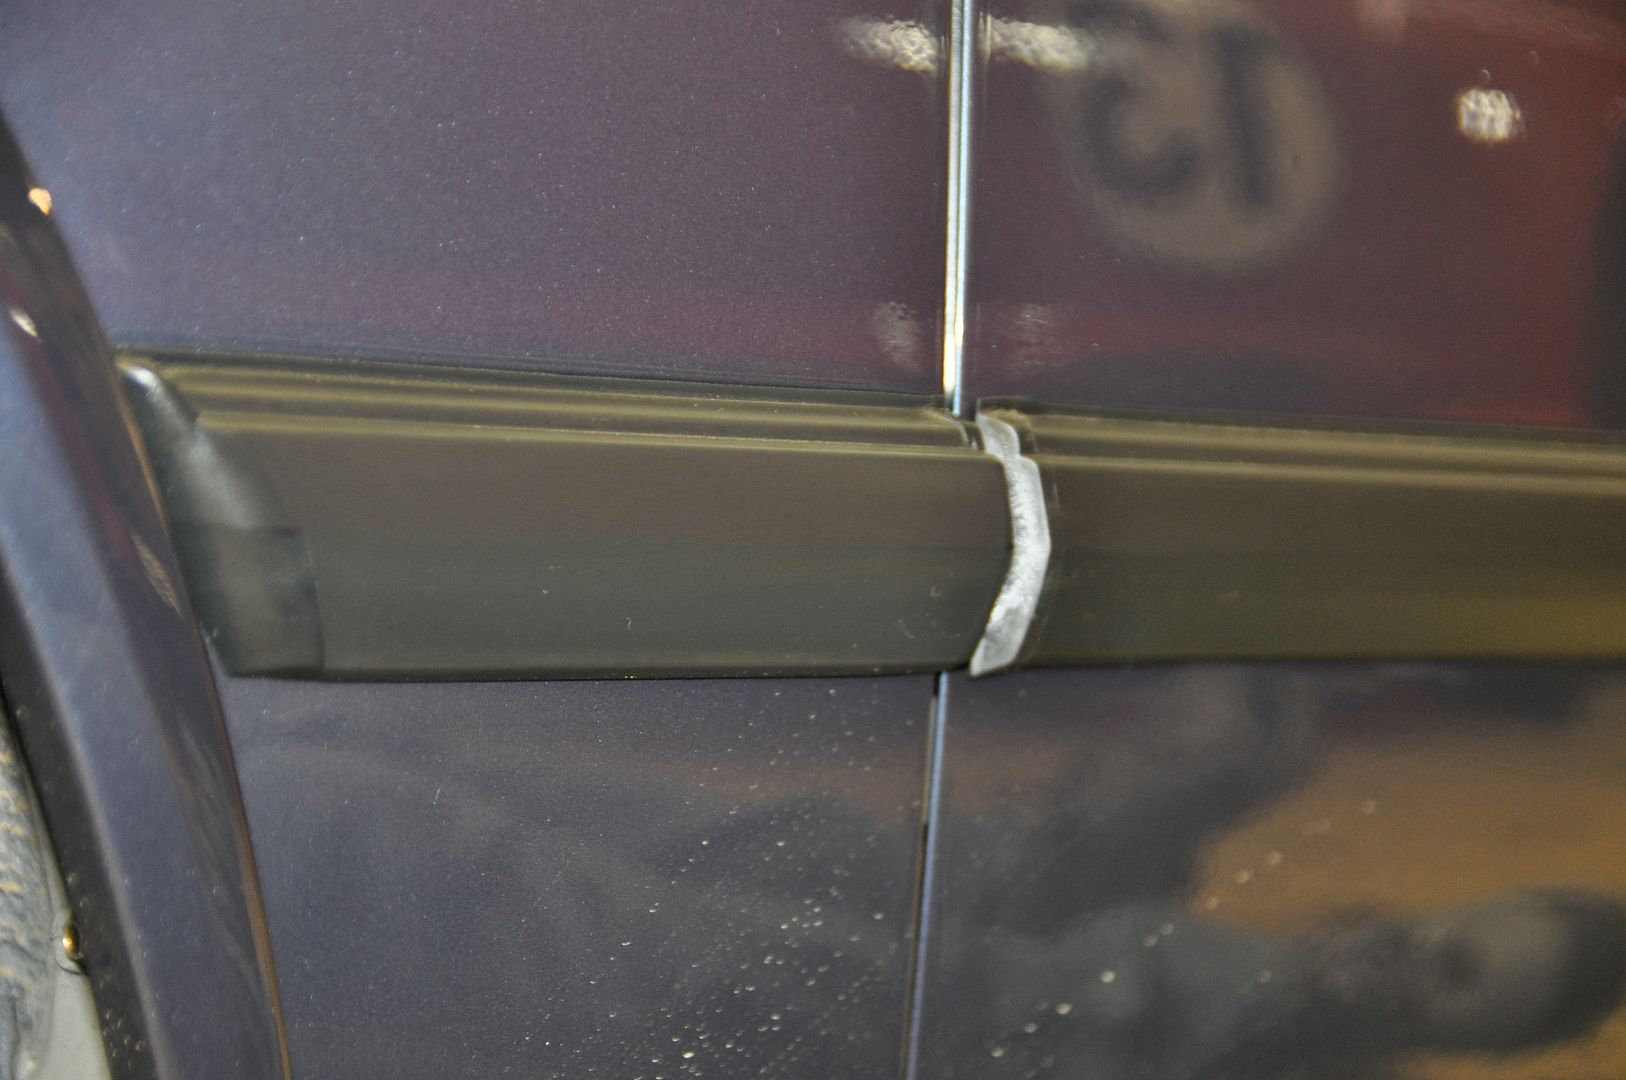
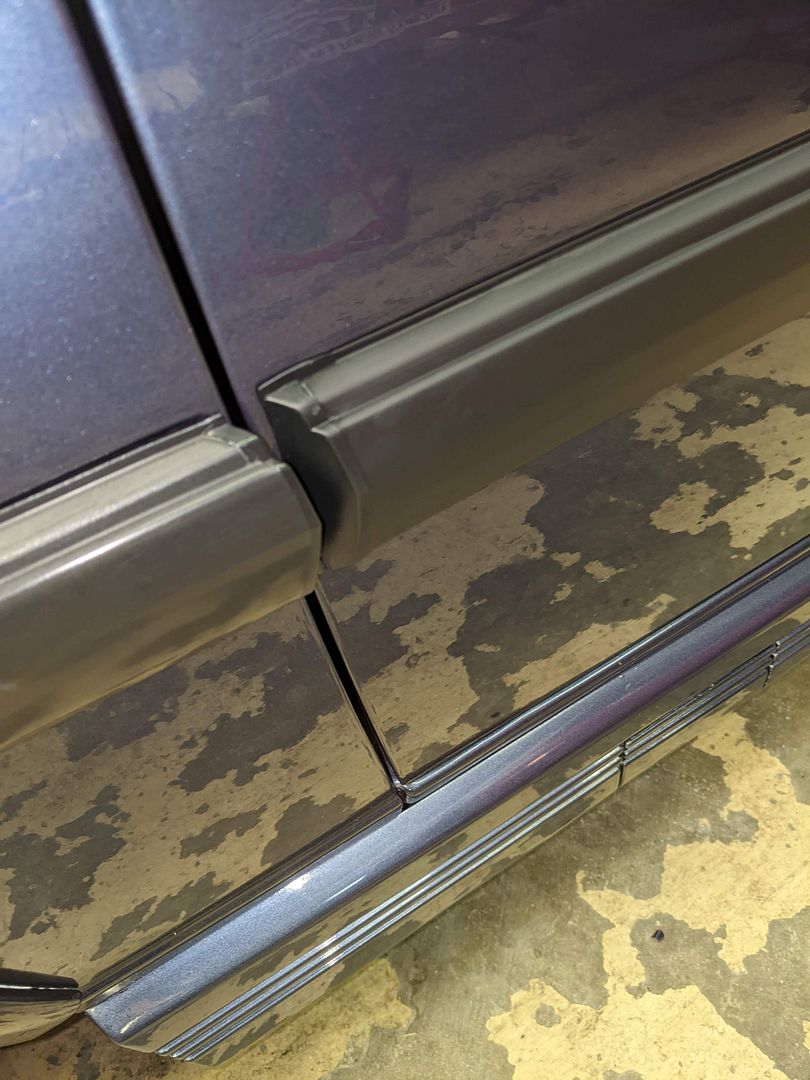
However, that left what to do about the two pieces that couldn’t be replaced with new. The two choices were to source a good used part or refinish my old ones. I was able to find a pretty nice rear door strip which was actually better than mine (no dings).
I couldn’t find that front fender one to save my life. The issue with mine were mars and discoloration which I couldn’t do anything with by simple means; it was going to require more aggressive means. One of the issues to overcome was the texture differences between the new rubber and that of a 32-year-old piece; the older ones have usually been worked smooth while the new ones have the tooth and luster of new rubber. Duplicating that finish to match the other 4 new pieces was going to take some work
Re-Finishing:
1) First step was to strip all the finish and product out of the two pieces. Scrubbing them down with degreaser and soap then soaking them in said solution to leech out as much as possible
2) Second is a firm couple passes with an acetone soaked rag. This burns in a new layer of rubber, one that has tooth
3) Third step was a light couple of passes with 220 wet sandpaper, then progressively down to 600 grit. The trick is to not to polish the rubber too much, you need to leave texture in your wake.
[URL=https://hosting.photobucket.com/images/ ... fit=bounds]
4) Next was to put back something to restore the rubber and get the color back. I tried out the myriad of the many, many different rubber treatment products in my cabinet on one of the old trim pieces. I finally settled on this one: Trim Restorer:
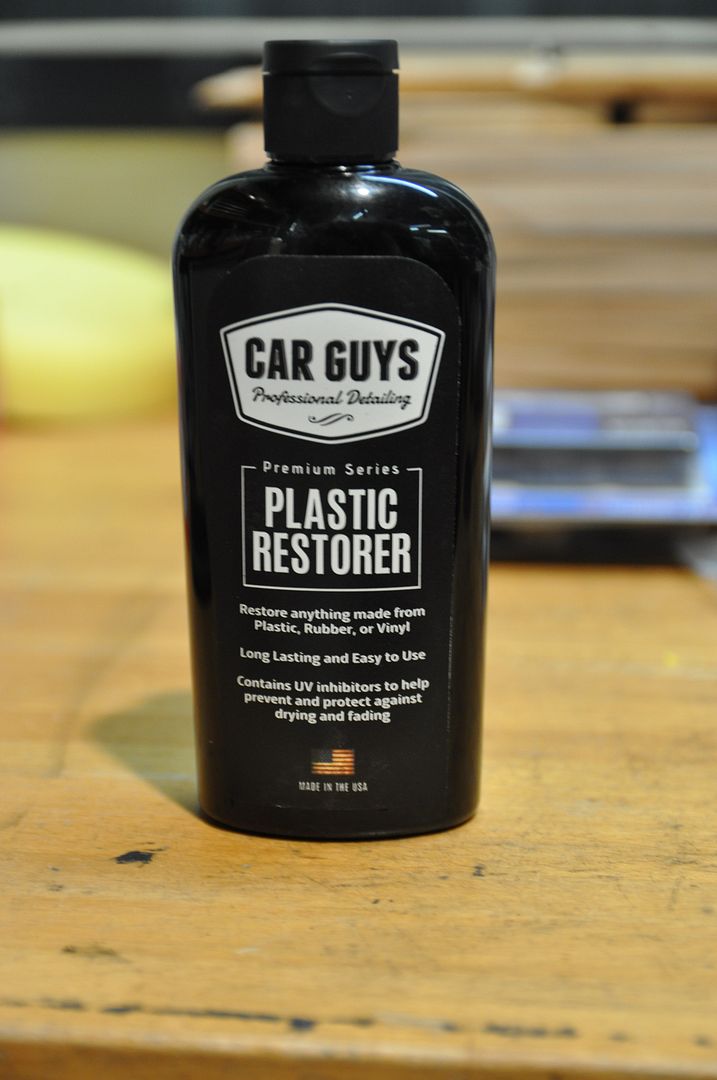
It was less a topical cover like Back To Black and some others; it actually soaks in while leveling out the finish and matches the luster of the new rubber. It takes some practice in application so as not to leave streaks and get even coverage. Let it soak in for as long as you can (6, 12, 24 hours or longer). Lightly buff it in one direction with a clean microfiber to remove any excess and even out the finish. It may take a few coats. If you leave streaks you have to strip it off with acetone and start over. Since I don’t wash the car down with water & soap nor does it sit out in the rain and sun, time will tell how long this finish lasts.
Coincidentally I tried a similar process on the rubber M-Tech Rear Spoiler rubber lip, that is a work in progress. (More and that soon).
